Love this? Save it for later!
Share the inspiration with your friends
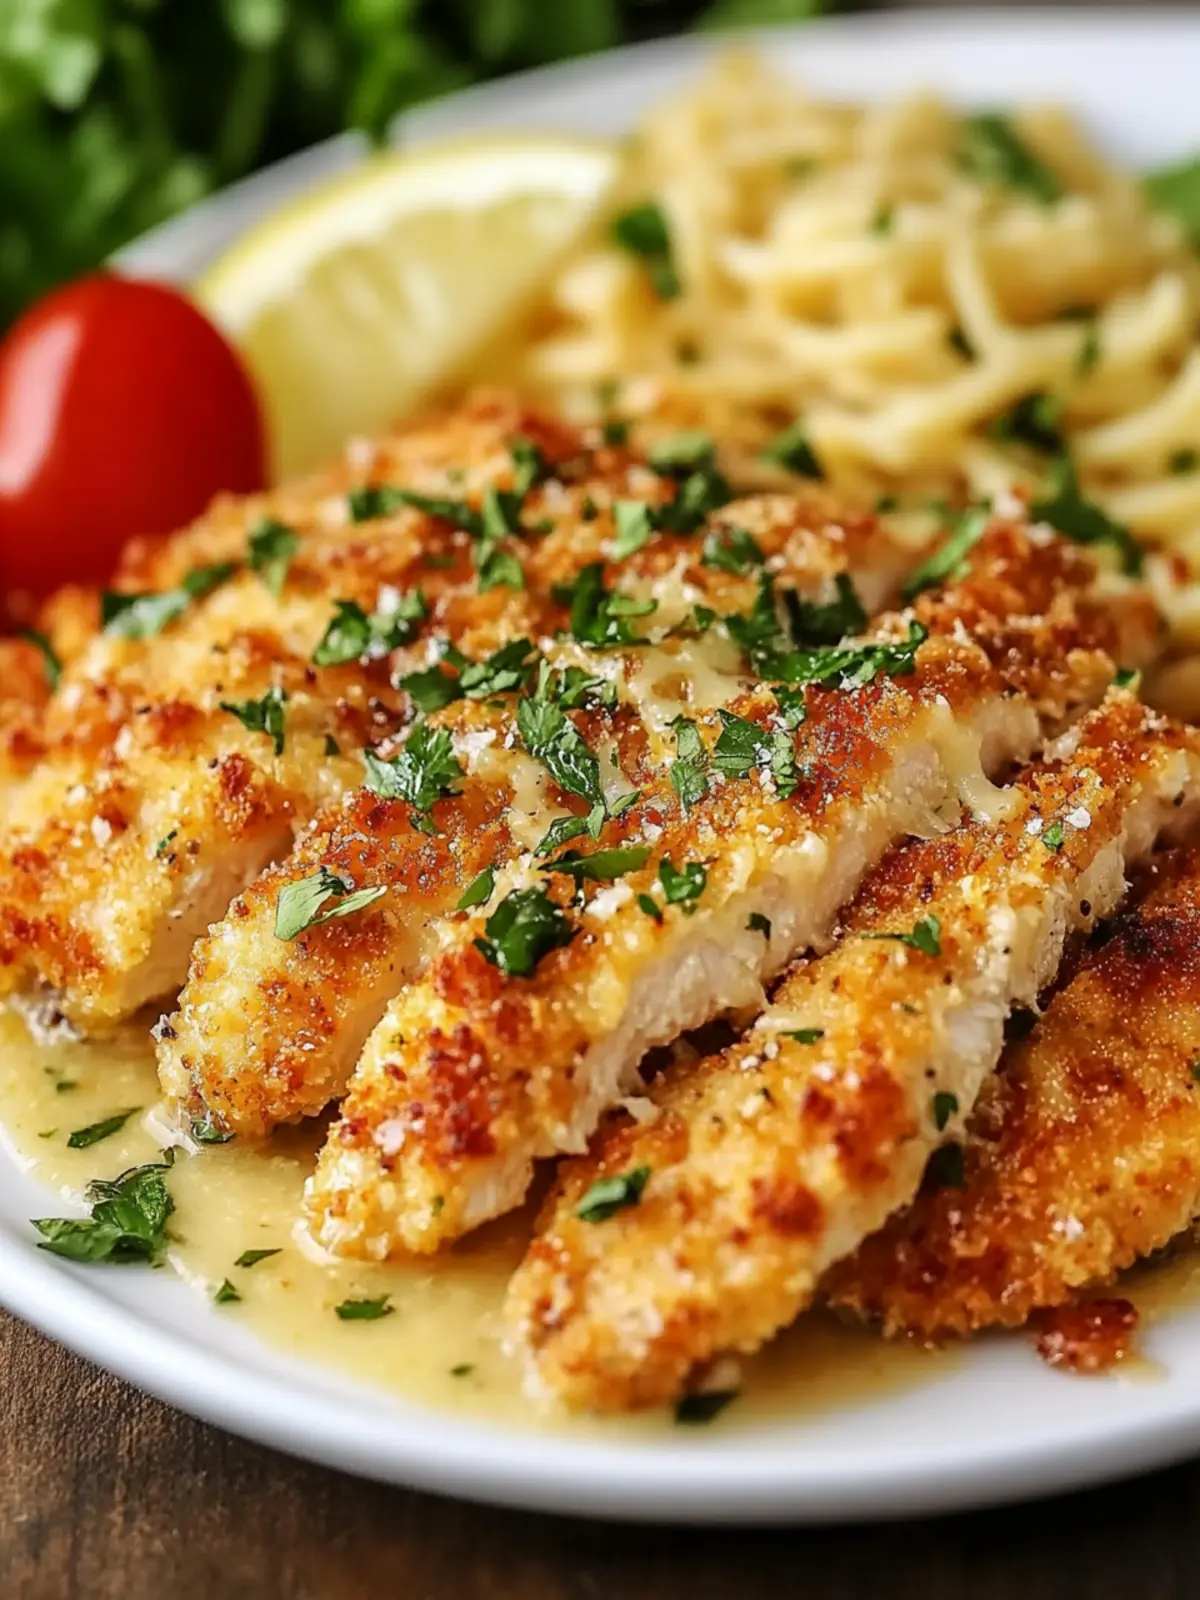
“You’ve got to try this chicken,” my coworker blurted out during lunch break, waving her phone like it was a treasure map. Honestly, I was skeptical—crispy chicken recipes come and go in my kitchen, but this Cheesecake Factory Crusted Chicken Romano recipe promised something different. The real kicker? It was surprisingly easy, like a kitchen shortcut that tasted like a fancy restaurant meal. I remember that evening, the sizzle of the skillet filling the kitchen, the aroma of Parmesan cheese mingling with garlic and herbs, and that satisfying crunch when I cut into the crust. This recipe stuck with me—not because it was flashy, but because it felt like a little win on a chaotic day.
What’s funny is that it wasn’t a planned masterpiece. I was just trying to whip up a quick dinner without running to the store for complicated ingredients. Yet this Crispy Cheesecake Factory Crusted Chicken Romano recipe came through, becoming a repeat hit that week. The balance of crispy, cheesy, and subtly seasoned crust with juicy chicken inside was downright addictive. It’s the kind of dish that makes you pause and savor each bite, closing your eyes briefly because it hits that perfect spot. Trust me, this recipe isn’t just about chicken—it’s about finding that cozy comfort with a bit of flair, all from your own stovetop.
Why You’ll Love This Recipe
This Crispy Cheesecake Factory Crusted Chicken Romano recipe is a true crowd-pleaser and my go-to when I want something that feels special but isn’t a hassle. After making this dish several times, I’ve gathered some reasons it’s become a kitchen staple:
- Quick & Easy: Ready in under 30 minutes, perfect for busy weeknights or when you need a last-minute hit of comfort food.
- Simple Ingredients: No need to hunt for anything fancy. You probably have all these pantry staples and fridge essentials on hand.
- Perfect for Dinner Parties: It’s elegant enough to impress guests but easy enough to whip up without stress.
- Crispy, Flavorful Crust: The Romano cheese combined with Panko breadcrumbs creates a golden, crunchy coating that’s hard to beat.
- Juicy, Tender Chicken: The inside stays perfectly moist—no dry chicken here!
What sets this Crispy Cheesecake Factory Crusted Chicken Romano apart? It’s the careful balance of textures and flavors. The secret lies in blending finely grated Parmesan and Romano cheeses with the breadcrumbs, plus a hint of garlic and herbs. This combo creates a crust that’s savory and slightly nutty, far from your average breaded chicken. Plus, lightly pan-frying before baking gives it that unbeatable crunch without feeling greasy.
Honestly, this recipe is the kind of comfort food that feels both cozy and a little fancy, a comforting hug with a little sparkle. Whether you’re trying to impress a date or just craving a satisfying meal, this chicken delivers every time.
What Ingredients You Will Need
This recipe uses simple, wholesome ingredients that come together to create bold flavor and satisfying texture without the fuss. Most are pantry staples, and substitutions are easy if needed.
- Boneless, skinless chicken breasts (about 2 large pieces, 1 to 1.5 pounds / 450-680 grams) – pounded to even thickness for uniform cooking
- Panko breadcrumbs (1 cup / 90 grams) – for that irresistible crunch; I like Kikkoman brand for consistent texture
- Grated Romano cheese (1/2 cup / 50 grams) – sharp and savory, the star of the crust
- Grated Parmesan cheese (1/2 cup / 50 grams) – adds nuttiness and depth
- Garlic powder (1 teaspoon) – brings warmth and subtle zing
- Dried Italian seasoning (1 teaspoon) – a blend of herbs to lift the flavor
- Salt and freshly ground black pepper (to taste) – essential for seasoning
- All-purpose flour (1/2 cup / 60 grams) – for dredging the chicken
- Large eggs (2, beaten) – helps the crust stick beautifully
- Olive oil (3 tablespoons) – for pan-frying; can swap with avocado oil for higher smoke point
- Butter (1 tablespoon, optional) – adds richness and helps crisp the crust
If you want a gluten-free option, swap Panko breadcrumbs for almond flour or gluten-free breadcrumbs. For a dairy-free twist, you could omit the cheeses or replace with nutritional yeast, though it won’t be quite the same savory punch.
Equipment Needed
- Heavy skillet or non-stick frying pan – a cast iron skillet works wonders for even browning and crispiness.
- Meat mallet or rolling pin – to pound the chicken breasts to an even thickness, ensuring they cook evenly.
- Three shallow bowls or plates – for the flour, beaten eggs, and breadcrumb-cheese mixture.
- Grater or microplane – if you’re grating your own Romano and Parmesan cheese, it’s worth the extra effort for fresh flavor.
- Tongs – to flip the chicken without messing up the crust.
- Baking sheet – for finishing the chicken in the oven to cook through without burning the crust.
Don’t have a meat mallet? A heavy-bottomed pan or rolling pin works just fine. And if you don’t own a cast iron skillet, a good-quality non-stick pan is an excellent budget-friendly alternative. Just keep an eye on the heat to avoid burning the cheese crust. I recommend seasoning your cast iron regularly to keep it in top shape—it really makes a difference in the crispiness.
Preparation Method
- Prepare the chicken: Place each chicken breast between two sheets of plastic wrap or parchment paper. Use a meat mallet or rolling pin to gently pound the chicken until it’s about 1/2-inch (1.25 cm) thick. This helps it cook evenly and stay juicy. Pat dry with paper towels.
- Set up dredging stations: In three separate shallow bowls, place the flour, beaten eggs, and in the last bowl mix together Panko breadcrumbs, grated Romano and Parmesan cheeses, garlic powder, Italian seasoning, salt, and pepper.
- Coat the chicken: First dredge each chicken breast in the flour, shaking off excess. Then dip into the beaten eggs, letting excess drip back into the bowl. Finally, press firmly into the breadcrumb-cheese mixture, coating all sides evenly. Don’t be shy about pressing so the crust sticks well.
- Preheat your oven: Set to 375°F (190°C). This step lets you finish cooking the chicken after pan-frying without burning the crust.
- Pan-fry the chicken: Heat olive oil and butter (if using) in a heavy skillet over medium heat. When hot, add the coated chicken breasts. Cook for 3-4 minutes on each side, until golden brown and crispy. You’ll notice a deep golden crust forming—resist flipping too early!
- Finish in the oven: Transfer the skillet (or move chicken to a baking sheet) and bake for 10-12 minutes, or until the internal temperature reaches 165°F (74°C). This ensures the chicken is cooked through without drying.
- Rest and serve: Let the chicken rest for 5 minutes before slicing. This helps keep the juices locked in and the crust crisp.
Pro tip: If you don’t have an oven-safe skillet, transfer the chicken carefully to a preheated baking sheet lined with parchment paper. Also, watch the pan temperature closely—too hot, and the cheese will burn instead of crisping.
Cooking Tips & Techniques
Getting that perfect crispy crust with tender chicken inside takes a few tricks I’ve learned the hard way. First, pounding the chicken evenly is a game-changer. Uneven thickness means uneven cooking — no one wants dry edges and raw middles.
When mixing the breadcrumb and cheese coating, be sure to grate the cheeses finely. Coarser chunks won’t stick as well and can burn faster. Also, press the coating firmly onto the chicken—it’s tempting to be gentle but trust me, you want that crust to cling for maximum crunch.
Medium heat is your friend here. Too low, and the crust won’t crisp; too high, and you risk burning the cheese before the chicken cooks through. I like to use a combo of olive oil and a bit of butter for flavor and browning, but pure oil works fine if you want to skip the dairy fat.
Don’t skip the oven finish. Pan-frying alone can leave the inside undercooked or the crust soggy if you rush it. Baking at 375°F (190°C) for 10-12 minutes sets everything perfectly without drying out the chicken.
Finally, let the chicken rest after cooking. It’s tempting to cut right in, but resting seals in the juices and keeps the crust crisp. I learned this the hard way after several sad, dry slices.
Variations & Adaptations
- Gluten-Free Version: Use almond flour or gluten-free Panko breadcrumbs. The texture will be slightly different but still delicious.
- Herb Variations: Swap Italian seasoning for fresh chopped rosemary, thyme, or basil for a fresh twist.
- Spicy Kick: Add a pinch of cayenne pepper or smoked paprika to the breadcrumb mixture for subtle heat.
- Dairy-Free Adaptation: Omit cheeses and use nutritional yeast instead, plus a little extra seasoning. Coat with gluten-free breadcrumbs for a dairy- and gluten-free option.
- Cooking Method: For a lighter version, bake the chicken fully in the oven at 400°F (200°C) for 20-25 minutes, flipping halfway. The crust won’t be as deep golden but still tasty.
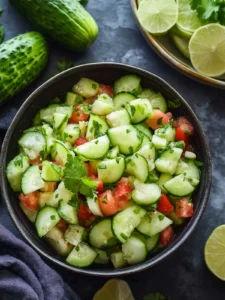
I tried adding a sprinkle of lemon zest to the crust once — it added a lovely brightness that cut through the richness. Also, pairing this crusted chicken with a fresh Italian combo pasta salad makes for a fresh, balanced meal that’s always a hit at summer dinners.
Serving & Storage Suggestions
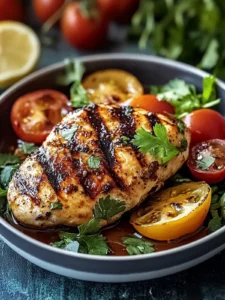
Serve this Crispy Cheesecake Factory Crusted Chicken Romano warm, right after resting, to enjoy the full crunch. It pairs beautifully with a light green salad, roasted vegetables, or the pasta salad mentioned above. For something cozy, mashed potatoes or garlic bread are classic companions.
Leftovers store well in an airtight container in the refrigerator for up to 3 days. When reheating, the best method is to use a skillet over medium heat or a toaster oven to revive the crispiness. Microwaving is convenient but tends to soften the crust.
Flavors actually deepen after a day, so making this chicken a day ahead can be a smart move for easy weeknight dinners or meal prep. Just gently crisp it up before serving.
Nutritional Information & Benefits
Estimated per serving (1 chicken breast): 350-400 calories, 35g protein, 10g fat, 15g carbs.
This recipe packs a protein punch from the chicken, supporting muscle repair and satiety. The Parmesan and Romano cheeses contribute calcium and a bit of healthy fat. Using olive oil adds heart-healthy monounsaturated fats.
For those watching carbs, this recipe is moderate due to the Panko crumbs, but swapping with almond flour lowers carbs significantly. It’s naturally gluten-free when adjusted, and dairy-free options make it accessible for various diets.
From a wellness perspective, this Crispy Cheesecake Factory Crusted Chicken Romano recipe lets you enjoy comfort food without feeling weighed down. It strikes a solid balance between indulgence and nutrition.
Conclusion
This Crispy Cheesecake Factory Crusted Chicken Romano recipe is one of those rare finds that’s easy to make, deliciously satisfying, and impressive enough for guests. I love how it transforms simple ingredients into a dish that feels like an occasion.
Feel free to tinker with the herbs and spices or try the gluten-free adaptations to fit your lifestyle. It’s a recipe that invites personalization but never loses its charm.
Honestly, every time I make it, I’m reminded why it’s stuck around in my rotation—it’s the perfect blend of comfort and crunch, with just the right amount of cheesy goodness. If you try it, I’d love to hear how it turns out or any creative twists you add!
FAQs About Crispy Cheesecake Factory Crusted Chicken Romano Recipe
Can I use chicken thighs instead of breasts?
Yes! Boneless, skinless thighs work well. They’re juicier and may need slightly less cooking time. Just pound them to even thickness for best results.
How do I prevent the crust from falling off?
Make sure to press the breadcrumb-cheese mixture firmly onto the chicken and follow the flour-egg-breadcrumb dredging order. Also, avoid flipping too soon while pan-frying.
Can I prepare this recipe ahead of time?
Absolutely! You can bread the chicken and refrigerate it for a few hours before cooking. Just let it come to room temperature before frying to ensure even cooking.
What can I serve with this chicken?
This chicken pairs beautifully with fresh salads, roasted veggies, mashed potatoes, or pasta dishes like the easy sweet Hawaiian crockpot chicken for a tropical twist on your dinner table.
Is this recipe suitable for meal prep?
Yes, it holds up well refrigerated and reheated. Using an oven or skillet to re-crisp the crust helps keep it tasty during the week.
Pin This Recipe!

Crispy Cheesecake Factory Crusted Chicken Romano Recipe

A quick and easy recipe for crispy, juicy chicken breasts coated in a flavorful Romano and Parmesan cheese crust, perfect for weeknights or dinner parties.
- Prep Time: 10 minutes
- Cook Time: 20 minutes
- Total Time: 30 minutes
- Yield: 2 servings 1x
- Category: Main Course
- Cuisine: American
Ingredients
- 2 large boneless, skinless chicken breasts (1 to 1.5 pounds / 450–680 grams), pounded to even thickness
- 1 cup Panko breadcrumbs (90 grams)
- 1/2 cup grated Romano cheese (50 grams)
- 1/2 cup grated Parmesan cheese (50 grams)
- 1 teaspoon garlic powder
- 1 teaspoon dried Italian seasoning
- Salt and freshly ground black pepper to taste
- 1/2 cup all-purpose flour (60 grams)
- 2 large eggs, beaten
- 3 tablespoons olive oil
- 1 tablespoon butter (optional)
Instructions
- Place each chicken breast between two sheets of plastic wrap or parchment paper. Use a meat mallet or rolling pin to gently pound the chicken until it’s about 1/2-inch (1.25 cm) thick. Pat dry with paper towels.
- Set up three shallow bowls: one with flour, one with beaten eggs, and one with a mixture of Panko breadcrumbs, grated Romano and Parmesan cheeses, garlic powder, Italian seasoning, salt, and pepper.
- Dredge each chicken breast first in flour, shaking off excess. Then dip into the beaten eggs, letting excess drip back into the bowl. Finally, press firmly into the breadcrumb-cheese mixture, coating all sides evenly.
- Preheat oven to 375°F (190°C).
- Heat olive oil and butter (if using) in a heavy skillet over medium heat. Add the coated chicken breasts and cook for 3-4 minutes on each side until golden brown and crispy.
- Transfer the skillet or chicken breasts to a baking sheet and bake for 10-12 minutes, or until the internal temperature reaches 165°F (74°C).
- Let the chicken rest for 5 minutes before slicing to keep the juices locked in and the crust crisp.
Notes
For gluten-free, substitute Panko breadcrumbs with almond flour or gluten-free breadcrumbs. For dairy-free, omit cheeses or replace with nutritional yeast and use gluten-free breadcrumbs. Press breadcrumb mixture firmly onto chicken for best crust adhesion. Use medium heat to avoid burning cheese. Finish cooking in oven to ensure chicken is cooked through without drying. Let chicken rest before slicing to keep crust crisp and juices locked in.
Nutrition
- Serving Size: 1 chicken breast
- Calories: 350400
- Sugar: 1
- Sodium: 400
- Fat: 10
- Saturated Fat: 3
- Carbohydrates: 15
- Fiber: 1
- Protein: 35
Keywords: crispy chicken, Cheesecake Factory chicken, crusted chicken Romano, easy chicken recipe, Parmesan crusted chicken, panko chicken, dinner recipe