Love this? Save it for later!
Share the inspiration with your friends
“Hey, did you bring those mini cheesecakes?” my friend texted me late one afternoon, just as I was pulling a batch out of the oven. Honestly, I wasn’t even sure they’d turn out right. I’d been fiddling with this recipe for weeks, trying to get that perfect balance of creamy, colorful, and just a little bit fun. Those mini rainbow cheesecake bites with Golden Oreo bliss were a total accident at first—an experiment born from a leftover box of Golden Oreos and a craving for something playful but not too sweet. I remember mixing in the cream cheese, watching the batter take on a silky texture, and thinking, “Okay, this might actually work.”
The vibrant rainbow layers gave off this inviting, almost nostalgic vibe. When I finally tasted one, the crisp, buttery Golden Oreo crust paired with the smooth, tangy filling hit all the right notes. The way the colors peeked through made me want to share them with everyone at the next get-together — not to mention how they vanished in minutes! It’s funny how a kitchen mishap or a late-night craving can lead to a recipe that sticks around, becoming one of those little treats you find yourself making over and over. These mini cheesecake bites aren’t just dessert; they’re a slice of joy wrapped in a crunchy cookie hug, and I suspect you’ll find yourself feeling the same way.
Why You’ll Love This Recipe
- Quick & Easy: Ready in under 45 minutes, these cheesecake bites are perfect when you want a sweet fix without fussing over a complicated dessert.
- Simple Ingredients: No need for fancy shopping trips. Basic staples like cream cheese, Golden Oreos, and a few pantry essentials come together effortlessly.
- Perfect for Parties and Everyday Treats: Whether it’s a birthday, a brunch, or just an ordinary afternoon, these mini bites add a burst of color and flavor everyone will notice.
- Crowd-Pleaser: Kids love the rainbow hues and grown-ups appreciate the creamy texture with that familiar Golden Oreo crunch.
- Unbelievably Delicious: The combo of a buttery cookie crust with a luscious, slightly tangy cheesecake filling is comfort food at its best.
This recipe stands out because of the way it blends a classic cheesecake vibe with the nostalgic crunch of Golden Oreos, but in a playful mini size. Plus, the rainbow layering isn’t just for looks — it adds a subtle fruity twist that keeps things interesting bite after bite. I’ve tested this with friends who usually turn their noses up at “fussy desserts,” and honestly, they kept sneaking back for more. It’s a dessert that feels special but is totally doable, even if you’re juggling a busy schedule.
The perfect balance of sweet, tangy, and creamy means these bites make you want to close your eyes and savor every mouthful. It’s a little celebration wrapped in a tiny package, turning an ordinary day into something memorable without the stress. And if you’re into colorful treats, you might appreciate how these bites complement other fun recipes like the airy rainbow sherbet meringues I’ve shared — both bring that pop of color and joy that’s hard to resist.
What Ingredients You Will Need
This recipe keeps things straightforward, relying on a handful of easy-to-find ingredients that come together to create a bold flavor explosion with a fun texture contrast. The Golden Oreo crust brings that buttery crunch, while the rainbow cheesecake filling offers creamy, tangy delight with a splash of color.
- For the Crust:
- Golden Oreos, crushed (about 24 cookies) – I like Nabisco brand for consistent texture
- Unsalted butter, melted (6 tablespoons / 85 grams) – adds richness and helps bind the crust
- For the Rainbow Cheesecake Filling:
- Cream cheese, softened (16 ounces / 450 grams) – use full-fat for creaminess
- Granulated sugar (3/4 cup / 150 grams) – balances the tang
- Large eggs (2), room temperature – to set the cheesecake
- Vanilla extract (1 teaspoon) – enhances all the flavors
- Heavy cream (1/2 cup / 120 ml) – adds silkiness
- Gel food coloring (red, orange, yellow, green, blue, purple) – for those vibrant rainbow layers; you can find these at baking supply stores or online
- Optional: A few drops of lemon juice (1 teaspoon) – brightens the flavor, especially nice if your cream cheese is very rich
If you want to swap heavy cream, full-fat coconut milk works well for a dairy-free version, though the texture will be slightly different. For a gluten-free option, try crushing gluten-free golden vanilla cookies instead of Golden Oreos. And if you’re craving a fruitier spin, adding a teaspoon of fresh lemon zest to each colored layer can add a subtle zing.
Equipment Needed
- Muffin tin or mini cheesecake pan – I use a 24-cup mini muffin tin, but silicone molds work great too
- Parchment paper or silicone liners – helps with easy removal
- Mixing bowls (several) – one for the main batter, others for dividing and coloring
- Electric mixer or stand mixer – for smooth, lump-free cheesecake batter
- Measuring cups and spoons – precise measurements make a big difference here
- Spatula – for gentle folding and scraping
- Food processor or plastic bag and rolling pin – to crush the Golden Oreos for the crust
If you don’t have a stand mixer, a handheld electric mixer works just fine (I’ve made these many times with both). For budget-friendly baking, silicone muffin liners are reusable and make cleanup a breeze. When crushing cookies, if you don’t have a food processor, placing them inside a zip-top bag and using a rolling pin works perfectly well and saves on washing extra dishes.
Preparation Method
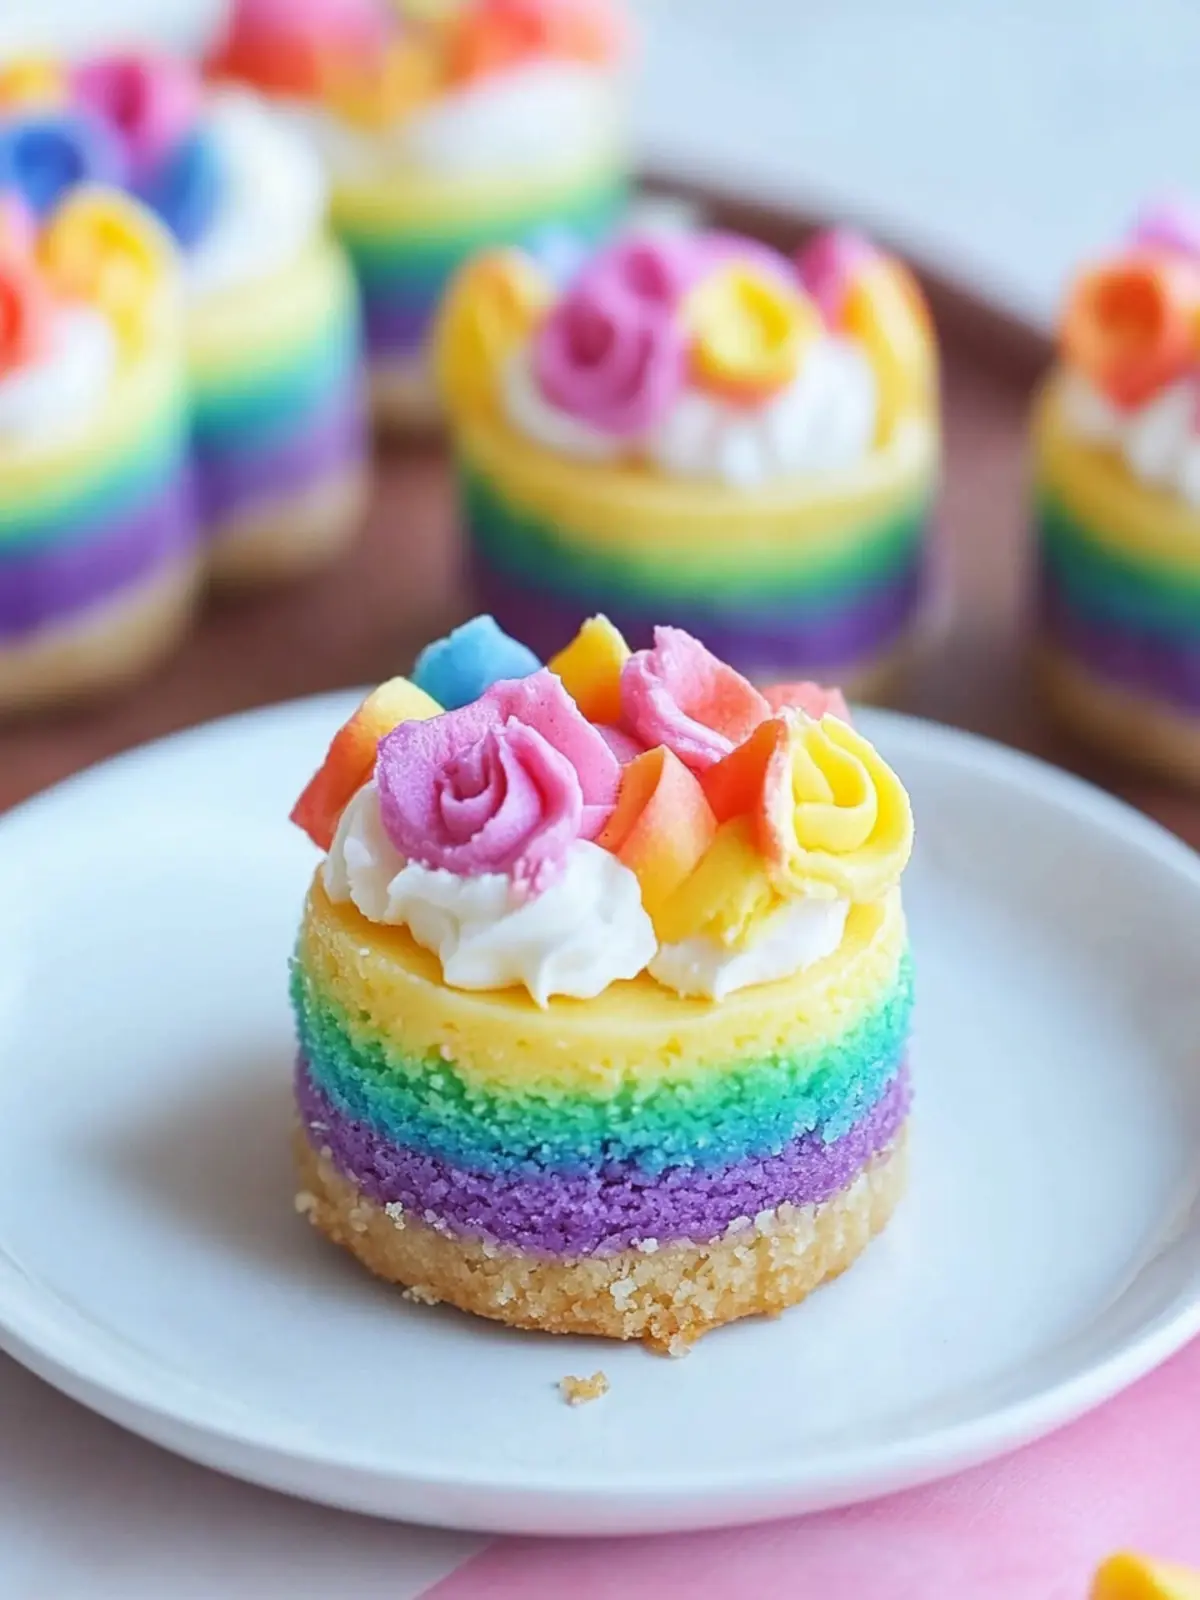
- Prepare the crust: Preheat your oven to 325°F (160°C). Crush the Golden Oreos into fine crumbs using a food processor or by placing them in a sealed plastic bag and rolling over them with a rolling pin. Pour the crumbs into a bowl, then stir in the melted unsalted butter until the mixture holds together when pressed.
- Form the crust bases: Line your mini muffin tin with parchment paper or silicone liners. Press about one tablespoon (15 grams) of the crust mixture firmly into the bottom of each cup, creating an even layer. This usually takes around 10 minutes.
- Bake the crust: Bake the crusts for 7-8 minutes until slightly golden and set. Remove from the oven and let them cool while you prepare the filling.
- Make the cheesecake batter: In a large mixing bowl, beat the softened cream cheese with sugar until smooth and creamy (about 3-4 minutes). Add eggs one at a time, mixing well after each addition. Stir in vanilla extract and heavy cream until everything is well combined and silky.
- Divide and color the batter: Divide the batter evenly into 6 smaller bowls. Add a different gel food coloring to each bowl, mixing gently until you achieve vibrant shades of red, orange, yellow, green, blue, and purple. This step is where the magic happens—take your time to get those colors just right.
- Layer the cheesecake bites: Starting with red, spoon about one teaspoon (5 ml) of colored batter over each crust base. Follow with orange, then yellow, and so on, layering carefully to keep the colors distinct but smooth. Don’t worry if the layers blend a bit—it adds a lovely gradient effect.
- Bake the cheesecake bites: Bake at 325°F (160°C) for 15-18 minutes, or until the edges are set but the centers still jiggle slightly. Overbaking will dry them out, so keep a close eye.
- Cool and chill: Let the cheesecake bites cool to room temperature, then refrigerate for at least 2 hours or overnight to fully set and develop flavor.
- Serve: Carefully remove the bites from the tin, peel off the liners, and enjoy the colorful, creamy delight!
One tip I’ve learned is to avoid overmixing once you add the eggs; it keeps the batter light and prevents cracks. Also, adding the batter in layers makes this recipe feel fancy but it’s actually pretty straightforward. If you want to speed things up, you can chill the crusts while you mix the batter.
Cooking Tips & Techniques
Getting mini cheesecakes right can feel tricky, but a few tricks make all the difference. First, always use room temperature cream cheese. Cold cream cheese creates lumps and uneven texture, and who wants that? Beat the cream cheese and sugar thoroughly before adding eggs to get a silky base.
When layering your rainbow batter, use a small spoon or piping bag for more control. This keeps the layers neat and vibrant, but don’t stress if some colors blend — it adds charm. Also, baking at a lower temperature prevents cracking and keeps the bites creamy.
One mistake I made early on was overbaking. It’s tempting to bake until fully firm, but cheesecake should still jiggle a little when you take it out — it firms up as it cools. If you’re worried about cracking, try placing a pan of water in the oven to add moisture.
Multitasking helps: while the crust bakes, prepare and color your batter. That way, assembly is quick and smooth. Lastly, chilling is key. These bites taste better after a few hours in the fridge, letting flavors meld and texture firm up perfectly.
Variations & Adaptations
- Fruit-Flavored Layers: Add a teaspoon of fruit puree or juice (strawberry, mango, blueberry) to each colored batter for a subtle natural flavor boost.
- Chocolate Twist: Swap the Golden Oreo crust for chocolate Oreos and add mini chocolate chips to the filling for a mocha vibe.
- Dairy-Free Version: Use vegan cream cheese and coconut cream in place of dairy, and gluten-free golden cookies for the crust. The texture will be a bit different but still delicious.
- Mini No-Bake Cheesecakes: Skip the baking entirely by chilling the crust and filling overnight. Just be sure to add a bit more gelatin or use a no-bake cream cheese mix for firmness.
Personally, I once made these with a friend using natural beet juice and spirulina powder for coloring — it was a fun, healthy twist that impressed everyone without artificial dyes. For holidays, swapping colors to match themes is super easy and makes these bites festive.
Serving & Storage Suggestions
Serve these mini rainbow cheesecake bites chilled for the best texture. They look adorable arranged on a platter, perfect for casual get-togethers or special celebrations. Pair them with fresh berries or a light fruit compote to complement the creamy richness.
Store leftovers in an airtight container in the refrigerator for up to 4 days. If you want to keep them longer, freeze in a single layer on a baking sheet before transferring to a freezer-safe container. To thaw, move to the fridge overnight and serve chilled.
Reheating isn’t recommended as it changes the texture, but letting frozen bites sit at room temperature for 10-15 minutes before serving helps soften them slightly. The flavors actually deepen after a day or two in the fridge — the cheesecake becomes even creamier and the crust melds with the filling beautifully.
If you’re interested in other colorful sweet treats that are easy and fun to share, recipes like the magical rainbow cupcakes or the chewy rainbow sugar cookies might also catch your eye.
Nutritional Information & Benefits
Each mini cheesecake bite roughly contains:
| Calories | Fat | Carbohydrates | Protein |
|---|---|---|---|
| 150 kcal | 10 g | 12 g | 3 g |
The main ingredient, cream cheese, provides a good source of calcium and protein, while the Golden Oreo crust adds that satisfying crunch with a touch of indulgence. This recipe is gluten-friendly if you swap to gluten-free cookies and can be made dairy-free with simple substitutions.
While these cheesecake bites are definitely a treat, the portion control of mini sizes helps keep indulgence in check. Plus, the small bursts of color remind you that dessert can be joyful and fun without going overboard. For a wellness-friendly twist, try pairing the bites with fresh fruit or a light herbal tea to balance sweetness.
Conclusion
Making these flavorful mini rainbow cheesecake bites with Golden Oreo bliss has become one of those kitchen wins that I find myself returning to again and again. They’re colorful, creamy, and just the right size to feel indulgent without the guilt of a big slice. Plus, the recipe is flexible enough to invite your own personal tweaks, from fruity layers to dairy-free versions.
Whether you’re planning a party or just want a bright little dessert to brighten your day, these cheesecake bites fit the bill perfectly. I love how they bring a playful twist to a classic favorite, making every bite a tiny celebration. If you try them, I’d be thrilled to hear how you make them your own — feel free to drop a comment or share your favorite adaptations!
Here’s to sweet moments and colorful bites that make dessert feel like a little slice of happiness.
FAQs
Can I make these cheesecake bites ahead of time?
Yes! They actually taste better after chilling overnight, which helps the flavors meld and the texture set perfectly.
What can I use if I don’t have gel food coloring?
You can use natural colorants like beet juice for red or turmeric for yellow, but keep in mind the colors may be less vibrant.
How do I prevent cracks in mini cheesecakes?
Don’t overmix the batter and avoid overbaking. Baking at a lower temperature and letting them cool gradually helps, too.
Can I freeze these mini cheesecake bites?
Absolutely! Freeze them in a single layer, then transfer to a freezer-safe container. Thaw in the fridge overnight before serving.
Are Golden Oreos necessary for the crust?
Golden Oreos add a subtle vanilla flavor that pairs beautifully, but you can substitute with any vanilla sandwich cookie or gluten-free version if needed.
Pin This Recipe!
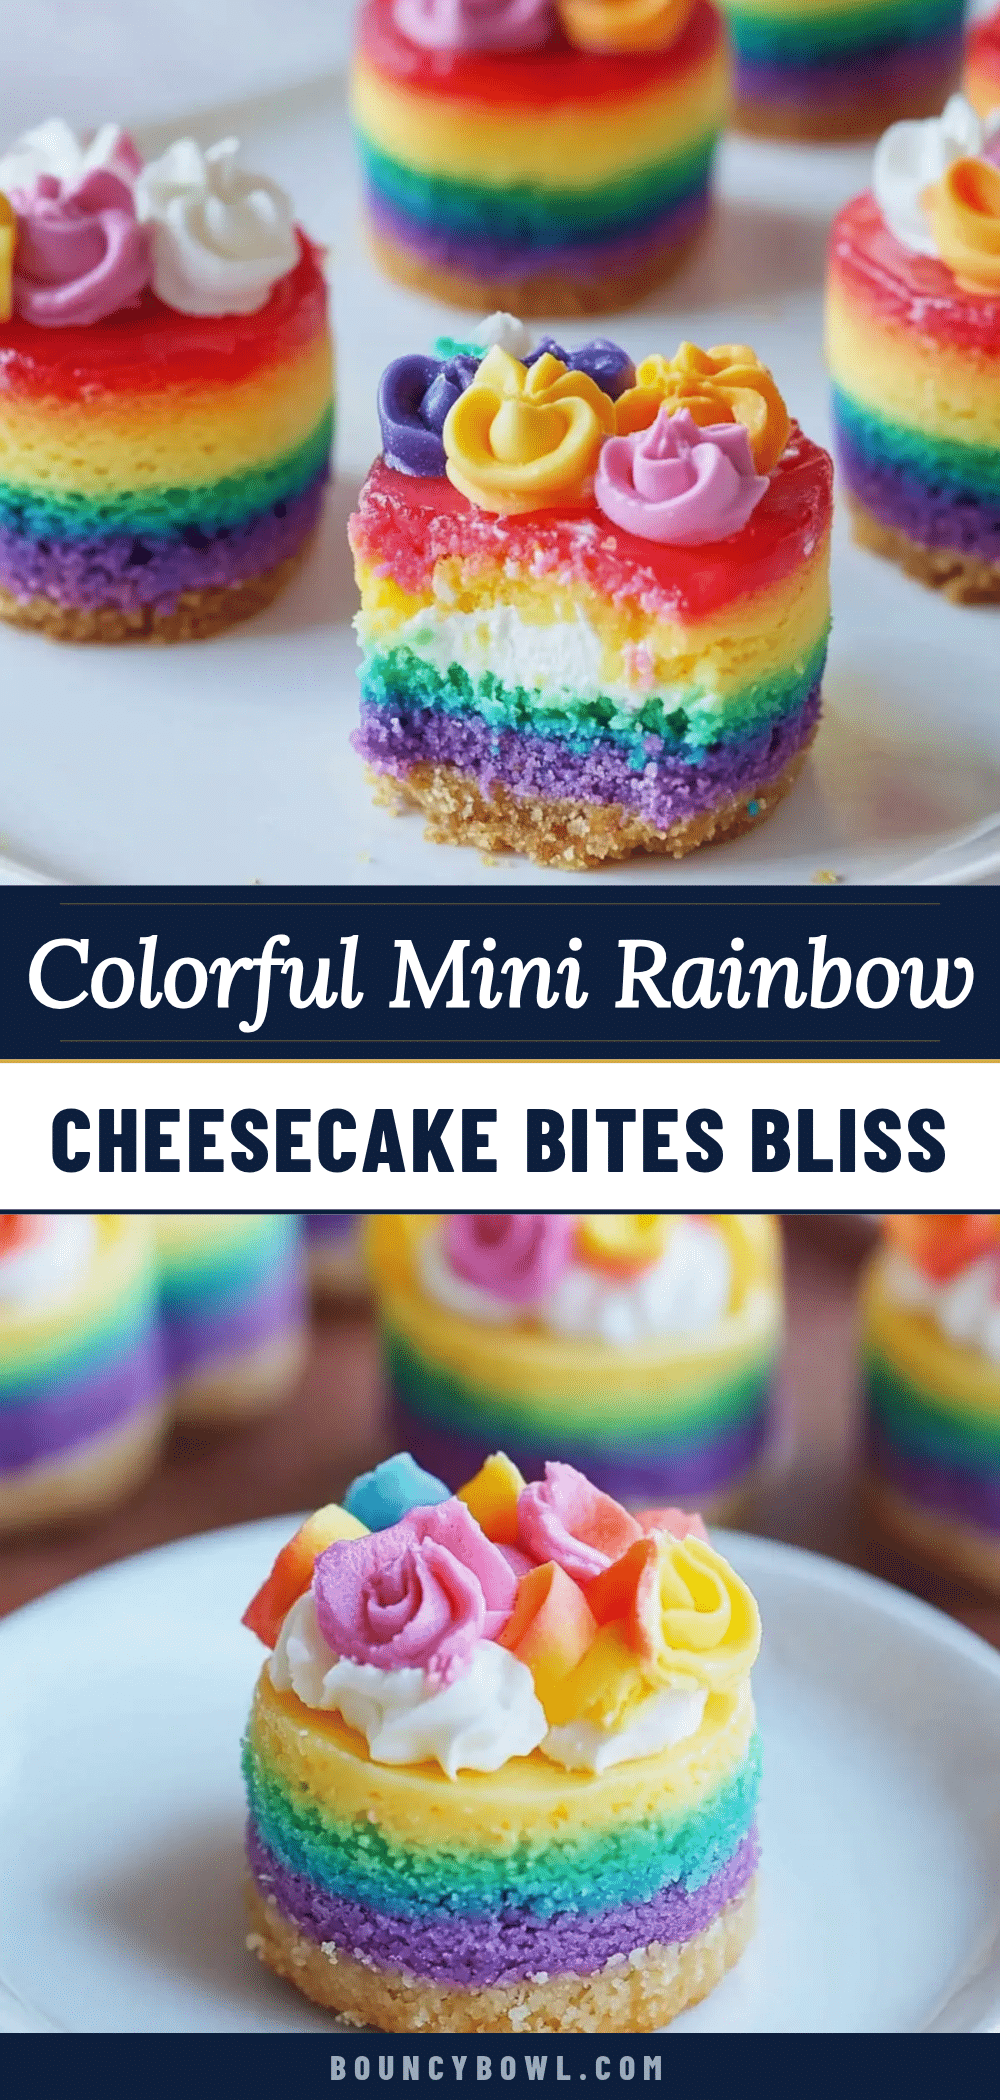
Flavorful Mini Rainbow Cheesecake Bites

These mini rainbow cheesecake bites feature a buttery Golden Oreo crust and vibrant, creamy layers of cheesecake, perfect for parties or everyday treats. They are quick, easy, and delightfully colorful.
- Prep Time: 15 minutes
- Cook Time: 25 minutes
- Total Time: 2 hours 40 minutes
- Yield: 24 mini cheesecake bites 1x
- Category: Dessert
- Cuisine: American
Ingredients
- 24 Golden Oreos, crushed
- 6 tablespoons (85 grams) unsalted butter, melted
- 16 ounces (450 grams) cream cheese, softened
- 3/4 cup (150 grams) granulated sugar
- 2 large eggs, room temperature
- 1 teaspoon vanilla extract
- 1/2 cup (120 ml) heavy cream
- Gel food coloring (red, orange, yellow, green, blue, purple)
- Optional: 1 teaspoon lemon juice
Instructions
- Preheat oven to 325°F (160°C). Crush Golden Oreos into fine crumbs using a food processor or rolling pin in a sealed bag.
- Mix crushed Oreos with melted unsalted butter until mixture holds when pressed.
- Line a 24-cup mini muffin tin with parchment paper or silicone liners. Press about 1 tablespoon (15 grams) of crust mixture into each cup evenly.
- Bake crusts for 7-8 minutes until slightly golden and set. Remove and cool.
- In a large bowl, beat softened cream cheese with sugar until smooth and creamy (3-4 minutes).
- Add eggs one at a time, mixing well after each addition. Stir in vanilla extract and heavy cream until silky.
- Divide batter evenly into 6 bowls. Add a different gel food coloring to each and mix gently to achieve vibrant colors.
- Layer the cheesecake bites by spooning about 1 teaspoon (5 ml) of each colored batter over the crusts in order: red, orange, yellow, green, blue, purple.
- Bake at 325°F (160°C) for 15-18 minutes until edges are set but centers jiggle slightly.
- Cool to room temperature, then refrigerate for at least 2 hours or overnight to set.
- Remove from tin, peel off liners, and serve chilled.
Notes
Use room temperature cream cheese to avoid lumps. Avoid overmixing after adding eggs to keep batter light and prevent cracks. Baking at a lower temperature prevents cracking and keeps bites creamy. Chill bites for at least 2 hours or overnight for best texture and flavor. For dairy-free, substitute coconut cream and vegan cream cheese. For gluten-free, use gluten-free golden vanilla cookies.
Nutrition
- Serving Size: 1 mini cheesecake bi
- Calories: 150
- Fat: 10
- Carbohydrates: 12
- Protein: 3
Keywords: mini cheesecake bites, rainbow cheesecake, Golden Oreo crust, easy dessert, colorful dessert, party treats, homemade cheesecake


