Love this? Save it for later!
Share the inspiration with your friends
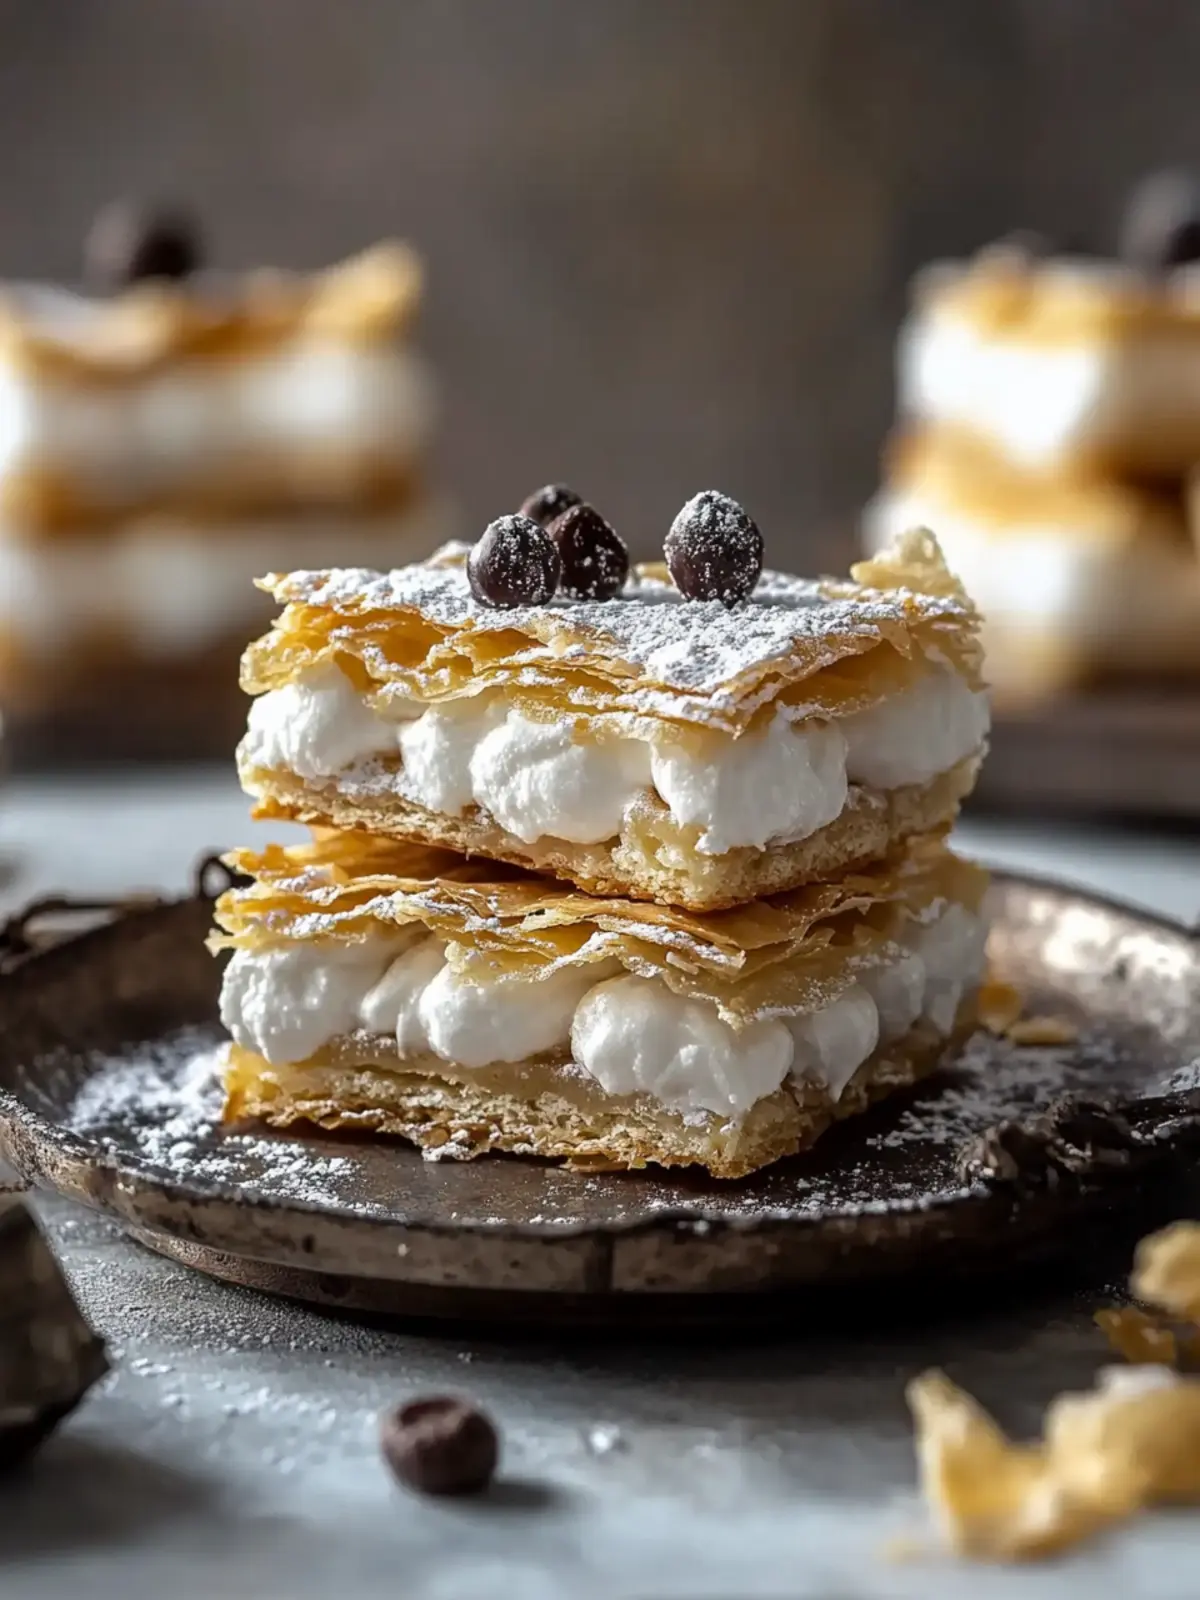
“You didn’t just bake cannoli, you made squares?” my friend asked over the phone, the disbelief clear in her voice. Honestly, I get it — traditional cannoli have that iconic tube shape, flaky shell, and distinct charm. But one chaotic afternoon, juggling an unexpected dinner party and a limited kitchen setup, I had to improvise. Instead of rolling individual shells (which, let’s face it, can be a pain when you’re pressed for time), I baked a simple dough base, layered it with a luscious ricotta filling, and cut it into neat squares. The result? Surprisingly delightful.
That first batch of Easy Classic Cannoli Squares with Creamy Ricotta Filling was a bit of a test, born out of necessity rather than fancy planning. But as the rich, sweet ricotta mingled with crisp edges and a dusting of powdered sugar, I realized this was a keeper—no-fuss, crowd-friendly, and utterly delicious. Since then, I’ve found myself reaching for this recipe whenever I need a dessert that feels special but doesn’t eat up my whole evening.
What stuck with me most is how these squares bring all the familiar cannoli flavors in a form that’s easy to serve, share, and even pack for a picnic. The creamy ricotta filling really steals the show, offering that cool, dreamy texture that makes you close your eyes after the first bite. Plus, they pair brilliantly with a cup of coffee or a glass of dessert wine. I guess the best recipes are the ones born from a little chaos and a lot of craving!
So, if you’ve ever hesitated to make cannoli because of the tricky shells or time-consuming steps, this Easy Classic Cannoli Squares recipe with creamy ricotta filling might just be your new best friend.
Why You’ll Love This Recipe
I’ve made this Easy Classic Cannoli Squares recipe more times than I can count—sometimes as a quick dessert fix, other times as the star at family gatherings. It’s truly one of those recipes that balances simplicity with that “wow” factor. Here’s why it stands out:
- Quick & Easy: From start to finish, you’re looking at about 40 minutes. Perfect for those spontaneous dessert cravings or last-minute guests.
- Simple Ingredients: No fancy or hard-to-find items here. Most are pantry staples like ricotta, powdered sugar, and a few basics, which I usually have on hand.
- Perfect for Entertaining: Whether it’s a casual potluck or a cozy night in, these squares are easy to slice and serve, making life easier.
- Crowd-Pleaser: Kids, adults, picky eaters — everyone seems to love the creamy ricotta filling paired with the lightly crisp crust.
- Unbelievably Delicious: The texture combo of crispy edges and smooth, subtly sweet filling is just right. It’s comfort food with a bit of Italian flair.
- Unique Twist: Instead of the traditional shell, this recipe uses a baked base that’s easier to manage but still delivers that cannoli essence without fuss.
What really makes this recipe different is the balance in the ricotta filling. I’ve found that blending the cheese with just the right amount of powdered sugar and a hint of vanilla gives a silky smoothness that feels indulgent without being heavy. Plus, the option to toss in mini chocolate chips or a sprinkle of cinnamon can take these squares from classic to extra-special in no time.
Honestly, this recipe is the kind you’ll find yourself making repeatedly because it hits that sweet spot — fuss-free, reliable, and always a hit. If you’ve enjoyed treats like the creamy crème brûlée doughnuts or the butter pecan cinnamon buns, this cannoli squares recipe will feel just as comforting and crave-worthy.
What Ingredients You Will Need
This recipe uses simple, wholesome ingredients to deliver bold flavor and satisfying texture without the fuss. Most of these are pantry staples, and you can swap a few if needed.
- For the Base:
- All-purpose flour — 1 ½ cups (190 g), sifted (I usually opt for King Arthur for consistent baking)
- Granulated sugar — ¼ cup (50 g)
- Unsalted butter — ½ cup (115 g), cold and cubed (makes for a flaky crust)
- Egg yolk — 1 large, room temperature
- Vanilla extract — 1 tsp (adds warmth and depth)
- Salt — ¼ tsp (balances the sweetness)
- For the Ricotta Filling:
- Whole milk ricotta cheese — 1 ½ cups (375 g), well drained (look for small-curd ricotta for that creamy texture)
- Powdered sugar — ¾ cup (90 g), sifted
- Vanilla extract — 2 tsp
- Mini chocolate chips — ¼ cup (optional, but totally worth it)
- Orange zest — 1 tsp (optional, but it adds a lovely zing)
- For Garnish:
- Powdered sugar for dusting
- Chopped pistachios or toasted almonds (optional)
If you want a lighter option, feel free to use part-skim ricotta or swap the butter in the base for coconut oil (adds a subtle flavor twist). In summer, fresh berries on top can brighten the dish beautifully. For a gluten-free version, almond or oat flour can replace the all-purpose flour, though texture will be a bit different but still tasty.
Equipment Needed
- Medium mixing bowl — for combining the dough and the filling separately
- Electric mixer or hand whisk — helps blend the ricotta filling until smooth
- 8×8-inch (20×20 cm) baking pan — ideal for baking the base and cutting neat squares
- Parchment paper — to line the pan for easy removal
- Sifter or fine mesh sieve — for dusting powdered sugar evenly
- Microplane or zester — if you decide to add fresh orange zest
- Spatula — for folding ingredients gently
I’ve tried making the base in a food processor, which works fine if you’re short on time. But hand-mixing the butter into the flour gives you a bit more control over the texture — plus it’s oddly satisfying. For dusting, a simple tea strainer works just as well as a dedicated sifter. If you don’t have an 8×8 pan, a similarly sized round or square pan will do, just adjust the cutting accordingly.
Preparation Method
- Preheat your oven: Set it to 350°F (175°C) and line your 8×8-inch baking pan with parchment paper, leaving some overhang for easy removal.
- Make the base dough: In a medium bowl, whisk together 1 ½ cups all-purpose flour, ¼ cup granulated sugar, and ¼ tsp salt. Add ½ cup cold, cubed unsalted butter. Use a pastry cutter or your fingertips to rub the butter into the flour mixture until it resembles coarse crumbs — about the size of small peas.
- Add wet ingredients: Mix in 1 egg yolk and 1 tsp vanilla extract until the dough just starts to come together. It’ll be crumbly but should hold when pressed. Don’t overwork or the crust will get tough.
- Press and bake the base: Transfer dough to the lined pan and press evenly into the bottom (about ¼ inch or 6 mm thick). Bake for 18-20 minutes or until golden around the edges. It should smell buttery and look set but not browned too deeply.
- Prepare the ricotta filling: While the base bakes, place 1 ½ cups well-drained whole milk ricotta in a bowl. Add ¾ cup sifted powdered sugar and 2 tsp vanilla extract. Beat with an electric mixer or whisk vigorously until smooth and creamy — about 3-4 minutes.
- Add mix-ins: Fold in ¼ cup mini chocolate chips and 1 tsp orange zest if using. Taste and adjust sweetness if needed; ricotta varies by brand.
- Cool the base: Once baked, let the crust cool completely in the pan on a wire rack (about 30 minutes). This prevents the filling from melting or sliding off.
- Assemble the squares: Spread the ricotta filling evenly over the cooled crust using a spatula. Smooth the surface gently.
- Chill: Cover the pan with plastic wrap and refrigerate for at least 2 hours, or overnight if possible. This helps the filling set and the flavors meld.
- Serve: Lift the dessert out using the parchment overhang. Cut into 9 or 12 squares with a sharp knife. Dust generously with powdered sugar and sprinkle nuts if desired.
Pro tip: If your ricotta is watery, drain it in a fine-mesh sieve lined with cheesecloth for a few hours before mixing. This prevents sogginess and ensures the filling is luxuriously creamy.
Cooking Tips & Techniques
One thing I learned the hard way is that the base dough shouldn’t be overworked. Treat it like pie dough — keep it cool, mix just until it comes together, and press gently. Overmixing leads to a tough crust, and nobody wants that.
Draining the ricotta well is key. Waterlogged ricotta will make the filling runny and unpleasant. I usually put it in the fridge overnight inside a fine sieve lined with paper towels or cheesecloth — this extra step really pays off.
When spreading the filling, use a silicone spatula for the smoothest finish. It helps spread the ricotta without tearing the crust or making a mess.
Don’t rush the chilling stage. Those at least two hours in the fridge help the filling firm up nicely, making cutting easier and flavors more harmonious. If cutting while too warm, the squares might crumble or the filling might ooze out.
Another trick is to warm your knife blade under hot water, then wipe it dry before slicing. It makes clean cuts, especially if your filling is on the creamier side.
Personally, I like to prepare the base the night before and assemble the filling the next day. It saves time and lets the crust fully cool. If you’re feeling fancy, a light dusting of cinnamon mixed in the powdered sugar dust adds a cozy touch.
Variations & Adaptations
This recipe is pretty flexible—honestly, that’s part of why I keep coming back to it. Here are a few ways to make it your own:
- Chocolate lovers: Swap half the flour in the base with cocoa powder for a chocolate crust. You can even mix mini chocolate chips into the crust dough for extra bursts.
- Nutty twist: Add finely chopped pistachios or almonds to the crust or sprinkle on top for crunch and color contrast.
- Fruit forward: Stir in chopped candied orange peel or swap chocolate chips for dried cherries or cranberries in the filling.
- Dairy-free option: Use coconut cream or vegan ricotta alternatives. Make sure to pick a sturdy crust recipe or try a gluten-free flour blend like almond or oat for the base.
- Spiced version: Add a pinch of cinnamon or nutmeg to the filling for a gentle spice kick, perfect for fall or winter months.
One personal favorite is adding a splash of limoncello to the ricotta filling for a boozy, bright flavor that feels like summer in every bite. It pairs beautifully with the creamy texture, but obviously skip this if serving kids.
Serving & Storage Suggestions
These Easy Classic Cannoli Squares are best served chilled or at room temperature. The filling’s creamy texture shines when cool, but letting them sit out for 10-15 minutes softens the crust slightly for a tender bite.
They make a fantastic dessert after dinner or a sweet afternoon treat with espresso or an herbal tea. I like pairing them with fresh berries or a simple fruit salad on the side to balance the richness.
Store leftovers in an airtight container in the refrigerator for up to 3 days. If you want to keep them longer, wrap tightly and freeze for up to a month. Thaw in the fridge overnight before serving.
Reheating isn’t really recommended because the filling can soften too much, but if you prefer a slightly warmer dessert, take them out of the fridge 20 minutes before eating.
Fun fact: the flavors tend to mellow and blend beautifully after a day, so making these a day ahead is a great way to save time and boost taste.
Nutritional Information & Benefits
Each serving of these cannoli squares (based on 12 pieces) contains approximately 220 calories, with about 8 grams of fat and 25 grams of carbohydrates. Protein content is around 6 grams thanks to the ricotta cheese.
Ricotta is a great source of calcium and protein, contributing to bone health and muscle repair. Using whole milk ricotta keeps the filling creamy and satisfying, and you can lighten it by choosing part-skim ricotta if you prefer.
While this dessert isn’t low-carb or sugar-free, the portion size control and simple ingredients make it a reasonable treat to enjoy in moderation. For gluten-free or dairy-free diets, substitutions like almond flour and vegan ricotta keep it accessible.
Overall, this recipe fits well into a balanced lifestyle—it’s homemade, free of preservatives, and crafted with love, which I think counts for a lot.
Conclusion
Making these Easy Classic Cannoli Squares with Creamy Ricotta Filling has become one of my favorite kitchen shortcuts that doesn’t skimp on flavor or charm. It’s a dessert you can trust to impress without hours of work or complicated steps.
Feel free to tweak the filling with your favorite mix-ins or spice it up with zest and nuts—this recipe loves to be personalized. I hope it brings you the same joy it’s given me, whether for a special occasion or a quiet night in.
If you try this recipe, I’d love to hear how you made it your own or any tips you picked up. Sharing new ideas keeps the kitchen lively and fun!
Here’s to many cozy, creamy bites ahead.
FAQs about Easy Classic Cannoli Squares
Can I make the ricotta filling ahead of time?
Yes! You can prepare the filling a day ahead and keep it refrigerated. Just give it a quick stir before spreading on the crust.
What’s the best way to drain ricotta for this recipe?
Place the ricotta in a fine-mesh sieve lined with cheesecloth or paper towels and let it drain over a bowl in the fridge for a few hours or overnight.
Can I use store-bought cannoli shells instead?
You could, but this recipe is designed for the baked base. Using shells changes the texture and assembly, so it’s best to stick with the base for squares.
Is there a gluten-free alternative for the crust?
Yes, almond flour or gluten-free baking blends can replace the all-purpose flour, but expect a different texture—still tasty but less crisp.
How do I store leftover cannoli squares?
Keep them in an airtight container in the fridge for up to 3 days. For longer storage, wrap tightly and freeze, then thaw overnight before serving.
Pin This Recipe!
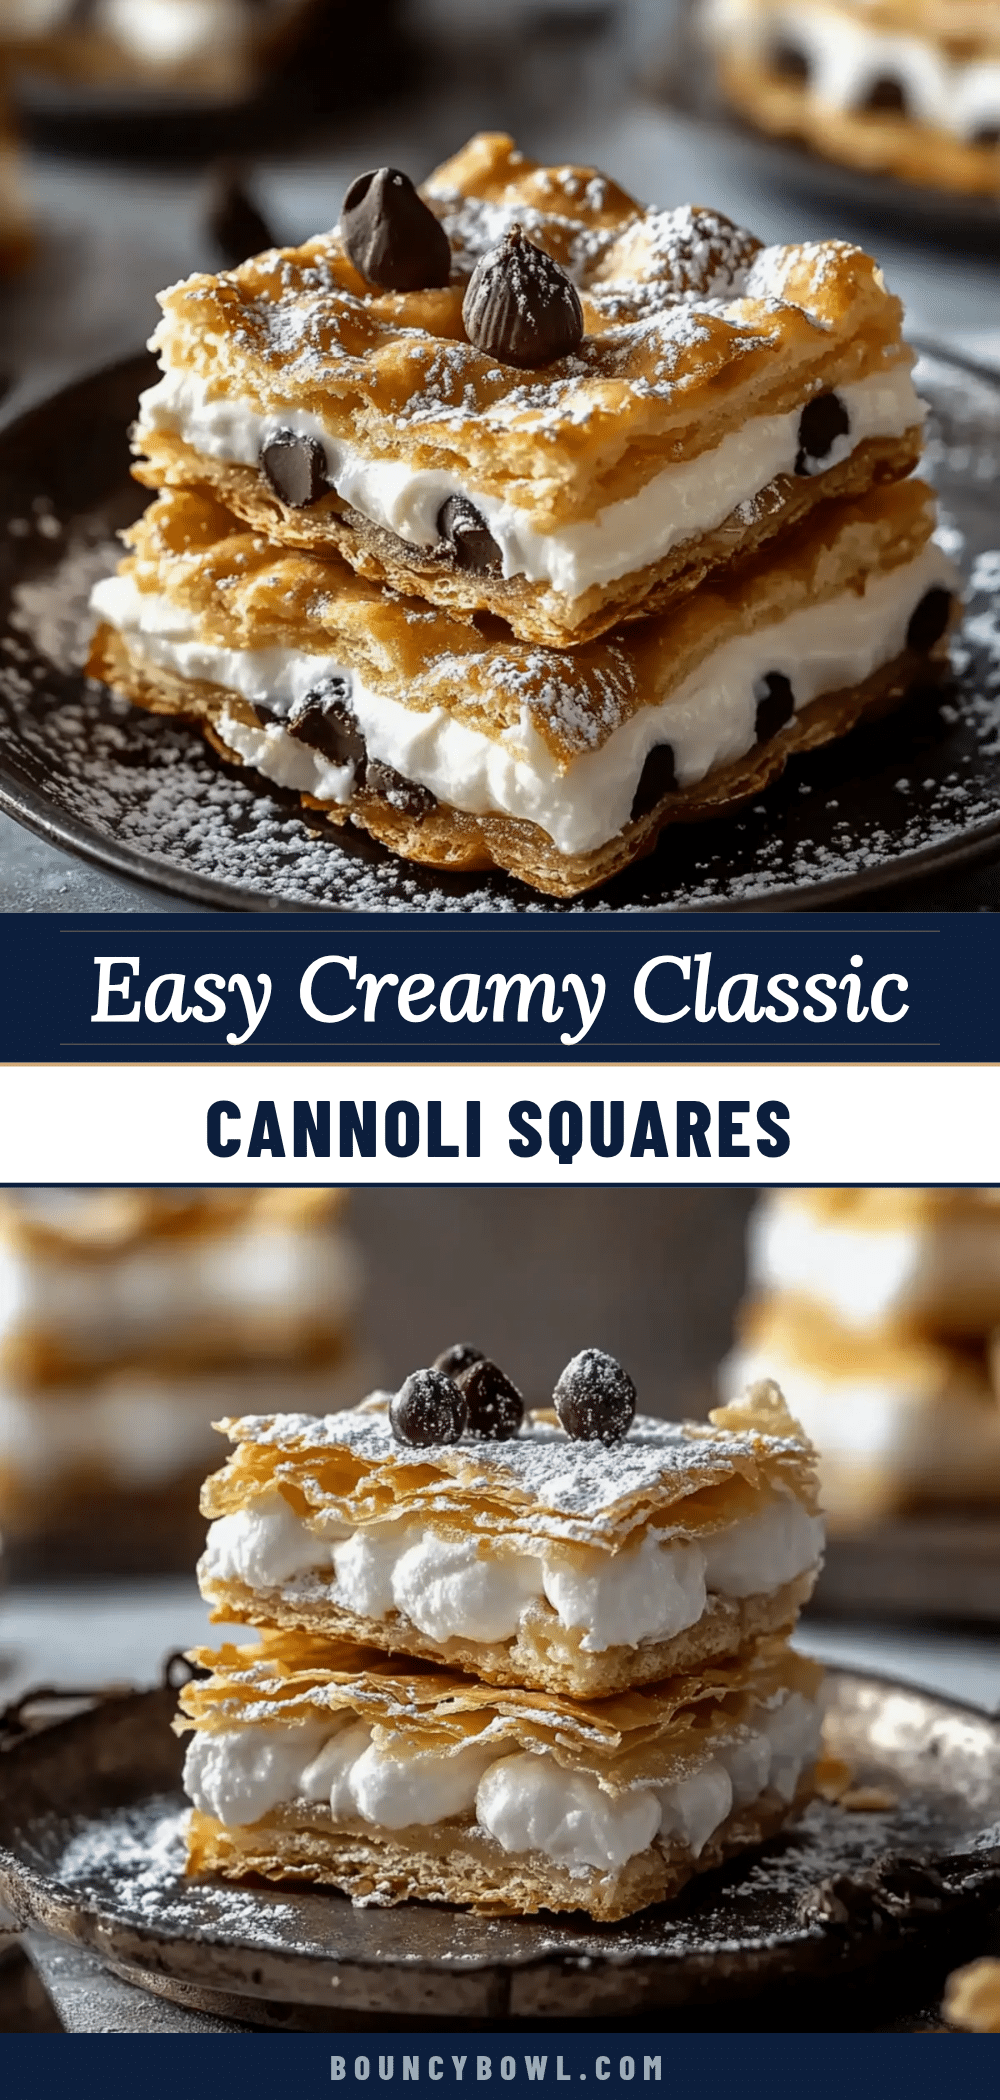
Easy Classic Cannoli Squares Recipe with Creamy Ricotta Filling

A quick and easy dessert that captures the classic cannoli flavors in a convenient square form with a creamy ricotta filling and a flaky baked base.
- Prep Time: 15 minutes
- Cook Time: 20 minutes
- Total Time: 40 minutes
- Yield: 9 to 12 squares 1x
- Category: Dessert
- Cuisine: Italian
Ingredients
- 1 ½ cups (190 g) all-purpose flour, sifted
- ¼ cup (50 g) granulated sugar
- ½ cup (115 g) unsalted butter, cold and cubed
- 1 large egg yolk, room temperature
- 1 tsp vanilla extract
- ¼ tsp salt
- 1 ½ cups (375 g) whole milk ricotta cheese, well drained
- ¾ cup (90 g) powdered sugar, sifted
- 2 tsp vanilla extract
- ¼ cup mini chocolate chips (optional)
- 1 tsp orange zest (optional)
- Powdered sugar for dusting
- Chopped pistachios or toasted almonds (optional)
Instructions
- Preheat your oven to 350°F (175°C) and line an 8×8-inch baking pan with parchment paper, leaving some overhang for easy removal.
- In a medium bowl, whisk together 1 ½ cups all-purpose flour, ¼ cup granulated sugar, and ¼ tsp salt.
- Add ½ cup cold, cubed unsalted butter. Use a pastry cutter or fingertips to rub the butter into the flour mixture until it resembles coarse crumbs about the size of small peas.
- Mix in 1 egg yolk and 1 tsp vanilla extract until the dough just starts to come together. It will be crumbly but should hold when pressed. Do not overwork.
- Press the dough evenly into the bottom of the lined pan to about ¼ inch (6 mm) thickness.
- Bake the base for 18-20 minutes or until golden around the edges. Let it smell buttery and look set but not deeply browned.
- While the base bakes, place 1 ½ cups well-drained whole milk ricotta in a bowl. Add ¾ cup sifted powdered sugar and 2 tsp vanilla extract. Beat with an electric mixer or whisk vigorously until smooth and creamy, about 3-4 minutes.
- Fold in ¼ cup mini chocolate chips and 1 tsp orange zest if using. Taste and adjust sweetness if needed.
- Once baked, let the crust cool completely in the pan on a wire rack for about 30 minutes.
- Spread the ricotta filling evenly over the cooled crust using a spatula and smooth the surface gently.
- Cover the pan with plastic wrap and refrigerate for at least 2 hours or overnight to let the filling set and flavors meld.
- Lift the dessert out using the parchment overhang. Cut into 9 or 12 squares with a sharp knife.
- Dust generously with powdered sugar and sprinkle nuts if desired before serving.
Notes
Do not overwork the dough to avoid a tough crust. Drain ricotta well to prevent a runny filling. Use a silicone spatula for spreading the filling smoothly. Chill the dessert for at least 2 hours before cutting for best results. Warm knife blade under hot water and dry before slicing for clean cuts. The base can be prepared the night before and assembled the next day. Variations include adding cocoa powder to the crust, nuts, or spices like cinnamon. For gluten-free, substitute almond or oat flour and use vegan ricotta for dairy-free options.
Nutrition
- Serving Size: 1 square (if cut int
- Calories: 220
- Fat: 8
- Carbohydrates: 25
- Protein: 6
Keywords: cannoli squares, ricotta filling, easy dessert, Italian dessert, creamy ricotta, baked cannoli, quick dessert, crowd-pleaser


