Love this? Save it for later!
Share the inspiration with your friends
“Hey, want to try sushi?” my niece asked, holding out a plate with what looked like colorful, fluffy rolls. I blinked, confused. This wasn’t the usual raw fish stuff I’d expect. It was something else entirely — cotton candy sushi. I’d never thought of cotton candy as sushi, but there it was, a playful twist that instantly caught my eye.
That afternoon, we were supposed to be making a simple dessert for the kids’ party, but somehow, the cotton candy sushi idea took over. Honestly, I was skeptical at first — how would sticky, sugary cotton candy hold together like sushi rice? But watching the kids’ faces light up as they wrapped strips of candy “seaweed” around soft, pillowy cotton candy “rice” was enough to convince me this was a winner.
What surprised me most was how easy it was to make this sweet treat at home without any fancy ingredients or equipment. It quickly became a go-to for last-minute parties or even just a fun afternoon snack. Plus, it’s a great way to get kids involved in the kitchen — no knives, no heat, just fun and creativity. The pastel colors, the sugary texture, and the silly sushi shapes made it feel special without any fuss.
It’s funny how a simple snack like this can brighten up a chaotic day, isn’t it? The cotton candy sushi sticks around in my mind not just because it looks cute but because it brought that little burst of joy you want from your desserts. If you’re curious about making a playful, easy homemade sweet treat that kids adore, this recipe is just the thing. No pressure, just sweet fun rolled up in a sushi-inspired surprise.
Why You’ll Love This Recipe
This Fun Cotton Candy Sushi recipe isn’t just a novelty; it’s a sweet treat that ticks a lot of boxes for busy cooks and snack lovers alike. After testing it multiple times (yes, I admit I made it several times in one week), I can say it’s one of those rare recipes that hits the mark every time.
- Quick & Easy: Comes together in under 15 minutes — perfect for spontaneous get-togethers or when the kids suddenly demand a treat.
- Simple Ingredients: You only need cotton candy, fruit leather, and a few candy toppings, all of which are easy to find at most grocery stores or online.
- Perfect for Parties: Whether it’s a birthday, a playdate, or just a fun weekend snack, this colorful sushi steals the show without any stress.
- Crowd-Pleaser: Kids and adults alike get a kick out of the playful look and the sweet, melt-in-your-mouth taste.
- Unbelievably Delicious: The fluffy texture of cotton candy paired with the slightly chewy fruit leather creates a fun contrast that’s surprisingly satisfying.
- Unique Presentation: Unlike typical candy snacks, this sushi style turns cotton candy into a visual treat, almost too pretty to eat — but trust me, you’ll want to.
What makes this recipe stand out? It’s the way it combines the whimsy of carnival cotton candy with the neat, bite-sized fun of sushi. No sticky fingers or complicated steps, just pure, sweet enjoyment. And if you’re a fan of quick homemade treats like the easy jello candy melts recipe, this one fits right in with that simple, kid-friendly vibe.
The recipe isn’t just about sweetness; it’s about creating a moment of fun and creativity in the kitchen, even if you’re not a seasoned baker or chef. Honestly, it’s a playful little indulgence that makes you smile — and sometimes, that’s exactly what you need.
What Ingredients You Will Need
This Fun Cotton Candy Sushi recipe uses straightforward, everyday ingredients that come together to create something quite magical. The ingredients are mostly pantry staples or easy-to-find sweets, so you won’t have to hunt down anything exotic.
- Cotton Candy: Pick your favorite flavors and colors! Classic pink or blue work well for that sushi “rice” look. (Try to get fresh cotton candy for the best fluffiness.)
- Fruit Leather: Acts as the “nori” seaweed wrap. Choose flavors like strawberry, mango, or mixed berry for tasty contrast. I prefer brands like Stretch Island for a good chewiness and natural taste.
- Gummy Candies or Small Fruit Gummies: These add fun “fish” or “topping” shapes on your sushi rolls. (Optional but adds a cute touch.)
- Sprinkles or Edible Glitter: For sparkle and color pop — kids love this part!
- Mini Marshmallows: Use as “rice grains” accents or just extra fluff inside your rolls.
- Powdered Sugar: Light dusting to prevent stickiness when rolling (optional).
Feel free to grab different cotton candy flavors to mix things up or try swapping fruit leather with thin strips of gummy candy sheets if you want a little more chew. The beauty is in the flexibility — you can match colors and flavors to any party theme or personal preference.
Equipment Needed
- Flat Surface or Cutting Board: A clean, smooth space to assemble your cotton candy sushi is key. I usually use a wooden cutting board because it’s easy to clean afterward.
- Scissors: For cutting fruit leather into strips — sharp kitchen scissors work best for clean edges.
- Small Bowls: To hold your sprinkles, gummies, or other toppings within reach.
- Plastic Wrap or Parchment Paper: Helps when rolling your cotton candy sushi gently without sticking to your hands.
- Optional: Tweezers or Small Tongs: For placing tiny candy pieces delicately — handy but not necessary.
If you don’t have scissors handy, a sharp knife will do, but scissors give more control for detailed cuts. And honestly, this recipe is forgiving — no fancy sushi mats or specialized tools needed, which is why it’s perfect for a quick sweet treat at home.
Preparation Method
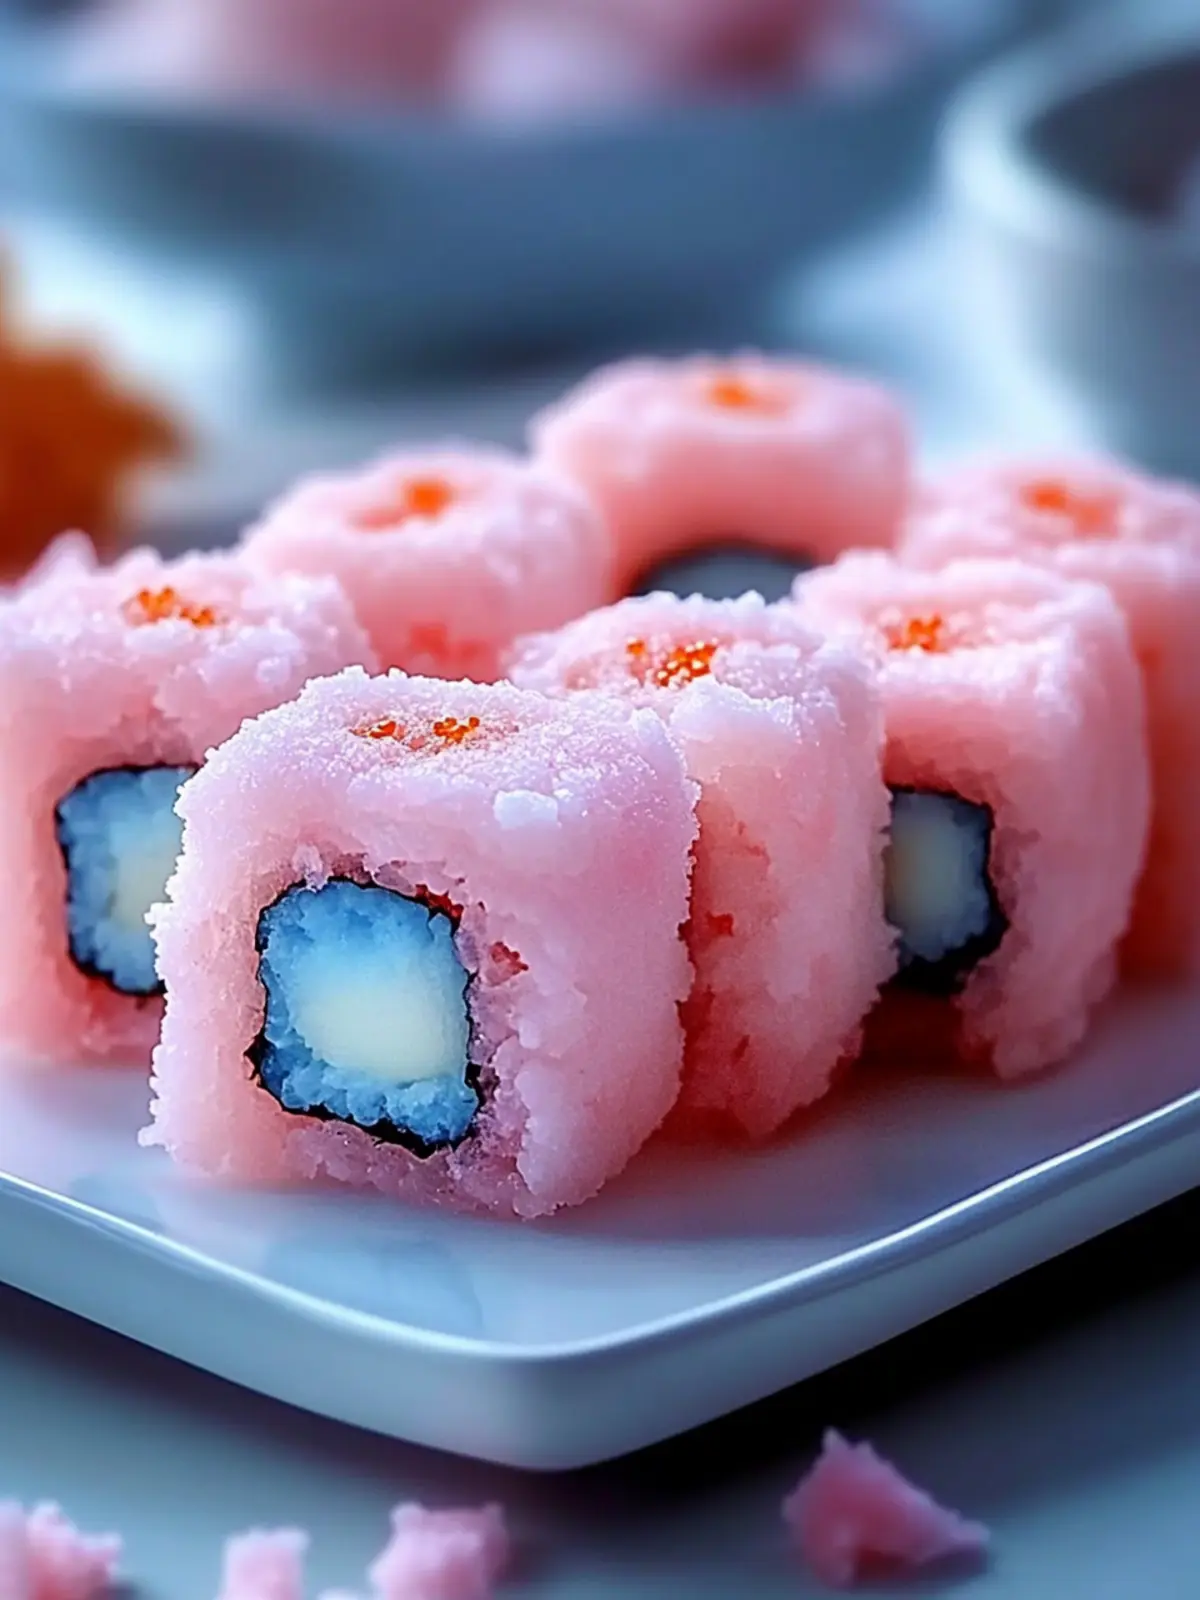
- Prepare Your Workspace (5 minutes): Lay out your cutting board and gather all ingredients and equipment. Having everything within arm’s reach makes the assembly quick and fun.
- Cut the Fruit Leather (5 minutes): Use scissors to cut the fruit leather into strips about 1-1.5 inches wide and 4-5 inches long. These will act as your “nori” strips.
- Portion the Cotton Candy (3 minutes): Gently pull small clumps of cotton candy, roughly the size of a golf ball (about 30 grams or 1 ounce), to mimic sushi rice balls. Be careful not to squash it too much—cotton candy is delicate and airy.
- Form the Sushi Base (5 minutes): Place the cotton candy clump on a piece of plastic wrap or parchment paper and gently press it into a rectangular or oval shape, about 3 inches long and 1 inch wide. The shape is flexible — it just needs to look like sushi rice.
- Wrap with Fruit Leather (5 minutes): Wrap the fruit leather strip around the cotton candy base. The fruit leather should stick slightly to the cotton candy, holding it together. If it feels too loose, a tiny dab of honey or corn syrup on the fruit leather edge can act as glue.
- Add Toppings (5 minutes): Place small gummy candies or mini marshmallows on top of your sushi rolls to mimic fish or roe. Sprinkle edible glitter or colorful sprinkles for extra fun.
- Final Touches (2 minutes): Lightly dust your cotton candy sushi with powdered sugar if you want to reduce stickiness and add a soft finish.
- Serve Immediately: Cotton candy tends to dissolve in humidity, so it’s best served fresh. But if you need to hold it for a short time, keep it in an airtight container at room temperature away from moisture.
Pro tip: If cotton candy feels too sticky, a quick pinch of powdered sugar helps without adding extra sweetness. Also, rolling gently is key — too much pressure and the cotton candy loses its signature fluff.
Cooking Tips & Techniques
Working with cotton candy is a bit like handling a sugar cloud — it’s delicate and reacts quickly to moisture and pressure. Here are some tips I picked up the hard way:
- Keep Hands Dry: Moisture is cotton candy’s enemy. Make sure your hands and tools are dry before handling the candy.
- Work Quickly: Cotton candy will start melting or shrinking if left out too long. Prepare your workspace and ingredients beforehand so you can assemble swiftly.
- Use Plastic Wrap: Wrapping your cotton candy sushi loosely in plastic wrap helps maintain shape and prevents sticking.
- Fruit Leather Quality Matters: Using a pliable, slightly sticky fruit leather helps the sushi roll stay intact better than brittle or overly dry types.
- Don’t Overstuff: Keep the cotton candy portions small to mimic sushi rice size; large clumps get tricky to wrap and handle.
When I first tried adding gummy “fish” on top, some slid off immediately. Tweezers helped place them gently, but if you don’t have them, just press lightly with your finger. Remember, this isn’t fine dining — it’s playful fun!
If you’re curious about other quick sweet treats that come together easily, you might enjoy my decadent Snickers cake recipe or the fresh fruit kabobs recipe, both super accessible with big smiles guaranteed.
Variations & Adaptations
One of the best things about this cotton candy sushi is how easy it is to customize. Here are a few ways to switch things up:
- Flavor Swaps: Try different cotton candy flavors like watermelon, vanilla, or bubblegum to match party themes or personal favorites.
- Fruit Leather Alternatives: Use thin gummy sheets or even thinly sliced fruit roll-ups for a different texture or added flavor.
- Vegan or Allergy-Friendly: Choose fruit leather and gummies without gelatin for a vegan-friendly option. Check ingredient labels to avoid allergens like gluten or nuts.
- Mini Sushi Bites: Make bite-sized cotton candy balls wrapped in fruit leather strips for easy finger foods at parties.
- Chocolate Drizzle: For a more decadent twist, drizzle melted white or dark chocolate over your cotton candy sushi just before serving.
Personally, I once swapped out fruit leather for thin slices of fresh mango wrapped with a light brushing of honey. It was a bit messier but added a nice tropical flair. Experimenting is part of the fun!
Serving & Storage Suggestions
Serve your cotton candy sushi fresh at room temperature for the best texture and flavor. It’s a fantastic centerpiece for kids’ parties or a sweet surprise after dinner.
Present the sushi on a clean, flat plate or sushi board to make it feel authentic. Pair it with small cups of fruit juice or even a cotton candy drink for a sweet, themed snack time. For a contrasting savory touch, pair alongside simple snacks like crispy pickle cheese bites to keep things interesting.
If you need to store leftovers, place the sushi in an airtight container at room temperature for no more than a few hours. Cotton candy tends to dissolve when exposed to moisture or fridge temperatures, so refrigeration is not recommended. Reheating isn’t applicable here since it’s a fresh candy treat.
Flavors won’t deepen over time like baked goods, so enjoy the cotton candy sushi shortly after making it for the best experience.
Nutritional Information & Benefits
This Fun Cotton Candy Sushi is mostly a treat, so it’s best enjoyed in moderation. Here’s a rough nutritional snapshot per serving (about 3 pieces):
| Calories | 150-200 kcal |
|---|---|
| Sugar | 30-35 grams |
| Fat | 0-1 gram (depends on toppings) |
| Protein | 0 grams |
While cotton candy itself offers little nutritional value, the fruit leather can provide some vitamins and fiber depending on the brand and ingredients. For a slightly healthier twist, look for fruit leathers made with real fruit and no added sugars.
Because of the sugar content, this recipe is best for occasional enjoyment. If allergies are a concern, be sure to check all ingredients carefully, especially for gelatin or artificial colors.
Conclusion
This Fun Cotton Candy Sushi recipe is a sweet little surprise that brings playful joy to any day. It’s simple, quick, and perfect for making with kids or when you want a whimsical dessert without the fuss. I love how it turns ordinary cotton candy into something unexpectedly delightful — a treat that’s as fun to assemble as it is to eat.
Feel free to customize the colors, flavors, and toppings to match your mood or occasion. It’s one of those recipes that invites creativity and smiles, and honestly, that’s why it’s stuck with me.
If you try it out, I’d love to hear how your cotton candy sushi turns out — or how you make it your own!
Frequently Asked Questions
Can I make cotton candy sushi ahead of time?
It’s best to make and serve cotton candy sushi fresh since cotton candy dissolves quickly when exposed to moisture or humidity.
What can I use instead of fruit leather for the “seaweed”?
Thin strips of gummy candy sheets or fruit roll-ups work well as alternatives, just make sure they’re pliable enough to wrap around the cotton candy.
Is this recipe safe for kids with allergies?
Check all ingredient labels carefully. Use gelatin-free fruit leather and gummies for vegan or allergy-friendly versions, and avoid any known allergens.
How do I prevent the cotton candy from sticking to my hands?
Keep your hands dry and work quickly. Using a small piece of plastic wrap underneath when shaping helps keep it from sticking.
Can I add other toppings to my cotton candy sushi?
Absolutely! Edible glitter, sprinkles, mini marshmallows, or small candy shapes all add to the fun and flavor.
Pin This Recipe!
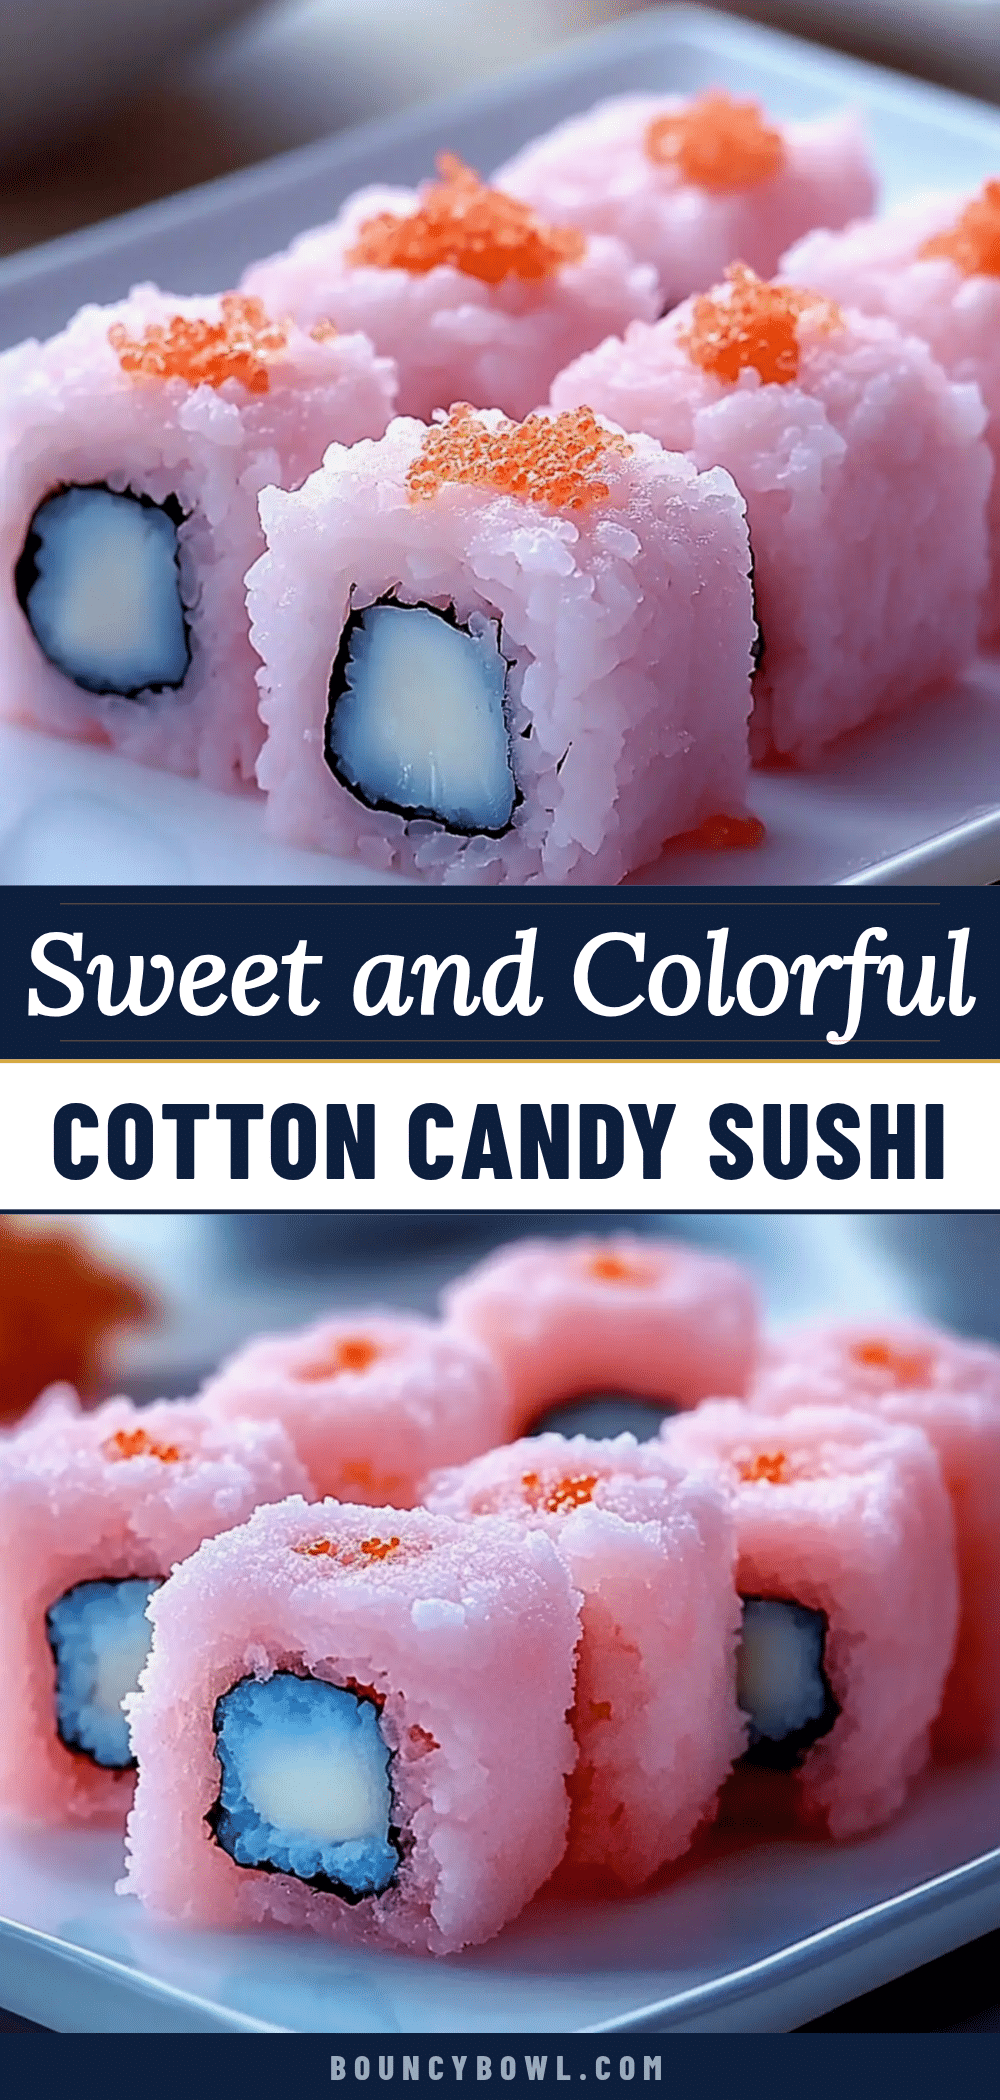
Fun Cotton Candy Sushi Recipe Easy Homemade Sweet Treat Idea for Kids
A playful and easy-to-make sweet treat that mimics sushi using cotton candy and fruit leather, perfect for kids’ parties and quick snacks.
- Prep Time: 15 minutes
- Cook Time: 0 minutes
- Total Time: 15 minutes
- Yield: 6-8 pieces
- Category: Dessert
- Cuisine: American
Ingredients
- Cotton candy (choose favorite flavors and colors, about 30 grams or 1 ounce per sushi piece)
- Fruit leather (strawberry, mango, mixed berry, or gummy candy sheets as seaweed wrap)
- Gummy candies or small fruit gummies (optional, for toppings)
- Sprinkles or edible glitter (optional, for decoration)
- Mini marshmallows (optional, for rice grain accents or extra fluff)
- Powdered sugar (optional, for dusting to prevent stickiness)
- Honey or corn syrup (optional, a tiny dab to help fruit leather stick)
Instructions
- Prepare your workspace by laying out a clean cutting board and gathering all ingredients and equipment.
- Cut the fruit leather into strips about 1-1.5 inches wide and 4-5 inches long using scissors.
- Gently pull small clumps of cotton candy roughly the size of a golf ball (about 30 grams or 1 ounce) to mimic sushi rice balls.
- Place the cotton candy clump on a piece of plastic wrap or parchment paper and gently press it into a rectangular or oval shape about 3 inches long and 1 inch wide.
- Wrap the fruit leather strip around the cotton candy base, using a tiny dab of honey or corn syrup if needed to help it stick.
- Add toppings such as gummy candies, mini marshmallows, edible glitter, or sprinkles on top of the sushi rolls.
- Lightly dust the cotton candy sushi with powdered sugar if desired to reduce stickiness.
- Serve immediately as cotton candy dissolves quickly in humidity. Store leftovers in an airtight container at room temperature for a few hours if needed.
Notes
Keep hands dry and work quickly to prevent cotton candy from melting. Use plastic wrap to help shape and prevent sticking. Use pliable fruit leather for best results. Serve immediately for best texture.
Nutrition
- Serving Size: About 3 pieces
- Calories: 150200
- Sugar: 3035
- Fat: 1
- Carbohydrates: 3035
Keywords: cotton candy sushi, kids dessert, sweet treat, homemade candy, party snack, fun dessert, easy recipe


