Love this? Save it for later!
Share the inspiration with your friends
“Wait, you’re putting fairy bread on a pavlova?” my friend asked, eyebrows raised over her cup of tea. Honestly, I wasn’t entirely sure either at first. It started as a last-minute rescue for a birthday party when I realized I’d forgotten the usual cake. The kitchen was chaos, and all I had were some plain pavlova shells and a stash of colorful sprinkles leftover from a kid’s party. So, out of pure desperation (and a bit of stubbornness), I crumbled some fairy bread — you know, the classic white bread with butter and rainbow sprinkles — and tossed it over whipped cream on the pavlova.
And, well, that accidental combo became a hit. People kept asking for more, and I found myself making it over and over during that week, tweaking the topping and playing with textures. The sweet crunch of the fairy bread bits against the crisp meringue and fluffy cream was unexpectedly delightful — like childhood joy meeting a grown-up treat. It’s colorful, playful, and surprisingly elegant in its simplicity.
There’s something about that mix of nostalgia and whimsy that stuck with me. This isn’t just any dessert; it’s a reminder that sometimes the best party treats come from the most unplanned moments. If you’re looking for a recipe that’s joyful, easy, and bound to get smiles, the Colorful Fairy Bread Pavlova Delight might just become your new go-to. It’s the kind of dessert you can make without fuss, yet it feels special enough to brighten any gathering or casual day.
By the end, I realized this recipe is more than a colorful combination — it’s a little celebration on a plate, perfect for anyone who loves a sweet with a story.
Why You’ll Love This Recipe
After making the Colorful Fairy Bread Pavlova Delight dozens of times, I can confidently say it’s more than just a fun idea—it’s a dessert that really pulls people in. From the first bite, it’s obvious this treat has something special going on.
- Quick & Easy: You can put this together in under 30 minutes, making it perfect for last-minute parties or when you want something sweet without the hassle.
- Simple Ingredients: No need to hunt down rare items. If you have meringue, cream, sprinkles, and bread, you’re practically there.
- Perfect for Parties: Whether it’s a birthday, afternoon tea, or just a cheerful weekend dessert, it’s colorful and inviting.
- Crowd-Pleaser: Kids adore it (who doesn’t love fairy bread?), and adults appreciate the sophisticated twist with pavlova’s crunchy shell.
- Unbelievably Delicious: That crunch of fairy bread crumbs adds a unique texture that contrasts beautifully with the creamy, airy pavlova base.
What sets this recipe apart is the playful twist of fairy bread crumbs on classic pavlova cream. Instead of the usual fruit toppings, you get that buttery, sugary crunch alongside the soft meringue. It’s a joyful combination that feels familiar yet fresh.
This recipe isn’t just dessert; it’s a bit of whimsy on your plate. It’s great when you want to impress guests (without breaking a sweat) or when you just want to make an ordinary day feel a little more magical.
What Ingredients You Will Need
This recipe uses straightforward ingredients that come together to make a fun, colorful dessert. You’ll find most of them are pantry staples, and substitutions are easy if needed.
- Meringue base:
- 4 large egg whites (room temperature)
- 1 cup (200 g) caster sugar
- 1 tsp white vinegar (helps stabilize)
- 1 tsp cornstarch (adds a marshmallowy texture)
- Whipped cream topping:
- 1 cup (240 ml) heavy cream (chilled)
- 2 tbsp powdered sugar (adjust to taste)
- 1 tsp vanilla extract
- Fairy bread crumbs:
- 4 slices white sandwich bread, crusts removed
- 2 tbsp unsalted butter, softened
- 1/2 cup (about 70 g) rainbow sprinkles (hundreds and thousands)
For the bread, I like to use a soft white sandwich loaf—something fresh but firm enough to toast lightly. I personally recommend using Wonder Bread if you can find it, but any plain white bread works well. The sprinkles are the classic “hundreds and thousands” type—bright, small, and colorful. Look for ones without artificial flavors or colors if you want to be a bit healthier.
If you want a dairy-free version, swap the heavy cream with coconut cream, and use a dairy-free butter alternative for spreading on the bread. You can also try gluten-free bread for those with sensitivities, though the texture of the fairy bread crumbs might be slightly different.
Equipment Needed
- Electric mixer or stand mixer (to whip the egg whites and cream)
- Mixing bowls (preferably glass or metal for whipping whites)
- Baking sheet lined with parchment paper or a silicone baking mat
- Spatula (rubber or silicone for folding meringue)
- Sharp knife (to trim bread crusts and cut crumbs)
- Food processor or box grater (optional, for finely crumbling bread)
- Measuring cups and spoons
If you don’t have a stand mixer, a hand mixer works just fine—though whipping the egg whites by hand is a workout, but doable if you’re patient! For crumbling the fairy bread, I’ve found using a food processor is quick, but you can also tear and chop the bread by hand if you like a chunkier texture.
For budget-friendly baking, parchment paper is a great must-have, but silicone mats last longer and are easier to clean, so I recommend investing in one if you bake often.
Preparation Method
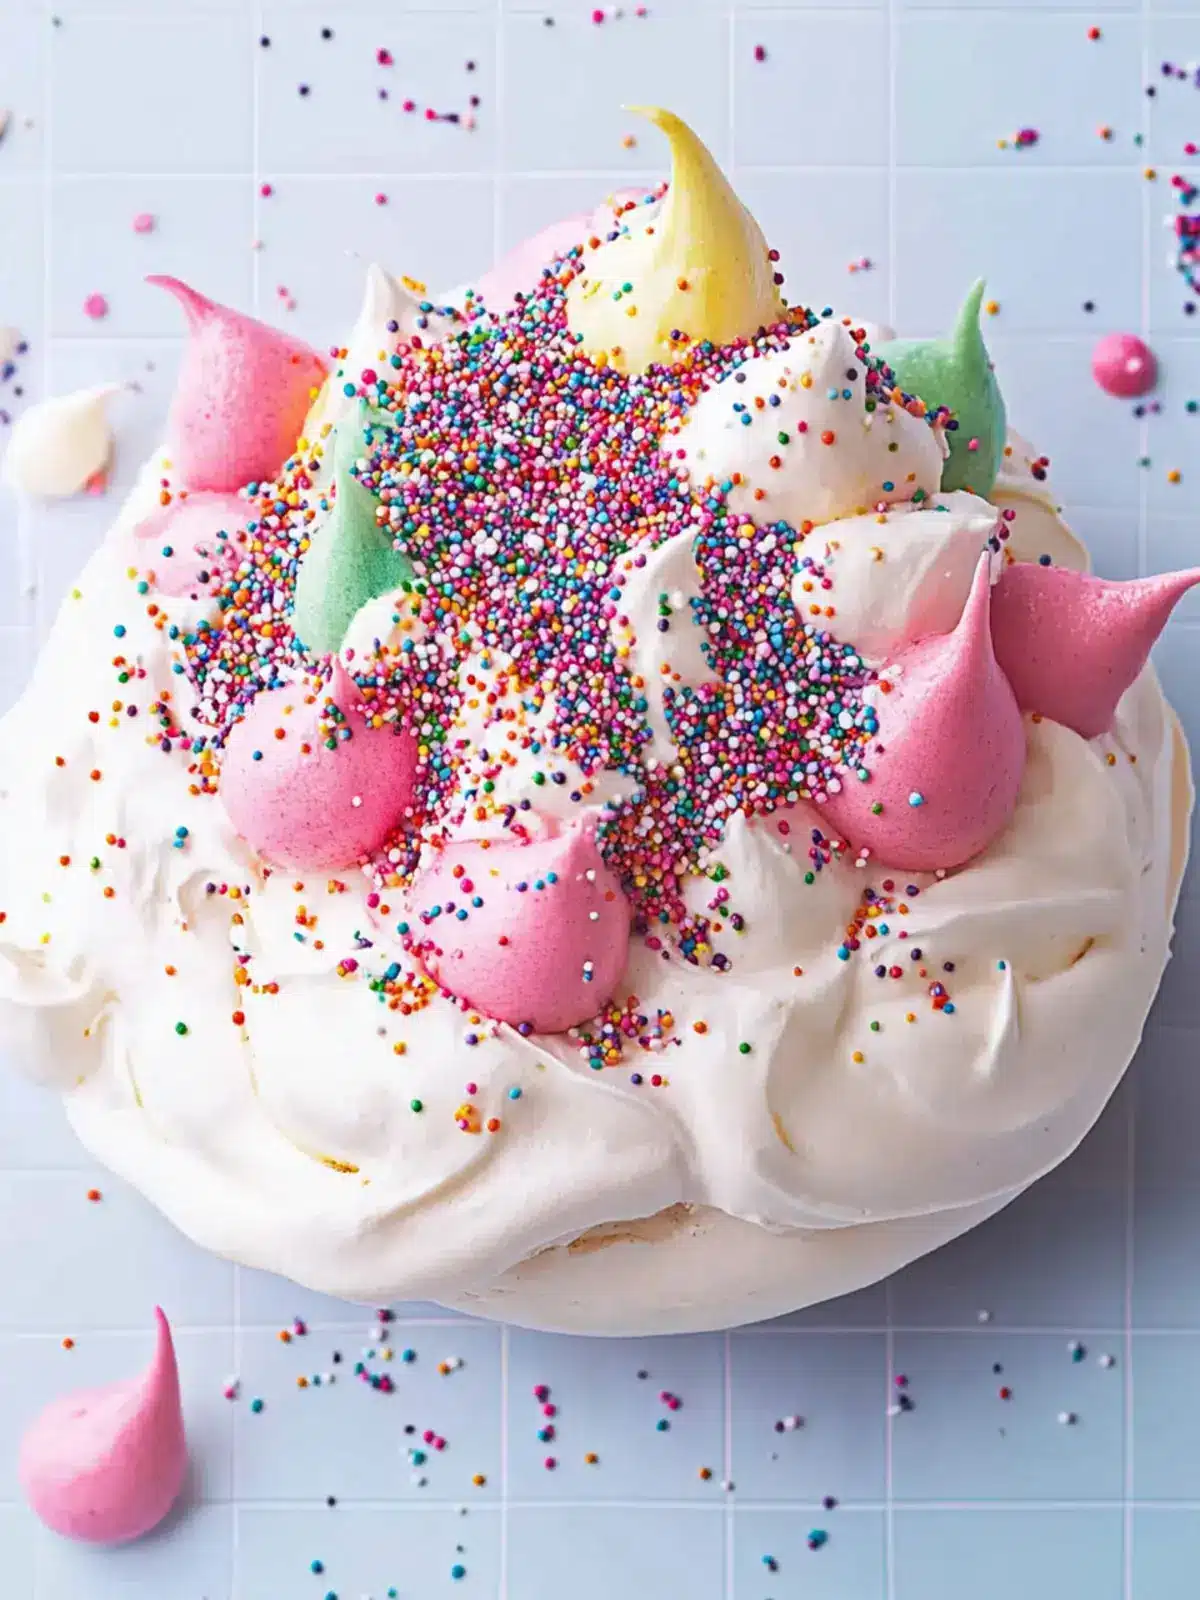
- Prepare the meringue base: Preheat your oven to 250°F (120°C). In a clean, grease-free bowl, start whisking your egg whites on medium speed until soft peaks form (about 2-3 minutes). Gradually add the caster sugar, one tablespoon at a time, while continuing to whisk on high speed. You’ll know it’s ready when the mixture is glossy and holds stiff peaks, and the sugar has dissolved (rub a bit between your fingers to check—it shouldn’t feel gritty). This step usually takes 7-10 minutes.
- Stabilize and shape: Gently fold in the vinegar and cornstarch with a spatula, careful not to deflate the mixture. On your lined baking sheet, spoon the meringue into a round shape about 8 inches (20 cm) wide, smoothing the edges and creating a slight well in the center for the cream. Bake for 1 hour and 15 minutes—this slow bake dries out the meringue without browning it.
- Cool the meringue: Turn off the oven and leave the meringue inside to cool completely, ideally overnight. This prevents cracks and keeps the crisp exterior with a marshmallow-y inside.
- Make the fairy bread crumbs: While the meringue bakes or cools, remove crusts from the bread and spread a thin layer of softened butter on each slice. Sprinkle generously with rainbow sprinkles. Toast these slices lightly in a 350°F (175°C) oven for 5-7 minutes until just crisp but not browned. Once cooled, crumble or chop into small pieces. A food processor pulse can speed this up, but careful not to overdo it—you want little colorful bits, not bread dust.
- Whip the cream: In a chilled bowl, whip the heavy cream with powdered sugar and vanilla extract until soft peaks form. Don’t overwhip or it will become grainy.
- Assemble the pavlova: Spoon the whipped cream into the center of the cooled pavlova base, spreading gently. Scatter the fairy bread crumbs over the cream generously, making sure to get plenty of colorful sprinkles in every bite.
- Serve immediately: This dessert is best enjoyed fresh to keep the meringue crisp and the fairy bread crunchy. If you need to wait, store it in the fridge but add the crumbs just before serving to avoid sogginess.
Quick tip: If your egg whites don’t reach stiff peaks, check for any traces of yolk or grease in the bowl—it can really slow things down. Also, gently folding in the vinegar and cornstarch helps get that perfectly soft center.
Cooking Tips & Techniques
Getting the meringue just right can feel intimidating, but a few tips from my own trial-and-error days make the process way smoother.
- Separate eggs carefully: Even a tiny bit of yolk in your whites can prevent stiff peaks. I use the shell-to-shell method and separate over a small bowl first to catch any slips.
- Use room temperature egg whites: They whip up better and faster than cold ones straight from the fridge.
- Beat sugar gradually: Adding sugar too fast can cause the meringue to collapse or grain. Patience here pays off.
- Low and slow baking: Pavlova needs that gentle heat to dry out rather than brown. Resist cranking up the oven—it ruins the texture.
- Cool pavlova in the oven: Leaving it in while the oven cools prevents cracks caused by sudden temperature changes.
- Butter the bread thinly: Too much butter on fairy bread makes it soggy when toasted; a thin layer is just right for crispness and flavor.
- Add sprinkles after toasting: I’ve learned the best way is to butter, sprinkle, toast, then crumble—keeping that bright color and crunch intact.
One time, I tried adding the fairy bread crumbs too early and ended up with a sad, soggy topping. Lesson learned: add them last-minute for the best texture contrast. Also, multitasking by prepping crumbs while the pavlova bakes saves loads of time.
Variations & Adaptations
This recipe is wonderfully flexible, so you can make it your own depending on taste, occasion, or dietary needs.
- Flavor twists: Add a splash of lemon zest or orange blossom water to the whipped cream for a fresh, floral note that pairs nicely with the sweet crunch.
- Seasonal fruits: For a fresher touch, scatter fresh berries or sliced kiwi atop the cream along with fairy bread crumbs. It adds a juicy burst and a pop of natural color.
- Dietary swaps: Use coconut cream and dairy-free butter to make this completely vegan. Gluten-free white bread works if you’re avoiding gluten, though the texture of crumbs might differ slightly.
- Chocolate version: Mix mini chocolate chips into the fairy bread crumbs or drizzle melted chocolate over the top for a richer treat.
- Personal experiment: I once tried swapping the white bread with brioche. It was richer and buttery—delicious, but a bit heavier, so a nice option when you want more indulgence.
Serving & Storage Suggestions
The Colorful Fairy Bread Pavlova Delight is best served chilled but not icy cold. About 10-15 minutes out of the fridge lets the cream soften slightly and the pavlova’s texture shine.
For presentation, serve it on a large white platter to let those colors really pop. Pair it with a light sparkling lemonade or a fruity iced tea for a refreshing contrast.
If you have leftovers (though that’s rare!), cover the pavlova loosely with plastic wrap and keep it in the fridge for up to 24 hours. Remember to add fairy bread crumbs right before serving to keep them crunchy.
Reheating isn’t recommended because the meringue will soften, but if you want to prepare pavlova bases ahead, they store well in an airtight container for up to 3 days at room temperature. Just whip cream fresh and assemble before serving.
Over time, the flavors meld nicely, but the key is not to let the pavlova get soggy—fresh assembly is the secret to keeping that delightful texture.
Nutritional Information & Benefits
This dessert is a treat, but it uses simple ingredients without preservatives or artificial additives. Here’s a rough estimate per serving (based on 8 servings):
| Calories | 220 kcal |
|---|---|
| Fat | 12 g (mostly from cream and butter) |
| Carbohydrates | 25 g (from sugar and bread) |
| Protein | 3 g |
Egg whites provide protein with minimal fat, while the sprinkles add sugar and color but no added nutrients. The cream contributes richness and calcium, and the bread crumbs add a nostalgic touch of carbs.
For those with allergies, this recipe contains dairy, eggs, and gluten (unless substituted). Swapping ingredients can make it suitable for vegan or gluten-free diets.
From a wellness perspective, it’s a joyful occasional treat that reminds me that sweet moments don’t have to be complicated or loaded with artificial ingredients.
Conclusion
The Colorful Fairy Bread Pavlova Delight is a reminder that sometimes the simplest ideas turn out to be the most memorable. It’s fun, colorful, and surprisingly sophisticated for a dessert that started as a happy accident.
Feel free to tweak it to your taste—add fruit, try different sprinkles, or adjust the sweetness. That’s the beauty of this recipe: it’s playful and forgiving.
Personally, I love serving this when I want to bring a smile without stressing over complicated baking. It’s a little burst of happiness on a plate, perfect for parties or cozy afternoons.
If you try it, I’d love to hear how your version turns out—drop a comment or share your colorful twists!
Remember, sometimes the best treats come from just having fun in the kitchen.
Frequently Asked Questions About Colorful Fairy Bread Pavlova Delight
What if I don’t have a mixer to whip the egg whites?
You can whip egg whites by hand with a whisk, but it takes patience and elbow grease—about 10-15 minutes. Make sure your bowl is clean and dry for best results.
Can I prepare the pavlova base ahead of time?
Yes, pavlova shells keep well in an airtight container at room temperature for up to 3 days. Whip the cream and add fairy bread crumbs just before serving to keep everything fresh and crisp.
What can I use instead of white bread for the fairy bread crumbs?
Plain white sandwich bread works best for that classic fairy bread texture, but you can try brioche for a richer taste or gluten-free bread if needed. Keep in mind texture and taste may vary slightly.
How do I keep the fairy bread crumbs crunchy?
Toast the buttered and sprinkled bread slices lightly, then crumble just before serving. Adding them too early can make them soggy, so always top your pavlova last-minute.
Can I add fresh fruit to this pavlova?
Absolutely! Fresh berries, kiwi slices, or passionfruit pulp pair beautifully with the creamy pavlova and add a fresh, tangy contrast to the sweet, crunchy fairy bread topping.
For a fun twist on sweet treats with colorful flair, you might enjoy trying the chewy spumoni cookies or the gluten-free Oreo balls recipe, both of which bring a playful vibe perfect for parties and celebrations.
Pin This Recipe!
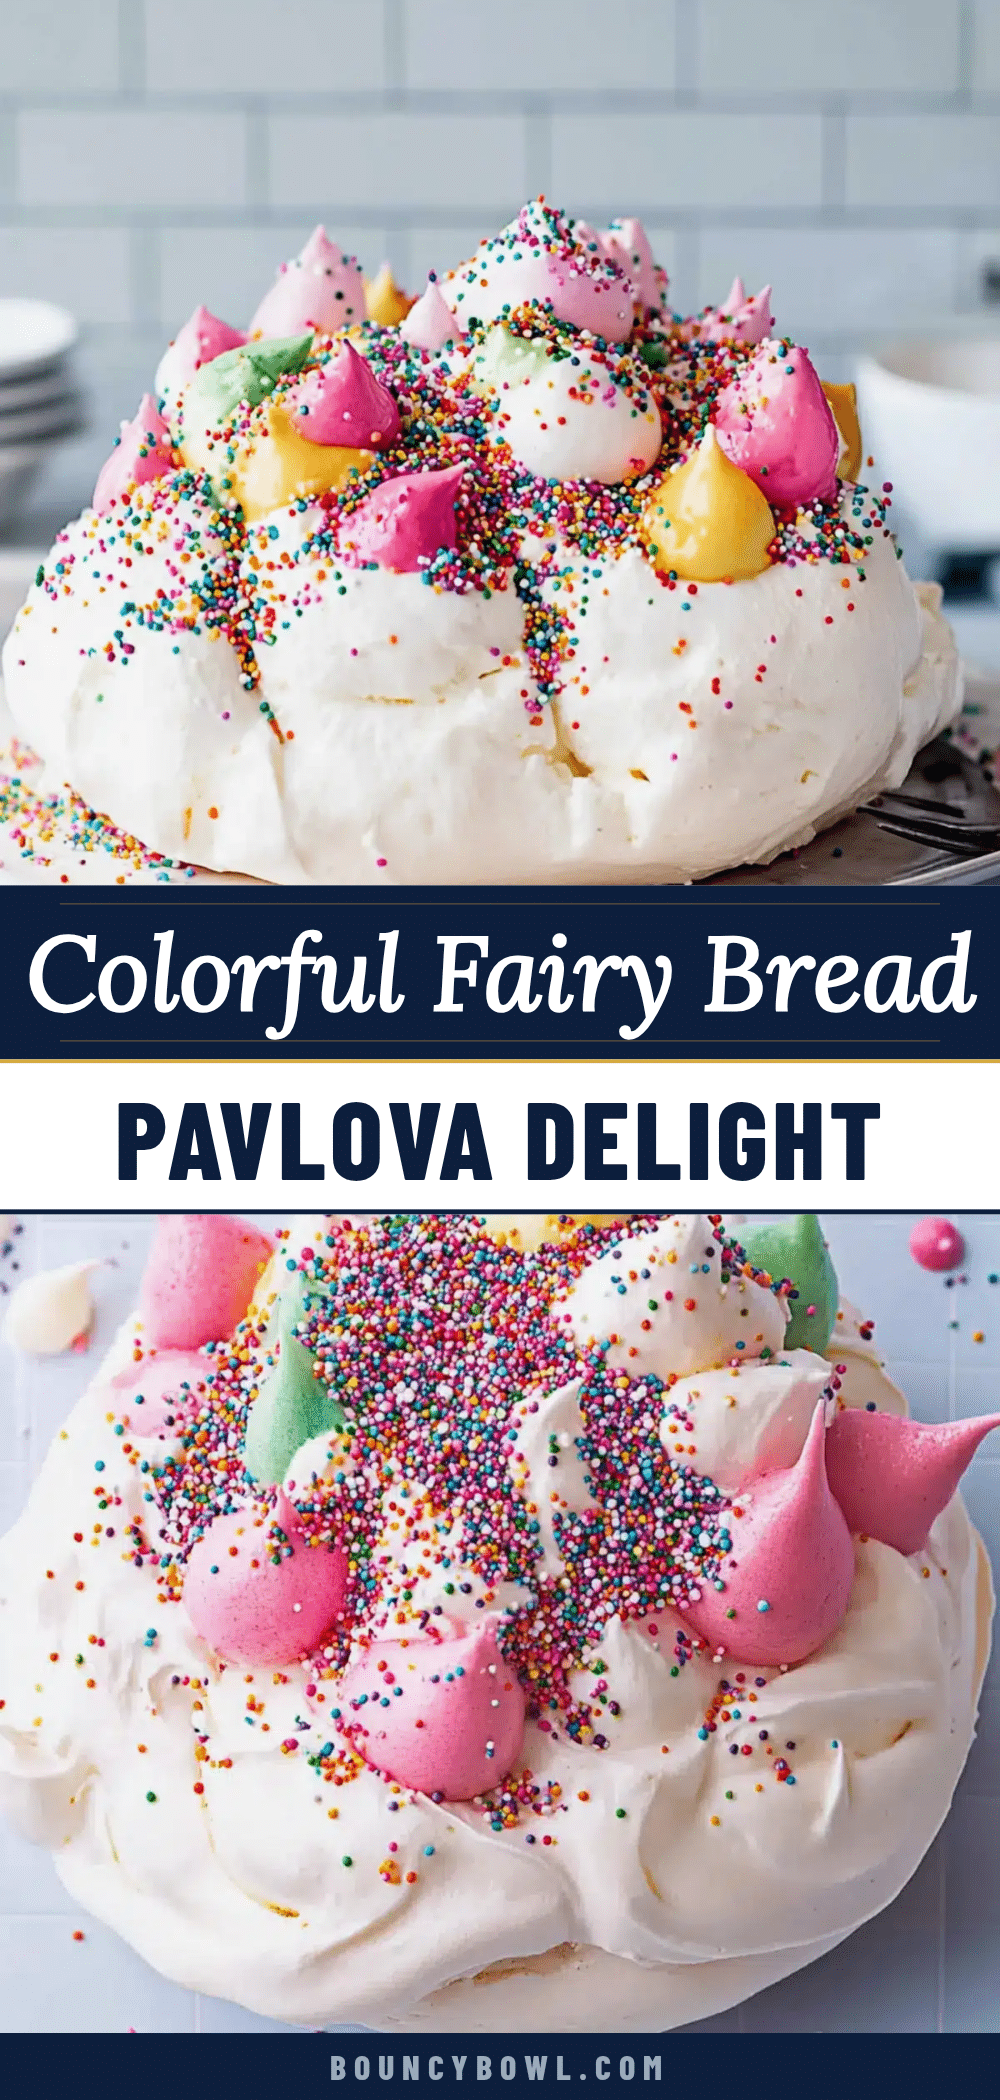
Colorful Fairy Bread Pavlova Delight
A playful and colorful dessert combining the crisp pavlova shell with whipped cream and crunchy fairy bread crumbs topped with rainbow sprinkles. Perfect for parties and easy to make.
- Prep Time: 15 minutes
- Cook Time: 1 hour 15 minutes
- Total Time: 1 hour 30 minutes plus cooling time (ideally overnight)
- Yield: 8 servings 1x
- Category: Dessert
- Cuisine: Australian
Ingredients
- 4 large egg whites (room temperature)
- 1 cup (200 g) caster sugar
- 1 tsp white vinegar
- 1 tsp cornstarch
- 1 cup (240 ml) heavy cream (chilled)
- 2 tbsp powdered sugar
- 1 tsp vanilla extract
- 4 slices white sandwich bread, crusts removed
- 2 tbsp unsalted butter, softened
- 1/2 cup (about 70 g) rainbow sprinkles (hundreds and thousands)
Instructions
- Preheat oven to 250°F (120°C). Whisk egg whites on medium speed until soft peaks form (2-3 minutes). Gradually add caster sugar one tablespoon at a time while whisking on high speed until glossy and stiff peaks form (7-10 minutes).
- Gently fold in vinegar and cornstarch with a spatula. Spoon meringue onto lined baking sheet in an 8-inch (20 cm) round shape with a slight well in the center. Bake for 1 hour and 15 minutes.
- Turn off oven and leave meringue inside to cool completely, ideally overnight.
- Remove crusts from bread slices, spread thin layer of softened butter, sprinkle with rainbow sprinkles. Toast at 350°F (175°C) for 5-7 minutes until crisp but not browned. Cool and crumble into small pieces.
- Whip heavy cream with powdered sugar and vanilla extract in a chilled bowl until soft peaks form.
- Spoon whipped cream into the center of the cooled pavlova base and spread gently.
- Scatter fairy bread crumbs generously over the cream, ensuring colorful sprinkles in every bite.
- Serve immediately for best texture. If storing, keep pavlova base in airtight container up to 3 days at room temperature and add crumbs just before serving.
Notes
Use room temperature egg whites for better whipping. Add fairy bread crumbs just before serving to keep them crunchy. Pavlova base can be made ahead and stored in an airtight container for up to 3 days. For dairy-free version, substitute heavy cream with coconut cream and butter with dairy-free alternative. Gluten-free bread can be used but texture may vary.
Nutrition
- Serving Size: 1 slice (1/8 of pavl
- Calories: 220
- Fat: 12
- Carbohydrates: 25
- Protein: 3
Keywords: fairy bread, pavlova, party dessert, colorful dessert, easy pavlova, whipped cream, meringue, rainbow sprinkles


