Love this? Save it for later!
Share the inspiration with your friends
“You really think you can pull off sushi at home?” my friend asked, eyeing the pile of colorful veggies and sticky rice I had spread all over my tiny kitchen counter. Honestly, I wasn’t sure at first either. Sushi always felt like one of those things that required a sushi chef’s magic touch and a whole array of exotic ingredients. But that afternoon, craving something bright and fresh after a long, hectic week, I decided to just go for it — no stress, no fancy fish, just vibrant vegan ingredients and a bit of patience.
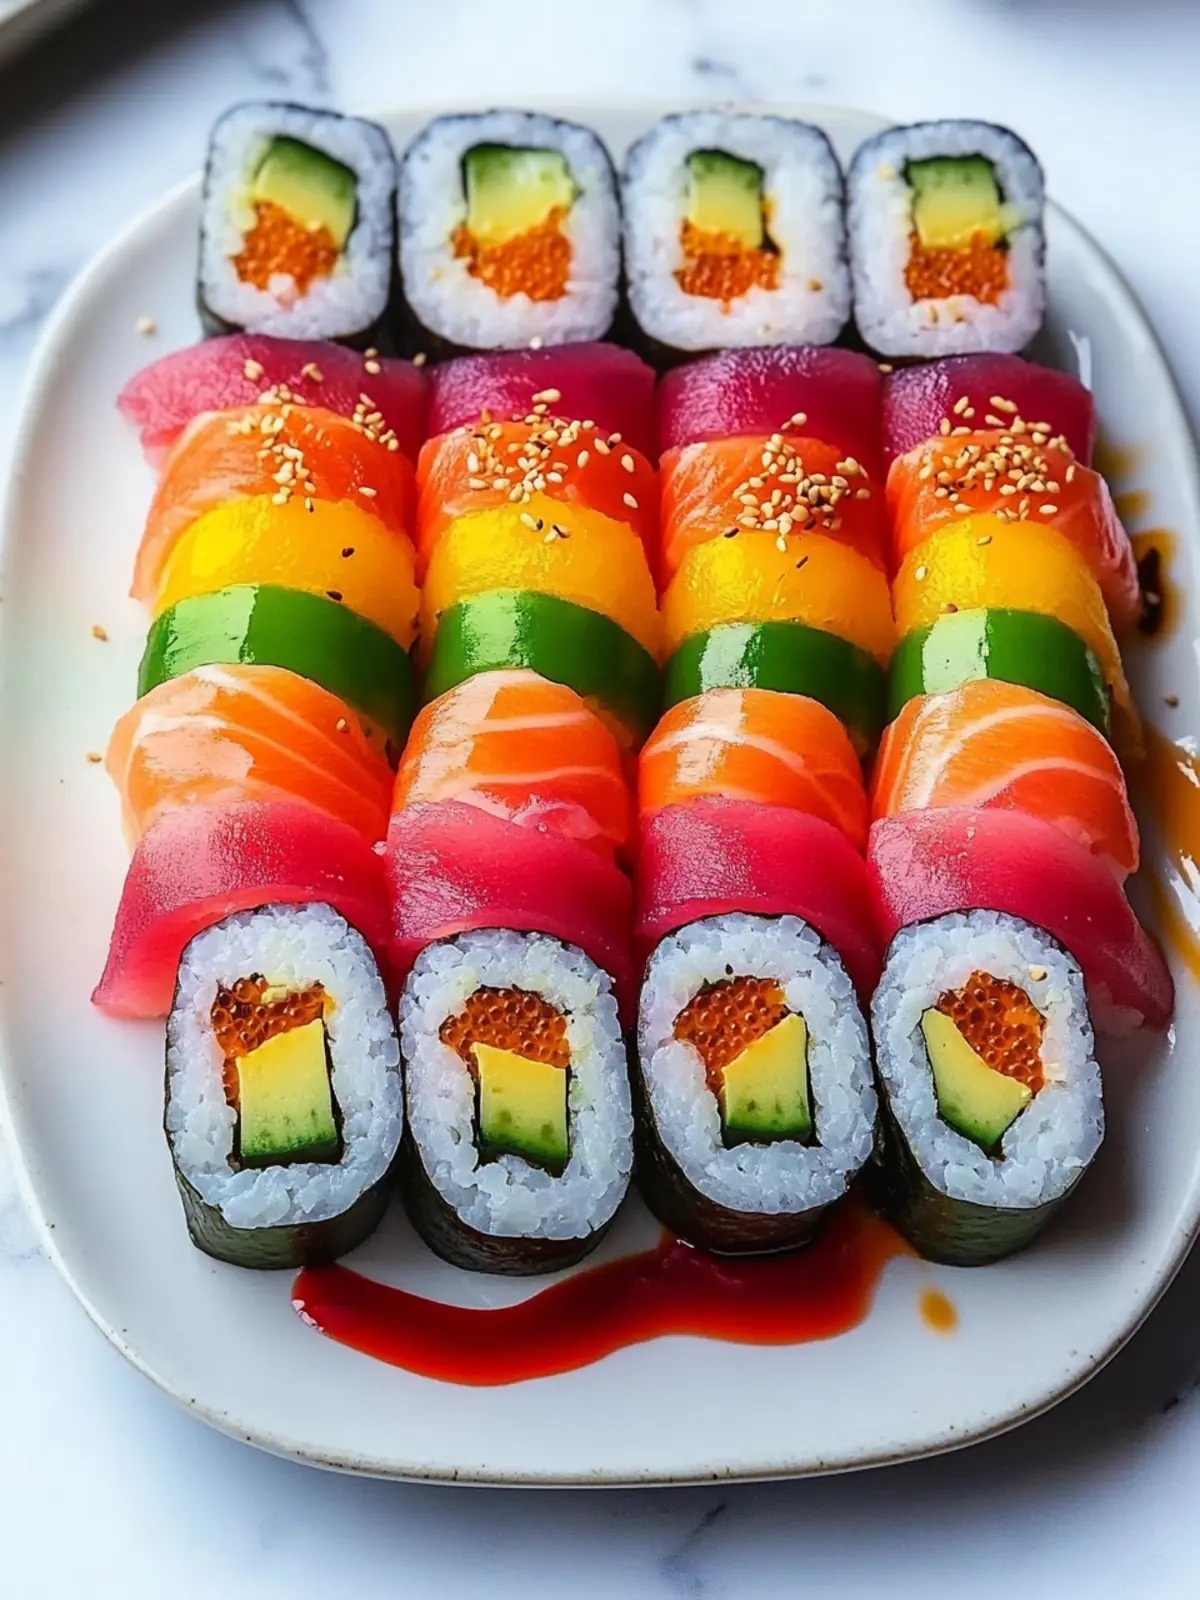
What started as a bit of a kitchen experiment turned into a full-on obsession. I found myself making these fresh vibrant rainbow sushi rolls multiple times in a week, tweaking the fillings and perfecting the rolling technique. The colors alone were a mood lifter — deep purples from purple cabbage, sunny yellows from mango, fiery reds from bell peppers, and crisp greens from cucumber and avocado. More than that, it was the way all those simple, fresh flavors came together, each bite a little celebration of texture and taste.
It’s funny how sometimes the simplest meals can surprise you the most. These rainbow sushi rolls aren’t just plant-based pretty faces; they’re a reminder that vibrant, nourishing food doesn’t have to be complicated or time-consuming. And honestly, once you get the hang of spreading the rice and rolling it tight, it’s kind of meditative — a little quiet moment in the chaos of the day.
This recipe stuck with me because it’s flexible, colorful, and a genuine crowd-pleaser. Whether you’re hosting a casual vegan feast or just want a satisfying lunch that feels special, these rolls bring a little joy to the table — no sushi chef skills needed. Let’s talk through what you’ll need to bring this to life in your own kitchen.
Why You’ll Love This Recipe
After weeks of testing and sharing these sushi rolls with friends and family, I’m confident this recipe stands out in a few key ways. Here’s why it might become your next go-to:
- Quick & Easy: You can whip up these sushi rolls in about 40 minutes from start to finish, making them perfect for busy weeknights or when you want something fresh but fuss-free.
- Simple Ingredients: No need to hunt down rare items — most are pantry or produce staples. Plus, the recipe embraces what’s fresh and seasonal.
- Perfect for Vibrant Vegan Feasts: Whether it’s a potluck, picnic, or just a colorful dinner at home, these rolls bring a festive, healthy vibe to the table.
- Crowd-Pleaser: Even sushi skeptics and non-vegans have asked for seconds. The balanced textures and bright flavors really hit the spot.
- Unbelievably Delicious: The combination of creamy avocado, crisp veggies, and that subtle tang from rice vinegar-seasoned sushi rice is next-level satisfying.
What makes this recipe different? I’ve fine-tuned the rice seasoning to be just right — not too sharp, not bland — and I recommend using a bamboo sushi mat for the tightest, prettiest rolls. Plus, I swap out fish for a medley of fresh produce you can customize. I love adding a little toasted sesame seeds or a drizzle of tamari for extra umami that really brings these rolls to life.
Honestly, this isn’t just sushi; it’s a little edible rainbow that brightens the table and your mood. If you ever felt intimidated by sushi-making, this recipe makes it approachable, colorful, and truly enjoyable.
What Ingredients You Will Need
This recipe uses simple, wholesome ingredients to deliver bold flavor and satisfying texture without the usual fuss of sushi preparation. Most of these items are easy to find year-round, and you can swap in seasonal produce or pantry staples if needed.
- Sushi Rice: 1 ½ cups (300g) sushi or short-grain rice, rinsed well to remove excess starch (this keeps the rice sticky but not mushy)
- Rice Vinegar Mixture: 3 tbsp rice vinegar, 1 tbsp sugar, 1 tsp salt (for that iconic sushi rice tang and sheen)
- Nori Sheets: 6 full sheets (look for quality brands like Yamamotoyama for best texture)
- Fresh Vegetables:
- 1 small cucumber, julienned (for a crisp, fresh bite)
- 1 medium carrot, peeled and thinly sliced
- ½ cup purple cabbage, thinly shredded (adds crunch and vibrant color)
- 1 ripe mango, peeled and sliced (for sweet contrast)
- 1 ripe avocado, sliced (creamy richness)
- 1 red bell pepper, thinly sliced (sweet and crunchy)
- Optional Add-Ins:
- Toasted sesame seeds (sprinkle inside or on top for nuttiness)
- Pickled ginger or wasabi (for serving, traditional flavors)
- Thin strips of marinated tofu or tempeh (for extra protein)
- Soy Sauce or Tamari: For dipping (gluten-free tamari works if needed)
If you want to switch things up, try using quinoa instead of rice for a nutty texture, or swap mango with fresh strawberries in summer for a sweet twist. For a gluten-free version, just double-check your soy sauce or tamari brand. I’ve found that using ripe, firm avocado makes rolling easier and prevents mushiness.
Equipment Needed
- Bamboo Sushi Rolling Mat: Essential for shaping tight, neat rolls. If you don’t have one, a clean kitchen towel can work in a pinch.
- Rice Cooker or Medium Pot: For perfectly cooked sushi rice. I swear by my rice cooker for consistency, but a pot with a tight lid works fine.
- Sharp Knife: A non-serrated chef’s knife works best for clean, even slices without squishing your rolls.
- Large Bowl: For mixing and cooling the sushi rice with vinegar seasoning.
- Cutting Board: For prepping veggies and slicing rolls.
- Small Sauce Dish: For serving soy sauce or tamari.
When I first started, I tried rolling sushi without a mat — trust me, it’s way harder. The bamboo mat gives you control and helps the rolls hold together. They’re affordable and last forever if you keep them dry. Also, using a sharp knife dipped in water between cuts helps keep the slices clean and prevents the rice from sticking.
Preparation Method
- Cook the sushi rice: Rinse 1 ½ cups (300g) sushi rice under cold water until the water runs clear to remove excess starch. Cook rice in a rice cooker or on the stove with 1 ¾ cups (415ml) water. Let it steam for 10 minutes after cooking, then fluff gently with a fork.
- Prepare the rice vinegar seasoning: While the rice cooks, mix 3 tbsp rice vinegar, 1 tbsp sugar, and 1 tsp salt in a small bowl until dissolved. You can warm it slightly to help dissolve the sugar faster.
- Season the rice: Transfer the cooked rice to a large bowl and gently fold in the vinegar mixture with a wooden spoon or spatula. Spread out the rice to cool quickly (a fan or open window helps) — you want it sticky but not hot when rolling.
- Prep your fillings: While rice cools, slice cucumber, carrot, purple cabbage, mango, avocado, and bell pepper into thin strips or julienne. Keep everything bite-sized for easy rolling and eating.
- Set up rolling station: Place a bamboo sushi mat on a flat surface and lay a sheet of nori shiny side down. Wet your fingers with water (to prevent rice sticking), then spread about ½ cup (90g) of sushi rice evenly over the nori, leaving a 1-inch gap at the top edge.
- Add fillings: Arrange a thin line of each veggie across the center of the rice, keeping it tight but not overcrowded. Add avocado slices last for that creamy layer.
- Roll the sushi: Starting from the edge closest to you, lift the mat and roll it tightly over the fillings, pressing gently but firmly. Continue rolling until the seam seals the roll. Use a little water on the bare nori edge to help it stick.
- Slice the roll: Using a sharp knife dipped in water, slice the roll into 6-8 pieces. Clean the knife between cuts to keep edges neat.
- Repeat: Continue with remaining nori sheets and fillings until all rice and veggies are used.
- Serve: Arrange rolls on a platter with soy sauce or tamari for dipping, and optional pickled ginger or wasabi on the side.
Pro tip: Don’t overfill your rolls — less is more here to keep the roll tight and easy to eat. The right rice texture is key; it should stick together but not be mushy. When in doubt, rinse your knife often and keep your hands slightly wet to prevent rice from sticking.
Cooking Tips & Techniques
Getting sushi rice just right can feel tricky, but here’s what I’ve learned the hard way:
- Rinse the rice thoroughly: This step removes excess starch that would otherwise make the rice gummy. Rinse until the water runs clear — it makes a huge difference.
- Cool the rice fast: Spread the rice out in a wide bowl and fan it while mixing in vinegar to achieve that shiny, sticky texture. Avoid pressing or smashing the rice.
- Keep your hands wet: Sushi rice loves to stick to everything. I keep a bowl of water nearby to dip my fingers in between spreading rice on the nori.
- Use a sharp knife dipped in water: This prevents the rice from sticking and squishing your rolls when slicing.
- Don’t rush the rolling: Rolling sushi is part technique, part feel. Apply gentle even pressure — too hard and you’ll squish the fillings, too loose and the roll falls apart.
- Multitasking tip: While rice cooks and cools, prep your veggies and set up your rolling station — this saves time and keeps everything flowing smoothly.
I remember my first rolls were a bit loose and sadly lopsided, but with practice and these little tweaks, I got to the point where my friends thought I’d secretly taken a sushi class. It’s all about patience and a light touch.
Variations & Adaptations
This recipe is a great canvas for creativity. Here are some ways to make it your own:
- Protein boost: Add marinated tofu strips, tempeh, or cooked edamame for extra protein and texture.
- Seasonal twists: Swap mango for fresh peaches in summer, or roasted sweet potato slices in fall for a cozy vibe.
- Alternative grains: Use quinoa or cauliflower rice for a low-carb or gluten-free option, though rolling might be a bit trickier.
- Spicy touch: Mix sriracha with vegan mayo to create a spicy drizzle inside or on top of rolls.
- Allergen swaps: For those avoiding soy, try coconut aminos instead of tamari, and use avocado or cashew-based spreads instead of tofu.
One of my favorite variations includes adding a layer of creamy tofu curry spread inside the roll for a fusion twist — it sounds wild but tastes incredible and adds a nice warmth.
Serving & Storage Suggestions
Serve these rainbow sushi rolls fresh and slightly chilled for the best texture. They look stunning arranged on a platter, perfect for sharing at gatherings or a colorful solo lunch.
Pair them with light soy sauce or tamari for dipping, and if you like, some pickled ginger to cleanse the palate between bites. A crisp cucumber salad or simple miso soup complements the meal beautifully.
Leftovers can be stored in an airtight container in the refrigerator for up to 24 hours, but honestly, sushi rolls are best enjoyed fresh. To reheat slightly, let them sit at room temperature for 15-20 minutes before eating, or enjoy cold. Avoid microwaving — it makes the rice tough and the nori chewy.
Flavors tend to mellow as they sit, so if you prep rolls a bit ahead for a party, add a splash of rice vinegar or a drizzle of soy sauce just before serving to brighten them back up.
Nutritional Information & Benefits
Each serving of these fresh vibrant rainbow sushi rolls offers a balanced combination of carbohydrates, fiber, and healthy fats. The sushi rice provides energy-sustaining carbs, while avocado adds heart-healthy monounsaturated fats.
The variety of vegetables packs in fiber, vitamins A and C, and antioxidants — especially the purple cabbage and bell peppers. Rice vinegar aids digestion and adds flavor without calories.
This recipe is naturally gluten-free (using tamari or coconut aminos), low in saturated fat, and vegan-friendly. Just watch the sodium if you’re sensitive to soy sauce.
From a wellness perspective, it’s a light yet satisfying meal that encourages eating a rainbow of veggies — a simple way to support overall health and keep meals colorful and exciting.
Conclusion
Fresh vibrant rainbow sushi rolls bring a burst of color, flavor, and fun to any meal. They’re approachable for home cooks, versatile enough to match your favorite ingredients, and satisfying enough to feel like a special treat — without the fuss.
Whether you’re new to sushi or looking for a bright vegan option, this recipe invites you to play with colors and textures while keeping things healthy and delicious. I love how these rolls make me pause, focus, and enjoy the process — and of course, the tasty results.
If you try them, I’d love to hear how you customize your rolls or what colorful combos you come up with. Cooking should be joyful, and these sushi rolls are one way to bring a little brightness to the day.
Frequently Asked Questions
Can I use regular long-grain rice for sushi?
Long-grain rice doesn’t have the same sticky texture as sushi or short-grain rice, so the rolls won’t hold together well. It’s best to use sushi or short-grain rice for this recipe.
How do I keep the sushi rolls from falling apart?
Make sure your rice is sticky but not mushy, don’t overfill the rolls, and roll them tightly using a bamboo mat. Wetting your fingers while spreading rice also helps.
Can I make these sushi rolls ahead of time?
You can prepare them a few hours ahead and keep refrigerated in an airtight container, but they’re best eaten fresh for optimal texture and flavor.
What can I serve with rainbow sushi rolls?
Light sides like miso soup, seaweed salad, or simple cucumber salad work great. Also, soy sauce or tamari and pickled ginger are classic accompaniments.
Is this recipe suitable for gluten-free diets?
Yes, as long as you use gluten-free tamari or coconut aminos instead of regular soy sauce, these rolls are gluten-free.
For a fresh vegan meal that’s as fun to make as it is to eat, these rainbow sushi rolls fit the bill perfectly. And if you want a warm complement to your sushi feast, the easy creamy tofu curry pairs beautifully with these vibrant rolls for a cozy, balanced meal.
Pin This Recipe!
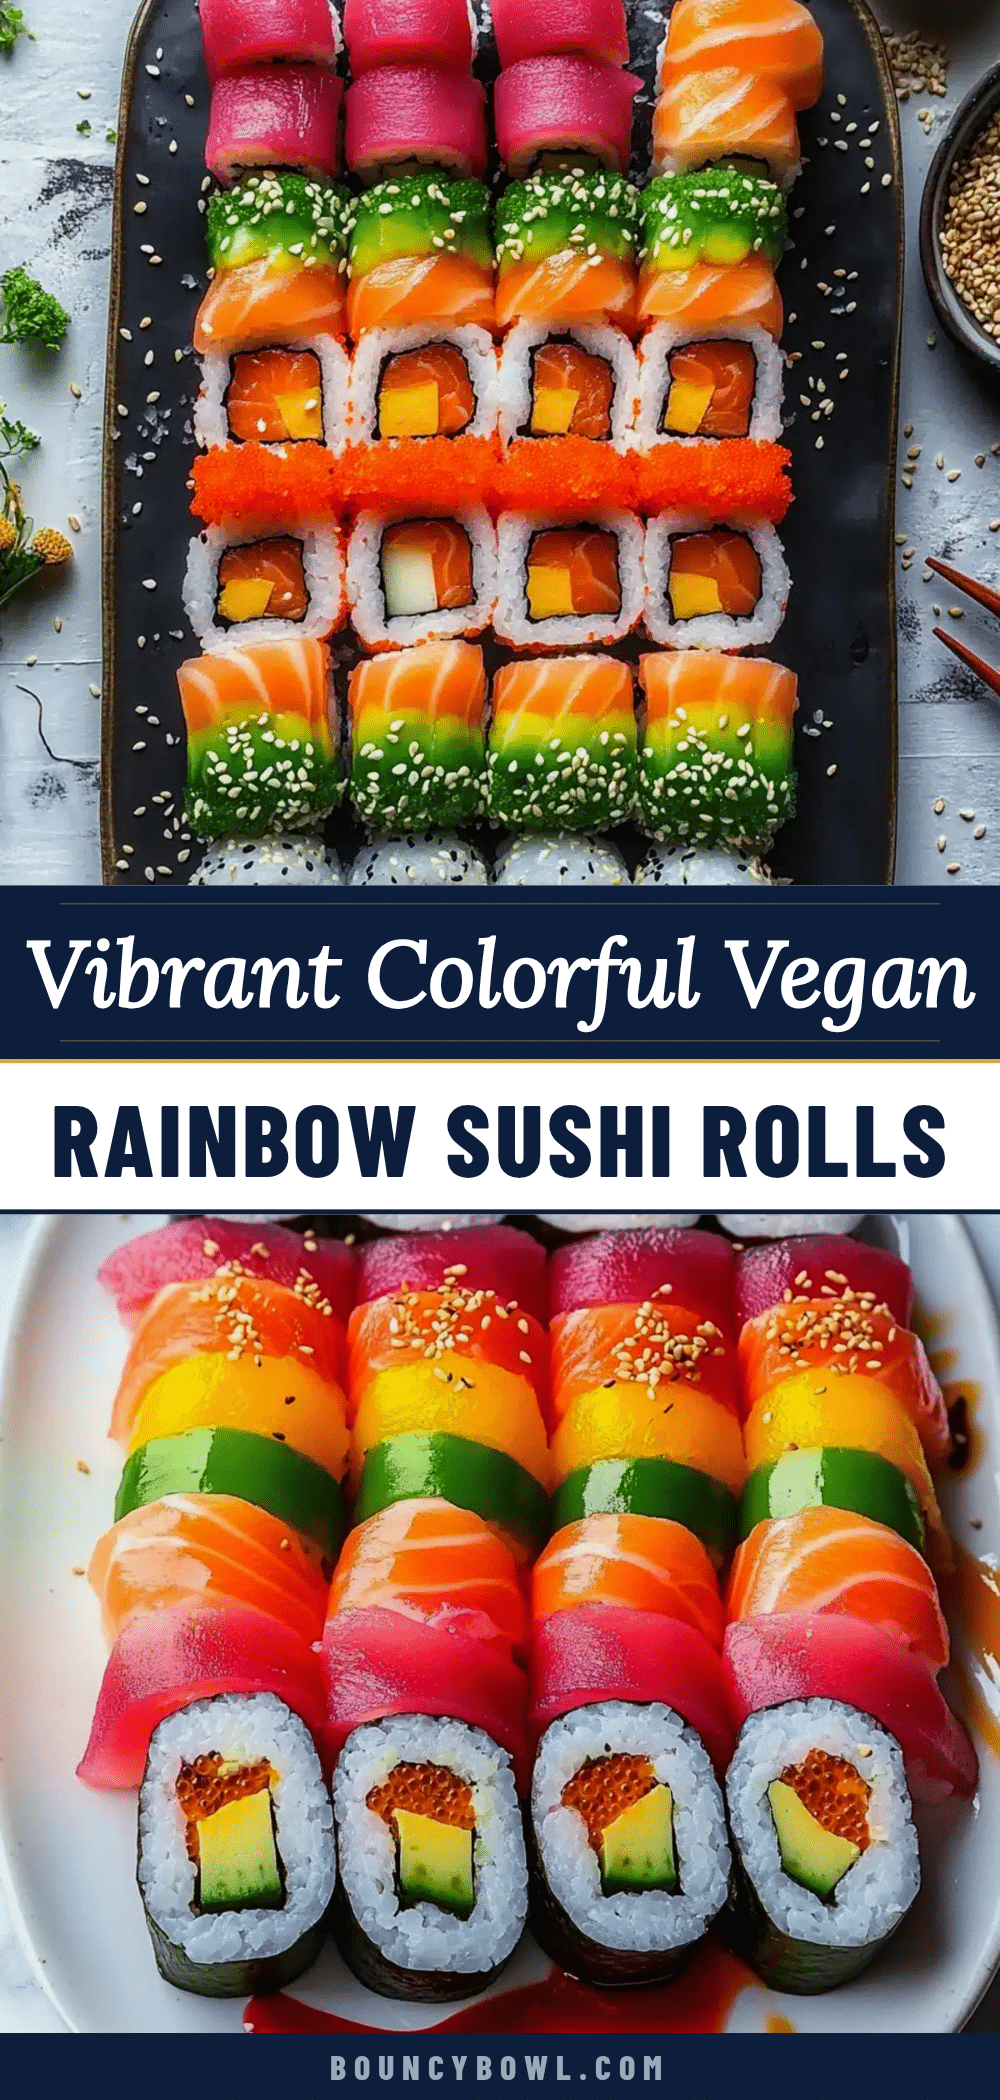
Fresh Vibrant Rainbow Sushi Rolls Easy Colorful Vegan Feast Recipe

These fresh vibrant rainbow sushi rolls are a quick, easy, and colorful vegan feast perfect for any occasion. Made with simple, wholesome ingredients, they offer a bright, nourishing, and satisfying meal without the fuss of traditional sushi preparation.
- Prep Time: 15 minutes
- Cook Time: 25 minutes
- Total Time: 40 minutes
- Yield: 6 rolls (approximately 24-32 pieces) 1x
- Category: Main Course
- Cuisine: Japanese
Ingredients
- 1 ½ cups (300g) sushi or short-grain rice, rinsed well
- 3 tbsp rice vinegar
- 1 tbsp sugar
- 1 tsp salt
- 6 full nori sheets
- 1 small cucumber, julienned
- 1 medium carrot, peeled and thinly sliced
- ½ cup purple cabbage, thinly shredded
- 1 ripe mango, peeled and sliced
- 1 ripe avocado, sliced
- 1 red bell pepper, thinly sliced
- Toasted sesame seeds (optional)
- Pickled ginger or wasabi (optional, for serving)
- Thin strips of marinated tofu or tempeh (optional, for extra protein)
- Soy sauce or tamari for dipping (gluten-free tamari if needed)
Instructions
- Rinse 1 ½ cups (300g) sushi rice under cold water until the water runs clear to remove excess starch.
- Cook rice in a rice cooker or on the stove with 1 ¾ cups (415ml) water. Let it steam for 10 minutes after cooking, then fluff gently with a fork.
- Mix 3 tbsp rice vinegar, 1 tbsp sugar, and 1 tsp salt in a small bowl until dissolved. Warm slightly if needed.
- Transfer cooked rice to a large bowl and gently fold in the vinegar mixture. Spread out rice to cool quickly until sticky but not hot.
- Slice cucumber, carrot, purple cabbage, mango, avocado, and bell pepper into thin strips or julienne.
- Place a bamboo sushi mat on a flat surface and lay a nori sheet shiny side down.
- Wet fingers with water and spread about ½ cup (90g) sushi rice evenly over the nori, leaving a 1-inch gap at the top edge.
- Arrange a thin line of each vegetable across the center of the rice, adding avocado slices last.
- Roll sushi tightly using the bamboo mat, sealing the edge with a little water.
- Using a sharp knife dipped in water, slice the roll into 6-8 pieces, cleaning the knife between cuts.
- Repeat with remaining nori sheets and fillings.
- Serve rolls on a platter with soy sauce or tamari, and optional pickled ginger or wasabi.
Notes
Rinse rice thoroughly to remove excess starch for perfect sticky texture. Keep hands wet while spreading rice to prevent sticking. Use a sharp knife dipped in water to slice rolls cleanly. Don’t overfill rolls to keep them tight and easy to eat. Sushi rolls are best eaten fresh but can be stored in an airtight container in the fridge for up to 24 hours. Avoid microwaving leftovers to maintain texture.
Nutrition
- Serving Size: 4-5 pieces per servi
- Calories: 210
- Sugar: 5
- Sodium: 450
- Fat: 7
- Saturated Fat: 1
- Carbohydrates: 33
- Fiber: 4
- Protein: 4
Keywords: rainbow sushi rolls, vegan sushi, colorful sushi, easy sushi recipe, vegan feast, plant-based sushi, gluten-free sushi, sushi at home