Love this? Save it for later!
Share the inspiration with your friends
“You’ve got to try these strawberry roll-ups!” my neighbor had texted me one afternoon, right after I’d confessed to her that I was out of snacks for the kids. Honestly, I was skeptical—fruit roll-ups always seemed like a sugar trap, all artificial flavors and colors. Plus, making candy-like things at home? That felt like a weekend project, not a quick fix. But curiosity won out, and before long, my kitchen smelled like fresh strawberries and a touch of sticky sweetness. The first bite was kind of surprising—soft, naturally fruity, just the right chewiness, and without any weird aftertaste. I found myself making a batch almost every other day that week, perfect for school lunches, after-school snacks, or just a little something to nibble on while I was working on my latest dinner idea. It’s funny how something so simple can feel like a small victory, especially when you’re juggling a million things and want something homemade but easy.
What really grabbed me about this easy homemade strawberry fruit roll-ups recipe is that it uses real ingredients you can pronounce and trust. No mystery powders or preservatives, just pure fruit and a bit of sweetener, dried down into chewy sheets that are fun for kids and adults alike. Plus, I love that it’s flexible—if you have fresh strawberries or frozen ones, it works either way. And if you want to sneak a bit of vitamin C into a snack or make something special for a picnic, these roll-ups nail that sweet spot of homemade and convenient. They don’t just disappear into a bag of processed snacks—they feel like a treat you made with your own hands, even on a busy day.
There’s something quietly satisfying about peeling off a piece of strawberry goodness, rolling it up, and enjoying that burst of real fruit flavor. I keep thinking about how this snack fits right alongside other quick homemade recipes I love, like the quick savory Asian salmon bowl or my go-to sour cream baked salmon. Simple, satisfying, and made with love—these strawberry fruit roll-ups have quietly earned their spot in my recipe rotation.
Why You’ll Love This Recipe
Making your own strawberry fruit roll-ups isn’t just fun—it’s a smart snack move for all sorts of reasons. After testing this recipe multiple times, here’s why it’s become a reliable favorite in my kitchen:
- Quick & Easy: This recipe comes together in under 2 hours, with most of that time just waiting for the fruit to dry. The hands-on part takes less than 15 minutes, perfect for a relaxed afternoon or weekend project.
- Simple Ingredients: You only need fresh or frozen strawberries, a touch of sweetener, and lemon juice. No fancy additives or preservatives. I usually grab organic strawberries when they’re in season for the best flavor.
- Perfect for Snacks & Lunchboxes: These roll-ups are a fun, portable treat that kids love. They’re great for school snacks, hiking trips, or even a casual party nibble.
- Crowd-Pleaser: Honestly, both kids and adults are fans. The natural strawberry flavor shines through without being overly sweet or artificial.
- Unbelievably Delicious: The texture is soft and chewy, with just enough natural tartness to keep things interesting. It’s like capturing summer strawberries in a chewy sheet you can enjoy anytime.
What makes this recipe stand out from other fruit roll-ups is the focus on preserving the fresh strawberry taste without masking it with extra sugar or additives. The lemon juice brightens the flavor, and the slow drying process concentrates the natural sweetness. It’s a homemade snack that’s genuinely better than store-bought versions—lighter, fresher, and just plain tastier.
Whether you’re aiming to impress with a wholesome homemade treat or just want a simple snack that feels special, this recipe fits the bill. It’s one of those recipes that quietly earns your trust, showing up again and again because it’s just that good and straightforward.
What Ingredients You Will Need
This recipe keeps things refreshingly simple, relying on just a few wholesome ingredients to deliver a bold, fruity flavor and satisfying chew. You won’t need to hunt down anything exotic—most of these are pantry staples or easy to find at your local market.
- Fresh or Frozen Strawberries (about 4 cups / 600 grams): The star of the show. Use ripe, sweet strawberries for the best natural flavor. Frozen works well too—just thaw and drain excess liquid.
- Granulated Sugar or Honey (2–3 tablespoons / 30–45 ml): Adds just enough sweetness to balance the tartness. I usually prefer organic cane sugar or raw honey depending on what I have on hand.
- Fresh Lemon Juice (1 tablespoon / 15 ml): Brightens the flavor and helps preserve the color. Freshly squeezed is best, but bottled works in a pinch.
- Optional: Cornstarch or Arrowroot Powder (1 teaspoon / 5 grams): Helps thicken the puree for a better texture, especially if your strawberries are very juicy.
If you want to tweak things, you can swap the sugar for maple syrup or agave nectar for a different sweetness profile. For a gluten-free or paleo-friendly twist, just stick with natural sweeteners and fresh fruit. When it’s strawberry season, I sometimes blend in a handful of fresh raspberries or blueberries for a mixed berry roll-up that adds a little extra color and flavor.
Equipment Needed
- Food Processor or Blender: Essential for pureeing the strawberries into a smooth, spreadable consistency. I’ve tried both, and a high-speed blender gives the silkiest result.
- Baking Sheet or Dehydrator Tray: You’ll need a flat surface to spread the fruit puree thinly. A rimmed baking sheet lined with parchment paper works perfectly.
- Parchment Paper or Silicone Baking Mat: Prevents sticking and makes peeling off the roll-ups easy. I always recommend parchment paper for ease.
- Oven or Food Dehydrator: This recipe works in a low oven or a dehydrator set to around 140°F (60°C). An oven is more common, but a dehydrator gives the most even drying.
- Spatula or Offset Spreader: Helpful for evenly spreading the puree. A small offset spatula makes this step quicker and more precise.
If you don’t have a food dehydrator, don’t worry—your kitchen oven will do just fine. Just keep the temperature low and the door slightly ajar to allow moisture to escape. For budget-friendly options, parchment paper and a baking sheet are all you need to get started. Keeping your equipment clean after dealing with sticky fruit puree can be a bit of a chore, but soaking the parchment and tools right away saves a lot of scrubbing later.
Preparation Method
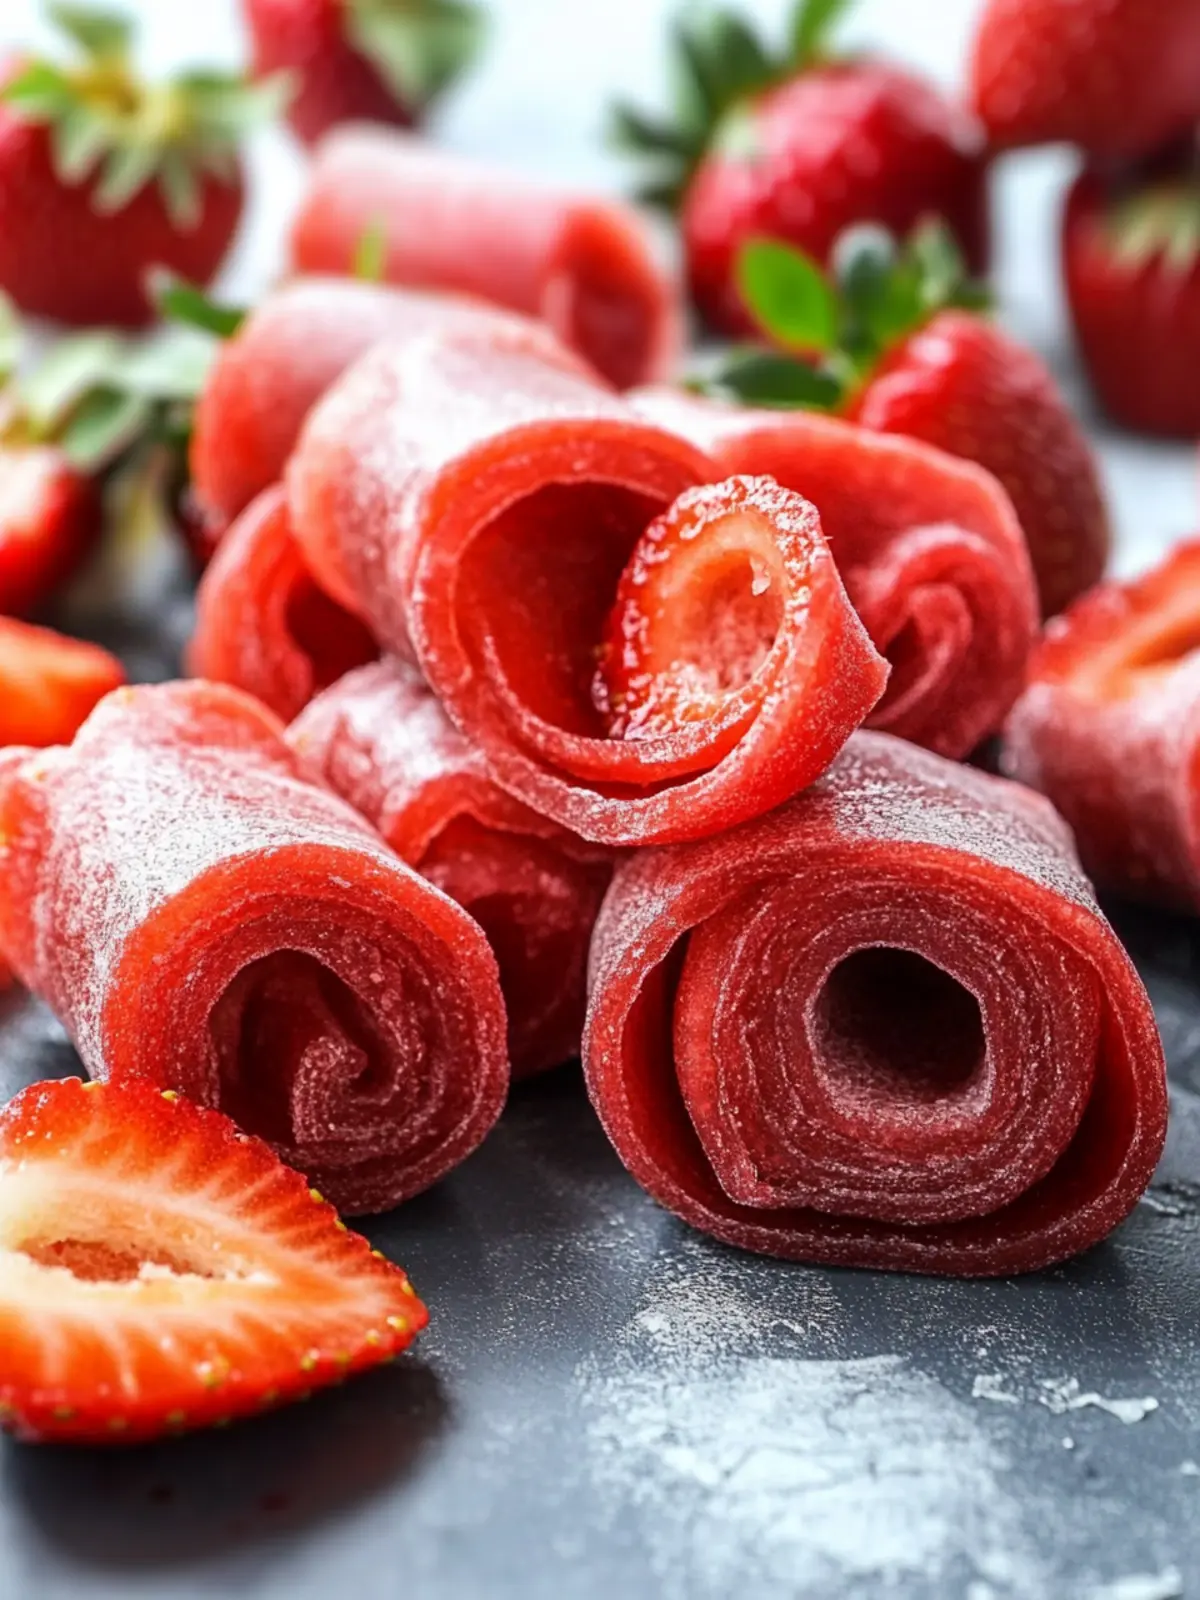
- Prepare the Strawberries (10 minutes): If using fresh strawberries, rinse and hull them. If frozen, thaw completely and drain any excess juice. This ensures your puree isn’t too runny.
- Puree the Fruit (5 minutes): Add the strawberries to your food processor or blender. Pour in the sugar (or honey) and fresh lemon juice. Blend until you get a smooth, thick puree. If the mixture feels too watery, sprinkle in the cornstarch or arrowroot powder and pulse again briefly.
- Spread the Puree (10 minutes): Line a rimmed baking sheet with parchment paper. Pour the strawberry puree onto the sheet and use an offset spatula to spread it evenly, aiming for about 1/8 inch (3 mm) thickness. The thinner it is, the faster it will dry but be careful not to make it too thin or it may tear easily.
- Dry the Fruit Roll-Ups (1.5 to 2 hours): Place the baking sheet in an oven preheated to 140°F (60°C) or use a dehydrator tray. Keep the oven door slightly ajar using a wooden spoon to allow moisture to escape. Check after 90 minutes; the fruit leather should be dry to the touch but still pliable. If it’s sticky or wet, leave it a bit longer, checking every 15 minutes.
- Cut and Store (5 minutes): Once dried, carefully peel the fruit leather from the parchment paper. Use scissors or a sharp knife to cut it into strips or desired shapes. Roll them up with parchment or plastic wrap to keep them from sticking together.
Pro tip: If your puree is too thick and hard to spread, try adding a tablespoon of water or lemon juice to loosen it just slightly. Also, keep an eye on the drying process toward the end to avoid over-drying, which can make the roll-ups brittle.
Cooking Tips & Techniques
Getting homemade fruit roll-ups just right can feel a bit like a balancing act, especially if you’re juggling oven temps and drying times. Here are some tips I’ve picked up along the way that make the process smoother and the results tastier:
- Use ripe but firm strawberries: Overripe fruit can be too watery, which might lengthen drying time and affect texture.
- Spread evenly: Uneven thickness means some parts dry faster than others. Use a small offset spatula or even the back of a spoon to get a uniform layer.
- Keep the oven door cracked: This is key in a home oven to let moisture escape. I wedge a wooden spoon to keep it ajar and it works wonders.
- Don’t rush drying: Patience is your friend here. Pull the roll-ups out too soon, and they’ll be sticky and tear easily. Too late, and they’ll become brittle and crack.
- Store properly: Wrap each roll-up individually to prevent sticking. I like to use parchment paper or reusable silicone food wraps.
- Trial and error: I’ve had batches that dried too thin or thick, so don’t be discouraged if your first try isn’t perfect. Adjust thickness next time based on your drying experience.
One time, I left the roll-ups in the oven just a bit too long and ended up with crunchy edges. Not a total loss, but a reminder that low and slow is the way to go. These little lessons have made the process feel less intimidating, and now I often make fruit roll-ups alongside prepping something savory like the crispy shrimp toast bites for a well-rounded snack spread.
Variations & Adaptations
While strawberry is a classic, this recipe is a great base for mixing things up depending on what you have in the kitchen or what flavors you’re craving.
- Mixed Berry Roll-Ups: Blend strawberries with blueberries and raspberries for a vibrant, tangy twist. Use equal parts of each berry and adjust sugar to taste.
- Mango or Peach Variation: Swap strawberries for pureed mango or peaches for a tropical, summery vibe. These fruits tend to be juicier, so you might want to add a little more thickener.
- Sweetened with Maple Syrup: For a different sweetness profile, replace sugar or honey with maple syrup. It adds a subtle caramel note that’s lovely with strawberries.
- Allergen-Friendly: This recipe is naturally gluten-free and dairy-free. For a low-FODMAP version, use just ripe strawberries and omit sweeteners if needed.
- Dehydrator vs Oven: If you have a food dehydrator, you can dry these roll-ups at 135°F (57°C) for 4-6 hours, which gives a more uniform texture without the need to crack the oven door.
Personally, I once tried adding a splash of vanilla extract to the puree for a subtle dessert-like flavor—it was surprisingly good! Feel free to experiment with spices like cinnamon or nutmeg depending on your taste. The key is to keep the puree smooth and not too watery.
Serving & Storage Suggestions
These strawberry fruit roll-ups are best enjoyed at room temperature, fresh from the drying process once cooled. They make a perfect grab-and-go snack for kids’ lunchboxes or a quick nibble during busy afternoons.
Serving idea: Pair the roll-ups with a small handful of nuts or a cheese stick for a balanced snack. They also complement fresh fruit bowls or can be cut into fun shapes for parties or picnics.
Storage tips:
- Wrap each roll-up individually in parchment paper or plastic wrap to prevent sticking.
- Store in an airtight container at room temperature for up to 2 weeks.
- For longer storage, keep them in the refrigerator for up to a month or freeze for up to 3 months.
- When reheating frozen roll-ups, let them thaw at room temperature. You can warm them slightly in a low oven (about 200°F / 93°C) for a few minutes to restore softness.
Over time, the flavors deepen slightly as the sugars settle, making them even more flavorful. Just be sure they stay wrapped to avoid drying out too much.
Nutritional Information & Benefits
Each strawberry fruit roll-up is a relatively low-calorie snack, with about 50-60 calories per roll-up (depending on thickness and added sweetener). It’s naturally fat-free and packed with vitamin C thanks to the fresh strawberries and lemon juice.
Strawberries are a great source of antioxidants and fiber, which support digestion and overall health. By making your own fruit roll-ups, you avoid artificial colors, flavors, and high-fructose corn syrup found in many commercial snacks.
This snack fits well into many dietary lifestyles—gluten-free, dairy-free, and vegan-friendly. For those watching sugar intake, you can adjust the sweetener amount or use natural alternatives to keep it lighter.
From a wellness perspective, having a sweet treat that’s wholesome and homemade is a small but meaningful way to enjoy snacks without guilt. It’s also a great way to encourage kids to love fruit in a fun format.
Conclusion
Easy homemade strawberry fruit roll-ups are one of those simple kitchen wins that stick around because they’re genuinely tasty, wholesome, and fun. This recipe isn’t complicated, just a few ingredients and patience drying, but the payoff is a snack that feels special and homemade—without the fuss or weird ingredients.
Feel free to customize the sweetness, experiment with berries, or try different drying methods until you find your perfect roll-up. I love how this recipe brings a little burst of summer strawberries into our snack rotation all year long. It’s become a go-to whenever I want something easy, healthy, and a little nostalgic.
If you try making these roll-ups, I’d love to hear how they turned out for you or what variations you came up with. Sharing your kitchen wins always brightens my day!
Frequently Asked Questions
Can I use frozen strawberries for fruit roll-ups?
Yes! Just thaw them fully and drain any excess liquid before pureeing. This helps prevent the puree from being too watery and speeds up drying time.
How thin should I spread the strawberry puree?
A round 1/8 inch (3 mm) thickness works best—thin enough to dry evenly but thick enough to be chewy and pliable. Too thin can make them brittle.
Can I make fruit roll-ups without added sugar?
Absolutely. If your strawberries are very sweet, you can skip the sweetener or reduce it. Lemon juice helps brighten the flavor, so the roll-ups won’t taste flat.
What’s the best way to store homemade fruit roll-ups?
Wrap each roll-up strip individually in parchment paper or plastic wrap, then store in an airtight container at room temperature for up to two weeks. Refrigerate or freeze for longer storage.
Can I make other flavors besides strawberry?
Yes! Try mixed berries, mango, peach, or even apple. Just adjust thickening agents as needed and be mindful of moisture content for drying times.
Pin This Recipe!
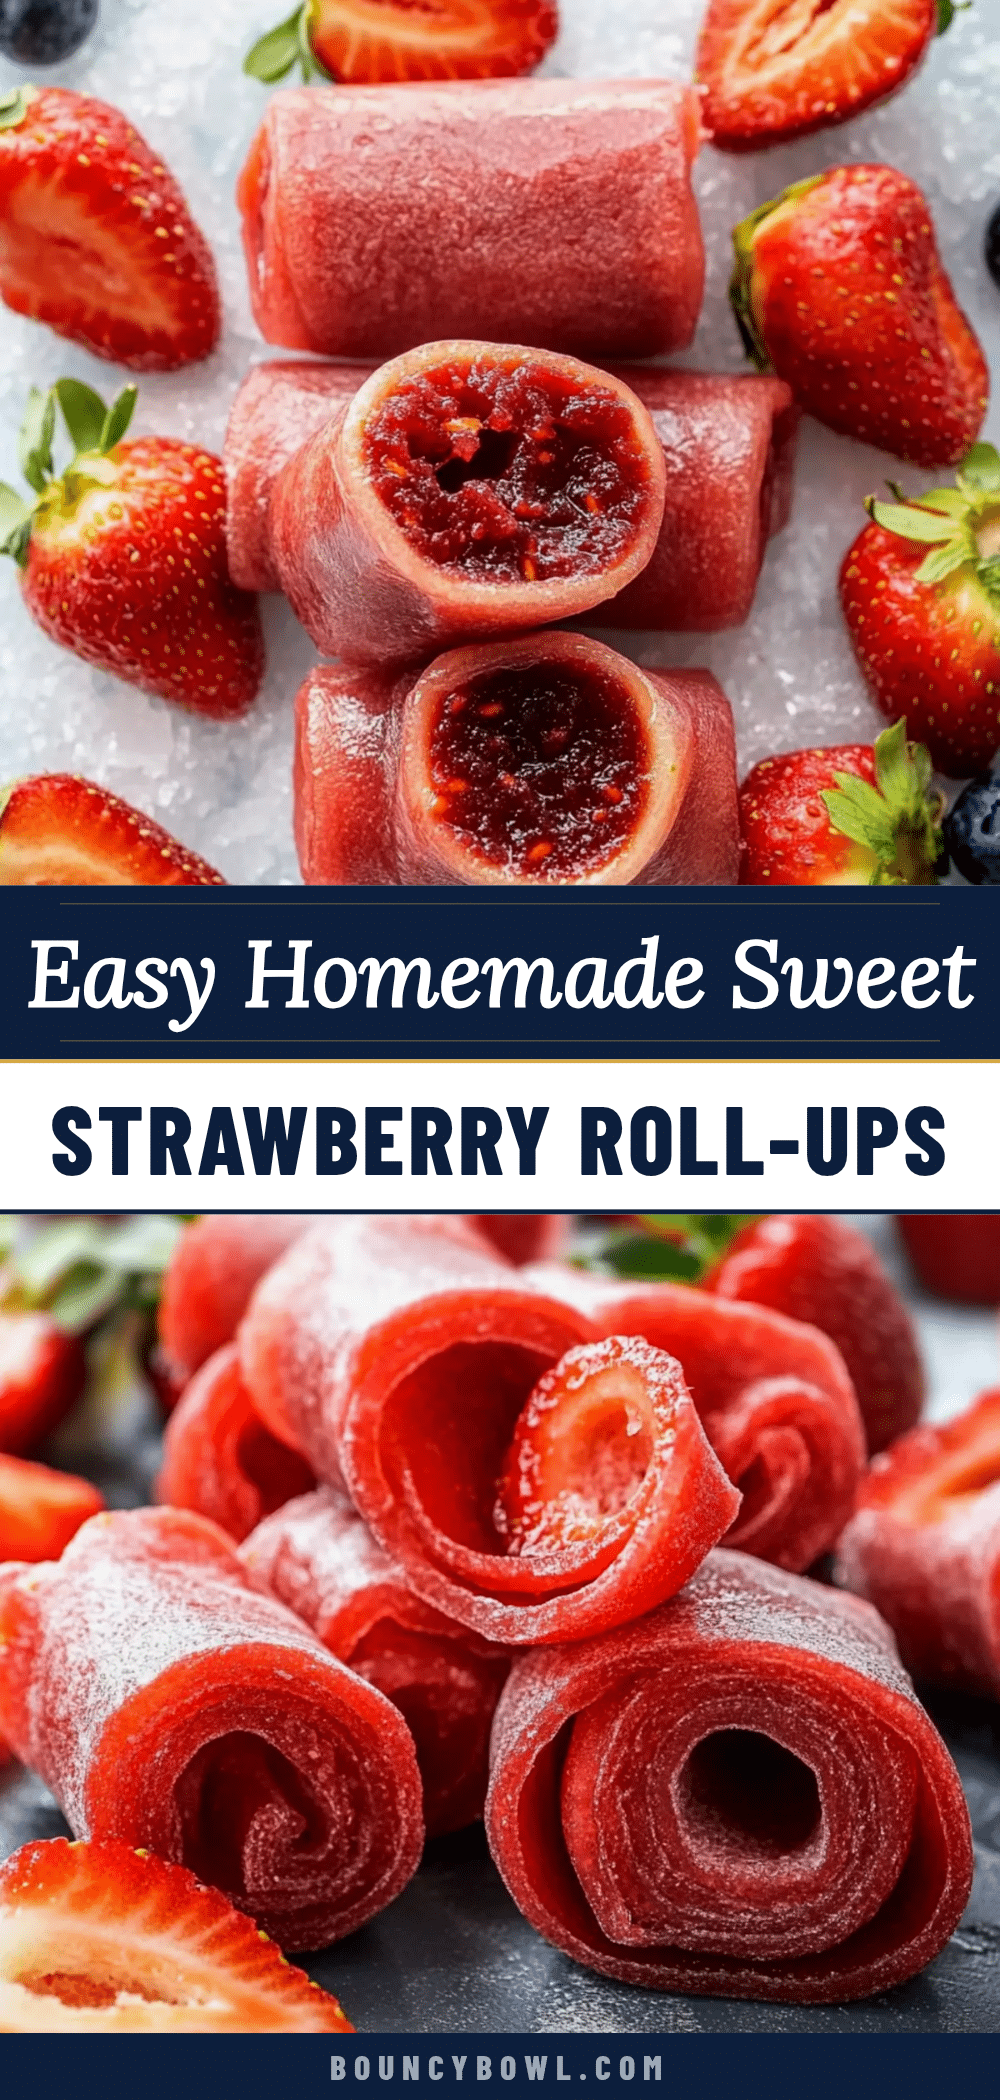
Easy Homemade Strawberry Fruit Roll-Ups

A simple and wholesome recipe for homemade strawberry fruit roll-ups using real ingredients, perfect for snacks and lunchboxes. These chewy, naturally sweet treats are easy to make and free from artificial additives.
- Prep Time: 15 minutes
- Cook Time: 1 hour 45 minutes
- Total Time: 2 hours
- Yield: 8 roll-ups 1x
- Category: Snack
- Cuisine: American
Ingredients
- 4 cups fresh or frozen strawberries (about 600 grams)
- 2–3 tablespoons granulated sugar or honey (30–45 ml)
- 1 tablespoon fresh lemon juice (15 ml)
- 1 teaspoon cornstarch or arrowroot powder (optional, 5 grams)
Instructions
- Prepare the strawberries by rinsing and hulling fresh ones or thawing and draining frozen ones (about 10 minutes).
- Puree the strawberries in a food processor or blender with sugar (or honey) and lemon juice until smooth and thick. If too watery, add cornstarch or arrowroot powder and pulse briefly (about 5 minutes).
- Line a rimmed baking sheet with parchment paper. Spread the strawberry puree evenly to about 1/8 inch (3 mm) thickness using an offset spatula (about 10 minutes).
- Dry the puree in an oven preheated to 140°F (60°C) with the door slightly ajar or in a dehydrator tray for 1.5 to 2 hours until dry to the touch but still pliable. Check after 90 minutes and continue drying if needed.
- Peel the dried fruit leather from the parchment paper and cut into strips or desired shapes. Roll up with parchment or plastic wrap to prevent sticking (about 5 minutes).
Notes
Keep the oven door slightly ajar to allow moisture to escape when drying in the oven. Spread puree evenly to about 1/8 inch thickness for best texture. Wrap roll-ups individually to prevent sticking. Adjust sweetener to taste or omit if strawberries are very sweet. Use cornstarch or arrowroot powder if puree is too watery. Store in airtight container at room temperature for up to 2 weeks, refrigerate up to 1 month, or freeze up to 3 months.
Nutrition
- Serving Size: 1 roll-up
- Calories: 55
- Sugar: 10
- Sodium: 1
- Carbohydrates: 14
- Fiber: 2
- Protein: 0.5
Keywords: strawberry fruit roll-ups, homemade fruit snacks, healthy snacks, kids snacks, fruit leather, gluten-free snacks, vegan snacks


