Love this? Save it for later!
Share the inspiration with your friends
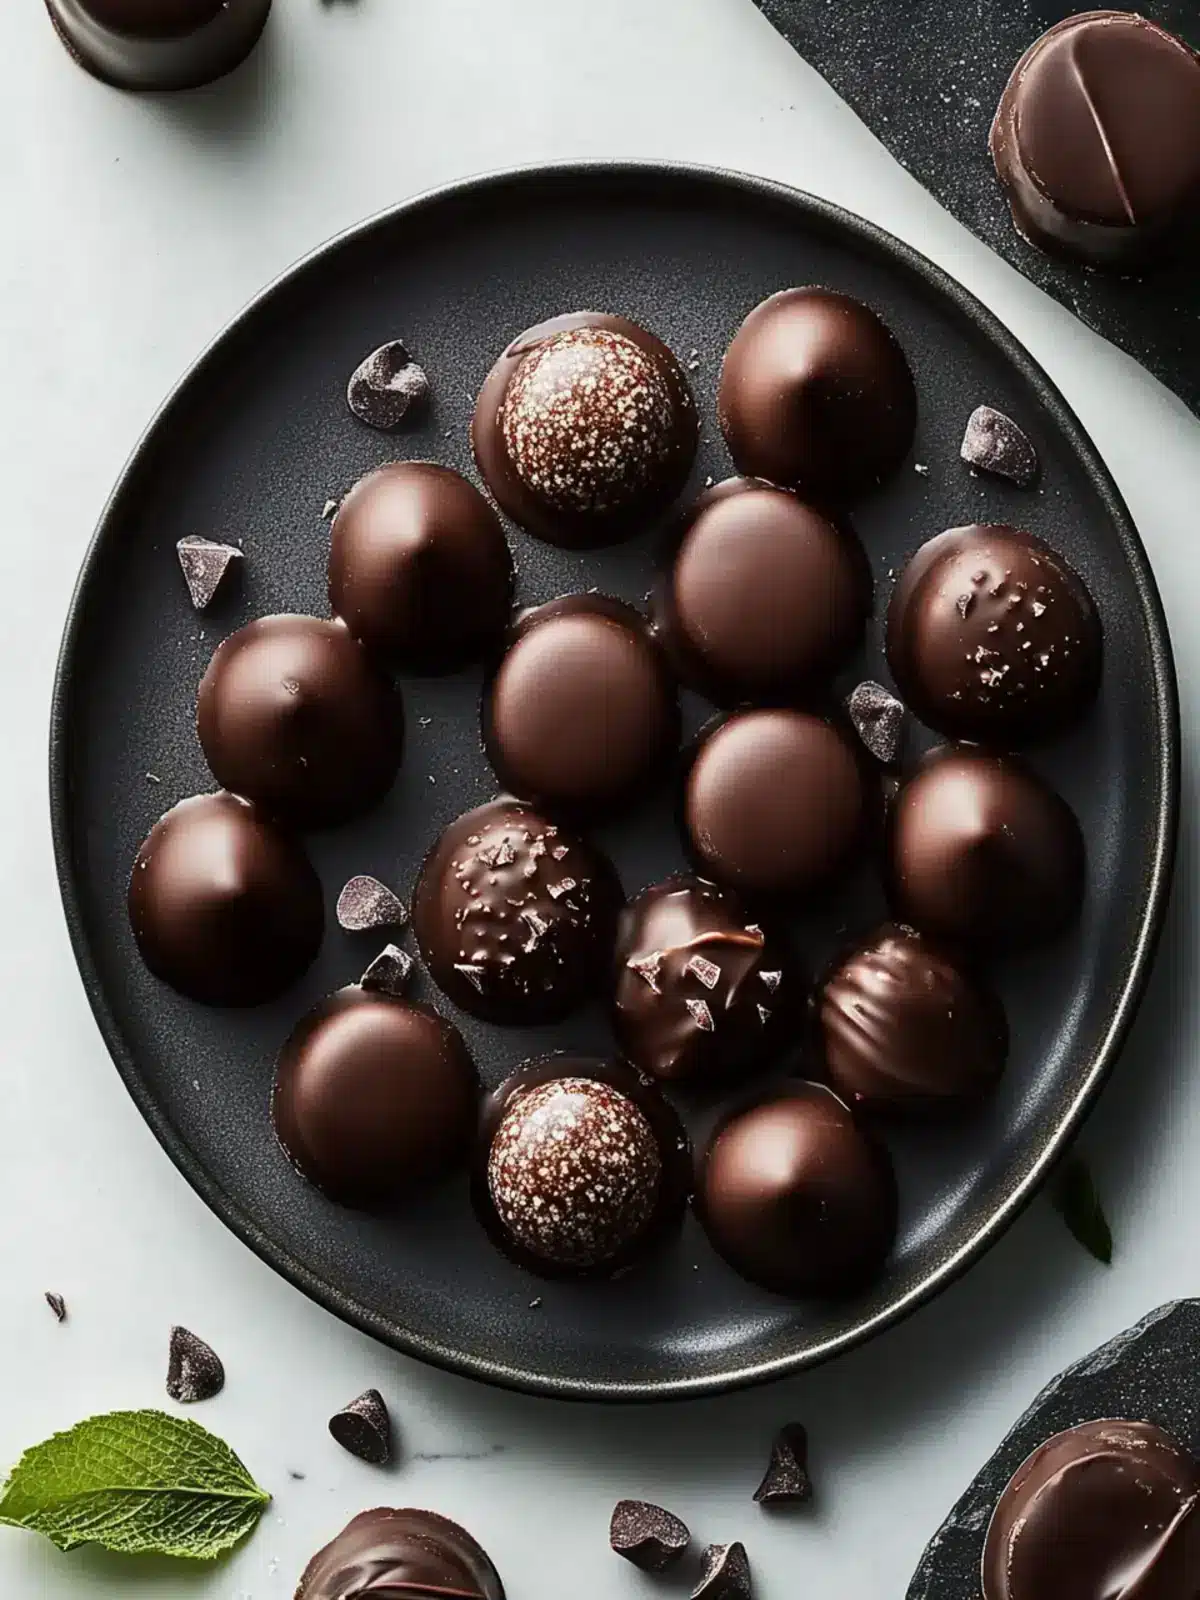
“Wait—you can just make bonbons at home?” My sister-in-law stared at the little chocolate domes I’d set on the counter, her skepticism practically audible. I’d been up since 5:30 that morning, the kitchen counter dusted with cocoa powder, a half-empty jar of peanut butter sitting next to a bag of freeze-dried raspberries that had definitely seen better days. Honestly, I wasn’t sure if they’d set properly. The first batch had cracked because I got impatient with the tempering. But these—these little guys in their mismatched silicone molds—they looked like something you’d pay twelve bucks for at a fancy chocolate shop.
I handed her one filled with salted caramel. She bit into it, and the silence that followed was the best kind of validation. “Okay,” she said, reaching for another. “You have to teach me.”
That moment is basically why I’m writing this. Perfect custom chocolate bonbons aren’t just for pastry chefs with fancy equipment. They’re for anyone who’s ever stood in the candy aisle thinking, “I wish this had more sea salt” or “why can’t I get a dark chocolate version?” This recipe started as a messy experiment during a rainy Saturday when I was craving something specific—a dark chocolate shell with a silky, slightly salted ganache center—and it turned into a full-blown obsession. I made them three times that week. My coworkers started expecting them. My mailman made a comment.
What I love most about these bonbons is how adaptable they are. You can fill them with anything from classic chocolate ganache to tangy fruit curds, nut butters, or even boozy truffle centers. And the best part? You don’t need a marble slab or a thermometer that costs more than your groceries. I’ll show you the shortcuts that actually work—the ones I learned after plenty of cracked shells and grainy fillings. Trust me, if I can pull these off in my cramped little kitchen with a toddler underfoot, you absolutely can too.
Why You’ll Love This Recipe
Let’s be real—homemade chocolate bonbons sound intimidating. But this recipe flips that idea on its head. I’ve tested it more times than I care to admit, and every tweak was designed to make the process smoother, less messy, and way more forgiving. Here’s why this version is different:
- Fully Customizable: This isn’t a one-flavor-fits-all situation. You choose the chocolate, the filling, the toppings—everything. Craving a spicy chili dark chocolate bonbon? Go for it. Want a white chocolate shell with a lemon curd center? You do you.
- No Special Equipment Required: Forget the expensive tempering machines. I’ll show you a simple microwave method that works every time. All you need are basic molds, a microwave-safe bowl, and a little patience.
- Perfect for Gifting: Homemade bonbons make the best presents. They look fancy, taste incredible, and show you actually put thought into it. I’ve given these as hostess gifts, birthday presents, and even wedding favors—they always steal the show.
- Make-Ahead Friendly: These bonbons keep beautifully in the fridge or freezer. You can make a big batch over the weekend and have gourmet treats ready for weeks. Perfect for holiday prep or surprise guests.
- Incredible Texture: The snap of a perfectly tempered chocolate shell gives way to a silky, melt-in-your-mouth filling. It’s that contrast that makes these feel so luxurious—like something from a high-end patisserie, but made in your own kitchen.
I’ve been making these for years now, and I still get a little thrill every time I unmold a batch and see those glossy, perfect shells. It never gets old. And honestly? The first time you hand someone a box of your own homemade bonbons and watch their face light up—that’s a feeling you can’t buy.
Ingredients Needed
This recipe uses simple, high-quality ingredients to create bonbons that taste as good as they look. The beauty of custom bonbons is that you can swap things around based on what you love or what you have on hand. Here’s what you’ll need:
For the Chocolate Shell
- 12 ounces (340g) high-quality dark chocolate (60-70% cocoa), finely chopped – I prefer using Guittard or Valrhona for their smooth melting and rich flavor. Don’t use chocolate chips here; they contain stabilizers that make tempering tricky.
- 12 ounces (340g) high-quality milk or white chocolate (optional, for variety) – If you want a mix of shells, go for it. Just remember different chocolates require different tempering temperatures.
For the Classic Dark Chocolate Ganache Filling
- 1/2 cup (120ml) heavy cream – Full-fat cream is non-negotiable here for that silky texture.
- 6 ounces (170g) dark chocolate (60-70% cocoa), finely chopped – Same quality as the shell. Trust me, it matters.
- 2 tablespoons (30g) unsalted butter, softened – Adds shine and a velvety mouthfeel.
- 1/4 teaspoon sea salt – Flaky salt like Maldon is amazing for finishing, but fine sea salt works for the filling.
- 1/2 teaspoon vanilla extract – Pure vanilla, not imitation. It makes a difference.
For the Salted Caramel Filling (Optional Variation)
- 1 cup (200g) granulated sugar
- 6 tablespoons (90g) unsalted butter, cut into pieces
- 1/2 cup (120ml) heavy cream, warmed
- 1 teaspoon flaky sea salt
For the Peanut Butter Filling (Optional Variation)
- 1/2 cup (130g) creamy peanut butter – Natural, no-stir peanut butter works best.
- 2 tablespoons (30g) powdered sugar
- 1 tablespoon (15g) unsalted butter, softened
- 1/4 teaspoon vanilla extract
For Decoration (Optional)
- Flaky sea salt
- Freeze-dried raspberries or strawberries, crushed
- Crushed pistachios or toasted coconut
- Gold leaf or edible glitter – Because why not?
- Drizzled white or dark chocolate
Ingredient Tips: Always use the best chocolate you can afford. It’s the star of the show. For the ganache, the butter is optional but highly recommended—it gives the filling a luscious, almost fudge-like texture. If you’re making the caramel variation, be careful not to burn the sugar. I’ve done it more times than I’d like to admit, and it’s not salvageable. Start over if it smells burnt.
Equipment Needed
You don’t need a professional pastry kitchen for these bonbons, but a few specific tools will make your life a lot easier:
- Polycarbonate or silicone chocolate molds – I prefer silicone for ease of unmolding, but polycarbonate gives a shinier finish. Amazon has great starter sets for under $15.
- Instant-read thermometer – Crucial for tempering chocolate. A simple digital one works perfectly. Don’t skip this.
- Microwave-safe bowl – Glass or ceramic works best.
- Rubber spatula – For scraping every last bit of ganache.
- Piping bags or small zip-top bags – For filling the shells neatly.
- Offset spatula or bench scraper – For scraping excess chocolate off the molds.
- Baking sheet – To hold the molds while they set.
- Parchment paper – For resting filled bonbons.
If you don’t have a thermometer, you can try the “seed method” for tempering (adding chopped chocolate to melted chocolate to cool it down), but I find the thermometer method more reliable. I’ve ruined too many batches guessing. Also, don’t use plastic bowls—they can hold onto grease and ruin your temper.
Preparation Method
Let’s get into the nitty-gritty. This process has a few steps, but I promise it’s manageable. Take your time, and don’t rush the tempering—it’s the secret to that gorgeous snap.
Step 1: Temper the Chocolate for the Shells
Finely chop 12 ounces of dark chocolate. Place two-thirds of it in a microwave-safe bowl. Microwave in 30-second bursts at 50% power, stirring thoroughly after each burst, until the chocolate is mostly melted but still has a few lumps. The temperature should reach 115°F (46°C) for dark chocolate. Add the remaining chopped chocolate (the “seed”) and stir continuously until it cools to about 88-90°F (31-32°C). This is your working temperature. If it goes above 91°F (33°C), you’ll need to start over. I’ve been there—it’s frustrating, but worth redoing.
Step 2: Fill the Molds
Using a small spoon or a piping bag, fill each cavity of your mold with tempered chocolate. Tap the mold firmly on the counter to release air bubbles. Turn the mold upside down over your bowl of chocolate and let the excess drip out. Scrape the top of the mold clean with an offset spatula. Place the mold face-down on a piece of parchment paper and refrigerate for 10-15 minutes, or until the chocolate is set and firm to the touch.
Step 3: Make the Ganache Filling
While the shells set, make your filling. For the classic dark chocolate ganache, heat the heavy cream in a small saucepan until it just begins to simmer (small bubbles around the edge). Pour the hot cream over the chopped dark chocolate in a bowl. Let it sit for 2 minutes, then stir gently until smooth. Add the softened butter, sea salt, and vanilla extract, and stir until glossy. Let the ganache cool to room temperature—it should be thick but pipeable, like a thick pudding. If it’s too runny, refrigerate for 10-15 minutes.
Step 4: Fill the Shells
Once your chocolate shells are set, pipe or spoon the ganache into each cavity, leaving about 1/8 inch (3mm) of space at the top. Don’t overfill—you need room for the bottom chocolate seal. Tap the mold gently to level the filling. Refrigerate for 15-20 minutes until the ganache is firm.
Step 5: Seal the Bonbons
Re-temper your remaining chocolate (or melt fresh chocolate if needed). Spoon a small amount over each filled cavity, spreading it to the edges. Scrape off the excess with your spatula. Tap the mold again to remove air bubbles. Refrigerate for 15-20 minutes until fully set.
Step 6: Unmold and Decorate
Gently flex the silicone mold to release the bonbons. If using polycarbonate molds, give them a light tap on the counter. They should pop out easily. Decorate with a sprinkle of flaky sea salt, crushed freeze-dried raspberries, or a drizzle of contrasting chocolate. Let them come to room temperature before serving for the best texture and flavor.
Cooking Tips & Techniques
I’ve made every mistake in the book so you don’t have to. Here are the lessons I learned the hard way:
- Don’t rush the tempering. If your chocolate gets too hot, it’ll seize up or bloom (those white streaks). If it’s too cool, it won’t set properly. Keep that thermometer handy and go slow.
- Work in a cool, dry room. Humidity is the enemy of tempered chocolate. If your kitchen is steamy, wait for a cooler day or run the air conditioner. I learned this after a failed batch during a summer thunderstorm.
- Use a piping bag for the filling. It gives you control and keeps things neat. A zip-top bag with a tiny corner snipped off works just as well.
- Tap, tap, tap. Air bubbles are the enemy of a smooth shell. Tap your mold firmly on the counter several times after filling. You’ll see tiny bubbles rise to the surface—pop them with a toothpick.
- Let the ganache cool properly. If it’s too warm when you pipe it into the shells, it can melt the chocolate shell. Wait until it’s thick but still spreadable.
- Clean your molds thoroughly. Any grease or residue will ruin the shine. Wash with hot water and mild soap, then dry completely. I use a lint-free cloth to buff them.
One time, I was in a hurry and tried to speed-temper chocolate by adding cold butter. It was a disaster. The chocolate seized into a grainy, clumpy mess. I had to toss it and start over. Patience really is key here.
Variations & Adaptations
This is where the fun begins. The base recipe is a blank canvas, and you can go in so many directions:
- Fruit Lover’s Bonbon: Fill the shells with a raspberry or passion fruit ganache. Use white chocolate for the shell and top with freeze-dried raspberry powder for a gorgeous pink finish.
- Nutty Crunch: Add a layer of crunchy praline or chopped toasted hazelnuts to the ganache. A milk chocolate shell with a hazelnut filling tastes like a homemade Nutella truffle.
- Spiced Chai: Infuse the heavy cream with chai tea bags (or a cinnamon stick and cardamom pods) before making the ganache. Pair with a dark chocolate shell for a cozy, aromatic treat.
- Boozy Bonbons: Add a tablespoon of bourbon, rum, or Grand Marnier to the ganache. Just reduce the cream slightly to compensate for the extra liquid. These are always a hit at adult gatherings.
- Vegan & Dairy-Free: Use a high-quality dark chocolate that’s dairy-free (many are). Substitute the heavy cream with full-fat coconut cream and use a vegan butter or coconut oil. The texture is slightly different but still delicious.
- White Chocolate Shell: White chocolate is trickier to temper because it’s more sensitive to heat. But if you’re patient, it creates a beautiful, creamy shell that pairs wonderfully with tart fruit fillings.
My personal favorite variation is a dark chocolate shell filled with a salted caramel center and topped with a tiny sprinkle of flaky sea salt. It’s simple but absolutely irresistible. I’ve also made a batch with a decadent chocolate chip banana bars inspired filling—mashed banana mixed into a white chocolate ganache. It sounds weird, but it’s surprisingly good!
Serving & Storage Suggestions
Bonbons are best enjoyed at room temperature. The chocolate shell should snap cleanly, and the filling should be soft and creamy. If you’ve stored them in the fridge, let them sit out for 10-15 minutes before serving.
Storage: Place your bonbons in an airtight container, layered between sheets of parchment paper. They’ll keep in the refrigerator for up to 2 weeks. For longer storage, freeze them for up to 3 months. Thaw in the refrigerator overnight before serving.
Gifting: Arrange the bonbons in a decorative box or tin, separated by mini paper liners. They make incredible gifts for birthdays, holidays, or just because. I once brought a box to a dinner party, and I’m pretty sure they were the most popular thing on the table.
If you’re serving them as part of a dessert spread, they pair beautifully with fresh berries, a dollop of whipped cream, or a cup of strong coffee. For a fun brunch twist, try setting them out alongside a batch of pretty pink cinnamon rolls—the combination of chocolate and cinnamon is heavenly.
Nutritional Information & Benefits
Let’s be honest—these bonbons are a treat, not a health food. But that doesn’t mean they can’t have some redeeming qualities. Here’s a rough estimate per bonbon (based on a dark chocolate shell with classic ganache filling):
- Calories: 80-100
- Fat: 6-8g
- Carbohydrates: 8-10g
- Protein: 1-2g
- Sugar: 6-8g
Dark chocolate is rich in antioxidants, particularly flavonoids, which are linked to heart health and improved blood flow. The cocoa content also provides a small amount of iron and magnesium. If you use dark chocolate with 70% or higher cocoa content, you’re getting more of these benefits and less sugar.
For those with dietary restrictions, these bonbons can easily be made gluten-free (just check your chocolate labels) and dairy-free with the substitutions mentioned above. They’re also naturally egg-free. If you’re watching your sugar intake, you can use a sugar-free dark chocolate and a sugar substitute in the ganache, though the texture will be slightly different.
I personally love that I can control exactly what goes into these bonbons. No preservatives, no artificial flavors—just real ingredients. And honestly, a small piece of high-quality dark chocolate can be a satisfying way to end a meal without overindulging.
Conclusion
Making perfect custom chocolate bonbons at home is one of those skills that feels like a secret superpower. Once you master the basic technique, the possibilities are endless. You can tailor every single bonbon to your cravings—or to the person you’re gifting them to. That kind of personal touch is rare, and it’s something store-bought chocolates can never replicate.
I hope this recipe gives you the confidence to try it yourself. Don’t worry if your first batch isn’t perfect. My first batch had cracked shells and a filling that was way too runny. But I kept at it, and now I can whip up a batch without even thinking about it. You’ll get there too.
I’d love to hear about your bonbon adventures! Drop a comment below and tell me what fillings you tried, or share a photo of your creations. And if you’re looking for another fun, chocolatey project, you might enjoy making a batch of best loaded turtle cookies with gooey caramel—they have that same irresistible combination of chocolate and caramel. Happy chocolate-making!
Frequently Asked Questions
Can I use chocolate chips instead of chopped chocolate bars?
I don’t recommend it. Chocolate chips contain stabilizers that prevent them from melting smoothly and tempering properly. They’ll still melt, but the texture and shine won’t be the same. Stick with high-quality chocolate bars or callets (discs) for the best results.
My chocolate seized and turned grainy. What went wrong?
Seizing happens when even a tiny amount of water gets into the chocolate. Make sure all your bowls and utensils are bone-dry. Also, avoid overheating the chocolate—microwave in short bursts and stir frequently. If it seizes, you can sometimes save it by stirring in a teaspoon of vegetable oil, but it won’t temper properly afterward.
How do I know when the ganache is the right consistency for piping?
The ganache should be thick enough to hold its shape when piped, but soft enough to squeeze through a piping bag. It should look like a thick pudding. If it’s too runny, refrigerate for 10-15 minutes. If it’s too stiff, let it sit at room temperature for a few minutes or add a tiny splash of warm cream.
Can I make these bonbons without a thermometer?
You can try the “seed method” for tempering, where you add finely chopped chocolate to melted chocolate to cool it down. But honestly, a thermometer is cheap and takes the guesswork out. I’ve ruined too many batches without one to recommend skipping it. They’re under $10 on Amazon.
How far in advance can I make these bonbons?
You can make them up to 2 weeks ahead if stored properly in the refrigerator. They also freeze beautifully for up to 3 months. Just make sure they’re in an airtight container to prevent them from absorbing any fridge odors. Thaw in the refrigerator overnight before serving.
Pin This Recipe!
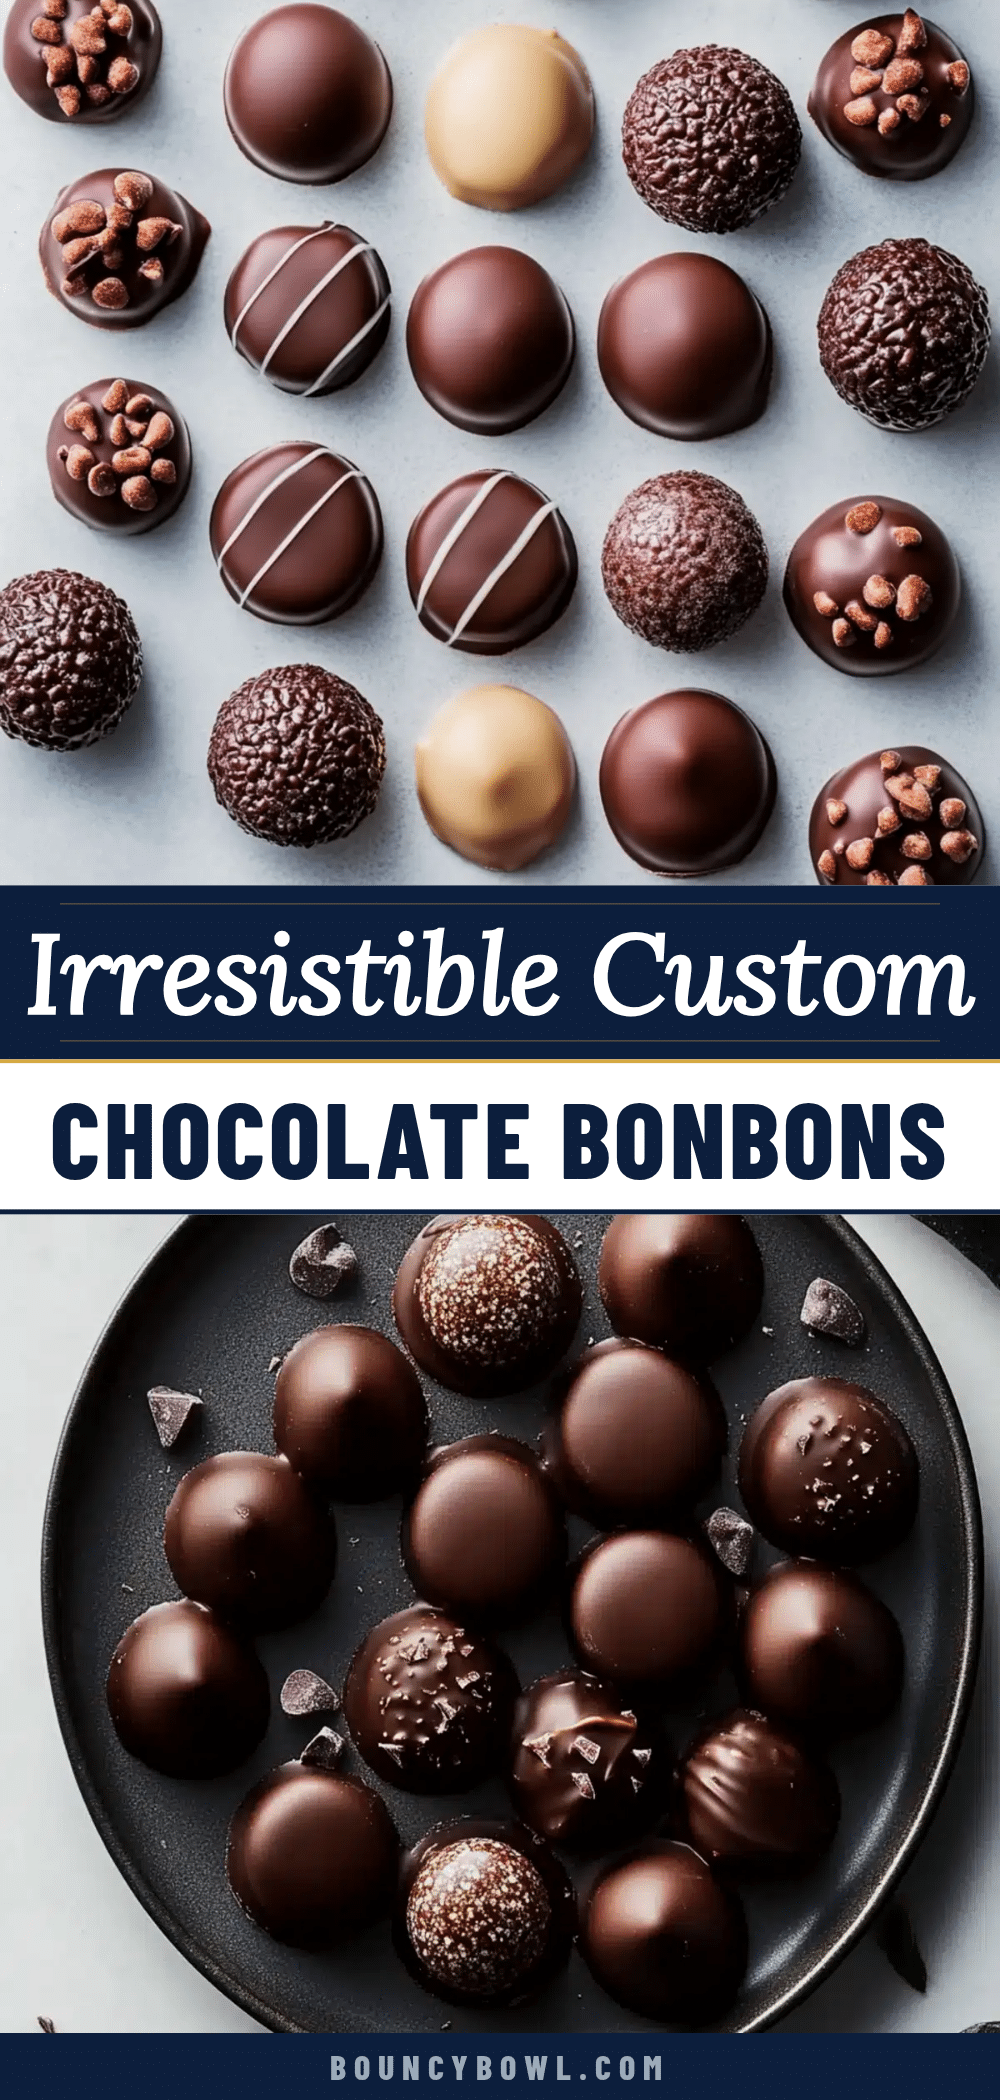
Perfect Custom Chocolate Bonbons: Easy Homemade Recipe
Learn how to make perfect custom chocolate bonbons at home with this easy recipe. Fully customizable with various fillings like ganache, salted caramel, or peanut butter, these homemade treats are perfect for gifting or indulging.
- Prep Time: 30 minutes
- Cook Time: 15 minutes
- Total Time: 1 hour 45 minutes
- Yield: 24 servings 1x
- Category: Dessert
- Cuisine: French
Ingredients
- 12 ounces (340g) high-quality dark chocolate (60-70% cocoa), finely chopped
- 12 ounces (340g) high-quality milk or white chocolate (optional, for variety)
- 1/2 cup (120ml) heavy cream
- 6 ounces (170g) dark chocolate (60-70% cocoa), finely chopped
- 2 tablespoons (30g) unsalted butter, softened
- 1/4 teaspoon sea salt
- 1/2 teaspoon vanilla extract
- 1 cup (200g) granulated sugar
- 6 tablespoons (90g) unsalted butter, cut into pieces
- 1/2 cup (120ml) heavy cream, warmed
- 1 teaspoon flaky sea salt
- 1/2 cup (130g) creamy peanut butter
- 2 tablespoons (30g) powdered sugar
- 1 tablespoon (15g) unsalted butter, softened
- 1/4 teaspoon vanilla extract
- Flaky sea salt (for decoration)
- Freeze-dried raspberries or strawberries, crushed (for decoration)
- Crushed pistachios or toasted coconut (for decoration)
- Gold leaf or edible glitter (for decoration)
- Drizzled white or dark chocolate (for decoration)
Instructions
- Finely chop 12 ounces of dark chocolate. Place two-thirds of it in a microwave-safe bowl. Microwave in 30-second bursts at 50% power, stirring thoroughly after each burst, until the chocolate is mostly melted but still has a few lumps. The temperature should reach 115°F (46°C) for dark chocolate. Add the remaining chopped chocolate (the ‘seed’) and stir continuously until it cools to about 88-90°F (31-32°C). This is your working temperature.
- Using a small spoon or a piping bag, fill each cavity of your mold with tempered chocolate. Tap the mold firmly on the counter to release air bubbles. Turn the mold upside down over your bowl of chocolate and let the excess drip out. Scrape the top of the mold clean with an offset spatula. Place the mold face-down on a piece of parchment paper and refrigerate for 10-15 minutes, or until the chocolate is set and firm to the touch.
- While the shells set, make your filling. For the classic dark chocolate ganache, heat the heavy cream in a small saucepan until it just begins to simmer (small bubbles around the edge). Pour the hot cream over the chopped dark chocolate in a bowl. Let it sit for 2 minutes, then stir gently until smooth. Add the softened butter, sea salt, and vanilla extract, and stir until glossy. Let the ganache cool to room temperature—it should be thick but pipeable, like a thick pudding. If it’s too runny, r…
- Once your chocolate shells are set, pipe or spoon the ganache into each cavity, leaving about 1/8 inch (3mm) of space at the top. Don’t overfill—you need room for the bottom chocolate seal. Tap the mold gently to level the filling. Refrigerate for 15-20 minutes until the ganache is firm.
- Re-temper your remaining chocolate (or melt fresh chocolate if needed). Spoon a small amount over each filled cavity, spreading it to the edges. Scrape off the excess with your spatula. Tap the mold again to remove air bubbles. Refrigerate for 15-20 minutes until fully set.
- Gently flex the silicone mold to release the bonbons. If using polycarbonate molds, give them a light tap on the counter. They should pop out easily. Decorate with a sprinkle of flaky sea salt, crushed freeze-dried raspberries, or a drizzle of contrasting chocolate. Let them come to room temperature before serving for the best texture and flavor.
Notes
Don’t rush the tempering process. Work in a cool, dry room to avoid humidity issues. Use a piping bag for neat filling. Tap molds firmly to remove air bubbles. Let ganache cool properly before piping to avoid melting the shell. Clean molds thoroughly for a shiny finish.
Nutrition
- Serving Size: 1 bonbon
- Calories: 90
- Sugar: 7
- Sodium: 50
- Fat: 7
- Saturated Fat: 4
- Carbohydrates: 9
- Fiber: 1
- Protein: 1.5
Keywords: chocolate bonbons, homemade bonbons, custom bonbons, chocolate truffles, easy bonbon recipe, gift chocolate, dark chocolate ganache, salted caramel bonbons


