Love this? Save it for later!
Share the inspiration with your friends
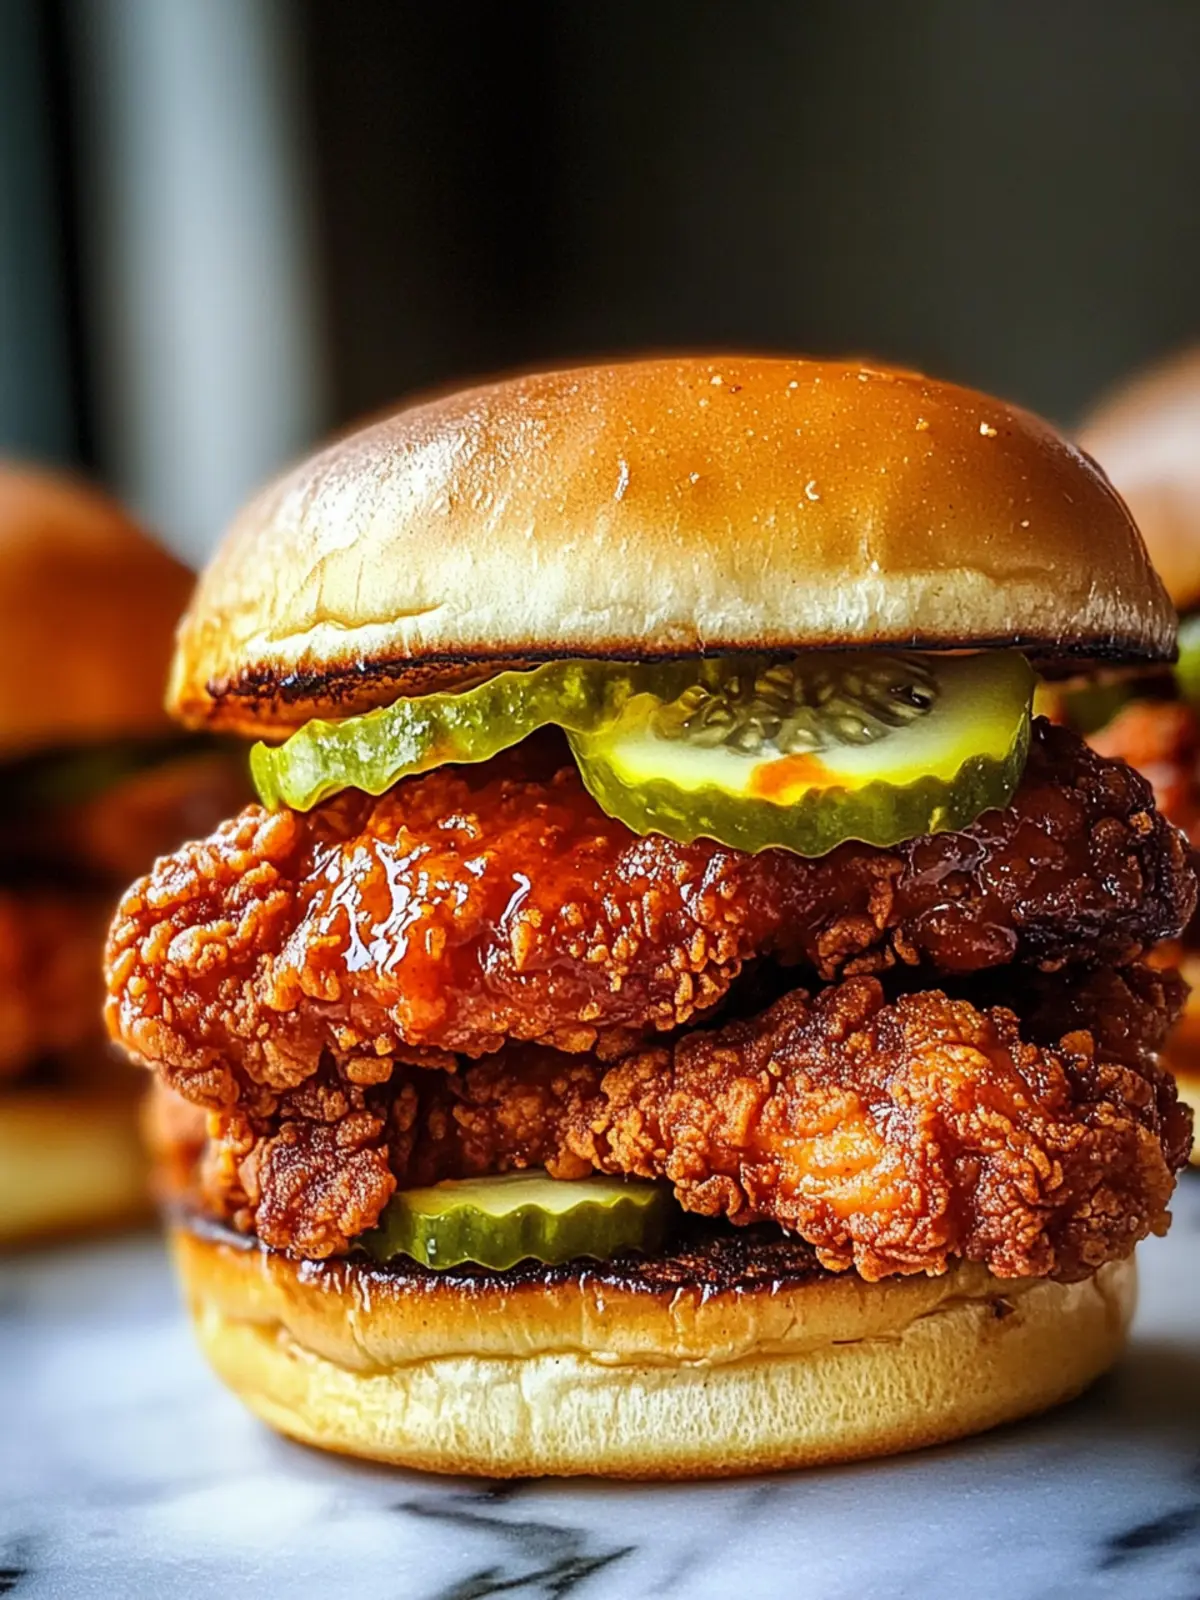
The first time I made these crispy Nashville hot chicken sandwiches, I wasn’t even trying to be impressive. It was a Tuesday night, I was tired, and I had a pack of chicken thighs that needed using up before they hit their expiration date. I had this vague memory of a sandwich I’d eaten months earlier at a tiny spot three towns over—the kind of place with a handwritten menu and napkins that disintegrate in your hands. That sandwich had ruined me for regular fried chicken forever.
I didn’t have buttermilk. I didn’t have a deep fryer. Honestly, I didn’t even have high hopes. But I had cayenne pepper, brown sugar, and a stubborn refusal to order takeout for the third night in a row. So I threw together a quick brine with regular milk and a splash of vinegar, dredged those thighs in a spiced flour mix, and fried them in a cast iron skillet that’s seen better days. The glaze—that’s where the magic happens—came together in the same pan after the chicken came out. I brushed it on, piled everything onto a brioche bun with pickles, and took a bite standing over the counter.
I actually laughed out loud. It was that good. Not just good for a Tuesday night experiment, but genuinely, dangerously good. The kind of good where you immediately text your friend a photo and promise to make it for them. That first bite had the crunch I’d been chasing, that slow-building heat that makes your ears feel warm, and enough juicy tenderness to make you forget about the napkins you definitely need. This crispy Nashville hot chicken sandwich recipe has been on repeat ever since, and I’m pretty sure it’ll become a staple in your kitchen too.
Why You’ll Love This Recipe
I’ve tested this recipe more times than I care to admit. There were batches that came out too dry, glazes that were more heat than flavor, and one particularly sad attempt where the breading slid off completely and left me with a pan of sad, spicy chicken skin. But after all that trial and error, I can confidently say this version hits every note.
- Restaurant-Quality Crunch at Home : The double-dredge technique gives you that shatteringly crisp crust that holds up even under the spicy glaze. No sogginess here.
- Perfect Heat That Builds, Not Burns : The cayenne and brown sugar combo creates a slow warmth that lingers on your tongue without overwhelming you. You’ll actually taste the chicken underneath.
- Ready in Under an Hour : From first ingredient to first bite, you’re looking at about 45 minutes. No overnight brining or complicated steps.
- Simple Pantry Ingredients : Nothing fancy here. If you’ve got chicken, flour, spices, and a few pantry staples, you’re already halfway there.
- Always a Crowd-Pleaser : I’ve served these at game day gatherings, casual dinners, and even a birthday party. The plate empties every single time.
What makes this different from other Nashville hot chicken recipes is the balance. So many versions go heavy on the heat and forget about flavor, or they nail the spice but end up with dry meat. This recipe gives you juicy, tender chicken with a crust that stays crunchy even after you brush on that glossy, fiery glaze. It’s the kind of sandwich that makes you close your eyes after the first bite—not because it’s painfully spicy, but because it’s just that satisfying.
What Ingredients You Will Need
This recipe uses simple, everyday ingredients to build something that tastes anything but basic. The magic is in how they work together—the brine tenderizes, the flour coating crisps up, and the glaze delivers that signature Nashville heat.
For the Brine
- 1 cup buttermilk (or 1 cup milk + 1 tablespoon lemon juice, let sit 5 minutes)
- 1 large egg
- 1 teaspoon salt
- 1 teaspoon black pepper
- 1 teaspoon paprika
For the Flour Dredge
- 1 ½ cups all-purpose flour
- ¼ cup cornstarch (this is the secret to extra crunch)
- 1 tablespoon paprika
- 1 teaspoon garlic powder
- 1 teaspoon onion powder
- 1 teaspoon cayenne pepper (adjust for heat preference)
- 1 teaspoon salt
- ½ teaspoon black pepper
For the Spicy Glaze
- ¼ cup cayenne pepper (yes, this much—trust the process)
- 2 tablespoons brown sugar (light or dark, both work)
- 1 teaspoon garlic powder
- 1 teaspoon paprika
- ½ cup reserved frying oil (strained after frying)
- 1 tablespoon butter (adds richness and helps the glaze stick)
For Assembly
- 4 brioche buns (split and toasted lightly)
- Dill pickle slices (the tangier, the better)
- Optional: coleslaw, shredded lettuce, or pickled jalapeños
I recommend using chicken thighs over breasts for this recipe—they stay juicier and have more flavor. If you only have breasts, pound them to an even thickness so they cook evenly. For the oil, peanut oil gives the best flavor, but vegetable or canola work perfectly fine too.
A quick note on the cayenne: this amount creates authentic Nashville heat. If you’re sensitive to spice, start with 2 tablespoons in the glaze and add more to taste. You can always increase heat, but you can’t take it away.
Equipment Needed
You don’t need much fancy gear for these sandwiches, which is part of why I love making them on random weeknights.
- Cast iron skillet or heavy-bottomed pot : A 10-inch skillet works great. The heavy metal holds heat steady, which means your oil temperature won’t drop when you add the chicken.
- Deep-fry or candy thermometer : Not optional here. Getting the oil to exactly 350°F makes the difference between crispy perfection and greasy disappointment.
- Tongs : Long ones keep your hands safe from splattering oil.
- Wire rack set over a baking sheet : This keeps the fried chicken crispy instead of steaming on paper towels.
- Mixing bowls : One for the brine, one for the flour dredge.
- Pastry brush : For applying that gorgeous glaze.
If you don’t have a cast iron skillet, any heavy-bottomed pot works. Just keep an eye on the oil temperature since thinner pans fluctuate more. And if you’re thermometer-less, drop a pinch of flour into the oil—if it sizzles immediately and rises to the surface, you’re in the right ballpark.
Preparation Method
Let’s get to the good part. Here’s how to make the best crispy Nashville hot chicken sandwiches of your life.
- Brine the chicken. In a medium bowl, whisk together buttermilk, egg, salt, pepper, and paprika. Add your chicken thighs and make sure they’re fully submerged. Cover and let them sit at room temperature for 15 minutes, or refrigerate up to 4 hours if you’re planning ahead. The brine tenderizes the meat and helps the flour coating stick.
- Prepare the flour dredge. In a shallow dish, whisk together flour, cornstarch, paprika, garlic powder, onion powder, cayenne, salt, and pepper. The cornstarch is non-negotiable—it’s what gives you that extra-crispy, almost shattery crust.
- Heat the oil. Pour about 1 ½ inches of oil into your cast iron skillet. Heat over medium-high until it reaches 350°F. This takes about 8-10 minutes. While the oil heats, set up your wire rack over a baking sheet.
- Dredge the chicken. Working one piece at a time, lift a thigh from the brine, letting excess drip off. Drop it into the flour mixture and coat thoroughly, pressing the flour into every crevice. Shake off excess and place on a clean plate. Here’s a trick I learned the hard way: let the coated chicken sit for 5 minutes before frying. This helps the coating set and prevents it from sliding off in the oil.
- Fry in batches. Carefully lower 2-3 pieces into the hot oil, depending on the size of your skillet. Don’t overcrowd—this drops the oil temperature and leads to soggy chicken. Fry for 5-6 minutes per side, until golden brown and the internal temperature reaches 165°F. The crust should be deep amber and feel firm when you tap it with tongs.
- Rest on the wire rack. Transfer fried chicken to the wire rack. Let them rest while you fry the remaining batches. Don’t skip this step—resting lets excess oil drip off and keeps the crust crisp.
- Make the glaze. In a small heatproof bowl, whisk together cayenne, brown sugar, garlic powder, and paprika. Carefully ladle out ½ cup of the hot frying oil (strain it through a fine-mesh sieve first to catch any burnt bits). Pour the hot oil over the spice mixture and whisk until smooth. Add the butter and stir until melted. The glaze should be glossy and smell intensely spicy—in the best way.
- Glaze the chicken. Working quickly while the chicken is still warm, use your pastry brush to coat each piece generously on both sides. Don’t be shy here—the glaze is what makes Nashville hot chicken what it is.
- Toast the buns. Split your brioche buns and toast them cut-side down in a dry skillet or under the broiler for about a minute. Toasting prevents the bun from getting soggy from the glaze.
- Assemble the sandwiches. Place a glazed chicken thigh on the bottom half of each bun. Top with pickle slices—I use 4-5 per sandwich, layered evenly. Add any extra toppings you like, then close with the top bun. Serve immediately while the chicken is still hot and the bun is soft.
A sensory cue to watch for: when the chicken is perfectly fried, the crust will make a hollow sound when you tap it with your tongs. If it sounds muffled or feels soft, give it another minute. The oil should maintain a steady sizzle throughout frying—if it goes silent, you’ve added too much chicken at once.
Cooking Tips & Techniques
I’ve made every mistake you can imagine with this recipe, so let me save you some trouble.
Oil temperature is everything. I cannot stress this enough. If your oil is too cool, the chicken absorbs grease and the coating turns heavy and sad. Too hot, and the outside burns before the inside cooks through. Keep that thermometer clipped to the pan and adjust the heat as needed. Between batches, let the oil come back up to 350°F before adding more chicken.
Don’t skip the rest after dredging. That 5-minute wait before frying is not optional. It lets the flour mixture hydrate and form a bond with the chicken. Skip it, and you risk your breading separating in the oil. I learned this after staring at a skillet full of floating breading bits and naked chicken.
The glaze needs hot oil. When you make the glaze, the oil needs to be fresh from the skillet—still sizzling hot. If it cools down, the cayenne won’t bloom properly and the glaze will taste raw and gritty instead of smooth and fiery. Work fast once you’ve strained the oil.
Multitasking tip: While the first batch of chicken fries, prep your buns and pickle slices. This way, everything comes together at once and you’re not scrambling at the end. I also like to set out my toppings on a small tray so assembly goes quickly.
If you’re nervous about spice, start with half the cayenne in the glaze and taste it before brushing. You can always add more heat, but you can’t undo it. That said, the brown sugar balances the cayenne beautifully, so don’t be too scared of the full amount.
Variations & Adaptations
This recipe is surprisingly flexible once you know the base technique.
Oven-Baked Version : For a lighter take, bake the dredged chicken on a wire rack over a baking sheet at 400°F for 20-25 minutes, flipping halfway through. Brush with glaze after baking. You won’t get the same level of crunch, but it’s still delicious and much less messy.
Mild Heat Option : Reduce the cayenne in both the flour dredge and the glaze by half. Add an extra teaspoon of smoked paprika instead—it gives you that smoky depth without the burn. Great for kids or spice-averse eaters.
Gluten-Free Adaptation : Substitute the all-purpose flour with a 1:1 gluten-free flour blend and use cornstarch as directed. I’ve tested this with a popular brand and the texture holds up surprisingly well. Just make sure your blend contains xanthan gum for binding.
Extra Crunchy Version : Add ½ cup crushed cornflakes or panko breadcrumbs to the flour dredge. This creates an even more textured crust that stays crunchy longer. I tried this during a particularly obsessive phase and it was a game-changer for leftover sandwiches.
Sweet Heat Twist : Add 1 tablespoon honey to the glaze along with the butter. The sweetness cuts through the heat and adds a gorgeous shine. My sister-in-law requests this version every time she visits.
If you’re looking for something different to serve alongside, these sandwiches pair beautifully with a fresh cowboy caviar pasta salad—the cool, tangy flavors balance the heat perfectly.
Serving & Storage Suggestions
These sandwiches are best enjoyed immediately, while the chicken is still hot and the bun is soft against the crunchy crust. Serve them with extra pickles on the side and plenty of napkins—things get messy, and that’s part of the fun.
What to serve with them: A creamy coleslaw is the classic pairing, but I also love these with crispy fries, sweet potato wedges, or a simple green salad with ranch dressing. For drinks, something cold and bubbly works wonders—an ice-cold beer or a tall glass of sweet tea cuts through the heat beautifully.
Storage: If you somehow have leftovers, store the chicken and buns separately. Keep the glazed chicken in an airtight container in the refrigerator for up to 3 days. The buns should stay at room temperature in a bread box or sealed bag.
Reheating: The air fryer is your best friend here. Reheat chicken at 375°F for 4-5 minutes until the crust crisps back up. You can also use a 400°F oven for 8-10 minutes. Avoid the microwave—it turns the crunchy coating into a sad, steamy mess. If the glaze looks dull after reheating, brush on a fresh layer made from a little cayenne, brown sugar, and melted butter.
The flavors actually deepen overnight, so leftover chicken makes an amazing salad topping or rice bowl addition the next day. Just chop it up and toss it over greens with ranch dressing and pickled vegetables.
Nutritional Information & Benefits
Let’s be real—this is indulgent food. But here’s the estimated breakdown per sandwich (using chicken thighs and brioche buns):
- Calories: Approximately 620-680
- Protein: 35g
- Fat: 38g
- Carbohydrates: 42g
- Fiber: 2g
- Sugar: 12g
While these aren’t health food, chicken thighs are a good source of iron and B vitamins. The cayenne pepper contains capsaicin, which has anti-inflammatory properties and can boost metabolism. And hey, the pickles count as a vegetable, right?
For a lighter version, swap the brioche for whole wheat buns, use boneless skinless chicken breasts, and skip the butter in the glaze. You’ll shave off about 150 calories per sandwich while still getting that spicy crunch.
If you’re watching your sodium, use low-sodium salt in the brine and flour dredge, and go easy on the pickles. The glaze itself is relatively low in sodium, so that helps too.
Conclusion
This crispy Nashville hot chicken sandwich recipe has become my go-to for so many reasons. It’s the kind of meal that feels like an event even on a quiet Tuesday night. The crunch, the heat, the way the glaze clings to every ridge of the crust—it’s comfort food that actually delivers on its promises.
I love that this recipe doesn’t demand perfection. My first batch was a little uneven, my glaze was too thick, and I burned my tongue because I couldn’t wait. But I learned from each mistake, and now I can make these sandwiches without even looking at the recipe. That’s the kind of relationship I want you to have with this dish too.
Try it once, and I think you’ll be hooked. Make it your own—add more pickles, dial up the heat, throw on some coleslaw if that’s your thing. And when you do, come back and tell me how it went. I love hearing about your kitchen victories (and your happy accidents too).
For another comforting meal that comes together quickly, try my cozy creamy chicken pot pie soup on a night when you want something warm and satisfying without the crunch.
Frequently Asked Questions
Can I use chicken breasts instead of thighs?
Absolutely. Just pound them to an even ½-inch thickness so they cook evenly. Boneless skinless breasts work best. Keep in mind they’ll cook slightly faster than thighs, so check the internal temperature at the 8-minute mark.
How do I make this less spicy?
Reduce the cayenne in both the flour dredge and the glaze by half. You can also swap some of the cayenne for smoked paprika, which adds flavor without the heat. For a completely mild version, skip the cayenne in the glaze entirely and use a mix of paprika and garlic powder.
Can I make these ahead of time for a party?
I recommend frying the chicken and making the glaze separately. Store them in the fridge, then reheat the chicken in a 400°F oven for 8-10 minutes, brush with the glaze, and assemble just before serving. The glaze can be reheated gently on the stovetop or in the microwave.
Why did my breading fall off?
This usually happens for one of three reasons: the oil wasn’t hot enough, you didn’t let the coated chicken rest before frying, or you overcrowded the pan. Make sure your oil is at 350°F, rest the dredged chicken for 5 minutes, and fry in small batches.
What’s the best oil for frying?
Peanut oil is my top choice for its high smoke point and neutral flavor. Vegetable oil and canola oil work great too. Avoid olive oil—it burns at frying temperatures and gives the chicken an off flavor. If you’re looking for a lighter option, check out my crispy baked mini corn dog bites for a baked alternative that still delivers crunch.
Pin This Recipe!
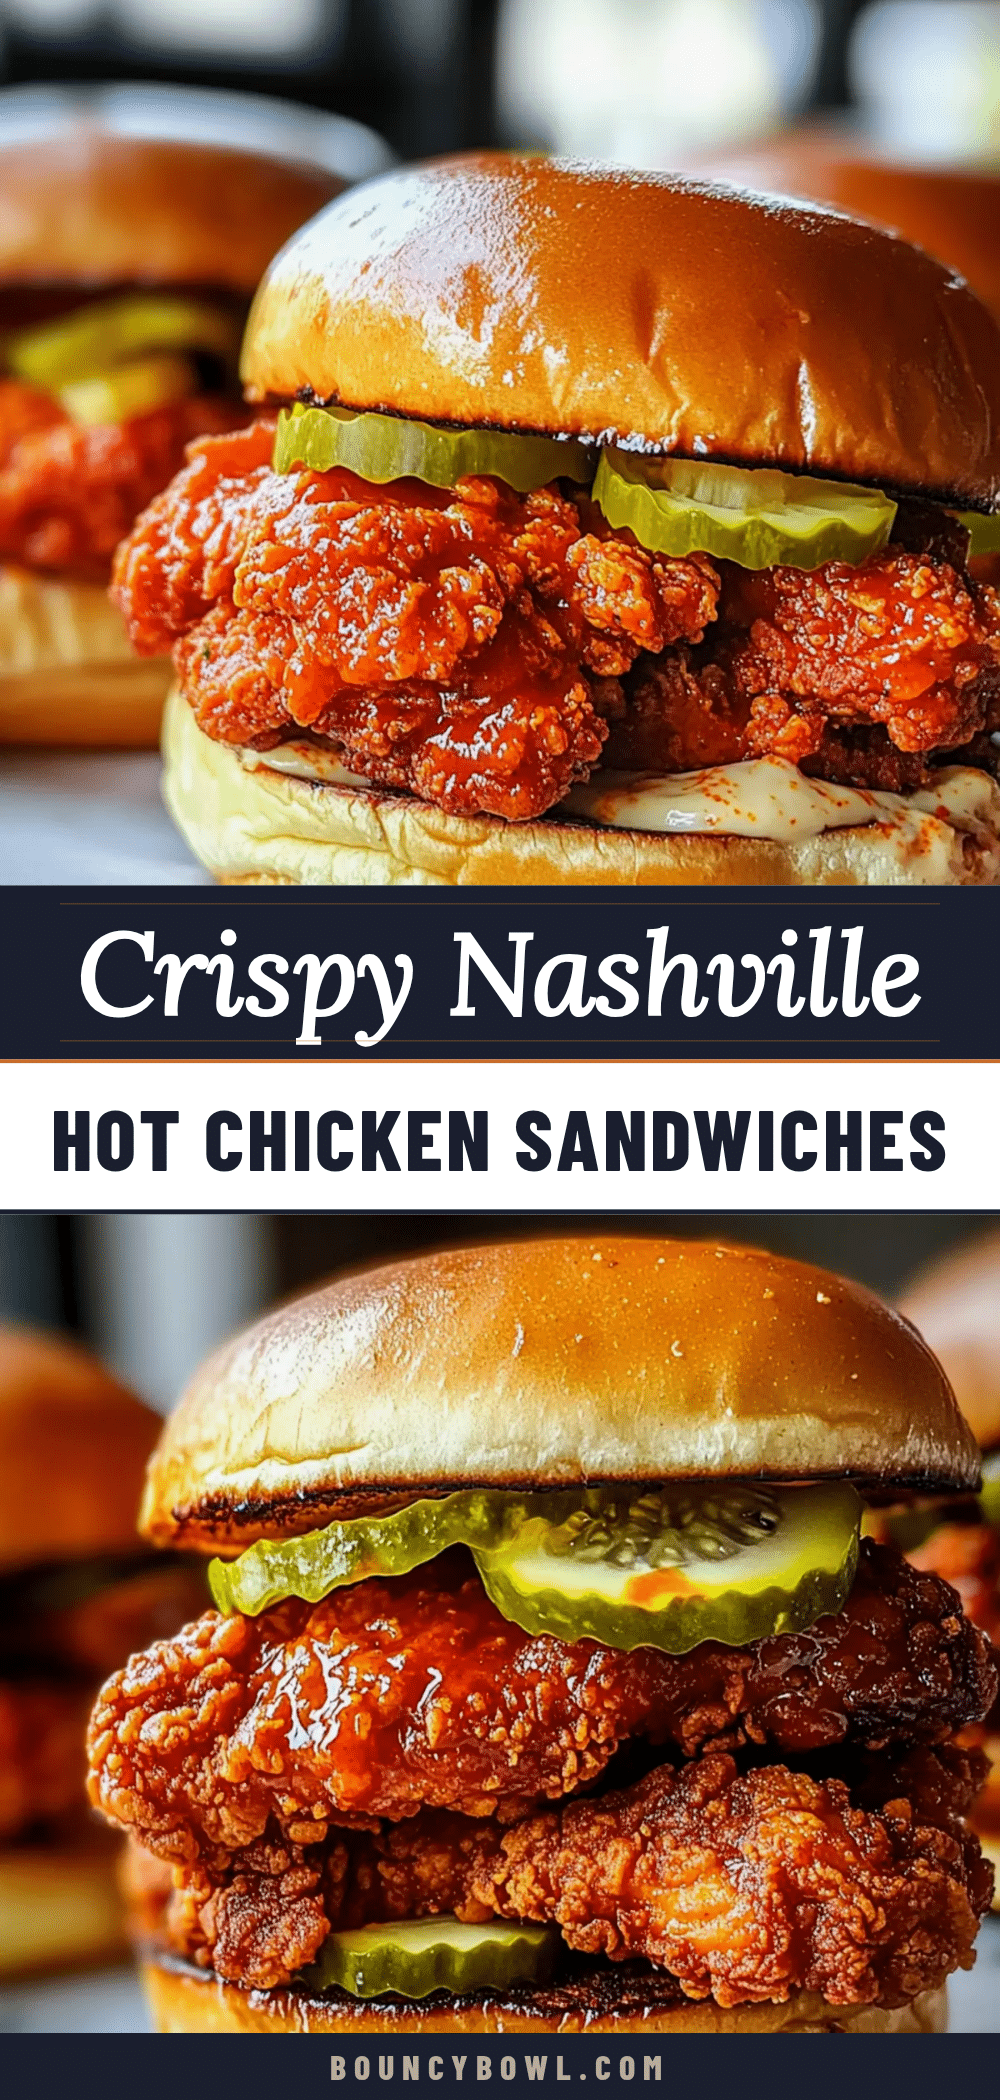
Crispy Nashville Hot Chicken Sandwiches: Easy Best Recipe
These crispy Nashville hot chicken sandwiches deliver restaurant-quality crunch and perfect heat that builds, not burns. Ready in under an hour with simple pantry ingredients, this recipe features juicy chicken thighs with a shatteringly crisp crust and a glossy, fiery glaze.
- Prep Time: 15 minutes
- Cook Time: 30 minutes
- Total Time: 45 minutes
- Yield: 4 servings 1x
- Category: Main Course
- Cuisine: American
Ingredients
- 1 cup buttermilk (or 1 cup milk + 1 tablespoon lemon juice, let sit 5 minutes)
- 1 large egg
- 1 teaspoon salt
- 1 teaspoon black pepper
- 1 teaspoon paprika
- 1 ½ cups all-purpose flour
- ¼ cup cornstarch
- 1 tablespoon paprika
- 1 teaspoon garlic powder
- 1 teaspoon onion powder
- 1 teaspoon cayenne pepper (adjust for heat preference)
- 1 teaspoon salt
- ½ teaspoon black pepper
- ¼ cup cayenne pepper
- 2 tablespoons brown sugar (light or dark)
- 1 teaspoon garlic powder
- 1 teaspoon paprika
- ½ cup reserved frying oil (strained after frying)
- 1 tablespoon butter
- 4 brioche buns (split and toasted lightly)
- Dill pickle slices
- Optional: coleslaw, shredded lettuce, or pickled jalapeños
Instructions
- Brine the chicken: In a medium bowl, whisk together buttermilk, egg, salt, pepper, and paprika. Add chicken thighs and ensure they’re fully submerged. Cover and let sit at room temperature for 15 minutes, or refrigerate up to 4 hours.
- Prepare the flour dredge: In a shallow dish, whisk together flour, cornstarch, paprika, garlic powder, onion powder, cayenne, salt, and pepper.
- Heat the oil: Pour about 1 ½ inches of oil into a cast iron skillet. Heat over medium-high until it reaches 350°F (about 8-10 minutes). Set up a wire rack over a baking sheet.
- Dredge the chicken: Working one piece at a time, lift a thigh from the brine, letting excess drip off. Coat thoroughly in flour mixture, pressing into every crevice. Shake off excess and place on a clean plate. Let coated chicken sit for 5 minutes before frying.
- Fry in batches: Carefully lower 2-3 pieces into hot oil. Fry for 5-6 minutes per side, until golden brown and internal temperature reaches 165°F.
- Rest on wire rack: Transfer fried chicken to wire rack. Let rest while frying remaining batches.
- Make the glaze: In a small heatproof bowl, whisk together cayenne, brown sugar, garlic powder, and paprika. Carefully ladle out ½ cup of hot frying oil (strain through fine-mesh sieve). Pour hot oil over spice mixture and whisk until smooth. Add butter and stir until melted.
- Glaze the chicken: Working quickly while chicken is still warm, use a pastry brush to coat each piece generously on both sides.
- Toast the buns: Split brioche buns and toast cut-side down in a dry skillet or under broiler for about 1 minute.
- Assemble sandwiches: Place glazed chicken thigh on bottom half of each bun. Top with pickle slices and any extra toppings. Close with top bun and serve immediately.
Notes
Oil temperature is critical—keep at 350°F. Let coated chicken rest 5 minutes before frying to prevent breading from falling off. For less spice, reduce cayenne in glaze to 2 tablespoons. Peanut oil is best for frying, but vegetable or canola work well. Store leftover chicken and buns separately; reheat in air fryer at 375°F for 4-5 minutes.
Nutrition
- Serving Size: 1 sandwich
- Calories: 650
- Sugar: 12
- Sodium: 800
- Fat: 38
- Saturated Fat: 12
- Carbohydrates: 42
- Fiber: 2
- Protein: 35
Keywords: Nashville hot chicken, crispy chicken sandwich, fried chicken, spicy chicken sandwich, Southern fried chicken, hot chicken recipe


