Love this? Save it for later!
Share the inspiration with your friends
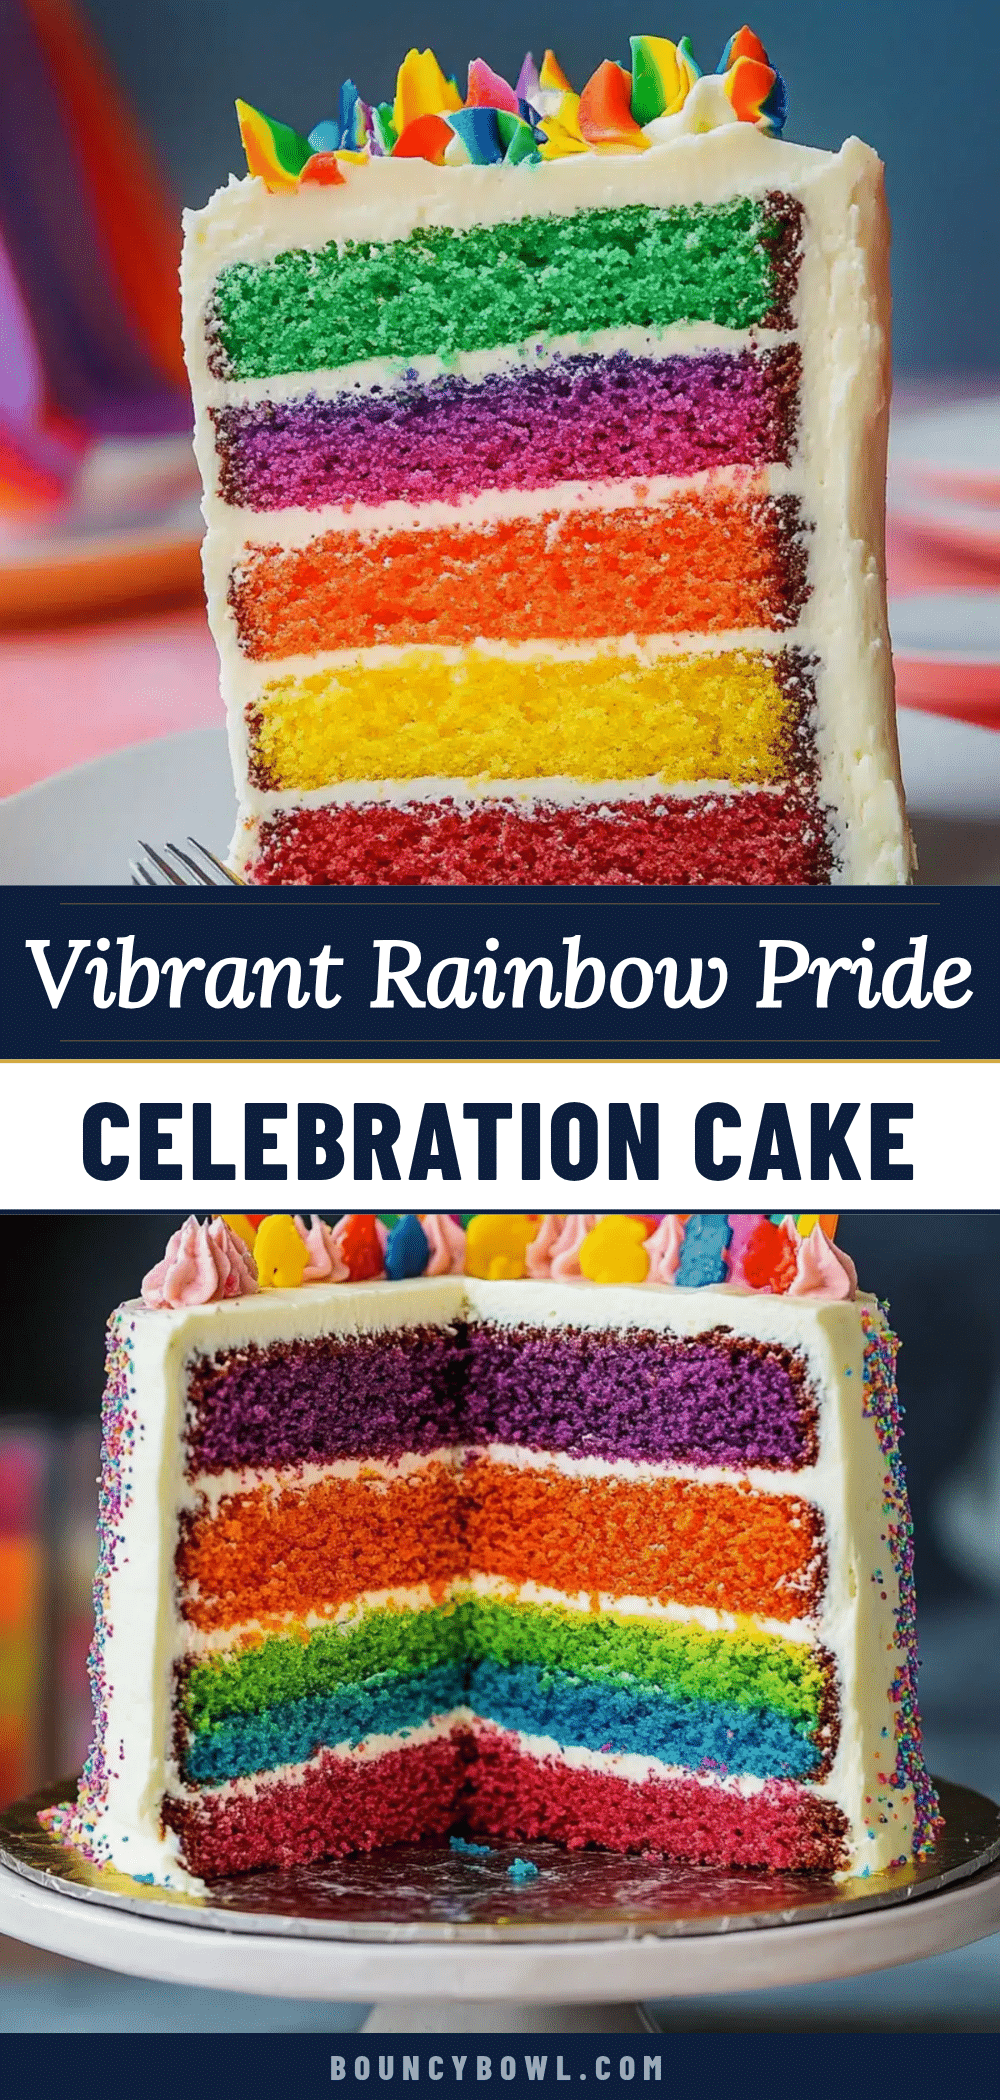
“You really think a cake can capture a whole feeling?” my friend asked, eyeing the stack of brightly colored layers cooling on the counter. Honestly, I wasn’t sure either—until I found myself baking this rainbow pride cake almost every weekend last summer. It started one quiet evening when I was craving something vibrant to match the energy of a nearby street festival. I had a box of plain cake mix, some food coloring, and a vague plan to make something cheerful. What came out of the oven was unexpected: a cake that wasn’t just colorful but somehow felt like a celebration on its own.
The first slice was a revelation. That moment when the layers revealed their rainbow glow felt like a personal party—like the cake was saying, “Hey, life’s messy, but here’s some color for you.” Since then, I’ve baked this cake for friends who needed a pick-me-up, for neighborhood gatherings, and even for a last-minute birthday surprise (the one where I forgot to buy a gift but had all the ingredients at home). It’s funny how something so simple can turn into a joyful centerpiece.
What really stuck with me about this perfect rainbow pride cake is its effortless charm. It’s not just about the colors—it’s the soft crumb, the light vanilla scent, and that bit of sweetness that makes you pause for just a moment. You know, that quiet joy you get from a homemade treat. This cake isn’t trying too hard; it’s just honest, bright, and full of love. I can’t wait to share the recipe with you because I believe every celebration deserves a slice of happiness like this.
Why You’ll Love This Recipe
After testing and tweaking this rainbow pride cake dozens of times, I’ve come to really trust how it works in any joyful celebration. Here’s why it stands out:
- Quick & Easy: Comes together in about 45 minutes of active prep and baking. Perfect for last-minute parties or spontaneous celebrations.
- Simple Ingredients: Uses classic pantry staples like all-purpose flour, sugar, and eggs—no exotic items or specialty stores needed.
- Perfect for Any Occasion: Whether it’s a pride month party, a birthday, or a casual weekend gathering, this cake fits right in with its vibrant layers.
- Crowd-Pleaser: Kids and adults adore the fun colors and moist, tender crumb. It’s always the first thing to disappear at the table.
- Unbelievably Delicious: The flavor is a lightly sweet vanilla that doesn’t overpower, letting the colors shine visually and tastefully.
What really sets this apart is the method I use to get those perfectly even layers without a complicated setup. From mixing to baking, every step feels doable, even if you’re not a “baker.” I also add a pinch of almond extract for a subtle depth that makes each bite memorable. Honestly, this isn’t just any rainbow cake—it feels like a warm hug wrapped in color and sweetness. Plus, it pairs beautifully with a creamy frosting that’s just sweet enough to complement without stealing the show.
What Ingredients You Will Need
This recipe uses simple, wholesome ingredients to deliver bold flavor and satisfying texture without fuss or fancy shopping trips. Here’s everything you’ll need to bring this perfect rainbow pride cake to life:
- For the Cake Batter:
- 2 ½ cups (312g) all-purpose flour – for that tender crumb
- 2 ½ teaspoons baking powder – helps the layers rise nicely
- ½ teaspoon salt – balances sweetness
- 1 cup (226g) unsalted butter, softened – I recommend using a high-quality brand like Land O Lakes for best texture
- 1 ¾ cups (350g) granulated sugar – classic sweetener
- 4 large eggs, room temperature – makes the cake rich and moist
- 1 tablespoon pure vanilla extract – the heart of the flavor
- ¼ teaspoon almond extract (optional) – adds a subtle, lovely depth
- 1 cup (240ml) whole milk, room temperature – keeps the batter smooth and tender
- Gel food coloring in six colors (red, orange, yellow, green, blue, purple) – gel colors work best for vivid layers without thinning batter
- For the Frosting:
- 1 cup (226g) unsalted butter, softened
- 4 cups (480g) powdered sugar, sifted
- 2 teaspoons pure vanilla extract
- 2-3 tablespoons whole milk or heavy cream (dairy or dairy-free options work fine)
- Pinch of salt
Feel free to swap the all-purpose flour for a gluten-free blend if needed, though you may want to add a bit more milk for moisture. For dairy-free options, almond or oat milk and vegan butter spread work well. When choosing your food colors, I like to avoid artificial dyes and use natural gel colors when available—for a healthier touch without sacrificing vibrancy.
Equipment Needed
- Six 6-inch round cake pans (or fewer pans, baking in batches)
- Mixing bowls – at least two, one for dry ingredients and one for wet
- Electric mixer (handheld or stand) – makes creaming butter and sugar much easier
- Measuring cups and spoons – precise measurements help with balanced layers
- Rubber spatulas – perfect for folding and scraping batter
- Cooling racks – to cool the cake layers evenly and avoid sogginess
- Offset spatula or butter knife – for smooth frosting application
- Toothpicks or cake tester – to check doneness
If you don’t have six pans, no worries! Bake the layers in batches and cool between rounds. I once baked this rainbow pride cake in just two pans by carefully timing the layers, which also helps keep your kitchen less crowded. For budget-friendly alternatives, use silicone pans or line metal pans with parchment paper for easy release. Keeping your pans well-greased and floured (or sprayed with baking spray) is key to flawless layers.
Preparation Method
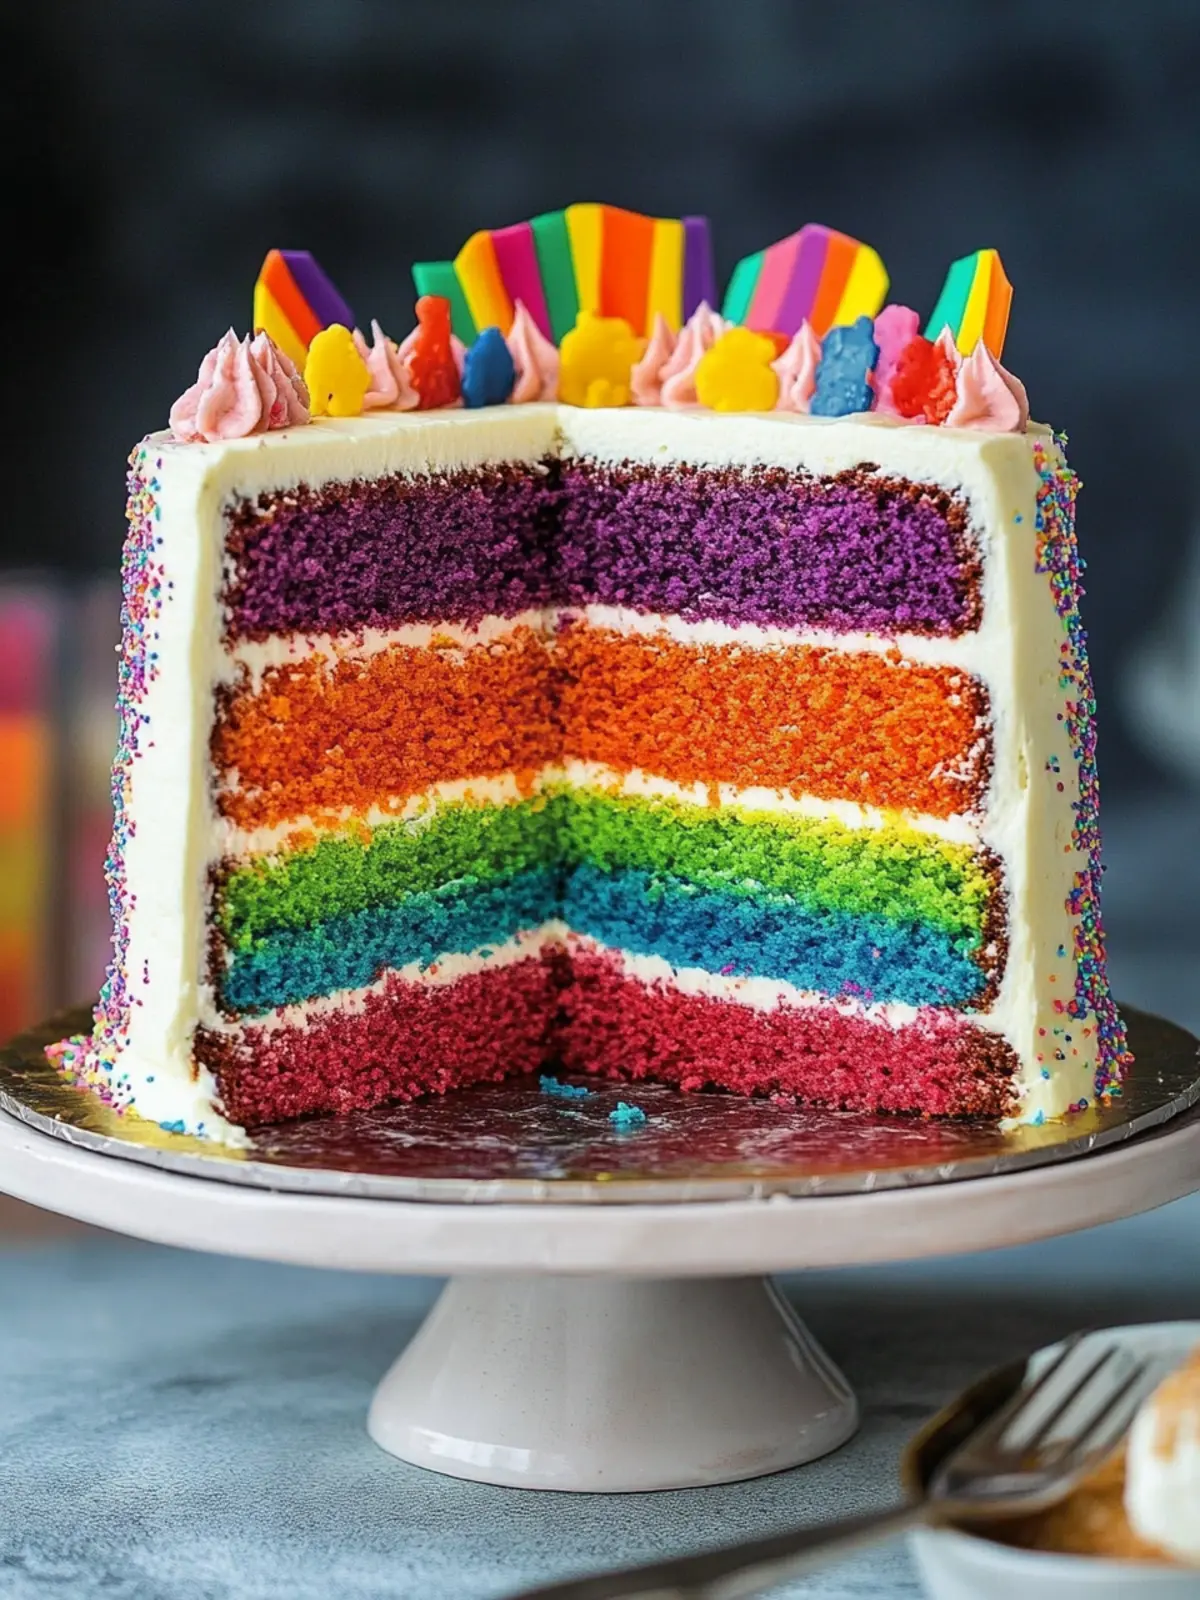
- Preheat your oven to 350°F (175°C). Grease and flour your six 6-inch cake pans or line them with parchment rounds. This step is important to avoid sticking.
- Mix the dry ingredients: In a medium bowl, whisk together 2 ½ cups (312g) all-purpose flour, 2 ½ teaspoons baking powder, and ½ teaspoon salt. Set aside.
- Cream the butter and sugar: In a large bowl, beat 1 cup (226g) softened unsalted butter with 1 ¾ cups (350g) granulated sugar on medium speed until light and fluffy, about 3-5 minutes. This aerates the mixture, giving your cake a tender crumb.
- Add eggs and extracts: Beat in 4 large eggs, one at a time, ensuring each is fully incorporated before adding the next. Stir in 1 tablespoon vanilla extract and ¼ teaspoon almond extract if using.
- Alternate adding dry ingredients and milk: Reduce mixer speed to low. Add the dry ingredients in three parts, alternating with 1 cup (240ml) whole milk, beginning and ending with the dry mix. Mix just until combined—overmixing can make the cake tough.
- Divide and color the batter: Evenly divide the batter into six small bowls. Add a few drops of gel food coloring to each bowl to make red, orange, yellow, green, blue, and purple layers. Stir gently until fully combined. Remember, gel colors won’t thin your batter.
- Pour batter into pans: Pour each colored batter into its prepared pan. Smooth the tops with a spatula for even layers.
- Bake the layers: Bake for 15-18 minutes or until a toothpick inserted in the center comes out clean. Keep an eye toward the end—leaning on your oven’s quirks helps! Transfer pans to wire racks and let cool for 10 minutes before removing cakes from pans. Cool completely before frosting.
- Prepare the frosting: Beat 1 cup (226g) softened unsalted butter on medium speed until creamy. Gradually add 4 cups (480g) powdered sugar, 2 teaspoons vanilla extract, pinch of salt, and 2-3 tablespoons milk or cream. Beat until smooth and spreadable. Adjust thickness by adding more milk or sugar as needed.
- Assemble the cake: Place the purple layer on a serving plate. Spread about ½ cup frosting evenly on top. Repeat layering with blue, green, yellow, orange, and red layers, frosting between each. Use the remaining frosting to coat the top and sides. For a final touch, smooth with an offset spatula.
Pro tip: Chill the cake for 20-30 minutes after frosting to firm up before slicing—it makes cleaner cuts and less crumb mess. If your layers dome slightly, level them with a serrated knife before stacking for a neater presentation.
Cooking Tips & Techniques
One thing I learned the hard way is that even mixing is your best friend here. Uneven batter distribution or overmixing can lead to uneven layers or dense spots. Take your time dividing and coloring the batter to keep those layers vibrant and smooth.
Also, watch the baking time carefully. Since the layers are thin, they bake quickly and can dry out if left too long. I always start checking at 15 minutes and rely on the toothpick test. Removing cakes promptly and cooling them on racks prevents sogginess and helps layers hold their shape.
When frosting, keep your butter soft but not melted. This controls the frosting texture and keeps it stable on the colorful layers. For a professional touch, chill the cake between frosting coats if you’re adding decorative piping or sprinkles.
Don’t rush the layering—take a minute to align the cake edges and gently press layers together. This avoids gaps and keeps the cake balanced. Lastly, if you’re new to cake baking, try baking a single layer first to get a feel, then go for the full rainbow. It’s less intimidating and builds confidence.
Variations & Adaptations
- Dairy-Free Rainbow Cake: Swap butter for vegan margarine and use coconut or almond milk instead of dairy milk. Use a vegan-friendly frosting like a whipped coconut cream blend.
- Gluten-Free Version: Use a gluten-free baking flour blend in place of all-purpose flour. Add a teaspoon of xanthan gum if your blend doesn’t contain it for better texture.
- Flavor Twists: Add a teaspoon of lemon zest to the batter for a fresh citrus note, or replace almond extract with orange blossom water for a floral hint.
- Mini Rainbow Cakes: For smaller bites, try baking this recipe in muffin tins or mini pans—perfect for gatherings where guests want just a taste. I’ve found this technique especially handy for events, similar to the perfect pride mini cakes.
- Layer Shapes: Experiment with heart-shaped or star-shaped pans for themed celebrations. It adds a playful twist without changing the recipe.
Serving & Storage Suggestions
This rainbow pride cake is best served at room temperature, allowing the frosting to be creamy and the layers soft. Slice generously to show off those glorious colors—your guests will love the visual pop. For a party spread, pair it with fresh berries or a light sparkling beverage to balance its sweetness.
Store leftover cake in an airtight container at room temperature for up to 2 days or refrigerate for up to 5 days. If refrigerated, let the cake come to room temperature before serving for the best flavor and texture. You can also freeze individual layers wrapped tightly in plastic wrap for up to 2 months; thaw overnight in the fridge before assembly.
When reheating slices, a quick zap in the microwave for about 10 seconds softens the frosting and brightens the flavors. Over time, the cake’s colors stay vivid, but the frosting can become slightly firmer—still delicious and perfect for make-ahead celebrations.
Nutritional Information & Benefits
Each slice (assuming 12 servings) contains approximately 350 calories, with 15g of fat, 50g carbohydrates, and 4g protein. The cake provides energy-rich carbohydrates and moderate fat from butter.
Using real vanilla and almond extract adds natural flavor without artificial additives, and opting for natural gel food colors can reduce exposure to synthetic dyes. For those mindful of allergens, this recipe contains gluten, dairy, and eggs, but can be adapted as noted above.
From a wellness standpoint, this cake offers a balanced sweet treat to enjoy on special occasions without guilt. It’s a reminder that celebration food can be joyful and inclusive, reflecting the spirit of pride in every bite.
Conclusion
This perfect rainbow pride cake is more than just a dessert—it’s a little beacon of joy and color in your kitchen. Whether you’re celebrating pride month, a birthday, or just life itself, this cake brings smiles and a touch of magic. I love how easy it is to make yet feels special enough to impress without stress.
Feel free to tweak the colors, flavors, or frosting to suit your style. After all, celebrations are personal, and this cake is a canvas for your creativity. I’d love to hear how you make it your own!
When you bake this cake, you’re not just making dessert—you’re sharing a piece of happiness. So go ahead, enjoy every colorful slice and the joyful moments that come with it.
Frequently Asked Questions
Can I make the rainbow pride cake without gel food coloring?
You can use liquid food coloring, but gel colors are better because they provide more vibrant hues without thinning the batter. If you must use liquid, add less to avoid a runny batter.
How far in advance can I bake the layers?
You can bake the layers up to 2 days ahead. Wrap them tightly in plastic wrap and store in the fridge. Bring to room temperature before frosting for best results.
Can I freeze the assembled cake?
Yes, wrap the entire cake tightly in plastic wrap and foil. Freeze for up to 2 months. Thaw overnight in the refrigerator and bring to room temperature before serving.
Is it okay to use boxed cake mixes instead of homemade batter?
Absolutely! Use your favorite white or vanilla box mix, then divide and color as directed. Just watch baking times as box mixes may vary.
What frosting works best with this cake?
Classic buttercream is my go-to, but cream cheese frosting or whipped coconut cream are great alternatives depending on your taste or dietary needs.
For a savory complement to your celebration, try pairing slices of this cake with a fresh and healthy meal like the quick savory Asian salmon bowl. The contrast of flavors makes for a memorable gathering that balances sweet and savory perfectly.
Pin This Recipe!
Perfect Rainbow Pride Cake
A vibrant and joyful rainbow layer cake with a light vanilla flavor and creamy frosting, perfect for celebrations and gatherings.
- Prep Time: 25 minutes
- Cook Time: 18 minutes
- Total Time: 43 minutes
- Yield: 12 servings 1x
- Category: Dessert
- Cuisine: American
Ingredients
- 2 ½ cups (312g) all-purpose flour
- 2 ½ teaspoons baking powder
- ½ teaspoon salt
- 1 cup (226g) unsalted butter, softened
- 1 ¾ cups (350g) granulated sugar
- 4 large eggs, room temperature
- 1 tablespoon pure vanilla extract
- ¼ teaspoon almond extract (optional)
- 1 cup (240ml) whole milk, room temperature
- Gel food coloring in six colors (red, orange, yellow, green, blue, purple)
- For the Frosting:
- 1 cup (226g) unsalted butter, softened
- 4 cups (480g) powdered sugar, sifted
- 2 teaspoons pure vanilla extract
- 2–3 tablespoons whole milk or heavy cream
- Pinch of salt
Instructions
- Preheat your oven to 350°F (175°C). Grease and flour six 6-inch cake pans or line them with parchment rounds.
- In a medium bowl, whisk together the flour, baking powder, and salt. Set aside.
- In a large bowl, beat the softened butter and granulated sugar on medium speed until light and fluffy, about 3-5 minutes.
- Beat in the eggs one at a time, fully incorporating each before adding the next. Stir in vanilla extract and almond extract if using.
- Reduce mixer speed to low. Add the dry ingredients in three parts, alternating with the milk, beginning and ending with the dry ingredients. Mix just until combined.
- Divide the batter evenly into six small bowls. Add gel food coloring to each to create red, orange, yellow, green, blue, and purple batters. Stir gently.
- Pour each colored batter into prepared pans and smooth the tops.
- Bake for 15-18 minutes or until a toothpick inserted in the center comes out clean. Cool in pans for 10 minutes, then remove and cool completely on racks.
- Prepare the frosting by beating softened butter until creamy. Gradually add powdered sugar, vanilla extract, salt, and milk or cream. Beat until smooth and spreadable.
- Assemble the cake by layering the cooled cakes from purple to red, spreading about ½ cup frosting between each layer. Use remaining frosting to coat the top and sides. Smooth with an offset spatula.
- Chill the assembled cake for 20-30 minutes before slicing for cleaner cuts.
Notes
If you don’t have six pans, bake layers in batches. Use silicone pans or parchment paper for easy release. Chill cake after frosting for cleaner slices. Level domed layers with a serrated knife before stacking. For dairy-free or gluten-free versions, substitute ingredients as noted.
Nutrition
- Serving Size: 1 slice (1/12 of cak
- Calories: 350
- Fat: 15
- Carbohydrates: 50
- Protein: 4
Keywords: rainbow cake, pride cake, layered cake, vanilla cake, celebration cake, colorful cake, easy cake recipe


