Love this? Save it for later!
Share the inspiration with your friends
“Are you bringing the mini cakes for the celebration?” That’s what my friend asked me over text, just a day before the big Pride block party. I’ll admit, I was nervous—last-minute baking isn’t usually my thing. But honestly, these Perfect Pride Mini Cakes turned out to be one of those rare kitchen wins that you don’t expect but absolutely savor. The moment I pulled them out of the oven, the vibrant layers and the sweet, buttery aroma filled the space with this quiet joy that felt just right.
It all started with a box of basic cake mix and a handful of food coloring, but what happened next felt like magic. Each colorful layer came together so easily, and the tiny cakes were just the perfect size for sharing. Watching neighbors’ faces light up as they bit into those rainbow treats made me realize this recipe wasn’t just dessert—it was a little celebration all on its own.
Now, I make these mini cakes whenever there’s a chance to celebrate diversity, friendship, or just the simple pleasure of something sweet and bright. They’re surprisingly straightforward but packed with personality, and honestly, they’ve become my go-to for colorful celebrations. So, if you want a dessert that’s joyful, festive, and pretty effortless, these Perfect Pride Mini Cakes are your answer. You’ll see why they stuck with me.
Why You’ll Love This Recipe
Making the Perfect Pride Mini Cakes is like capturing a burst of happiness in each bite. After testing and tweaking this recipe multiple times, I can confidently say it’s a winner for so many reasons:
- Quick & Easy: You can whip these up in under an hour, making them perfect for last-minute celebrations or spontaneous dessert cravings.
- Simple Ingredients: No need for specialty items—most of these are pantry staples you probably already have, which saves time and stress.
- Perfect for Colorful Celebrations: Whether it’s Pride, birthdays, or any joyful gathering, these mini cakes bring a vibrant, festive touch to the table.
- Crowd-Pleaser: Kids, adults, and picky eaters alike rave about these—not just for the colors but the moist, tender crumb and buttery frosting.
- Unbelievably Delicious: The texture is soft and fluffy with a melt-in-your-mouth frosting that balances sweetness without being overwhelming.
This recipe stands apart because of its layering technique that keeps colors distinct and bright. I’ve found that using gel food coloring (like AmeriColor) gives the most vivid hues without thinning the batter. Plus, the frosting is a whipped cream cheese buttercream that feels smooth and fresh rather than too heavy.
Honestly, these cakes have a way of turning any celebration into something memorable. It’s not just about the taste; it’s the burst of color and the feeling you get when sharing something made with a bit of extra care. If you want a dessert that speaks to the heart of joyful gatherings, this one’s for you.
What Ingredients You Will Need
This recipe uses simple, wholesome ingredients to deliver bold flavor and satisfying texture without the fuss. Most items are staples, and a few can be swapped or adjusted based on your pantry and preferences.
- For the Cake Batter:
- All-purpose flour – 2 ½ cups (315g)
- Baking powder – 2 ½ teaspoons
- Salt – ½ teaspoon
- Unsalted butter, softened – 1 cup (227g) (I prefer Plugrá for its creaminess)
- Granulated sugar – 1 ¾ cups (350g)
- Large eggs, room temperature – 4
- Pure vanilla extract – 2 teaspoons (a good quality one makes a difference)
- Whole milk – 1 cup (240ml) (can substitute almond milk if dairy-free)
- Gel food coloring – rainbow colors (AmeriColor gels recommended for vibrant shades)
- For the Frosting:
- Cream cheese, softened – 8 oz (226g) (use a full-fat version for best flavor)
- Unsalted butter, softened – ½ cup (113g)
- Powdered sugar – 3 cups (360g)
- Pure vanilla extract – 1 teaspoon
- Pinch of salt
- Heavy cream – 1-2 tablespoons (to adjust consistency)
If you want to keep these gluten-free, swapping in a 1-to-1 gluten-free baking flour blend works well. For a dairy-free twist, try vegan cream cheese and plant-based butter. Also, in summer, I sometimes add a few drops of lemon juice to the frosting for a subtle zing that pairs wonderfully with the sweetness.
Equipment Needed
- Mini cake pans or silicone molds (around 2-3 inch diameter) – these help create the perfect small cakes, but cupcake liners and a muffin tin work too.
- Electric mixer (stand or hand) – essential for whipping the frosting to the right texture.
- Mixing bowls – a couple of medium size for batter and frosting.
- Measuring cups and spoons – for precise ingredient amounts.
- Rubber spatulas – to scrape batter and fold colors smoothly.
- Cooling racks – to cool cakes evenly and prevent sogginess.
If you don’t have mini cake pans, silicone cupcake molds are a great budget-friendly alternative, and they make removing the cakes super easy. For frosting, a balloon whisk attachment on your mixer speeds things up, but a handheld mixer works just fine too.
One personal tip: I keep a small offset spatula handy for frosting these mini cakes—makes spreading neat and pretty so quickly. Also, if you ever want to try piping your frosting, a simple piping bag with a round tip can add a lovely touch.
Preparation Method
- Preheat and Prep: Preheat your oven to 350°F (175°C). Grease and flour your mini cake pans or line muffin tins with liners. This keeps the cakes from sticking and helps them come out cleanly.
- Mix Dry Ingredients: In a medium bowl, whisk together 2 ½ cups all-purpose flour, 2 ½ teaspoons baking powder, and ½ teaspoon salt. Set aside.
- Cream Butter and Sugar: In a large bowl, use an electric mixer to cream 1 cup softened butter and 1 ¾ cups granulated sugar until light and fluffy—about 3-4 minutes. This step is key for a tender crumb.
- Add Eggs and Vanilla: Beat in 4 large eggs, one at a time, ensuring each is fully incorporated before adding the next. Stir in 2 teaspoons vanilla extract.
- Alternate Adding Dry Ingredients and Milk: With mixer on low, add the dry ingredients in three parts, alternating with 1 cup milk (start and end with dry). Mix until just combined—overmixing can make cakes dense.
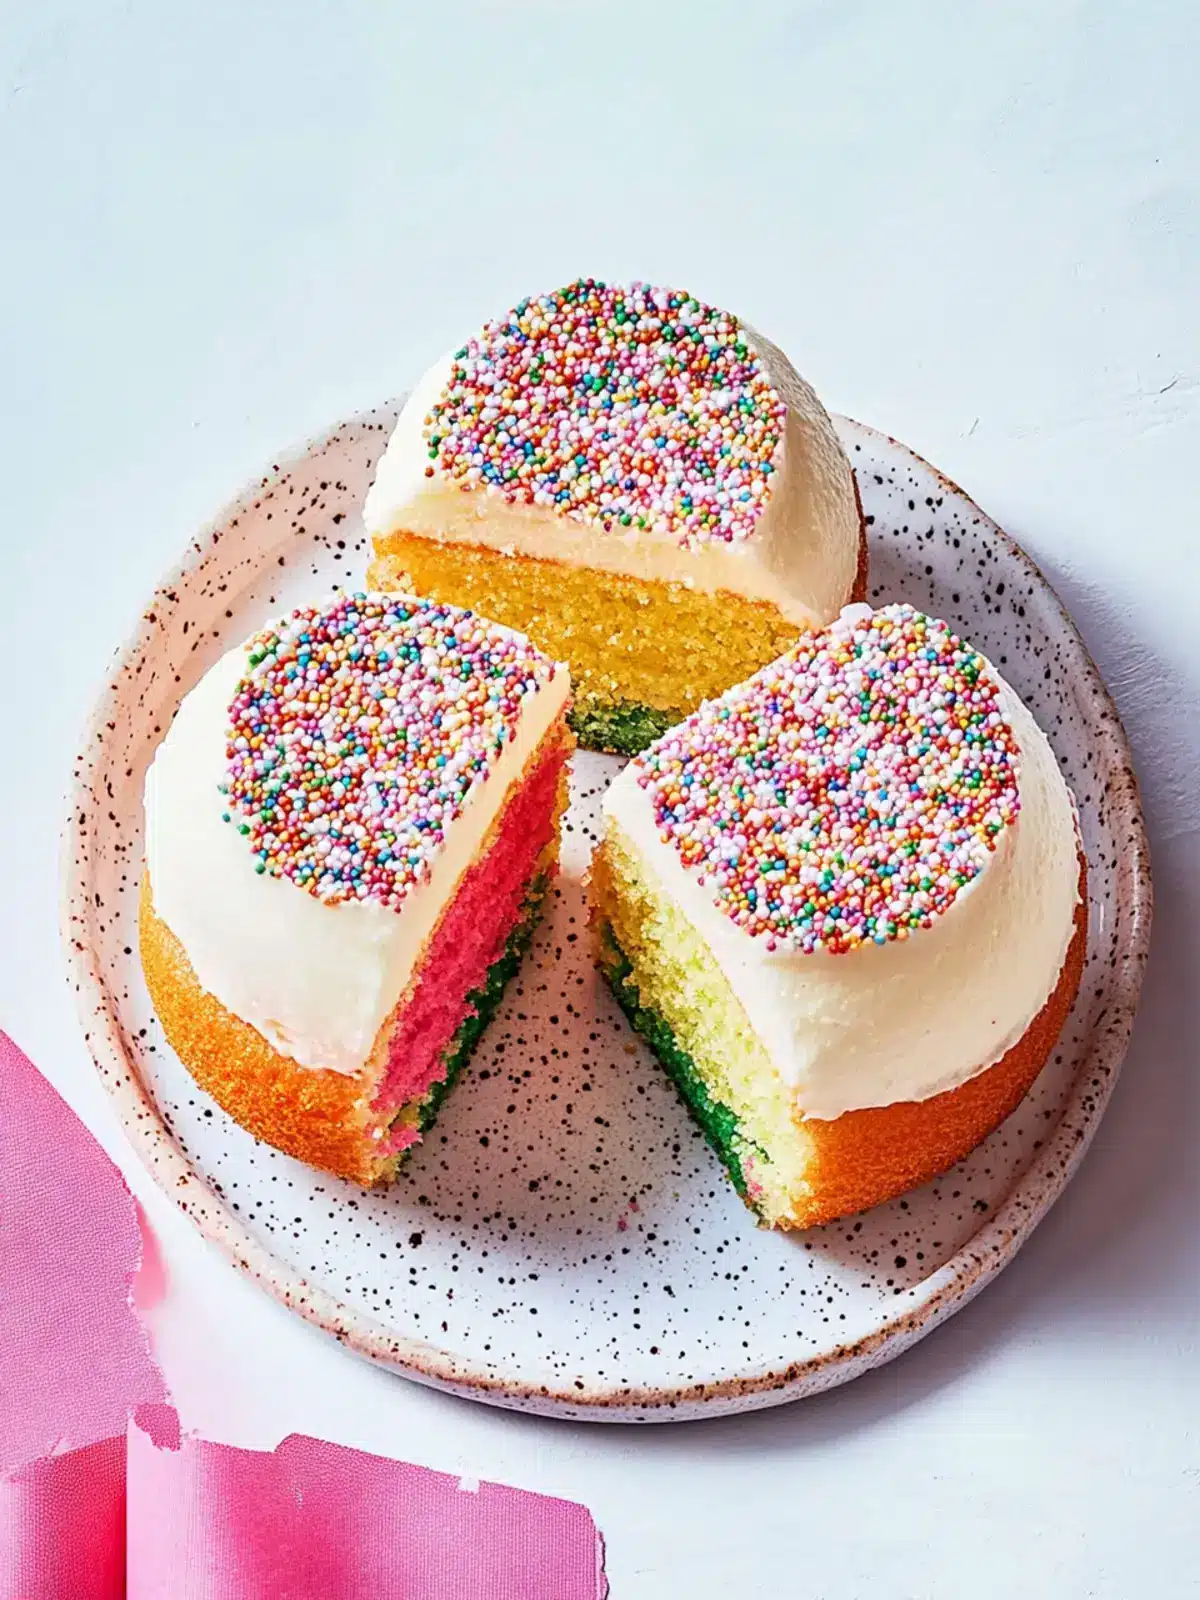
- Divide and Color Batter: Divide the batter evenly into six small bowls. Add gel food coloring to each bowl to create rainbow colors (red, orange, yellow, green, blue, purple). Stir gently until color is uniform but don’t overmix.
- Layer the Batter: Spoon a small amount of the red batter into each mini pan, smoothing gently. Follow with orange, then yellow, and so on, layering colors carefully to keep them distinct. Don’t fill pans more than ¾ full to avoid overflow.
- Bake: Bake for 18-22 minutes, or until a toothpick inserted comes out clean. Cakes should spring back lightly when touched. Oven times vary, so start checking at 18 minutes.
- Cool: Let cakes cool in pans for 5 minutes, then transfer to cooling racks to cool completely before frosting.
- Make the Frosting: Beat 8 oz softened cream cheese and ½ cup softened butter until smooth. Gradually add 3 cups powdered sugar, mixing well. Add 1 teaspoon vanilla and a pinch of salt. If frosting is too thick, add heavy cream 1 tablespoon at a time until spreadable.
- Frost the Mini Cakes: Using a spatula or piping bag, frost the cooled cakes. Decorate with sprinkles or edible glitter if desired.
One trick I’ve learned: let your butter and cream cheese come to room temperature before mixing, or you’ll end up with lumps. Also, when layering batter, work quickly but gently to keep those layers vibrant and avoid bleeding.
Cooking Tips & Techniques
Honestly, the key to these mini cakes is patience and a light touch. Here are some tips I’ve picked up throughout multiple baking sessions:
- Use Gel Food Coloring: Unlike liquid dyes, gels won’t thin your batter and give you those crisp, vivid rainbow layers. Trust me, the difference is night and day.
- Room Temperature Ingredients: Butter, eggs, and cream cheese should be at room temp. Cold ingredients can cause your batter to curdle or frosting to clump.
- Don’t Overmix: Once you add the flour, mix just until combined. Overmixing can make the cakes tough.
- Layer Carefully: Use a spoon or small scoop to layer each color gently. I sometimes tap the pan lightly on the counter between layers to settle the batter without mixing the colors.
- Watch the Baking Time: Mini cakes bake faster than full-sized ones. Start checking with a toothpick at 18 minutes to avoid dryness.
- Frosting Consistency: If your frosting feels too stiff, add a splash of heavy cream and beat again. Too runny? Add a bit more powdered sugar.
One time, I accidentally swapped measurements and added too much milk—resulting in a runny batter that blurred the colors. Since then, I always measure carefully and keep my colors separate until just before layering. It’s worth the extra care for that stunning rainbow effect.
Variations & Adaptations
These Perfect Pride Mini Cakes are a great base that you can easily tweak to match your needs or mood:
- Dietary Adjustments: Use almond or oat milk for a dairy-free option and swap cream cheese and butter for vegan alternatives. For gluten-free, a 1-to-1 gluten-free flour blend works well.
- Flavor Twists: Add a teaspoon of lemon or orange zest to the batter for a citrusy lift. You can also swap vanilla for almond extract for a nutty note.
- Frosting Changes: Try a simple whipped coconut cream frosting for a lighter, dairy-free version. Or, if you want a richer option, a classic Swiss meringue buttercream pairs beautifully.
- Decor Ideas: Top with fresh berries, edible flowers, or rainbow sprinkles for added celebration flair.
- Alternative Colors: Instead of rainbow, use your favorite colors or pastel shades for a softer look.
I once made a batch swapping out the cream cheese frosting for a vegan passion fruit mousse topping for a summer picnic. It was a refreshing surprise that everyone loved!
Serving & Storage Suggestions
These mini cakes are best served at room temperature. The frosting softens just enough to give you that melt-in-your-mouth sensation without losing structure.
They make a fantastic centerpiece for brunch spreads, potlucks, or casual get-togethers. Pair them with a light beverage like sparkling water with fresh fruit or a simple tea for balance.
To store, keep the cakes in an airtight container in the refrigerator for up to 3 days. Before serving, let them sit out for about 30 minutes to take the chill off and bring back that soft texture.
If you want to freeze them, wrap each mini cake tightly in plastic wrap and place in a freezer-safe container for up to 2 months. Thaw overnight in the fridge and bring to room temperature before frosting or serving.
Flavors tend to deepen after resting, so if you have a day or two before serving, make the cakes ahead and frost just before the event for maximum freshness.
Nutritional Information & Benefits
Each mini cake (depending on size) roughly contains around 250-300 calories, with a balanced mix of carbohydrates, fats, and protein primarily from butter, cream cheese, and eggs.
The recipe’s use of real butter and cream cheese provides a good dose of vitamin A and calcium, while the eggs add protein and essential nutrients.
For those mindful of dietary needs, this recipe can be adapted to gluten-free and dairy-free versions with simple substitutions.
While they are a treat to enjoy in moderation, the colorful appearance and homemade touch make these cakes a fun way to bring people together and celebrate moments that matter.
Conclusion
Perfect Pride Mini Cakes aren’t just another dessert—they’re a little edible celebration in every bite. They fit into busy lives with ease and bring a splash of color and joy to any occasion.
Feel free to make these your own, whether that means swapping flavors, adjusting for allergies, or decorating to match your personal style. I love how these cakes have become my go-to for bringing smiles without fuss.
If you try them out, I’d love to hear how you made them yours. There’s something special about sharing these joyful recipes, and I’m always excited to see variations from fellow bakers.
Here’s to many colorful celebrations ahead!
FAQs
- Can I make these mini cakes ahead of time?
Yes! You can bake them 1-2 days in advance and store them in the fridge. Frost just before serving for best results. - What if I don’t have gel food coloring?
You can use liquid food coloring, but be aware it may thin your batter and the colors won’t be as vibrant. - Can I use regular cupcake pans instead of mini cake pans?
Absolutely! Just adjust baking time—regular cupcakes usually take 18-22 minutes, while mini cakes bake faster. - Is there a way to make this recipe vegan?
Yes, swap eggs for flax eggs, use plant-based milk, and replace butter and cream cheese with vegan alternatives. - How do I keep the cake layers from bleeding into each other?
Use gel colors, avoid overmixing, and layer the batter gently without spreading or swirling.
For a savory twist to pair with your celebration desserts, you might enjoy the delicious camarones a la diabla recipe, which brings heat and flavor to any party spread. Or, if you want a refreshing sweet bite alongside, the zesty mojito sugar cookies offer a bright contrast to the richness of these mini cakes.
Pin This Recipe!
Perfect Pride Mini Cakes

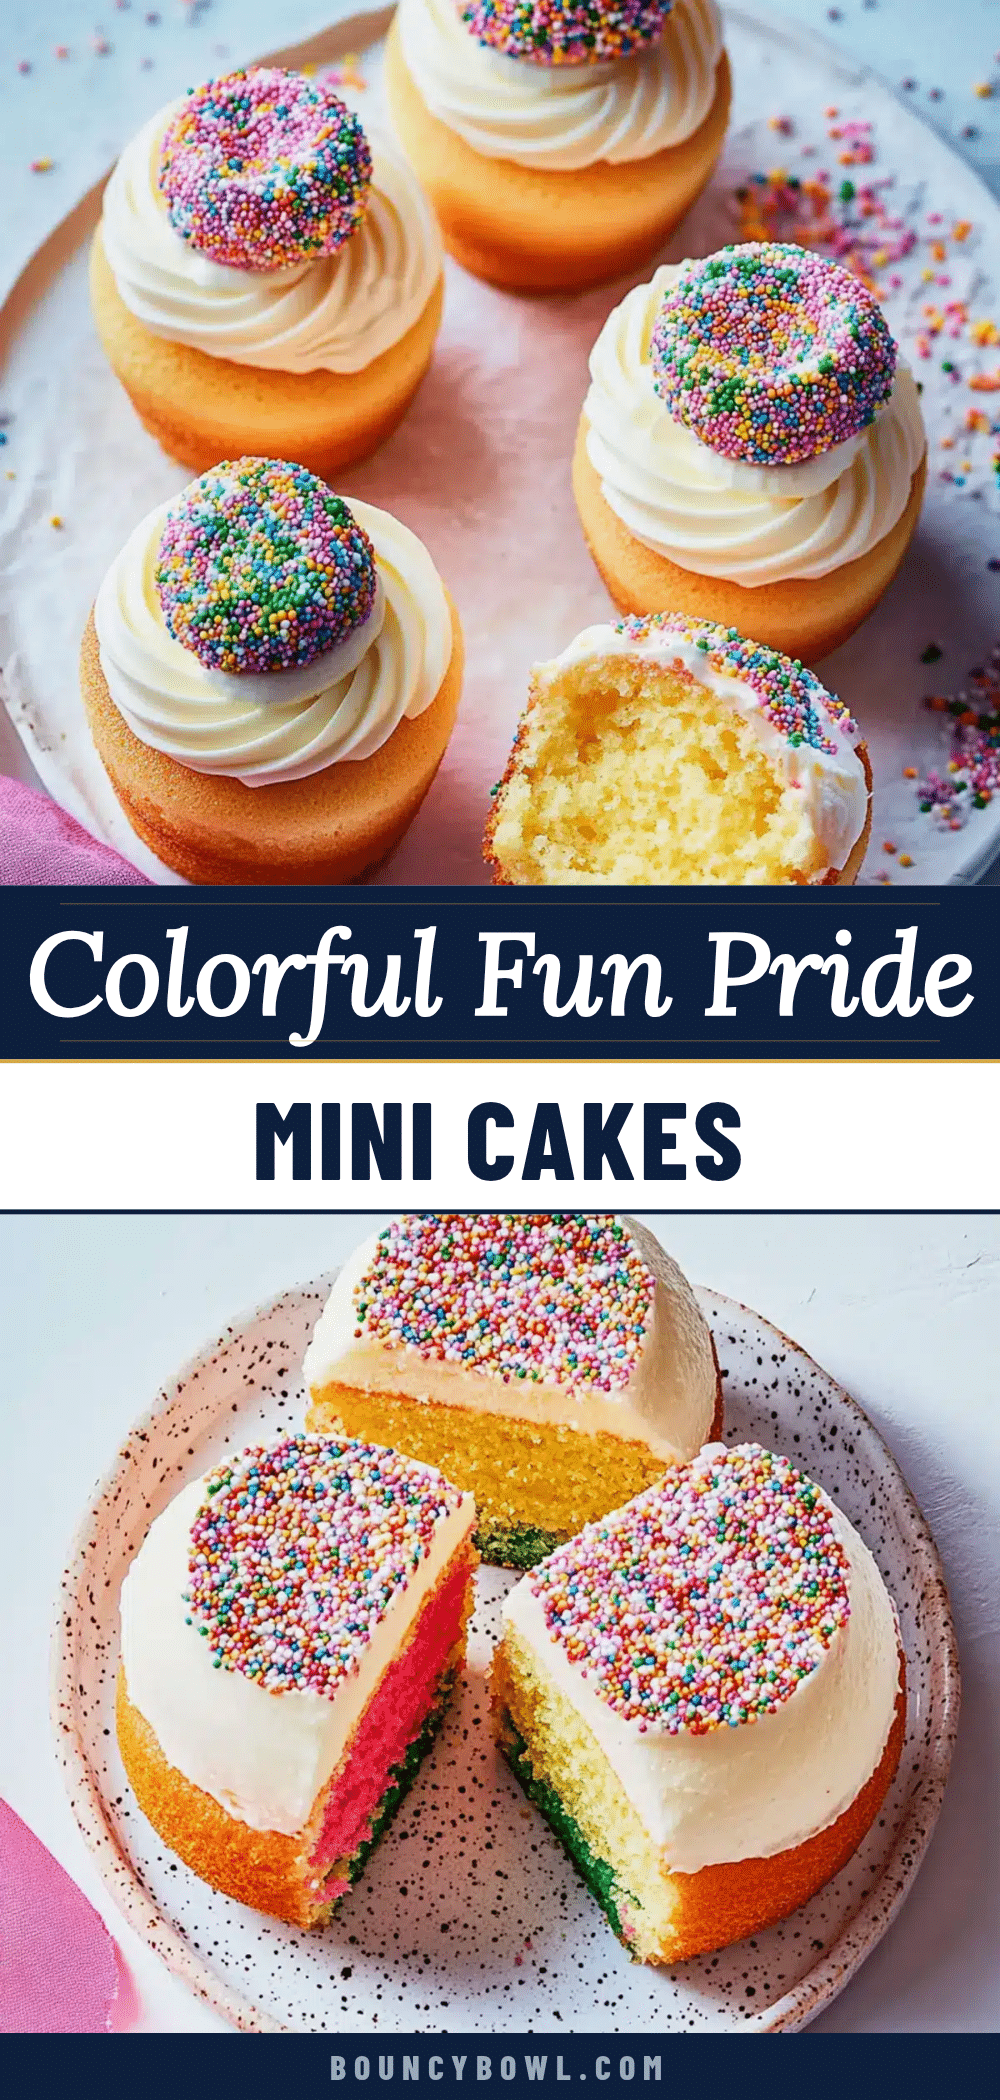
These colorful mini cakes are a joyful, festive dessert perfect for celebrations like Pride, birthdays, or any gathering. They feature vibrant rainbow layers with a soft, tender crumb and a smooth cream cheese buttercream frosting.
- Prep Time: 20 minutes
- Cook Time: 20 minutes
- Total Time: 40 minutes
- Yield: 12 mini cakes 1x
- Category: Dessert
- Cuisine: American
Ingredients
- 2 ½ cups all-purpose flour (315g)
- 2 ½ teaspoons baking powder
- ½ teaspoon salt
- 1 cup (2 sticks) unsalted butter, softened (227g)
- 1 ¾ cups granulated sugar (350g)
- 4 large eggs, room temperature
- 2 teaspoons pure vanilla extract
- 1 cup whole milk (240ml) (can substitute almond milk if dairy-free)
- Gel food coloring – rainbow colors (AmeriColor gels recommended)
- 8 oz cream cheese, softened (226g)
- ½ cup (1 stick) unsalted butter, softened (113g)
- 3 cups powdered sugar (360g)
- 1 teaspoon pure vanilla extract
- Pinch of salt
- 1–2 tablespoons heavy cream (to adjust consistency)
Instructions
- Preheat your oven to 350°F (175°C). Grease and flour mini cake pans or line muffin tins with liners.
- In a medium bowl, whisk together flour, baking powder, and salt. Set aside.
- In a large bowl, cream softened butter and granulated sugar with an electric mixer until light and fluffy, about 3-4 minutes.
- Beat in eggs one at a time, fully incorporating each before adding the next. Stir in vanilla extract.
- With mixer on low, alternately add dry ingredients in three parts and milk in two parts, starting and ending with dry ingredients. Mix until just combined.
- Divide batter evenly into six small bowls. Add gel food coloring to each to create rainbow colors and stir gently.
- Layer colored batter into mini pans, starting with red and following the rainbow order, filling no more than ¾ full.
- Bake for 18-22 minutes or until a toothpick inserted comes out clean. Cakes should spring back lightly when touched.
- Cool cakes in pans for 5 minutes, then transfer to cooling racks to cool completely.
- For frosting, beat cream cheese and butter until smooth. Gradually add powdered sugar, then vanilla and salt. Adjust consistency with heavy cream as needed.
- Frost cooled mini cakes using a spatula or piping bag. Decorate with sprinkles or edible glitter if desired.
Notes
Use gel food coloring for vibrant layers without thinning batter. Keep ingredients at room temperature for best results. Do not overmix batter after adding flour to avoid tough cakes. Layer batter gently to keep colors distinct. Frosting consistency can be adjusted with heavy cream. Cakes can be made ahead and stored in the fridge for up to 3 days or frozen for up to 2 months.
Nutrition
- Serving Size: 1 mini cake
- Calories: 275
- Sugar: 22
- Sodium: 180
- Fat: 15
- Saturated Fat: 9
- Carbohydrates: 32
- Fiber: 0.5
- Protein: 4
Keywords: mini cakes, pride cake, rainbow cake, colorful dessert, celebration dessert, cream cheese frosting, easy baking


