Love this? Save it for later!
Share the inspiration with your friends
The first time I made this chocolate cream pie, I was actually trying to salvage a dinner party disaster. I had promised my friend I’d bring dessert, and my original plan—some complicated layered thing—had completely fallen apart in the kitchen. It was 4 PM, I was out of butter for a second batch of crust, and honestly, I was this close to just buying a store-bought pie and lying about it.
But then I remembered my grandmother’s trick for a flaky crust that uses a little shortening and a lot of cold water. I had heavy cream in the fridge, a good bar of dark chocolate, and about an hour of stubborn energy left. I whipped up the pastry in a bowl that still had coffee residue in it (don’t judge), and while it chilled, I made the silkiest stovetop pudding I could muster. The pie came together in a blur of flour and cocoa powder.
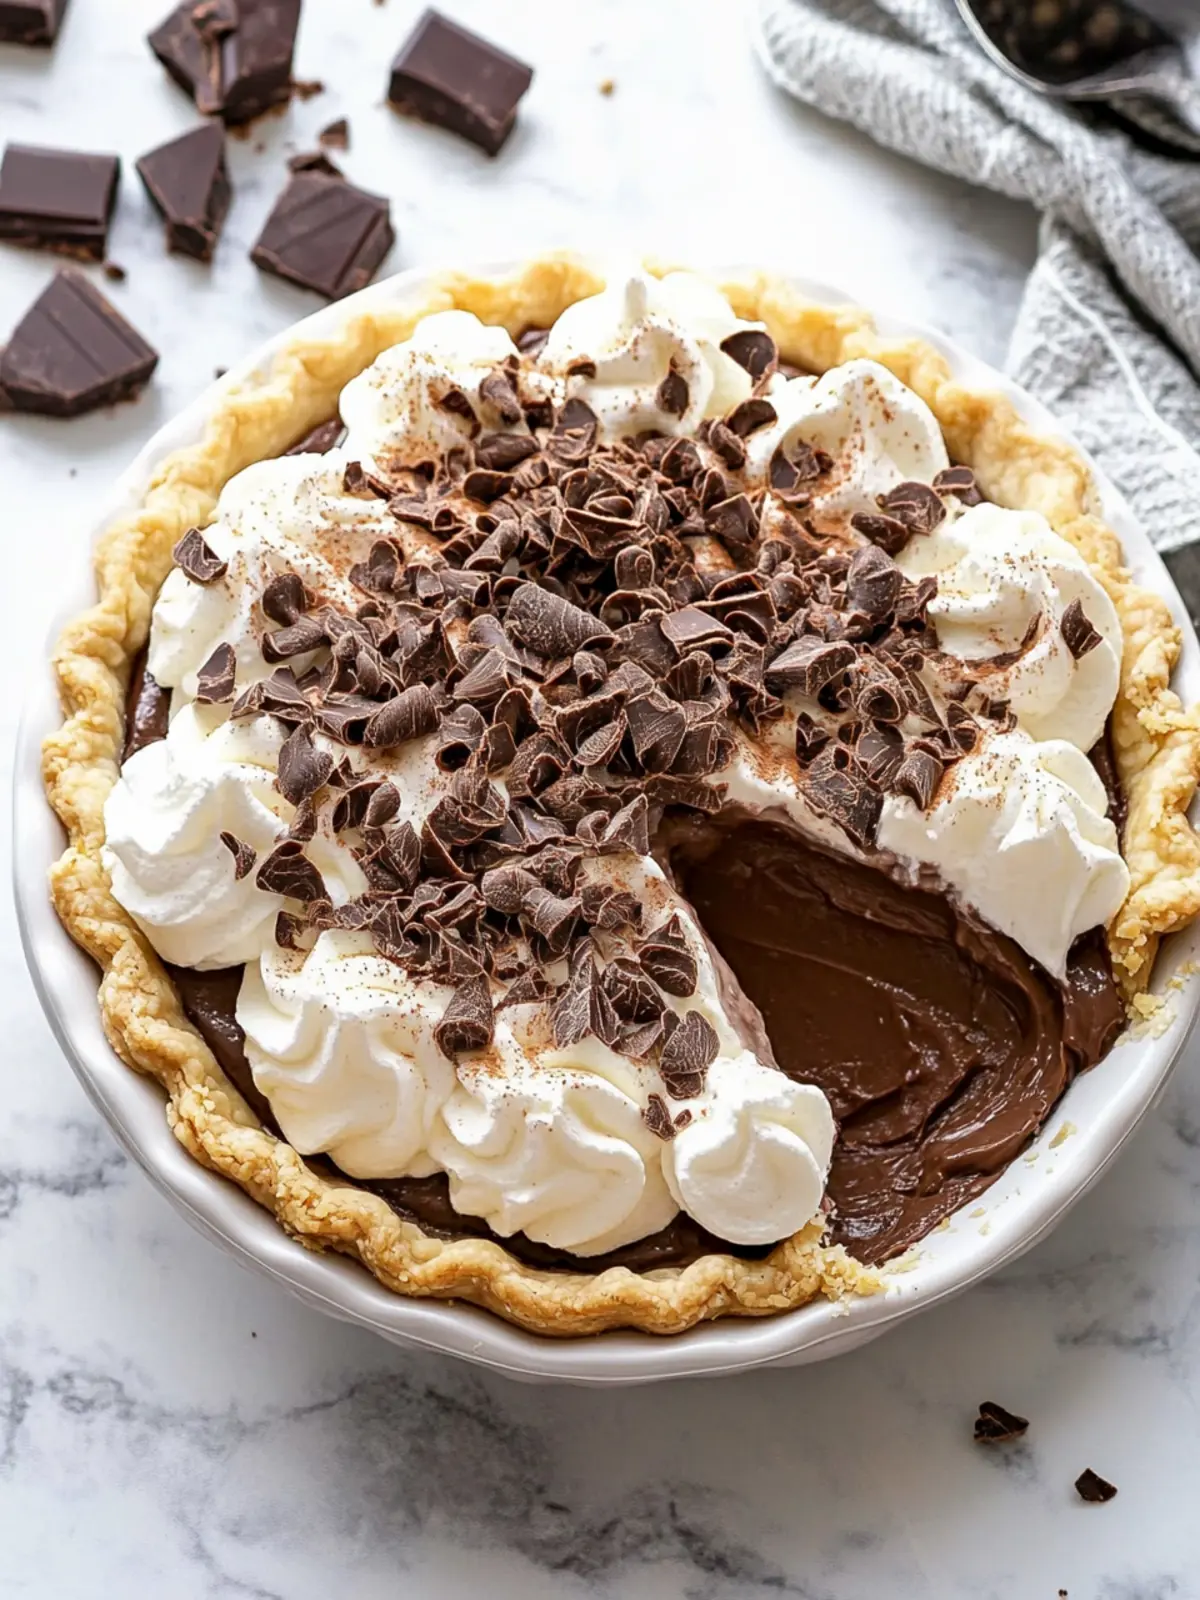
That night, the pie sat on the table like a quiet hero. No one knew it was a backup plan. They just saw the tall, billowy whipped cream peaks and that dark, glossy chocolate filling. My friend took one bite and said, “This is the best pie you’ve ever made.” And honestly? She was right. It became the only chocolate cream pie recipe I’ve used since. It’s the kind of dessert that doesn’t need a fancy story—it just needs to taste this good.
Why You’ll Love This Recipe
This isn’t just another chocolate cream pie. After years of testing crusts and tweaking fillings, I can tell you this version hits every single note. Here’s why it works so well:
- Incredibly Flaky Crust: The homemade pastry uses a blend of butter and shortening for the perfect texture. It shatters when you cut it, but holds up to the creamy filling without getting soggy.
- Rich, Silky Pudding: No instant pudding mix here. This stovetop filling uses real egg yolks, whole milk, and quality chocolate for a deep, velvety smoothness that melts in your mouth.
- No-Bake Filling (Sort Of): While the crust bakes, the filling comes together in about 10 minutes on the stove. It’s fast, foolproof, and requires zero special skills.
- Perfect for Any Occasion: Sunday dinner, birthday parties, or just a random Tuesday when you need chocolate therapy. This pie fits right in.
- Better Than Bakery: Once you taste this homemade version, you’ll never look at a store-bought chocolate cream pie the same way again. It’s genuinely that good.
What makes this recipe different is the technique. Blind-baking the crust with pie weights ensures it stays crisp. The filling is cooked just until it thickens, then strained for absolute smoothness. And the whipped cream? It’s lightly sweetened so it balances the rich chocolate, not competes with it. This is comfort food at its finest—a slice of pure, chocolatey joy.
What Ingredients You Will Need
This recipe uses simple, wholesome ingredients to create something truly spectacular. Most are pantry staples, and the few special ones are worth the trip to the store.
For the Flaky Homemade Crust
- 1 ¼ cups all-purpose flour (160g) – Spoon and level it for accuracy; don’t scoop directly from the bag.
- ½ teaspoon salt – Enhances the flavor of the butter and flour.
- 1 tablespoon granulated sugar – Adds a tiny bit of sweetness and helps with browning.
- ½ cup cold unsalted butter (113g), cut into small cubes – Keep it very cold; pop it in the freezer for 10 minutes if your kitchen is warm.
- 3 tablespoons cold vegetable shortening – This is the secret to a flaky, tender crust. I prefer Crisco for consistency.
- 3-4 tablespoons ice water – Add one tablespoon at a time; you might not need all of it.
For the Chocolate Cream Filling
- ½ cup granulated sugar (100g)
- ¼ cup cornstarch (30g) – Thickens the pudding without making it gummy.
- ¼ teaspoon salt
- 3 cups whole milk (720ml) – Don’t use low-fat; the richness matters here.
- 4 large egg yolks – Save the whites for an omelet or meringue later.
- 6 ounces semi-sweet chocolate (170g), finely chopped – Use a good brand like Ghirardelli or Guittard for the best flavor.
- 2 tablespoons unsalted butter (28g), softened
- 2 teaspoons vanilla extract – Pure, not imitation.
For the Whipped Cream Topping
- 1 ½ cups heavy cream (360ml) – Cold from the fridge.
- 3 tablespoons powdered sugar (or granulated, but powdered dissolves easier)
- 1 teaspoon vanilla extract
For Garnish (Optional)
- Chocolate shavings or curls – Use a vegetable peeler on a chocolate bar.
- A pinch of flaky sea salt – Really brings out the chocolate flavor.
Equipment Needed
You don’t need a professional pastry kitchen for this pie, but a few key tools make the process smoother. Here’s what you’ll need:
- 9-inch pie dish – Glass or ceramic works best for even baking. I use a standard Pyrex dish.
- Rolling pin – If you don’t have one, a clean wine bottle works in a pinch.
- Pie weights or dried beans – Essential for blind-baking the crust to keep it from puffing up.
- Parchment paper or aluminum foil – To line the crust before adding the weights.
- Medium saucepan – For cooking the pudding filling.
- Whisk – A good whisk prevents lumps in the pudding.
- Fine-mesh strainer – This is non-negotiable for a silky smooth filling. Trust me on this.
- Electric mixer or stand mixer – For whipping the cream. A hand whisk works too, but your arm will get a workout.
- Rubber spatula – For scraping every last bit of pudding into the crust.
If you don’t have pie weights, just use dried beans or even uncooked rice. I keep a dedicated bag of dried chickpeas in my pantry just for this purpose. They work perfectly and can be reused for years.
Preparation Method
Let’s walk through this step by step. Take your time with the crust—it’s the foundation of the whole pie.
Step 1: Make the Crust Dough
In a large bowl, whisk together the flour, salt, and sugar. Add the cold butter cubes and shortening. Using a pastry cutter or your fingertips, work the fats into the flour until the mixture looks like coarse meal with some pea-sized butter pieces remaining. This takes about 2-3 minutes. The small butter chunks create steam pockets in the oven, which gives you those beautiful flaky layers.
Sprinkle 3 tablespoons of ice water over the mixture and stir with a fork until the dough just comes together. If it’s too dry, add the last tablespoon of water. The dough should hold together when pinched but not feel wet. Flatten it into a disc, wrap in plastic, and refrigerate for at least 1 hour. You can make this a day ahead if you want.
Step 2: Blind-Bake the Crust
Preheat your oven to 375°F (190°C). On a lightly floured surface, roll the dough out to a 12-inch circle, about ⅛-inch thick. Gently transfer it to your 9-inch pie dish, pressing it into the bottom and up the sides. Trim the overhang to about ½ inch, then tuck it under and crimp the edges with your fingers or a fork.
Line the crust with parchment paper and fill with pie weights or dried beans. Bake for 15 minutes. Carefully remove the parchment and weights, then bake for another 10-12 minutes until the crust is golden brown and dry to the touch. Let it cool completely on a wire rack. If you see any cracks, just patch them with a little leftover dough or egg wash before the second bake.
Step 3: Prepare the Chocolate Filling
In a medium saucepan, whisk together the sugar, cornstarch, and salt. Slowly whisk in the milk until smooth. Place the saucepan over medium heat and cook, stirring constantly with the whisk, until the mixture thickens and comes to a gentle boil. This takes about 6-8 minutes. You’ll feel it get heavy in the whisk—that’s the sign.
In a separate bowl, lightly beat the egg yolks. Slowly ladle about ½ cup of the hot milk mixture into the yolks while whisking constantly. This tempers the eggs so they don’t scramble. Pour the egg mixture back into the saucepan, whisking all the time. Return to medium heat and cook for 2 more minutes, stirring constantly, until it’s very thick and bubbly.
Remove from heat and immediately stir in the chopped chocolate, butter, and vanilla. Keep stirring until everything is smooth and shiny. Now, here’s the professional trick: pour the entire mixture through a fine-mesh strainer into a clean bowl. This catches any tiny lumps or cooked egg bits. You’ll be amazed at the difference in texture.
Step 4: Assemble the Pie
Pour the warm chocolate filling directly into the cooled pie crust. Spread it evenly with a spatula. Press a piece of plastic wrap directly onto the surface of the pudding to prevent a skin from forming. Refrigerate for at least 4 hours, but overnight is better. The filling needs time to set completely.
Step 5: Make the Whipped Cream
Just before serving, pour the cold heavy cream into a chilled bowl. Add the powdered sugar and vanilla. Whip on medium-high speed until soft peaks form—when you lift the whisk, the cream should hold a gentle peak that flops over slightly. Don’t overwhip, or you’ll end up with butter.
Spread or pipe the whipped cream over the chilled pie. Garnish with chocolate shavings and a sprinkle of flaky sea salt if you’re feeling fancy. Slice with a sharp knife dipped in hot water for clean cuts.
Cooking Tips & Techniques
I’ve made this pie more times than I can count, and I’ve learned a few things the hard way. Here are my best tips:
Keep everything cold for the crust. Warm hands, a warm kitchen, or warm butter will give you a tough, greasy crust. If your butter starts to soften while you’re cutting it, pop the whole bowl in the fridge for 10 minutes. I once made a crust in a hot summer kitchen without chilling, and it spread into a flat, oily mess. Never again.
Don’t skip the strainer step. I know it’s an extra dish to wash, but straining the pudding is what gives it that professional, velvety texture. Even the best whisk leaves tiny lumps. Your future self will thank you.
Patience with chilling. This pie needs a solid 4 hours in the fridge, minimum. If you cut into it too soon, the filling will run out like soup. I’ve done it. It’s heartbreaking. Give it the full time.
For the flakiest crust, use a mix of fats. Butter gives flavor, and shortening gives flakiness. If you use all butter, the crust will taste great but might be less tender. All shortening gives you a tender crust that lacks flavor. The combination is magic.
Whip cream by hand if you’re nervous. It’s easier to control the texture, and you’re less likely to accidentally make butter. Plus, it’s a great arm workout.
Variations & Adaptations
This recipe is wonderfully flexible. Here are some ways to make it your own:
Dark Chocolate Lover’s Pie: Swap the semi-sweet chocolate for 70% dark chocolate. The filling will be less sweet and more intense. I like to add an extra tablespoon of sugar to balance the bitterness.
Milk Chocolate Version: Use milk chocolate instead of semi-sweet for a sweeter, creamier filling. Reduce the sugar in the pudding by 2 tablespoons since milk chocolate is already quite sweet.
Gluten-Free Option: Substitute the all-purpose flour with a 1:1 gluten-free baking flour blend. I’ve used Bob’s Red Mill with great results. The crust will be a bit more delicate, so handle it gently.
White Chocolate Cream Pie: Replace the semi-sweet chocolate with 8 ounces of good-quality white chocolate. The filling will be rich and vanilla-forward. Add a teaspoon of lemon zest to the whipped cream for a bright contrast.
Chocolate Peanut Butter Swirl: Before pouring the filling into the crust, swirl in ¼ cup of smooth peanut butter. Drop spoonfuls of peanut butter on top of the filling and gently swirl with a knife. It’s dangerously good.
If you love working with pastry, you might also enjoy the flaky layers in these easy homemade chocolate croissants for another buttery treat. And for a quick dessert that requires zero baking, this no-bake summer berry icebox cake is perfect for hot days.
Serving & Storage Suggestions
Serve this pie cold, straight from the fridge. The contrast between the chilled filling and the flaky crust is perfection. I like to let it sit at room temperature for about 10 minutes before slicing—it softens the filling just enough to make it silky without losing structure.
For presentation, pipe the whipped cream in rosettes or swirls for a bakery look. A simple sprinkle of chocolate shavings and a few fresh raspberries on the side adds color and a hint of tartness that cuts through the richness.
Storage: Cover the pie loosely with plastic wrap or foil and refrigerate for up to 3 days. The crust will soften slightly over time, but the flavor actually improves after a day. I think it’s even better on day two.
Freezing: You can freeze the unbaked crust for up to 3 months. Wrap it tightly in plastic and foil. Bake directly from frozen, adding 5 minutes to the blind-baking time. The finished pie doesn’t freeze well because the pudding gets watery when thawed.
Leftover whipped cream: If you have extra, dollop it on coffee, hot chocolate, or fresh berries. It’ll keep in the fridge for 2 days in an airtight container.
Nutritional Information & Benefits
Let’s be honest—this is a dessert, not a health food. But knowing what’s in it helps you enjoy it mindfully. Per slice (based on 8 servings):
- Calories: ~420
- Fat: 28g
- Carbohydrates: 38g
- Protein: 6g
- Sugar: 22g
- Fiber: 2g
Dark chocolate is rich in antioxidants and can support heart health in moderation. The eggs and milk provide protein and calcium. The homemade crust has no preservatives or artificial ingredients—just real butter, flour, and a little love. If you’re watching your sugar, you can reduce it by 2 tablespoons in the filling without a major texture change.
For a lighter option, serve smaller slices with a big pile of fresh berries. The natural sweetness of the fruit balances the richness, and you get a little extra fiber and vitamins. Everything in moderation, right?
Conclusion
This perfect chocolate cream pie is the dessert that keeps on giving. It’s the one you’ll make for birthdays, holidays, and those quiet nights when only chocolate will do. The flaky homemade crust takes a little effort, but the payoff is a pie that tastes like it came from a fancy bakery—except you made it yourself.
I love that this recipe doesn’t rely on shortcuts or gimmicks. It’s honest cooking: real ingredients, patient technique, and a result that speaks for itself. Every time I make it, I remember that chaotic afternoon when I almost gave up on dessert. Now, it’s my signature pie.
I’d love to hear how yours turns out. Did you try a variation? Did the crust come out perfectly flaky? Drop a comment below and tell me about it. Share this recipe with someone who needs a little chocolate in their life. And if you make it, tag me—I want to see that beautiful pie!
Frequently Asked Questions
Can I use a store-bought crust instead?
Yes, absolutely. The homemade crust is a big part of what makes this pie special, but if you’re short on time, a good quality refrigerated pie crust works fine. Just blind-bake it according to the package directions before adding the filling.
Why is my pudding lumpy?
Lumpy pudding usually happens when the milk mixture isn’t whisked constantly, or when the heat is too high. Make sure you’re stirring the whole time, especially after adding the eggs. If you still get lumps, don’t panic—just strain the pudding through a fine-mesh strainer. It’ll be perfectly smooth.
How do I get clean slices of pie?
Use a sharp chef’s knife and dip it in hot water before each cut. Wipe the blade clean between slices. This gives you those beautiful, bakery-style pieces without the filling smearing everywhere.
Can I make this pie dairy-free?
You can try using full-fat oat milk or canned coconut milk in place of whole milk, and coconut cream for the whipped topping. Use vegan butter in the crust. The texture will be slightly different, but it’s still delicious. Just note that coconut milk adds a subtle coconut flavor.
How long does this pie last in the fridge?
Properly covered, the pie stays fresh for up to 3 days. The crust will soften a bit over time, but the flavor actually deepens. I usually make it the day before I need it, and it’s always perfect.
If you’re in the mood for another classic dessert, try these loaded turtle cookies with gooey caramel for a chewy, decadent treat. And for a creamy no-bake option, this easy summer berry icebox cake is a total crowd-pleaser.
Pin This Recipe!
Perfect Chocolate Cream Pie: Easy Homemade Recipe

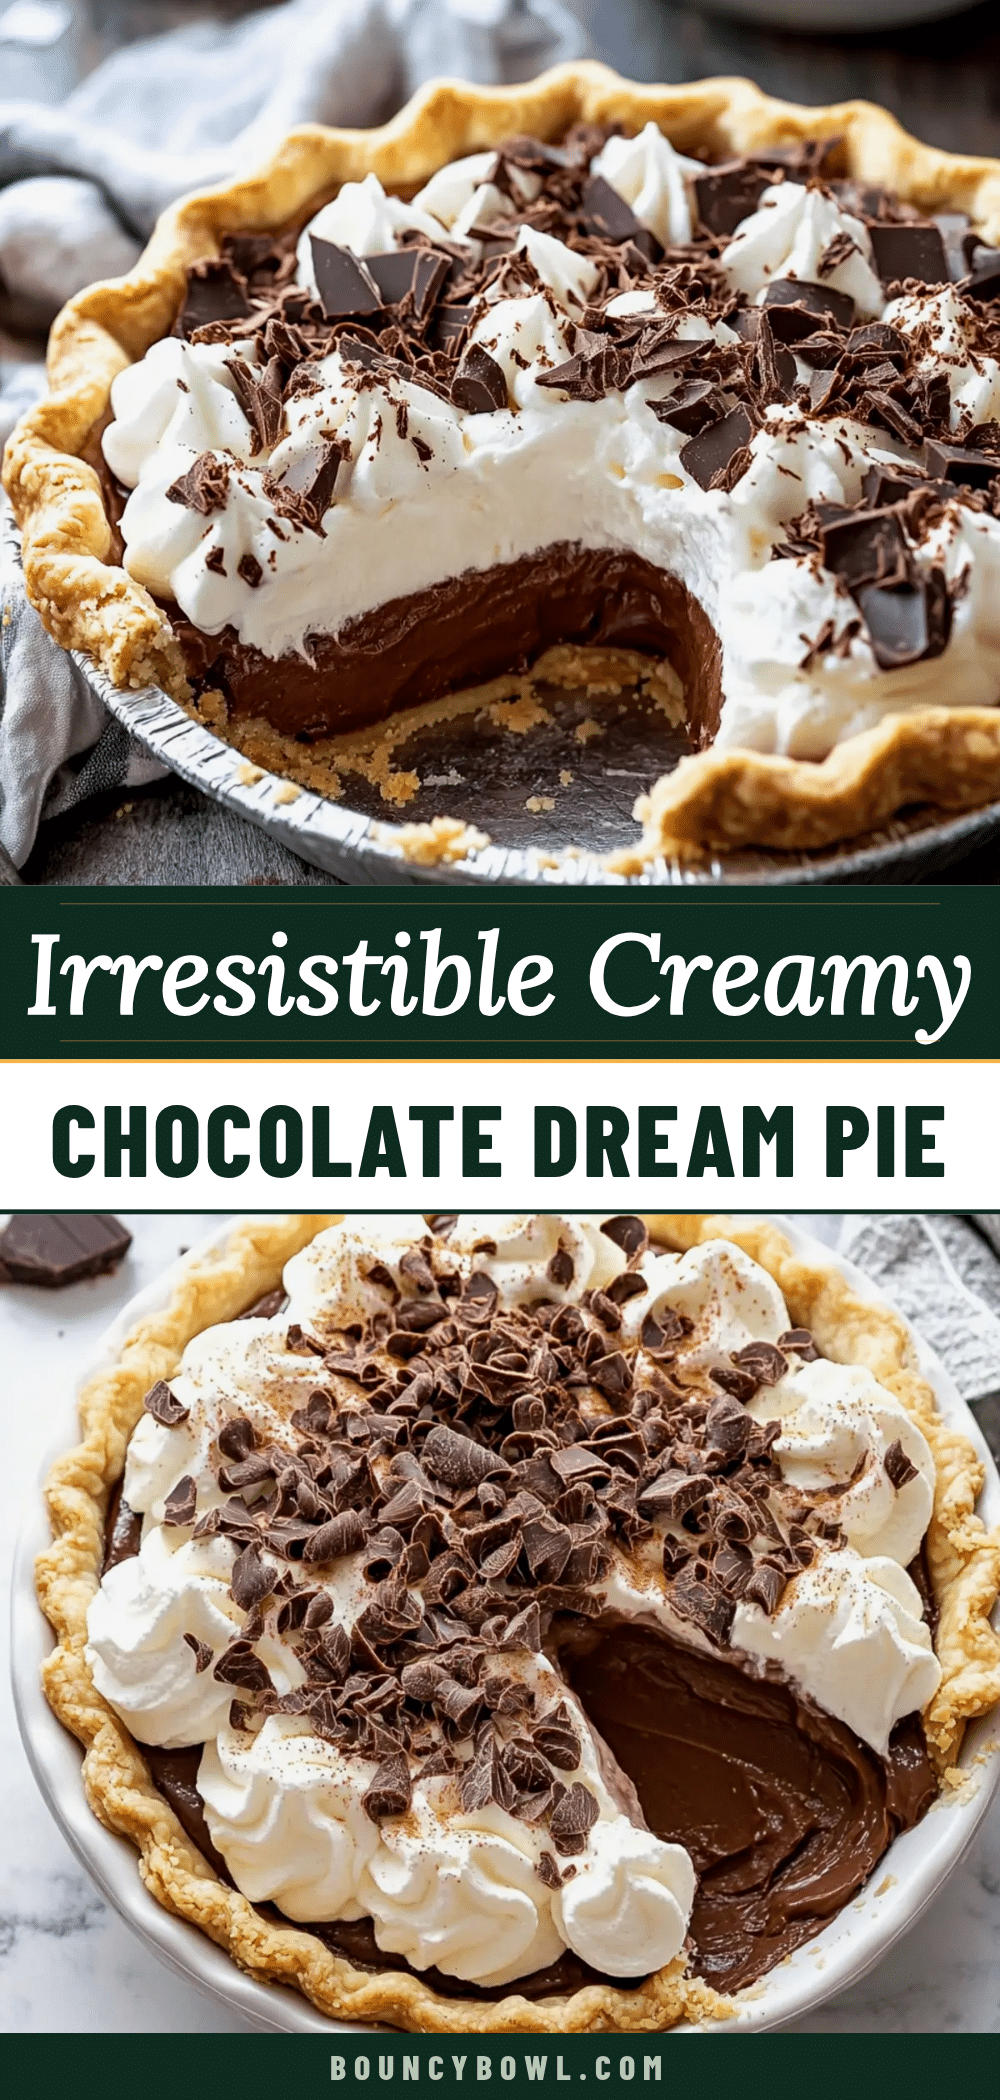
This rich and silky chocolate cream pie features a flaky homemade crust, a stovetop chocolate pudding filling, and a billowy whipped cream topping. It’s the ultimate comfort dessert that tastes like it came from a fancy bakery.
- Prep Time: 30 minutes
- Cook Time: 30 minutes
- Total Time: 5 hours (includes chilling time)
- Yield: 8 servings 1x
- Category: Dessert
- Cuisine: American
Ingredients
- 1 ¼ cups all-purpose flour (160g)
- ½ teaspoon salt
- 1 tablespoon granulated sugar
- ½ cup cold unsalted butter (113g), cut into small cubes
- 3 tablespoons cold vegetable shortening
- 3–4 tablespoons ice water
- ½ cup granulated sugar (100g)
- ¼ cup cornstarch (30g)
- ¼ teaspoon salt
- 3 cups whole milk (720ml)
- 4 large egg yolks
- 6 ounces semi-sweet chocolate (170g), finely chopped
- 2 tablespoons unsalted butter (28g), softened
- 2 teaspoons vanilla extract
- 1 ½ cups heavy cream (360ml)
- 3 tablespoons powdered sugar
- 1 teaspoon vanilla extract
- Chocolate shavings or curls (optional)
- A pinch of flaky sea salt (optional)
Instructions
- Make the crust dough: In a large bowl, whisk together flour, salt, and sugar. Add cold butter cubes and shortening. Using a pastry cutter or fingertips, work the fats into the flour until the mixture looks like coarse meal with some pea-sized butter pieces remaining. Sprinkle 3 tablespoons of ice water over the mixture and stir with a fork until the dough just comes together. If too dry, add the last tablespoon of water. Flatten into a disc, wrap in plastic, and refrigerate for at least 1 hour.
- Blind-bake the crust: Preheat oven to 375°F (190°C). On a lightly floured surface, roll dough to a 12-inch circle, about ⅛-inch thick. Transfer to a 9-inch pie dish, pressing into bottom and up sides. Trim overhang to ½ inch, tuck under, and crimp edges. Line with parchment paper and fill with pie weights or dried beans. Bake for 15 minutes. Remove parchment and weights, then bake for another 10-12 minutes until golden brown. Cool completely on a wire rack.
- Prepare the chocolate filling: In a medium saucepan, whisk together sugar, cornstarch, and salt. Slowly whisk in milk until smooth. Place over medium heat and cook, stirring constantly with a whisk, until mixture thickens and comes to a gentle boil (6-8 minutes). In a separate bowl, lightly beat egg yolks. Slowly ladle about ½ cup of hot milk mixture into yolks while whisking constantly. Pour egg mixture back into saucepan, whisking constantly. Return to medium heat and cook for 2 more minutes, …
- Assemble the pie: Pour warm chocolate filling into cooled pie crust. Spread evenly with a spatula. Press plastic wrap directly onto surface of pudding to prevent skin from forming. Refrigerate for at least 4 hours, preferably overnight.
- Make the whipped cream: Just before serving, pour cold heavy cream into a chilled bowl. Add powdered sugar and vanilla. Whip on medium-high speed until soft peaks form. Spread or pipe whipped cream over chilled pie. Garnish with chocolate shavings and flaky sea salt if desired. Slice with a sharp knife dipped in hot water for clean cuts.
Notes
Keep all ingredients cold for the crust. Don’t skip straining the pudding for a silky texture. Chill the pie for at least 4 hours before serving. For the flakiest crust, use a mix of butter and shortening. Whip cream by hand if you’re nervous about overwhipping.
Nutrition
- Serving Size: 1 slice (1/8 of pie)
- Calories: 420
- Sugar: 22
- Sodium: 280
- Fat: 28
- Saturated Fat: 16
- Carbohydrates: 38
- Fiber: 2
- Protein: 6
Keywords: chocolate cream pie, homemade pie, chocolate pudding pie, flaky crust, easy dessert, classic pie


