Love this? Save it for later!
Share the inspiration with your friends
I was standing at the stove, staring at a pack of pork belly I’d grabbed on a whim, and honestly? I almost put it back. The clock was ticking toward dinner, and every recipe I’d ever seen for crispy pork belly involved hours of roasting, scoring, salting overnight, and what felt like a whole weekend project. But the craving for that salty, crunchy, fatty bite—the one that makes you close your eyes for a second—wasn’t going anywhere.
So I did something a little reckless. I sliced the belly thin, cranked the heat, and decided to figure it out in the time it takes to watch a single episode of something. Thirty minutes later, I was pulling these golden, crackling slices out of the pan, and the kitchen smelled like the best Chinese takeout you’ve ever had. My husband walked in, grabbed one off the plate before I could stop him, and just said, “Okay, this is dangerous.” He wasn’t wrong.
That night, we ate them straight off the pan with a little dip of sriracha and honey. No sides, no salad, no pretense. Just pure, crispy, porky satisfaction. And I knew I had to write it down before I forgot the exact timing and heat level that made it work. This Crispy 30-Minute Pork Belly Slices recipe is the result of that slightly impatient, very hungry evening—and it’s been on repeat ever since.
Why You’ll Love This Recipe
Let’s be real—pork belly is one of those ingredients that can feel intimidating. It’s rich, it’s fatty, and if you cook it wrong, it’s either chewy or a greasy mess. But this method flips the script completely. You don’t need a special oven setup, a smoker, or a day of prep. You just need a hot pan, a little patience, and about half an hour.
- Quick & Easy: From fridge to plate in 30 minutes flat. No marinating, no overnight salting, no complicated steps.
- Simple Ingredients: Pork belly, salt, pepper, and a little oil. That’s it. You probably have everything already.
- Perfect for Any Occasion: These slices work as a weeknight dinner, a game-day snack, a taco filling, or even a fancy appetizer for guests.
- Crowd-Pleaser: I’ve served these to picky kids, skeptical in-laws, and hardcore foodie friends. Every single person goes back for more.
- Unbelievably Delicious: The contrast between the shatteringly crispy exterior and the tender, juicy interior is next-level comfort food.
What makes this recipe different from the rest? It’s the technique. By slicing the belly thin and cooking it in a specific two-stage process—first rendering the fat slowly, then cranking the heat for the final crisp—you get that perfect texture without any of the hassle. It’s not just another pork belly recipe. It’s the one that actually works on a Tuesday night.
This is the kind of dish that makes you feel like a hero in the kitchen without breaking a sweat. It’s comfort food reimagined—faster, simpler, but with the same soul-soothing satisfaction. Perfect for impressing guests without stress, or turning a simple meal into something memorable.
What Ingredients You Will Need
This recipe uses just a handful of ingredients to deliver maximum flavor. The beauty is in the simplicity—let the pork speak for itself.
- Pork belly (1 lb / 450g) – Look for a piece that’s evenly thick, about 1 inch, with a good balance of meat and fat. Skin-on or skin-off both work, but skin-on gives you that extra crackling texture. If you can find it from a local butcher, even better.
- Salt (1 tsp / 5g) – Use fine sea salt or kosher salt. Don’t skimp—salt is what draws out moisture and helps the skin get crispy.
- Black pepper (½ tsp / 2g) – Freshly ground is always better. It adds a subtle warmth that complements the richness.
- Neutral oil (1 tbsp / 15ml) – Avocado oil, grapeseed oil, or even vegetable oil work perfectly. Avoid olive oil here—it has a lower smoke point and can burn.
- Optional: Garlic powder (½ tsp / 2g) – Adds a savory depth without being overpowering. I use it about half the time.
- Optional: Soy sauce (1 tsp / 5ml) for brushing – If you want a slightly umami, caramelized finish, brush a little on during the last minute of cooking.
Ingredient Selection Tips: When buying pork belly, look for meat that’s pinkish-red with firm, white fat. Avoid pieces with yellowed or soft fat—that’s a sign of older meat. If you’re using skin-on belly, ask your butcher to score the skin in a crosshatch pattern. It helps the fat render faster and creates more crispy surface area.
Substitution Guidance: No pork belly? You can use thick-cut bacon in a pinch, though it will be saltier and cook faster. For a leaner option, try pork shoulder sliced thin, but know it won’t get quite as crispy. Need it gluten-free? Just skip the soy sauce or use tamari.
Equipment Needed
You don’t need a fancy kitchen to nail this recipe. Here’s what you’ll need:
- Large cast-iron skillet or heavy-bottomed pan (12-inch / 30cm) – Cast iron holds heat beautifully and gives you that even, golden crust. A stainless steel pan works too, but avoid non-stick—it won’t get hot enough for proper crisping.
- Sharp chef’s knife (8-inch / 20cm) – A good knife makes slicing the pork belly thin and even a breeze. If your knife is dull, ask your butcher to slice it for you.
- Paper towels – Essential for patting the pork belly dry. Moisture is the enemy of crispiness.
- Tongs – For flipping the slices without splattering hot oil everywhere.
- Plate lined with paper towels – To drain the cooked slices before serving.
- Meat thermometer (optional but helpful) – If you want to be precise, the internal temp should hit 165°F (74°C) for safety, though pork belly is often enjoyed at higher temps for better texture.
Personal Experience: I’ve tried this in a carbon steel wok too, and it works beautifully—the curved sides help contain the splatter. But my trusty cast iron skillet is still my go-to. It’s been seasoned for years, and every time I use it for this recipe, it just gets better.
Preparation Method
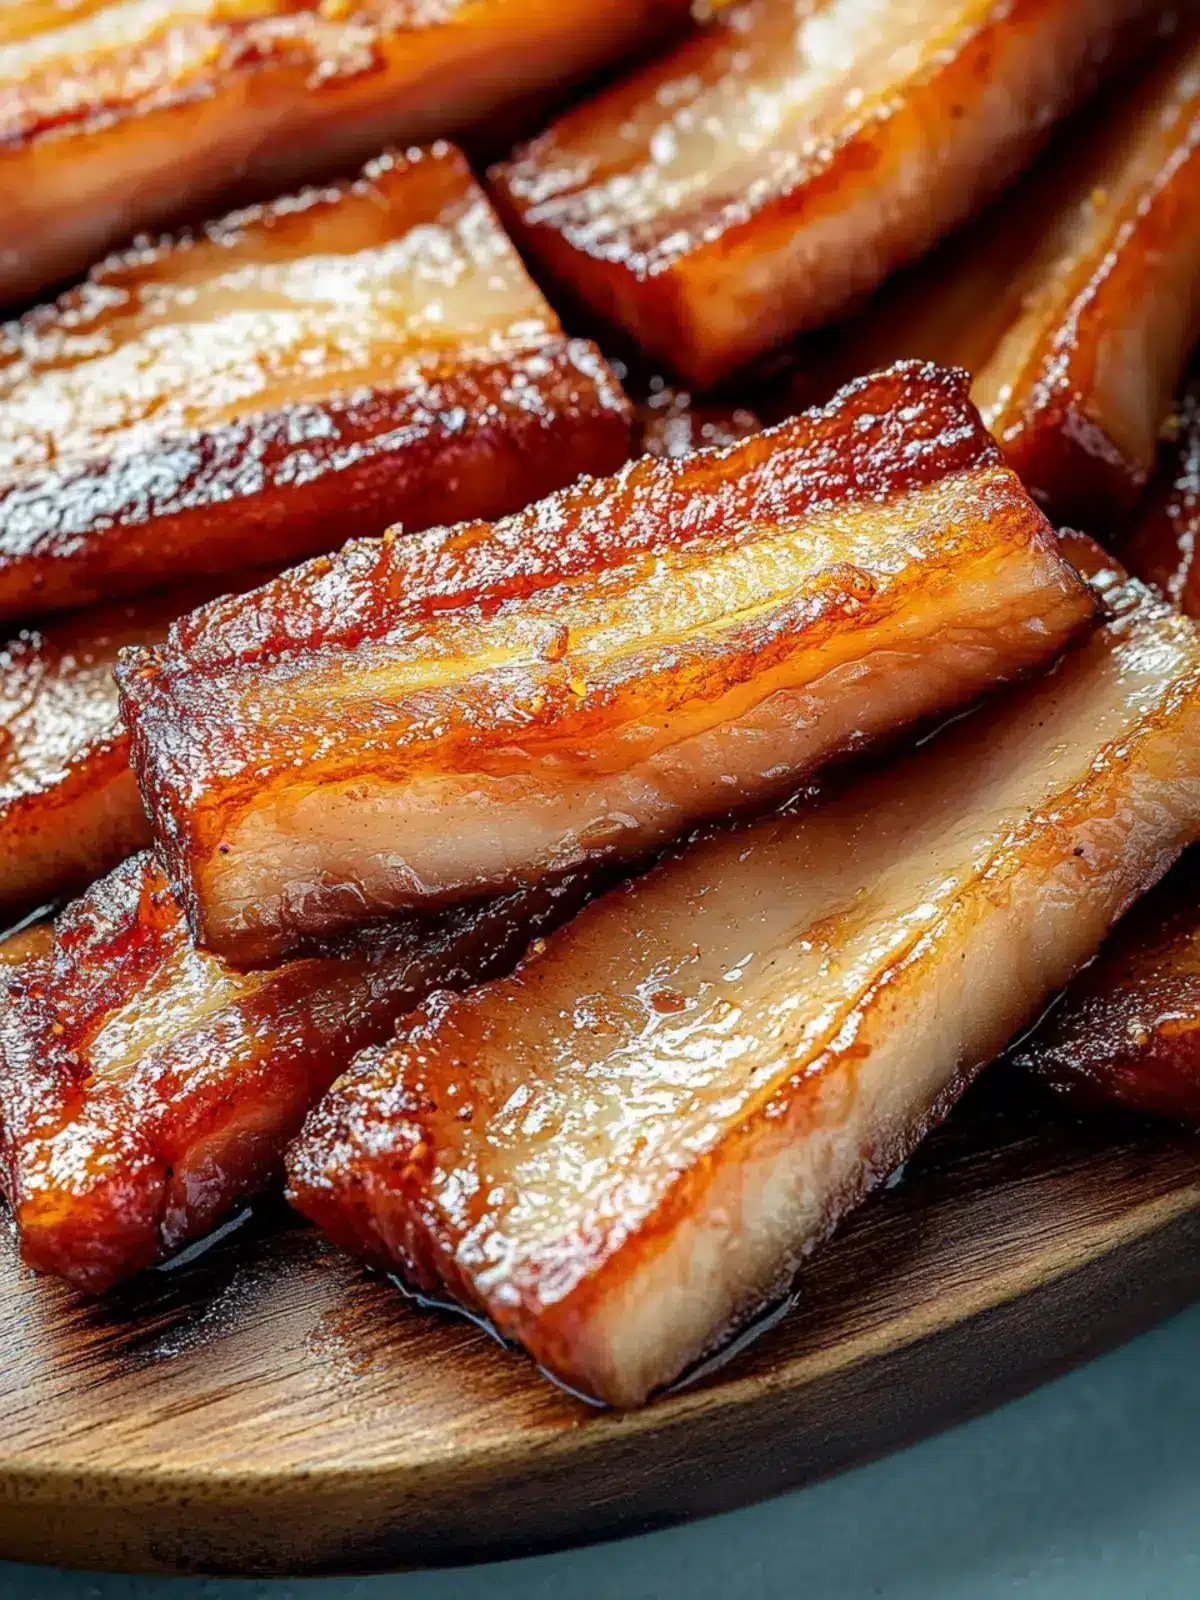
Let’s get cooking. This method is straightforward, but the timing and heat management are key. Follow these steps closely, and you’ll have perfect crispy pork belly slices every time.
- Prep the pork belly (5 minutes): Place the pork belly on a cutting board. Using your sharp knife, slice it against the grain into ¼-inch (6mm) thick pieces. If the belly is cold from the fridge, it’s easier to slice cleanly. Pat each slice dry with paper towels—this is crucial for crispiness. Season both sides generously with salt, pepper, and garlic powder if using. Let them sit at room temperature for 10 minutes while you heat the pan.
- Heat the pan (2 minutes): Place your cast-iron skillet over medium heat and add the neutral oil. Swirl to coat the bottom. You want the oil hot but not smoking—a drop of water should sizzle on contact.
- First sear: render the fat (10 minutes): Lay the pork belly slices in a single layer in the hot pan. Don’t overcrowd—work in batches if needed. Let them cook undisturbed for 4-5 minutes. You’ll see the fat start to render and the edges turn golden. Flip each slice with tongs and cook another 4-5 minutes on the second side. The goal here is to render out some of the fat and get a good head start on browning.
- Second sear: get truly crispy (8 minutes): This is the magic step. Increase the heat to medium-high. Flip the slices again and press them down gently with a spatula. Cook for 2-3 minutes per side, until the edges are deep golden brown and the surface is crackling. If you’re using skin-on belly, you’ll hear it popping and sizzling—that’s the sound of success. If the pan starts smoking, reduce heat slightly.
- Optional soy glaze (1 minute): If you want that savory-sweet finish, brush a thin layer of soy sauce over each slice during the last minute of cooking. Flip and brush the other side. Let it caramelize for about 30 seconds per side, then remove immediately.
- Rest and serve (2 minutes): Transfer the crispy slices to a plate lined with paper towels to drain any excess oil. Let them rest for 1-2 minutes—this allows the juices to redistribute so they stay tender inside. Serve hot, while the crackling is still at its peak.
Sensory Cues: At the first sear stage, you should hear a steady sizzle—not a violent pop. The fat will turn translucent and start to pool in the pan. By the second sear, the sound becomes sharper and more aggressive. The color should be a deep mahogany brown, not black. If it’s burning, your heat is too high.
Personal Tip: I always cook these in two batches if I’m making more than a pound. Crowding the pan drops the temperature and steams the meat instead of crisping it. Trust me, I learned this the hard way after a sad, soggy batch.
Cooking Tips & Techniques
Getting that perfect crispy texture isn’t about luck—it’s about technique. Here’s what I’ve learned from making this recipe dozens of times.
The Drying Rule: Moisture is the number one enemy of crispiness. After patting the slices dry, let them sit uncovered in the fridge for 15 minutes if you have extra time. The cold air helps dry the surface even more. I do this when I’m prepping other parts of the meal.
Don’t Move Them Too Early: When you lay the slices in the hot pan, resist the urge to poke or move them. Let them develop a crust naturally. If you try to flip too soon, they’ll stick and tear. They’ll release on their own when they’re ready—usually after about 4 minutes.
Rendering vs. Burning: There’s a fine line between rendering fat and burning the meat. Medium heat for the first sear, then medium-high for the second. If you go full high heat from the start, the outside will burn before the fat has a chance to render, leaving you with a tough, bitter exterior.
My Biggest Failure: The first time I tried this, I used a non-stick pan and cranked the heat to high. The pork belly burned on the outside and was chewy on the inside. I almost gave up on the whole idea. Then I switched to cast iron, lowered the heat, and everything changed. Don’t repeat my mistake.
Timing Strategy: While the pork belly is resting after the first sear, I use that time to prep any sides or dips. It keeps the workflow smooth and ensures everything is ready at the same time.
Consistency Tip: For evenly cooked slices, try to cut them all the same thickness. If some are thicker and some thinner, the thin ones will overcook while the thick ones are still rendering. Take your time with the slicing—it pays off.
Variations & Adaptations
This recipe is incredibly versatile. Here are a few ways to switch it up based on your mood or dietary needs.
- Spicy Korean-Style: After the second sear, toss the crispy slices in a mixture of gochujang (1 tbsp), honey (1 tbsp), sesame oil (1 tsp), and a sprinkle of sesame seeds. Serve with rice and kimchi for an amazing weeknight meal.
- Low-Carb / Keto-Friendly: Skip the soy glaze and serve the slices over a bed of cauliflower rice or a crisp salad with avocado. The fat content makes it naturally keto-friendly and incredibly satisfying.
- Air Fryer Adaptation: Preheat your air fryer to 400°F (200°C). Arrange the seasoned slices in a single layer in the basket. Cook for 12-15 minutes, flipping halfway through. No oil needed—the fat renders out beautifully. The texture is slightly less shatter-crisp than pan-frying but still excellent and less messy.
- Sweet & Sticky Glaze: Mix 2 tbsp honey, 1 tbsp soy sauce, 1 tsp rice vinegar, and a pinch of red pepper flakes. Brush onto the slices during the last 2 minutes of cooking. The sugars caramelize and create a sticky, glossy finish that’s absolutely addictive.
- Herb & Garlic: Add a few crushed garlic cloves and a sprig of rosemary or thyme to the pan during the second sear. The aromatics infuse the oil and give the pork a subtle herbal note. Remove them before serving.
Personal Variation: My favorite twist is the Korean-style version. I first tried it after a trip to a Korean BBQ spot where they served pork belly with ssamjang. The combination of crispy, fatty pork with that spicy, savory paste is just unbeatable. Now I keep a jar of gochujang in my fridge just for this.
Serving & Storage Suggestions
These crispy pork belly slices are best enjoyed fresh and hot, but here’s how to make the most of them.
Serving Temperature: Serve immediately after resting. The crackling is at its peak within the first 5 minutes. If you let them sit too long, they’ll start to soften from the residual steam.
Presentation Ideas: Arrange the slices on a wooden board with a small bowl of dipping sauce—sriracha mayo, sweet chili sauce, or a simple mix of soy sauce and rice vinegar. Sprinkle with sliced green onions and sesame seeds for color. For a main dish, serve over steamed jasmine rice with a side of sautéed greens like bok choy or garlic spinach.
Complementary Dishes: These slices pair beautifully with a fresh sushi cucumber salad for a light, crunchy contrast. Or serve them alongside a quick Chinese-style sautéed shrimp for an impressive surf-and-turf dinner. For a hearty meal, tuck them into steamed bao buns with pickled vegetables and hoisin sauce.
Storage Instructions: Store any leftovers in an airtight container in the refrigerator for up to 3 days. The crispiness will fade, but the flavor remains. To reheat, place them in a single layer on a baking sheet in a 375°F (190°C) oven for 5-7 minutes, or until hot and re-crisped. Avoid the microwave—it will make them rubbery.
Freezer Tips: You can freeze the cooked slices for up to 2 months. Lay them flat on a parchment-lined baking sheet and freeze until solid, then transfer to a freezer bag. Reheat directly from frozen in a hot pan or oven.
Flavor Development: Interestingly, these slices are still delicious cold the next day. The fat solidifies slightly, giving them a texture almost like a pork rillette. I’ve been known to sneak a few straight from the fridge as a snack.
Nutritional Information & Benefits
While pork belly is undeniably indulgent, it does offer some nutritional benefits when enjoyed in moderation.
Estimated Nutritional Values (per 3-ounce / 85g serving, about 4-5 slices):
- Calories: 350-400
- Protein: 18-20g
- Fat: 30-35g (mostly monounsaturated and saturated)
- Carbohydrates: 0g (without glaze)
- Sodium: 400-500mg (varies with seasoning)
Health Benefits: Pork belly is rich in B vitamins, particularly B12 and niacin, which support energy metabolism and nervous system health. It also provides a good amount of zinc and selenium, important for immune function. The fat content includes oleic acid, the same heart-healthy fat found in olive oil.
Dietary Considerations: This recipe is naturally gluten-free (if you skip the soy sauce or use tamari), low-carb, and keto-friendly. It contains no added sugars in the basic version. It is not suitable for vegetarian, vegan, or low-fat diets.
Potential Allergens: Soy (if using soy sauce). No dairy, nuts, or eggs.
Personal Wellness Perspective: I believe in balance. This isn’t an everyday meal, but when you’re craving something deeply satisfying, a serving of crispy pork belly hits the spot in a way that a salad just can’t. Pair it with plenty of vegetables and enjoy it as part of a varied diet.
Conclusion
This Crispy 30-Minute Pork Belly Slices recipe has become a staple in my kitchen for good reason. It takes an ingredient that feels special and makes it completely accessible for a regular weeknight. No long marinating, no complicated techniques, no special equipment. Just simple, honest cooking that delivers extraordinary results.
I love that this recipe gives you permission to play. Maybe you’ll stick with the classic salt-and-pepper version, or maybe you’ll go wild with a spicy Korean glaze. Either way, you’re going to end up with something delicious that makes everyone at the table happy. And honestly, isn’t that what cooking is all about?
I’d love to hear how yours turn out. Did you try a variation? Did you serve them with something unexpected? Drop a comment below and let me know—I read every single one. And if you loved this recipe, share it with a friend who needs a little crispy pork belly in their life. Trust me, they’ll thank you.
Now go get that pan hot. Dinner’s waiting.
Frequently Asked Questions
Can I use skinless pork belly for this recipe?
Yes, absolutely. Skinless pork belly works perfectly and will still get wonderfully crispy. The texture will be slightly different—more like a crispy strip than a crackling—but it’s still delicious. Just skip the scoring step and follow the same cooking method.
Why is my pork belly chewy instead of crispy?
The most common reason is not cooking it long enough or at the right temperature. The first sear at medium heat renders the fat, and the second sear at medium-high heat creates the crispiness. If your heat is too low, the meat will steam rather than crisp. If it’s too high, the outside will burn before the fat renders. Also, make sure you’re patting the slices very dry before cooking.
Can I make this recipe in advance for a party?
You can cook the slices up to the first sear stage, then let them cool and refrigerate. When you’re ready to serve, finish them with the second sear at medium-high heat. They’ll crisp up beautifully in just a few minutes. This is a great strategy for entertaining.
What’s the best way to slice pork belly for this recipe?
Slice against the grain into ¼-inch (6mm) thick pieces. If the pork belly is partially frozen, it’s much easier to get clean, even slices. A sharp chef’s knife or a slicing knife works best. If you’re unsure, ask your butcher to slice it for you.
Can I use this recipe for pork belly tacos?
Absolutely! These crispy slices are perfect for tacos. Serve them in warm corn tortillas with pickled red onions, fresh cilantro, a squeeze of lime, and a drizzle of crema or sriracha mayo. It’s one of my favorite ways to use leftovers.
Pin This Recipe!
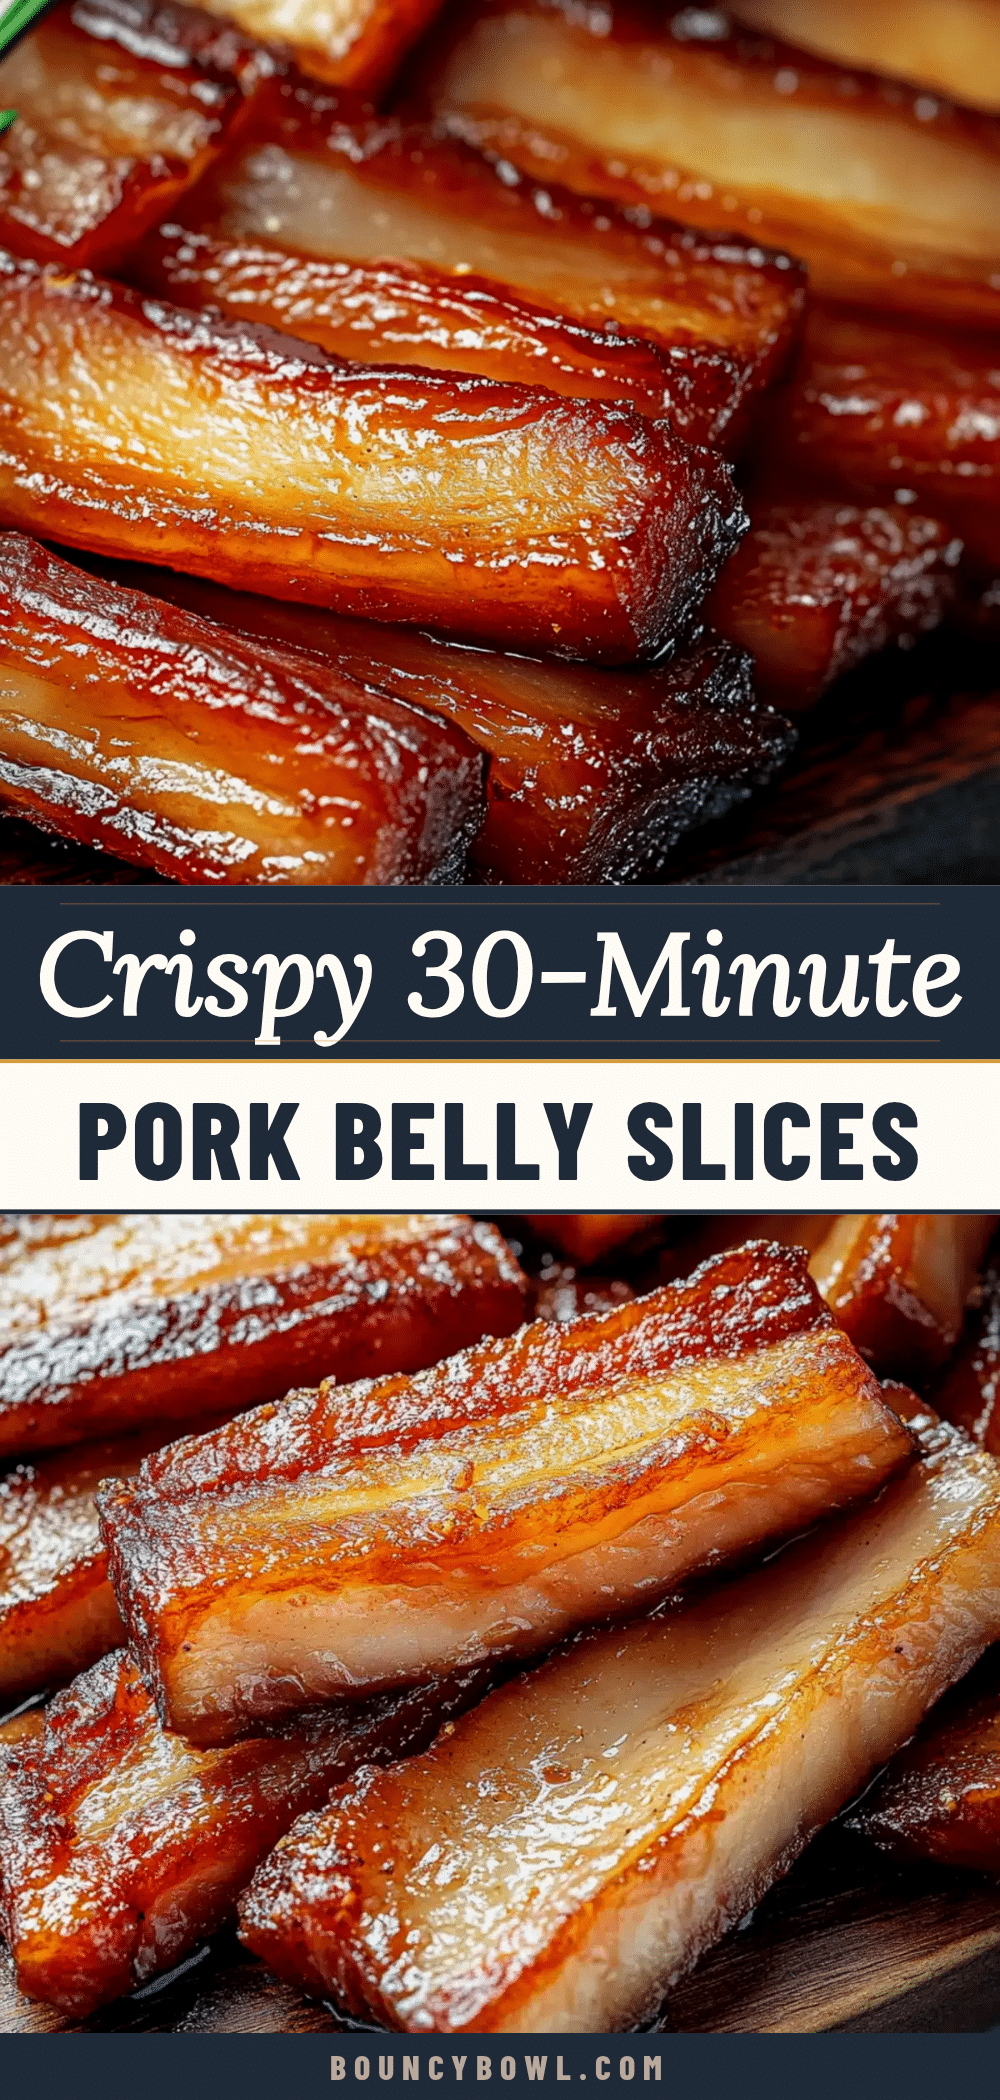
Crispy 30-Minute Pork Belly Slices
Crispy, golden pork belly slices ready in just 30 minutes. No marinating, no overnight salting—just a hot pan and simple ingredients for the perfect weeknight dinner or snack.
- Prep Time: 10 minutes
- Cook Time: 20 minutes
- Total Time: 30 minutes
- Yield: 4 servings 1x
- Category: Main Course
- Cuisine: Asian-inspired
Ingredients
- 1 lb (450g) pork belly, sliced ¼-inch thick
- 1 tsp (5g) fine sea salt or kosher salt
- ½ tsp (2g) freshly ground black pepper
- 1 tbsp (15ml) neutral oil (avocado, grapeseed, or vegetable oil)
- ½ tsp (2g) garlic powder (optional)
- 1 tsp (5ml) soy sauce for brushing (optional)
Instructions
- Prep the pork belly: Place the pork belly on a cutting board. Slice against the grain into ¼-inch (6mm) thick pieces. Pat each slice dry with paper towels. Season both sides generously with salt, pepper, and garlic powder if using. Let sit at room temperature for 10 minutes.
- Heat the pan: Place a large cast-iron skillet or heavy-bottomed pan over medium heat. Add the neutral oil and swirl to coat. Heat until the oil is hot but not smoking—a drop of water should sizzle on contact.
- First sear (render the fat): Lay the pork belly slices in a single layer in the hot pan. Do not overcrowd; work in batches if needed. Cook undisturbed for 4-5 minutes until the edges turn golden. Flip each slice with tongs and cook another 4-5 minutes on the second side.
- Second sear (get truly crispy): Increase the heat to medium-high. Flip the slices again and press them down gently with a spatula. Cook for 2-3 minutes per side until deep golden brown and crackling. If the pan starts smoking, reduce heat slightly.
- Optional soy glaze: If desired, brush a thin layer of soy sauce over each slice during the last minute of cooking. Flip and brush the other side. Let caramelize for about 30 seconds per side, then remove immediately.
- Rest and serve: Transfer the crispy slices to a plate lined with paper towels to drain excess oil. Let rest for 1-2 minutes. Serve hot.
Notes
For extra crispiness, pat the slices dry and let them sit uncovered in the fridge for 15 minutes before cooking. Do not overcrowd the pan—work in batches to ensure even crisping. Avoid non-stick pans; cast iron or stainless steel work best. The internal temperature should reach 165°F (74°C) for safety.
Nutrition
- Serving Size: 3 ounces (85g), abou
- Calories: 375
- Sodium: 450
- Fat: 32
- Saturated Fat: 12
- Protein: 19
Keywords: crispy pork belly, 30-minute pork belly, easy pork belly recipe, pan-fried pork belly, quick pork belly


