Love this? Save it for later!
Share the inspiration with your friends
I was staring into my fridge at 5:45 PM on a Tuesday, completely out of ideas. The usual suspects were there—some broccoli, a bag of frozen shrimp, and the sad remains of a garlic bulb. My family was hungry, I was tired, and ordering takeout felt like admitting defeat. But then I remembered a trick my neighbor’s mom used to do with shrimp, soy sauce, and a screaming hot wok. Fifteen minutes later, I had a plate of glistening, garlicky shrimp that made everyone at the table go quiet. That’s the kind of magic we’re talking about today.
This Quick Chinese Style Sauteed Shrimp in 30 Minutes isn’t just fast—it’s the kind of dish that makes you feel like a kitchen pro even on your most exhausted nights. The shrimp come out plump and juicy, coated in a savory sauce that’s salty, sweet, and just a little bit sticky. It clings to every piece like it belongs there. I’ve made this so many times now that I don’t even measure the sauce anymore—I just eyeball it and it works. And honestly? That’s the sign of a keeper.
If you’ve ever thought Chinese-style shrimp at home takes too many obscure ingredients or complicated steps, this recipe will change your mind. It uses stuff you probably already have, and the technique is dead simple. The first time I made it, I actually texted my sister a photo mid-bite. She asked for the recipe before I even swallowed. That’s when I knew this one was special.
Why You’ll Love This Recipe
Let me tell you why this dish has earned a permanent spot in my weekly rotation. It’s not just about the speed—though 30 minutes from fridge to table is a beautiful thing. It’s about how something so simple can taste so complete.
- Quick & Easy: From start to finish, you’re looking at 30 minutes tops. Most of that time is just letting the shrimp marinate while you chop a few things. The actual cooking? Maybe 5 minutes. It’s perfect for those nights when you need dinner on the table before the hangry sets in.
- Simple Ingredients: No trips to a specialty store required. Shrimp, garlic, ginger, soy sauce, a little sugar, and some pantry staples. I’ve made this with both fresh and frozen shrimp, and honestly, frozen works great if you thaw them properly.
- Perfect for Busy Weeknights: This is the kind of meal you can pull together after work, between soccer practice, or when you just don’t feel like cooking. It’s also impressive enough to serve to guests without breaking a sweat.
- Crowd-Pleaser: I’ve served this to picky kids, seafood skeptics, and my dad who claims he “doesn’t like shrimp.” Every single person cleaned their plate. The sauce is that good.
- Unbelievably Delicious: The texture is what gets me every time—tender, juicy shrimp with a slight caramelized edge from the hot pan. The sauce is savory with a hint of sweetness, and the ginger adds just enough warmth to make it feel authentic.
What makes this version different from all the others? It’s the technique. Most recipes tell you to cook the shrimp in the sauce, which turns them rubbery. Instead, I sear the shrimp first in a blazing hot pan to get that golden crust, then toss them back in the sauce at the very end. It sounds like a small thing, but it makes all the difference between good shrimp and great shrimp. I learned this after ruining about three batches of expensive shrimp—let’s just say I’m a hands-on learner.
This recipe isn’t just good—it’s the kind that makes you close your eyes after the first bite. It’s comfort food reimagined: faster, simpler, but with the same soul-soothing satisfaction. Perfect for impressing yourself on a Tuesday night.
What Ingredients You Will Need
This recipe uses simple, everyday ingredients to create something that tastes anything but ordinary. Most of these are probably in your kitchen right now, which is exactly how I like it.
- Shrimp: 1 pound (450g) large shrimp, peeled and deveined. I prefer 21-25 count per pound—big enough to feel substantial, but not so huge they take forever to cook. Look for raw shrimp, not pre-cooked. If using frozen, thaw them overnight in the fridge or run them under cold water for a few minutes. Pat them very dry with paper towels before cooking—wet shrimp won’t sear properly.
- Ginger: 1 tablespoon (15g) fresh ginger, minced. Fresh ginger is non-negotiable here. The powdered stuff just doesn’t bring the same bright, zesty warmth. I peel mine with the edge of a spoon—it’s easier than a peeler and wastes less.
- Garlic: 4 cloves, minced. I’m generous with garlic because it’s the backbone of this dish. Use fresh cloves, not the pre-minced stuff in a jar. Trust me on this one.
- Soy Sauce: 3 tablespoons (45ml) low-sodium soy sauce. Regular soy sauce works too, but low-sodium gives you more control over the saltiness. I like Kikkoman or San-J for consistent flavor.
- Oyster Sauce: 2 tablespoons (30ml). This is the secret ingredient that gives the sauce its deep, savory umami. Don’t skip it—it’s what makes this taste like restaurant-quality Chinese food. Look for Lee Kum Kee brand, which is widely available.
- Rice Vinegar: 1 tablespoon (15ml). Adds a gentle acidity that balances the richness. If you don’t have rice vinegar, a splash of mirin or even white wine vinegar works in a pinch.
- Sugar: 1 teaspoon (4g) brown sugar or honey. Just enough to round out the savory flavors. Brown sugar adds a tiny molasses note that I really like.
- Sesame Oil: 1 teaspoon (5ml), for finishing. This is added at the very end, off the heat, to preserve its nutty aroma. Don’t cook it—it’s a finishing touch.
- Cornstarch: 1 tablespoon (8g), mixed with 2 tablespoons (30ml) water to make a slurry. This thickens the sauce just enough to coat the shrimp beautifully. It’s the difference between a watery sauce and one that clings.
- Vegetable Oil: 2 tablespoons (30ml), for searing. Use something with a high smoke point like avocado, canola, or peanut oil. Olive oil will burn at the high heat we’re using.
- Green Onions: 3-4, sliced, for garnish. Adds a fresh, mild onion kick and makes the dish look restaurant-ready.
- Optional Red Pepper Flakes: ½ teaspoon, if you want a little heat. I add them sometimes when I’m cooking just for myself.
One thing I’ve learned: don’t skimp on the ginger. I once used old ginger that had gone a bit soft, and the flavor was noticeably flat. Fresh, firm ginger with smooth skin is what you want. And if you can find it, use large shrimp with their tails still on—they look prettier and some people like to use the tails as handles. I usually take them off before cooking because I’m lazy, but it’s your call.
Equipment Needed
You don’t need a fancy wok or a professional kitchen to make this dish. Here’s what I use, and what you can substitute if needed.
- Large Skillet or Wok: A 12-inch skillet or wok is ideal. You want enough surface area to sear the shrimp in a single layer—crowding them leads to steaming instead of browning. I use a carbon steel wok because it gets screaming hot, but a non-stick skillet works perfectly too. Just don’t use a tiny pan.
- Cutting Board and Sharp Knife: For mincing garlic and ginger, and slicing green onions. A sharp knife makes everything faster and safer. I use a 7-inch Santoku for most prep work.
- Small Bowls: For mixing the sauce and cornstarch slurry. I use two small prep bowls. It helps to have everything measured and ready before you start cooking—this dish moves fast.
- Tongs or a Spatula: Tongs give you better control when flipping shrimp. A wooden or silicone spatula works too, especially if using a non-stick pan.
- Paper Towels: For patting the shrimp dry. This step is more important than you think—dry shrimp sear, wet shrimp steam.
- Measuring Spoons: For the sauce ingredients. I like having a set with a 1-tablespoon measure handy.
If you don’t have a wok, don’t worry. I made this for months using a regular stainless steel skillet before I finally bought a wok. The results were still fantastic. The key is high heat and not overcrowding the pan.
Preparation Method
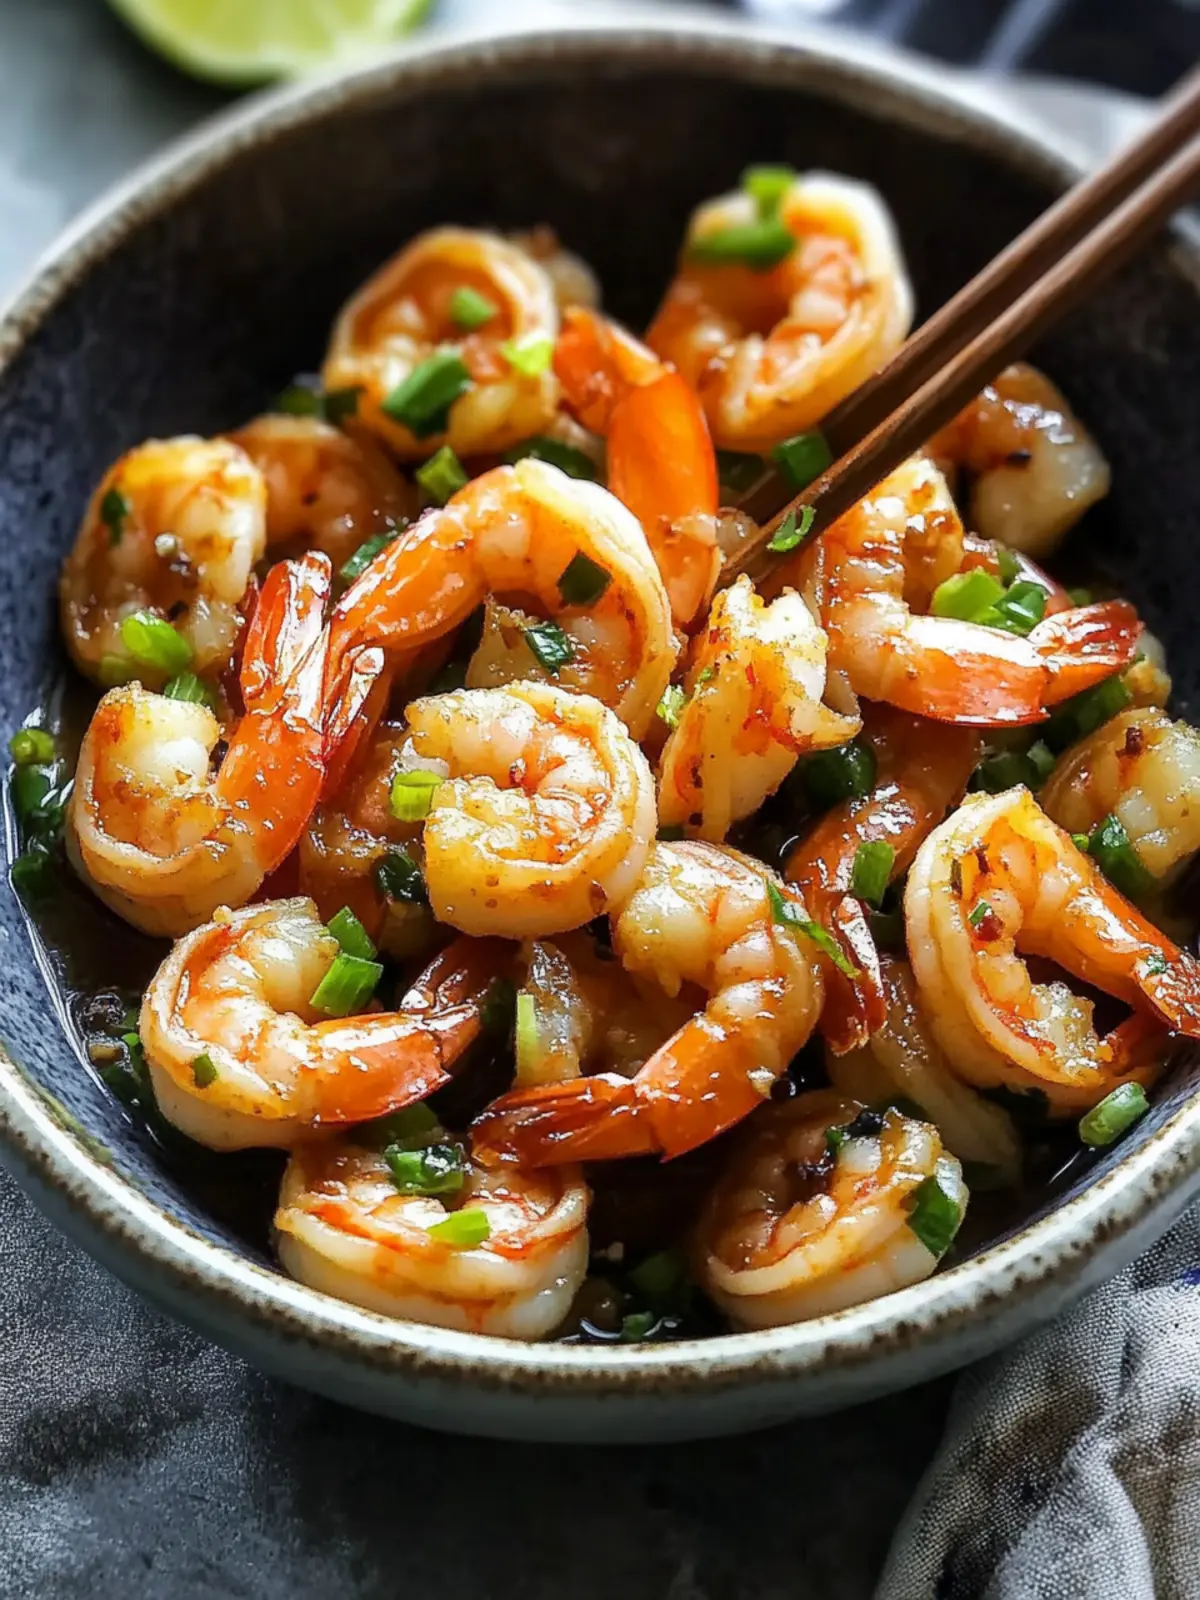
Here’s the step-by-step. I’ve included all the little details I wish someone had told me when I first started making this.
- Prep the shrimp (5 minutes): If your shrimp are frozen, thaw them first. Pat them dry with paper towels—really dry, like you’re trying to remove every drop of moisture. Place them in a bowl and add 1 tablespoon of soy sauce, ½ teaspoon of sugar, and 1 teaspoon of cornstarch. Toss to coat evenly. Let this sit while you prep everything else. This quick marinade seasons the shrimp and helps them get that gorgeous golden crust.
- Make the sauce (3 minutes): In a small bowl, whisk together the remaining 2 tablespoons soy sauce, 2 tablespoons oyster sauce, 1 tablespoon rice vinegar, ½ teaspoon sugar, and ¼ cup (60ml) water. Stir until the sugar dissolves. In another tiny bowl, mix 1 tablespoon cornstarch with 2 tablespoons water to make the slurry. Set both aside.
- Prep your aromatics (2 minutes): Mince the garlic and ginger. Slice the green onions. Have everything within arm’s reach—once you start cooking, there’s no time to chop.
- Heat the pan (2 minutes): Place your skillet or wok over high heat. Add the vegetable oil and swirl to coat. Wait until the oil shimmers and you see the first wisps of smoke—this means it’s hot enough. If you flick a drop of water in, it should sizzle immediately.
- Sear the shrimp (2-3 minutes): Carefully add the shrimp in a single layer. Don’t overcrowd—cook in two batches if needed. Let them cook undisturbed for 1 minute, then flip. They should be pink and slightly golden on both sides. Transfer to a plate. They won’t be fully cooked through yet, and that’s fine.
- Cook the aromatics (30 seconds): Reduce heat to medium-high. Add a tiny splash more oil if the pan looks dry. Toss in the garlic and ginger. Stir constantly for about 20-30 seconds until fragrant. Don’t let the garlic burn—it turns bitter fast.
- Add the sauce (1 minute): Pour the sauce mixture into the pan. Stir and let it come to a simmer. Give the cornstarch slurry a quick stir (it settles fast) and pour it in while stirring. The sauce will thicken almost immediately. Let it bubble for about 30 seconds.
- Return the shrimp (1 minute): Add the seared shrimp back to the pan, along with any juices on the plate. Toss everything together for about 30-60 seconds until the shrimp are cooked through and coated in sauce. They should be opaque and just firm to the touch.
- Finish and serve (1 minute): Remove from heat. Drizzle with sesame oil and toss once more. Sprinkle with sliced green onions and optional red pepper flakes. Serve immediately over steamed rice or noodles.
A few things I’ve learned the hard way: don’t walk away from the pan during the searing step. Shrimp cook in literal minutes, and overcooked shrimp turn rubbery and sad. Also, if your sauce seems too thick, add a tablespoon of water at the end. If it’s too thin, let it simmer a bit longer before adding the shrimp back.
Cooking Tips & Techniques
I’ve made this recipe more times than I can count, and I’ve definitely messed it up enough to know what works. Here are the tips that made the biggest difference.
Pat those shrimp bone-dry. This is the number one tip I give everyone. Moisture is the enemy of browning. If your shrimp are even slightly wet, they’ll steam instead of sear, and you’ll end up with pale, sad shrimp instead of golden, caramelized ones. I pat them dry, then pat them again. It feels excessive until you see the difference.
Get your pan screaming hot. Chinese cooking relies on what’s called “wok hei”—that smoky, slightly charred flavor from cooking at very high heat. You don’t need a wok to get some of that magic. Just get your pan hot enough that the oil shimmers and moves like water. If your pan isn’t hot enough, the shrimp will release liquid and boil in their own juices.
Don’t crowd the pan. I know it’s tempting to dump all the shrimp in at once, but please don’t. They need space to brown. If you overload the pan, the temperature drops and the shrimp steam. Cook in two batches if you have to. It takes an extra 2 minutes and makes a world of difference.
Trust the visual cues. Shrimp are done when they turn pink and curl into a loose “C” shape. If they curl into a tight “O,” they’re overcooked. Look for that perfect C shape and you’ll be golden.
Prep everything before you start. This dish comes together in minutes once the cooking begins. If you’re chopping garlic while the shrimp are in the pan, you’re going to have a bad time. Mise en place—everything in its place—is your friend here.
I once forgot to make the cornstarch slurry before I started cooking. The sauce was already in the pan, the shrimp were waiting, and I was frantically measuring cornstarch with one hand while stirring with the other. It worked out, but my kitchen looked like a flour bomb went off. Learn from my chaos.
Variations & Adaptations
This recipe is flexible, and I’ve tried several variations over the years. Here are my favorites.
Spicy Szechuan Version: Add 1 tablespoon of doubanjiang (fermented chili bean paste) to the sauce along with 1 teaspoon of Szechuan peppercorns. The numbing heat is incredible. I made this for a friend who lived in Chengdu, and she gave it a thumbs up—high praise.
Vegetable Add-In: Toss in a handful of snap peas, broccoli florets, or bell pepper strips after cooking the aromatics. Sauté for 1-2 minutes before adding the sauce. I do this when I want a one-pan meal. The vegetables soak up the sauce beautifully.
Low-Carb/Keto: Skip the sugar and use coconut aminos instead of soy sauce. Serve over cauliflower rice or zucchini noodles. The shrimp themselves are naturally low-carb, so this adaptation is super easy.
Nut-Free: This recipe is naturally nut-free as written, but double-check your oyster sauce label—some brands may contain traces of nuts. Lee Kum Kee’s is safe.
Gluten-Free: Use tamari or coconut aminos instead of soy sauce, and make sure your oyster sauce is gluten-free (Kikkoman makes one). Serve with rice or rice noodles.
Extra Saucy: Double the sauce ingredients if you like a lot of sauce to spoon over rice. I do this when I’m serving it with plain steamed rice and want every grain coated.
My personal favorite variation is adding a big handful of fresh basil or Thai basil at the very end. The heat from the shrimp wilts the leaves slightly, releasing this amazing anise-like aroma. It’s not traditional, but it’s delicious.
Serving & Storage Suggestions
This dish is best served immediately, but I have some tips for leftovers too.
Serving: Serve over steamed jasmine rice or brown rice to soak up all that sauce. For a low-carb option, try cauliflower rice or simply enjoy the shrimp on their own. I also love serving it with a side of steamed bok choy or a simple cucumber salad. The cool crunch balances the rich, savory shrimp perfectly. For something refreshing, try pairing it with this fresh sushi cucumber salad with light sesame dressing—the flavors complement each other beautifully.
Garnish: A sprinkle of toasted sesame seeds and extra green onions makes it look like it came from a restaurant. I sometimes add a wedge of lime on the side for a bright squeeze of acidity.
Storage: Store leftovers in an airtight container in the fridge for up to 2 days. The shrimp will lose some of their texture, but the flavor remains great. I actually like the cold leftovers straight from the fridge as a quick snack.
Reheating: The best way to reheat is in a hot skillet with a splash of water. Reheat over medium-high heat for 1-2 minutes, tossing frequently. Don’t microwave—it makes the shrimp rubbery and the sauce separates. If you must use a microwave, do it in 15-second bursts and stop as soon as it’s warm.
Freezing: I don’t recommend freezing this dish. The texture of thawed shrimp is never the same. If you want to meal prep, freeze the raw marinated shrimp and make the sauce fresh. That way you get perfect results every time.
The flavors actually meld together nicely after a few hours in the fridge. If you’re making this for a party, you can cook the shrimp and sauce separately, then combine and reheat just before serving. It’s a great time-saver.
Nutritional Information & Benefits
Here’s the approximate nutritional breakdown per serving (based on 4 servings, without rice).
- Calories: 220-250
- Protein: 25g
- Fat: 10g
- Carbohydrates: 8g
- Fiber: 0.5g
- Sugar: 3g
- Sodium: 800-900mg (varies by soy sauce brand)
Shrimp are an excellent source of lean protein and provide important nutrients like selenium, vitamin B12, and iodine. They’re also low in calories and saturated fat, making this a great option for anyone watching their weight or looking to increase protein intake without extra calories.
Ginger is known for its anti-inflammatory properties and can help with digestion. Garlic is packed with antioxidants and has been linked to immune system support. Even the sesame oil adds healthy fats that are good for heart health.
This dish is naturally low-carb and keto-friendly if you skip the sugar. It’s also gluten-free with the right substitutions. If you’re watching sodium, use low-sodium soy sauce and reduce the amount slightly—you can always add more at the table.
I’m not a nutritionist, but I do pay attention to what I eat. This recipe makes me feel good—satisfied but not stuffed, energized but not weighed down. That’s the sweet spot for a weeknight dinner.
Conclusion
This Quick Chinese Style Sauteed Shrimp in 30 Minutes has become my go-to for those nights when I need dinner to be fast, delicious, and stress-free. It’s proof that you don’t need a pantry full of exotic ingredients or hours of free time to create something that tastes like it came from your favorite takeout spot.
The beauty of this recipe is how adaptable it is. Make it spicy, add vegetables, double the sauce—it works with whatever you have on hand. I’ve made it for dinner parties, quiet weeknights, and even for myself when I needed a little comfort food after a long day. Every time, it delivers.
I really hope you give this a try. It’s one of those recipes that feels like a secret weapon once you have it in your rotation. And if you do make it, I’d love to hear how it turned out. Did you add your own twist? Serve it with something unexpected? Drop a comment below and let me know. Your version might just inspire my next dinner.
Happy cooking, and don’t forget to save this recipe for later—you’ll want it handy.
Frequently Asked Questions
Can I use frozen shrimp for this recipe?
Absolutely. Just thaw them completely and pat them very dry before marinating. Frozen shrimp work just as well as fresh, as long as you remove all that excess moisture. I actually keep a bag of frozen shrimp in my freezer specifically for this recipe.
What can I use instead of oyster sauce?
If you don’t have oyster sauce, you can substitute hoisin sauce mixed with a splash of fish sauce, or use a combination of soy sauce and a little extra sugar. Mushroom sauce is a good vegetarian alternative. The flavor won’t be exactly the same, but it’ll still be delicious.
How do I know when the shrimp are fully cooked?
Shrimp cook very quickly. They’re done when they turn pink and opaque throughout, and curl into a loose “C” shape. If they curl into a tight “O,” they’re overcooked. The whole cooking process after searing takes about 30-60 seconds, so watch closely.
Can I make this dish ahead of time?
This dish is best served fresh, but you can prep the ingredients ahead. Marinate the shrimp and mix the sauce up to 24 hours in advance. Store them separately in the fridge. When you’re ready to eat, the cooking takes less than 10 minutes. For another fast shrimp option, check out this quick juicy Hawaiian garlic shrimp recipe that’s ready in just 20 minutes.
Is this recipe spicy?
As written, it’s not spicy at all—just savory and slightly sweet. If you want heat, add red pepper flakes, fresh chili, or a spoonful of chili garlic sauce when cooking the aromatics. I like adding a teaspoon of sambal oelek for a nice kick.
Pin This Recipe!
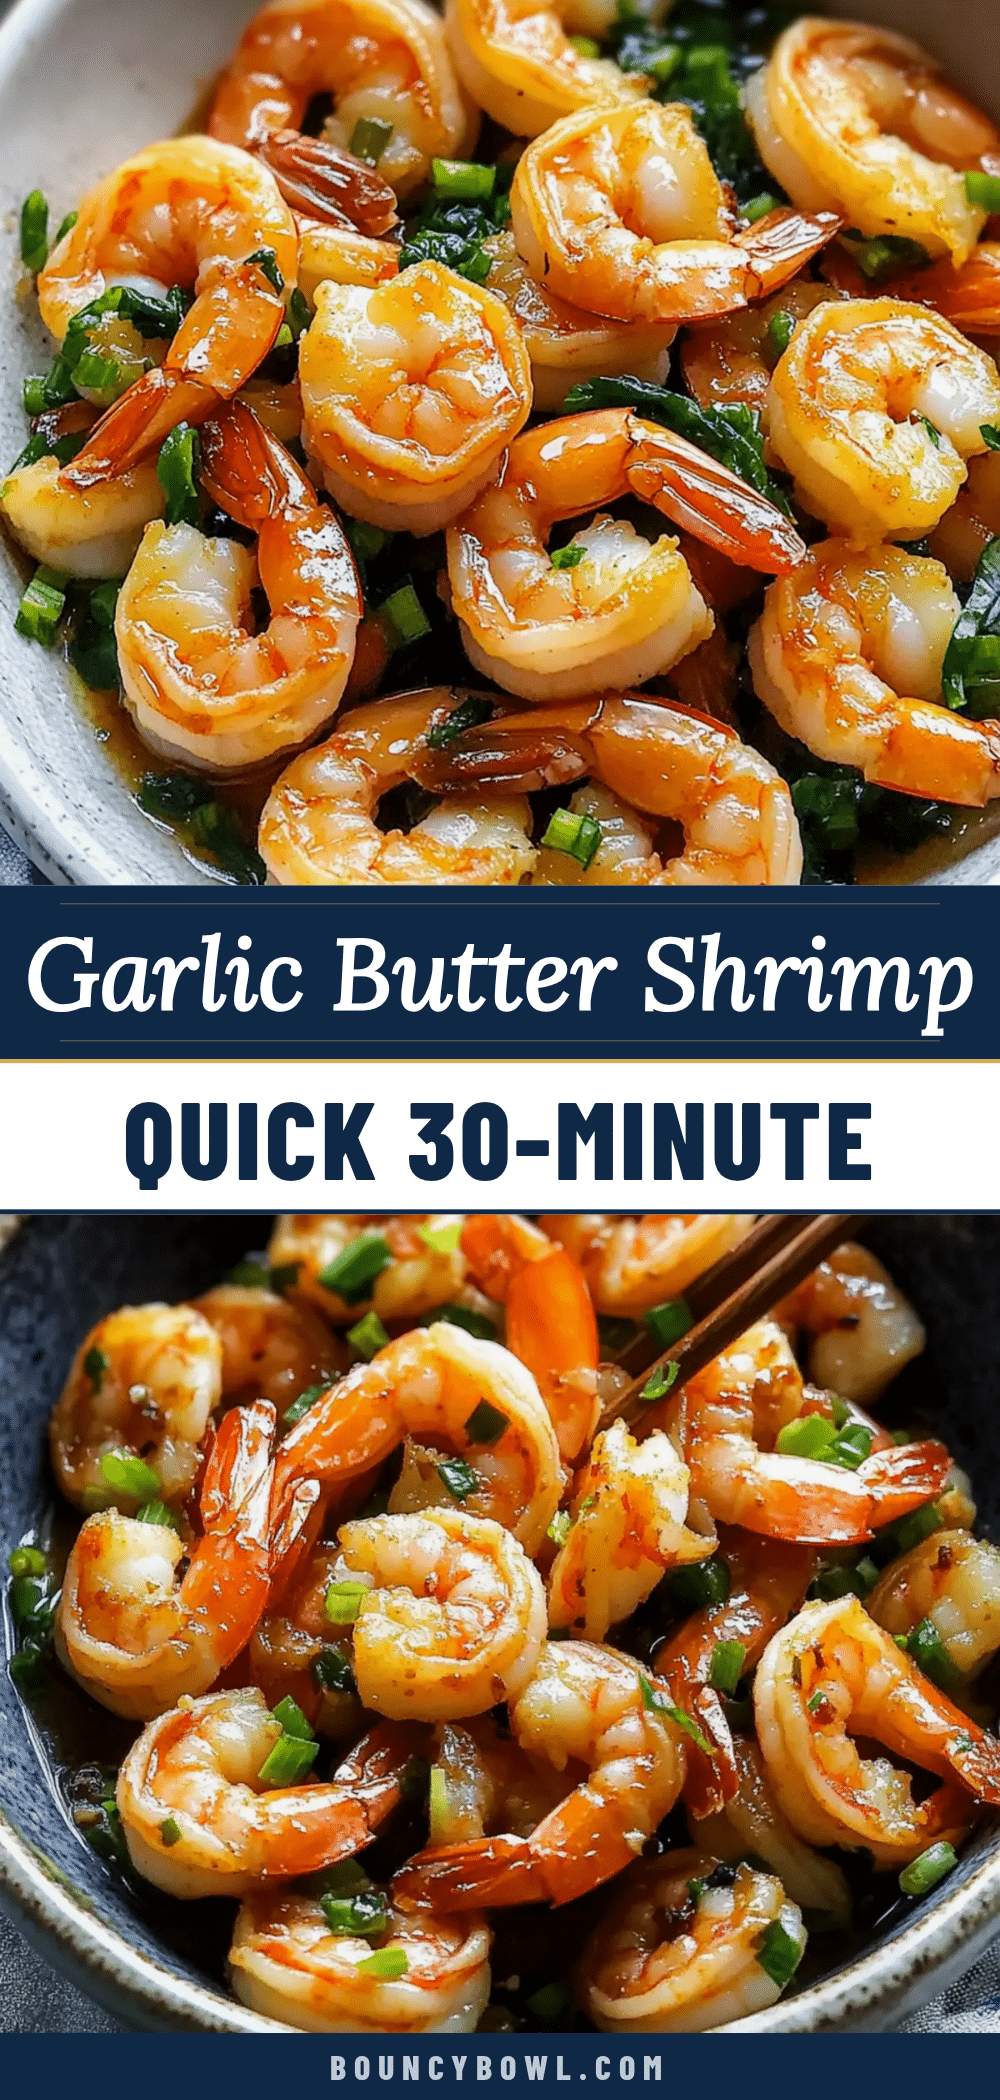
Quick Chinese Style Sauteed Shrimp in 30 Minutes
This Quick Chinese Style Sauteed Shrimp in 30 Minutes is a fast, delicious weeknight dinner featuring plump, juicy shrimp coated in a savory, slightly sweet sauce. With simple ingredients and a dead-simple technique, it’s perfect for busy nights and tastes like restaurant-quality Chinese food.
- Prep Time: 10 minutes
- Cook Time: 10 minutes
- Total Time: 20 minutes
- Yield: 4 servings 1x
- Category: Main Course
- Cuisine: Chinese
Ingredients
- 1 pound (450g) large shrimp, peeled and deveined (21–25 count per pound)
- 1 tablespoon (15g) fresh ginger, minced
- 4 cloves garlic, minced
- 3 tablespoons (45ml) low-sodium soy sauce, divided
- 2 tablespoons (30ml) oyster sauce
- 1 tablespoon (15ml) rice vinegar
- 1 teaspoon (4g) brown sugar or honey, divided
- 1 teaspoon (5ml) sesame oil
- 1 tablespoon (8g) cornstarch, divided
- 2 tablespoons (30ml) water (for cornstarch slurry)
- 2 tablespoons (30ml) vegetable oil (avocado, canola, or peanut oil)
- 3–4 green onions, sliced
- ½ teaspoon red pepper flakes (optional)
Instructions
- Prep the shrimp: Pat shrimp dry with paper towels. In a bowl, toss shrimp with 1 tablespoon soy sauce, ½ teaspoon sugar, and 1 teaspoon cornstarch. Let sit while prepping other ingredients.
- Make the sauce: In a small bowl, whisk together remaining 2 tablespoons soy sauce, 2 tablespoons oyster sauce, 1 tablespoon rice vinegar, ½ teaspoon sugar, and ¼ cup (60ml) water. In another small bowl, mix 1 tablespoon cornstarch with 2 tablespoons water to make a slurry. Set both aside.
- Prep aromatics: Mince garlic and ginger. Slice green onions. Have everything within reach.
- Heat the pan: Place a large skillet or wok over high heat. Add vegetable oil and swirl to coat. Heat until oil shimmers and just begins to smoke.
- Sear the shrimp: Add shrimp in a single layer (cook in two batches if needed). Cook undisturbed for 1 minute, then flip. Shrimp should be pink and slightly golden. Transfer to a plate (they will not be fully cooked).
- Cook aromatics: Reduce heat to medium-high. Add a splash more oil if needed. Add garlic and ginger, stirring constantly for 20-30 seconds until fragrant.
- Add the sauce: Pour sauce mixture into the pan. Stir and bring to a simmer. Stir cornstarch slurry, then pour in while stirring. Sauce will thicken in about 30 seconds.
- Return the shrimp: Add seared shrimp and any juices back to the pan. Toss for 30-60 seconds until shrimp are cooked through and coated.
- Finish and serve: Remove from heat. Drizzle with sesame oil and toss. Sprinkle with green onions and optional red pepper flakes. Serve immediately over steamed rice or noodles.
Notes
Pat shrimp bone-dry for best sear. Get pan screaming hot. Don’t crowd the pan. Shrimp are done when they curl into a loose ‘C’ shape. Prep all ingredients before cooking. For extra sauce, double the sauce ingredients. Leftovers keep in the fridge for up to 2 days; reheat in a hot skillet with a splash of water.
Nutrition
- Serving Size: 1 serving (about 4 o
- Calories: 235
- Sugar: 3
- Sodium: 850
- Fat: 10
- Saturated Fat: 1.5
- Carbohydrates: 8
- Fiber: 0.5
- Protein: 25
Keywords: quick Chinese shrimp, sautéed shrimp, easy shrimp recipe, weeknight dinner, 30-minute meal, garlic shrimp, ginger shrimp, Chinese-style shrimp


