Love this? Save it for later!
Share the inspiration with your friends
The jar slipped right out of my hand. Tomato sauce exploded across the counter, splattered my favorite white tee, and pooled around a sad-looking, half-used can of chipotle peppers. I stood there, covered in what looked like a crime scene, staring at the mess. My entire plan for a quick Tuesday night dinner was now a sticky, red disaster. I had been so close to just grabbing the canned stuff from the store, but I had stubbornly decided to make my own best homemade enchilada sauce from scratch. And now, this.
Honestly, I almost quit right then. I grabbed a paper towel, ready to clean it all up and order pizza. But something stopped me. Maybe it was the smell of the toasted cumin that had already filled the kitchen, or maybe I was just too hungry to give up. I took a breath, wiped down the counters, and started over. And you know what? That second batch was magic. It was richer, smokier, and had a depth of flavor that no store-bought can has ever come close to. It turned a simple dinner into something that felt like a real event.
That messy, frustrating moment became the reason I now make this sauce every single time. It’s not just a recipe; it’s a little secret weapon in my back pocket. It makes everything taste better, and it makes me feel like I actually know what I’m doing in the kitchen. And now, I want that feeling for you, too.
Why You’ll Love This Recipe
This isn’t just another sauce recipe. It’s the one that will make you question why you ever bought the jarred stuff. I’ve tested this version more times than I can count, tweaking the spice levels and the smokiness until it was absolutely perfect. It’s the kind of recipe that builds your confidence.
- Quick & Easy: This sauce comes together in under 20 minutes. It’s faster than a trip to the store, and it uses pantry staples you probably already have.
- Simple Ingredients: No weird preservatives or mystery ingredients. Just real, whole foods like dried chiles, tomato sauce, and spices.
- Perfect for Weeknights: It’s the backbone of so many quick dinners. Use it for enchiladas, of course, but also for burrito bowls, nachos, or even as a braising liquid for chicken.
- Unbelievably Delicious: The combination of smoky, slightly spicy, and tangy flavors is next-level. It’s the kind of sauce that makes you want to eat it with a spoon.
- Crowd-Pleaser: Every single time I serve this, someone asks for the recipe. It’s that good.
What makes this recipe different from the rest is the technique. I toast the whole spices and dried chiles first. This releases their essential oils and creates a deep, toasty flavor that you just can’t get from powders alone. It’s a small step that makes a massive difference. This isn’t just a good enchilada sauce—it’s the one that makes you close your eyes after the first bite. It’s comfort food, reimagined. It’s faster and fresher, but with the same soul-soothing satisfaction that a great Mexican dinner should have.
What Ingredients You Will Need
This recipe uses simple, wholesome ingredients to deliver that bold, authentic flavor. Most of these are pantry staples, and the ones that aren’t are incredibly easy to find. The key is using quality dried chiles—they are the heart of this sauce.
- For the Chili Base:
- 3-4 dried guajillo chiles, stems and seeds removed (these provide a mild, fruity heat and a beautiful red color)
- 2 dried ancho chiles, stems and seeds removed (these are dried poblano peppers; they add a rich, smoky, almost raisin-like sweetness)
- 1 dried arbol chile (optional, for heat. I add this when I want a real kick)
- For the Base:
- 2 tablespoons olive oil (or avocado oil)
- 1 medium yellow onion, roughly chopped
- 4 cloves garlic, smashed
- For the Spice Blend:
- 1 teaspoon ground cumin (I prefer to toast whole cumin seeds and grind them myself for the freshest flavor)
- 1 teaspoon dried oregano (Mexican oregano is best, but Mediterranean works in a pinch)
- 1/2 teaspoon smoked paprika (this adds another layer of smokiness)
- 1/4 teaspoon ground cloves (trust me—just a pinch adds incredible warmth and complexity)
- For the Liquid & Finish:
- 1 can (15 ounces) fire-roasted tomatoes (I recommend Muir Glen for the best smoky flavor)
- 2 cups low-sodium chicken or vegetable broth
- 1 tablespoon apple cider vinegar (adds brightness and balances the richness)
- 1 teaspoon brown sugar or honey (optional, to mellow out any bitterness from the chiles)
- Salt and black pepper, to taste
Ingredient Selection Tips: Look for dried chiles that are pliable and smell fragrant, not dusty. If they’re brittle, they’re old. For a milder sauce, skip the arbol chile entirely. If you want a gluten-free option, be sure to use certified gluten-free broth. This is a very forgiving recipe, so feel free to adjust the chiles based on what you have.
Equipment Needed
You don’t need a ton of fancy equipment for this, which is part of the beauty. A good skillet and a blender are your best friends here.
- Large skillet or frying pan (for toasting the chiles and cooking the onion)
- Medium saucepan (for simmering the sauce after blending)
- High-speed blender (a Vitamix or Ninja works great; a regular blender will also work, just blend a little longer)
- Tongs (for handling the hot chiles)
- Fine-mesh strainer (optional, for an ultra-smooth sauce, but I usually skip this)
- Wooden spoon or spatula
- Measuring cups and spoons
Budget-Friendly Options: If you don’t have a high-speed blender, an immersion blender can work directly in the pot, though the sauce won’t be quite as smooth. I’ve used a cheap $20 blender for years, and it works just fine—you just have to let it run a little longer. No need to go out and buy anything special.
Preparation Method
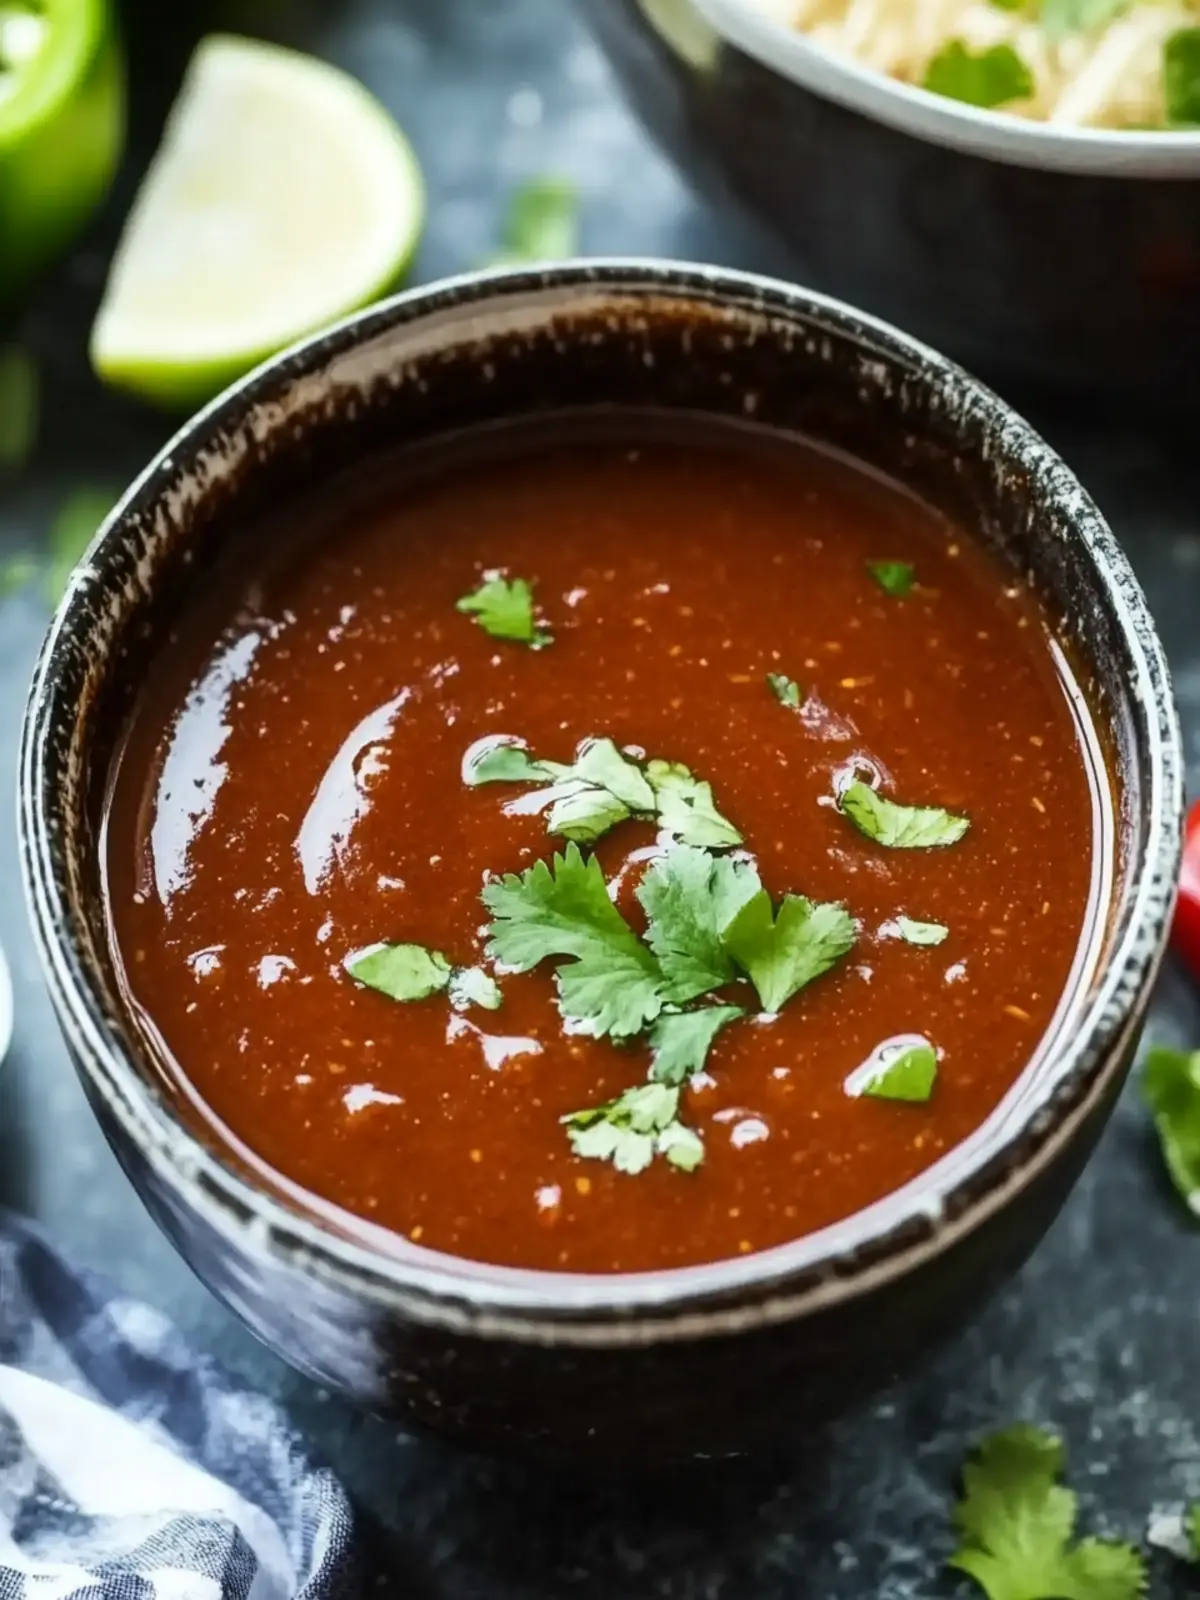
Let’s make some magic. This method is straightforward, but each step builds flavor. Take your time with the toasting—it’s the most important part.
- Toast the Dried Chiles (5 minutes): Heat your large skillet over medium heat. Add the dried guajillo and ancho chiles. Toast them for about 30-60 seconds per side, pressing down with a spatula. You’ll know they’re ready when they become fragrant and slightly puffed. Be careful not to burn them, or they’ll turn bitter. Immediately transfer them to a bowl and cover with hot water. Let them soak for 10-15 minutes until they are soft and pliable.
- Cook the Aromatics (5 minutes): While the chiles soak, add the olive oil to the same skillet over medium heat. Add the chopped onion and cook until softened and translucent, about 4-5 minutes. Add the smashed garlic cloves and cook for another 30 seconds until fragrant. Don’t let the garlic burn.
- Bloom the Spices (1 minute): Add the ground cumin, dried oregano, smoked paprika, and ground cloves to the skillet with the onions and garlic. Stir constantly for about 30-60 seconds. This “blooming” step is crucial—it wakes up the spices and makes them incredibly aromatic.
- Combine Everything in the Blender: Drain the softened chiles (reserve the soaking water). Add the softened chiles, the cooked onion and garlic mixture, the fire-roasted tomatoes, and 1 cup of the chicken or vegetable broth to your blender. Blend on high until completely smooth. This might take a minute or two. If it’s too thick, add a little more broth or some of the reserved chile soaking water to help it along.
- Simmer the Sauce (10 minutes): Pour the blended sauce into your medium saucepan. Add the remaining 1 cup of broth, the apple cider vinegar, and the brown sugar (if using). Whisk everything together. Bring the sauce to a gentle simmer over medium heat, then reduce the heat to low. Let it cook, uncovered, for about 10-15 minutes, stirring occasionally. It will thicken slightly and the flavors will meld beautifully.
- Season and Finish: Taste the sauce. Add salt and black pepper to your liking. Remember, the saltiness will depend on the broth you used. If the sauce tastes a little flat, add another splash of apple cider vinegar. If it’s too spicy, add a pinch more brown sugar.
- Strain (Optional): For an incredibly silky sauce, you can pour it through a fine-mesh strainer before using. I usually don’t bother, but it’s a nice touch if you’re serving it for a special occasion.
Sensory Cues: When you’re toasting the chiles, your kitchen should smell like a warm, smoky campfire. When you bloom the spices, the aroma should make your stomach growl. The final sauce should be a deep, brick-red color and have a consistency similar to heavy cream—not watery, but not like a paste.
Cooking Tips & Techniques
I’ve definitely messed this up before. The first time I made it, I didn’t toast the chiles long enough, and the sauce tasted flat and a little dusty. Another time, I burned the garlic, and the whole batch had a bitter, acrid taste. Learn from my mistakes!
- Don’t Skip the Toasting: This is non-negotiable. Toasting the chiles and blooming the spices is what gives this sauce its incredible depth. It’s the difference between a good sauce and a truly great one.
- Control the Heat: The heat level is totally up to you. For a mild sauce, stick with just guajillo and ancho chiles. For a medium heat, add one arbol chile. For a fiery sauce, add two or three.
- Balance the Bitterness: Dried chiles can sometimes have a slight bitterness. A little bit of brown sugar or honey, and a splash of apple cider vinegar, perfectly balances this out. Taste as you go and adjust.
- Use Fire-Roasted Tomatoes: This is a little hack that adds another layer of smoky flavor without any extra work. It’s a game-changer.
- Make it Ahead: This sauce actually tastes better the next day. The flavors have time to meld and deepen. Make a double batch on the weekend, and you’ll have amazing enchilada sauce ready for a quick weeknight dinner.
Variations & Adaptations
This recipe is a fantastic base. Feel free to play around with it and make it your own. Here are a few of my favorite twists.
- Smoky Chipotle Version: Add 1-2 chipotle peppers in adobo sauce (from a can) to the blender along with the other ingredients. This adds an incredible, deep, smoky heat that’s absolutely addictive. It’s perfect for a creamy buffalo chicken dip or for smothering over some shredded chicken.
- Green Enchilada Sauce: Swap the dried red chiles for 1 pound of tomatillos (husked and rinsed). Roast the tomatillos, a jalapeño, and some onion under the broiler until charred. Then, blend them with the garlic, cilantro, and broth. It’s a completely different, tangy, and bright sauce.
- Extra-Herby Version: Before simmering, stir in a handful of fresh cilantro or a sprig of fresh epazote (if you can find it). It adds a fresh, earthy note that’s lovely.
- Dairy-Free Creamy Version: For a richer, creamier sauce, stir in 1/4 cup of cashew cream or dairy-free sour cream after the sauce has simmered. It makes it incredibly luxurious.
I once made a batch with leftover roasted red peppers I had in the fridge, and it was surprisingly delicious. Don’t be afraid to experiment.
Serving & Storage Suggestions
This sauce is incredibly versatile. It’s the star of the show, but it also plays well with others.
- Serving Temperature: The sauce is best served warm. You can use it immediately after making it, or reheat it gently on the stovetop or in the microwave.
- How to Use It: The most obvious use is for classic chicken or cheese enchiladas. But don’t stop there. Use it as a braising liquid for chicken thighs (it’s incredible), as a sauce for quick creamy spinach pasta, drizzled over breakfast burritos, or as a dip for tortilla chips. It also makes a fantastic base for a Mexican-style soup.
- Storage: Let the sauce cool completely, then transfer it to an airtight container. It will keep in the refrigerator for up to 1 week. The flavors will continue to develop and deepen over the first few days.
- Freezing: This sauce freezes like a dream. Pour it into a freezer-safe bag or container, and it will keep for up to 3 months. Thaw it overnight in the refrigerator before using.
- Reheating: Simply reheat the sauce in a saucepan over medium-low heat, stirring occasionally. If it’s too thick after thawing, add a splash of broth or water to thin it out.
Nutritional Information & Benefits
This homemade sauce is not only delicious but also packed with surprising health benefits. It’s a far healthier alternative to most store-bought versions, which are often loaded with sodium, sugar, and preservatives.
- Estimated Nutritional Values (per 1/4 cup serving): Calories: 45, Fat: 2g, Carbohydrates: 6g, Fiber: 2g, Protein: 1g, Sodium: 200mg (varies based on broth).
- Health Benefits: Dried chiles are a fantastic source of vitamins A and C, as well as capsaicin, which has anti-inflammatory properties. The garlic and onions are great for your immune system. The fire-roasted tomatoes are rich in lycopene, a powerful antioxidant.
- Dietary Considerations: This recipe is naturally gluten-free, dairy-free, and vegan. It’s also low in sugar and can be made low-sodium by using a low-sodium broth.
- Potential Allergens: This recipe is free from the top 8 common allergens. Always double-check your broth and spice labels if you have severe allergies.
It’s a small, simple change—making your own sauce—that makes a big difference in your overall health. It’s a win-win.
Conclusion
So, that’s it. My slightly messy, completely worth it, best homemade enchilada sauce. It’s the kind of recipe that turns a regular Tuesday into something special. It’s forgiving, it’s flexible, and it’s packed with so much flavor you’ll never want to go back to the canned stuff. Seriously, give it a try.
Don’t be afraid to play with the spices or the chiles to make it exactly how you like it. That’s the whole point of cooking at home, right? I’d love to hear how it turns out for you. Come back and leave a comment, or tag me in your photos. Tell me what you used it for! Did you make classic enchiladas, or did you get creative and use it for something else? I’m always looking for new ideas.
Happy cooking, friend. You’ve got this.
Frequently Asked Questions
Can I use chili powder instead of dried chiles?
You can, but the flavor won’t be as deep or complex. If you’re in a pinch, substitute 3-4 tablespoons of a good quality chili powder for the dried chiles. Just add it with the other spices and skip the toasting step.
How can I make this sauce less spicy?
Easy! Simply omit the dried arbol chile. Stick with just the guajillo and ancho chiles, which are very mild and sweet. Removing the seeds from the chiles also helps reduce heat.
Can I make this sauce ahead of time?
Absolutely. In fact, I recommend it. The sauce tastes even better the next day after the flavors have had time to meld. Make it up to a week in advance and store it in the fridge.
My sauce is too thin. How do I thicken it?
Let it simmer a little longer. The sauce will naturally thicken as it reduces. If it’s still too thin after 15 minutes, you can make a slurry by whisking 1 tablespoon of cornstarch with 2 tablespoons of cold water, then stirring it into the simmering sauce.
Can I freeze this enchilada sauce?
Yes, it freezes beautifully. Let it cool completely, then pour it into a freezer-safe bag or container. It will keep for up to 3 months. Thaw it in the refrigerator overnight before using.
Pin This Recipe!
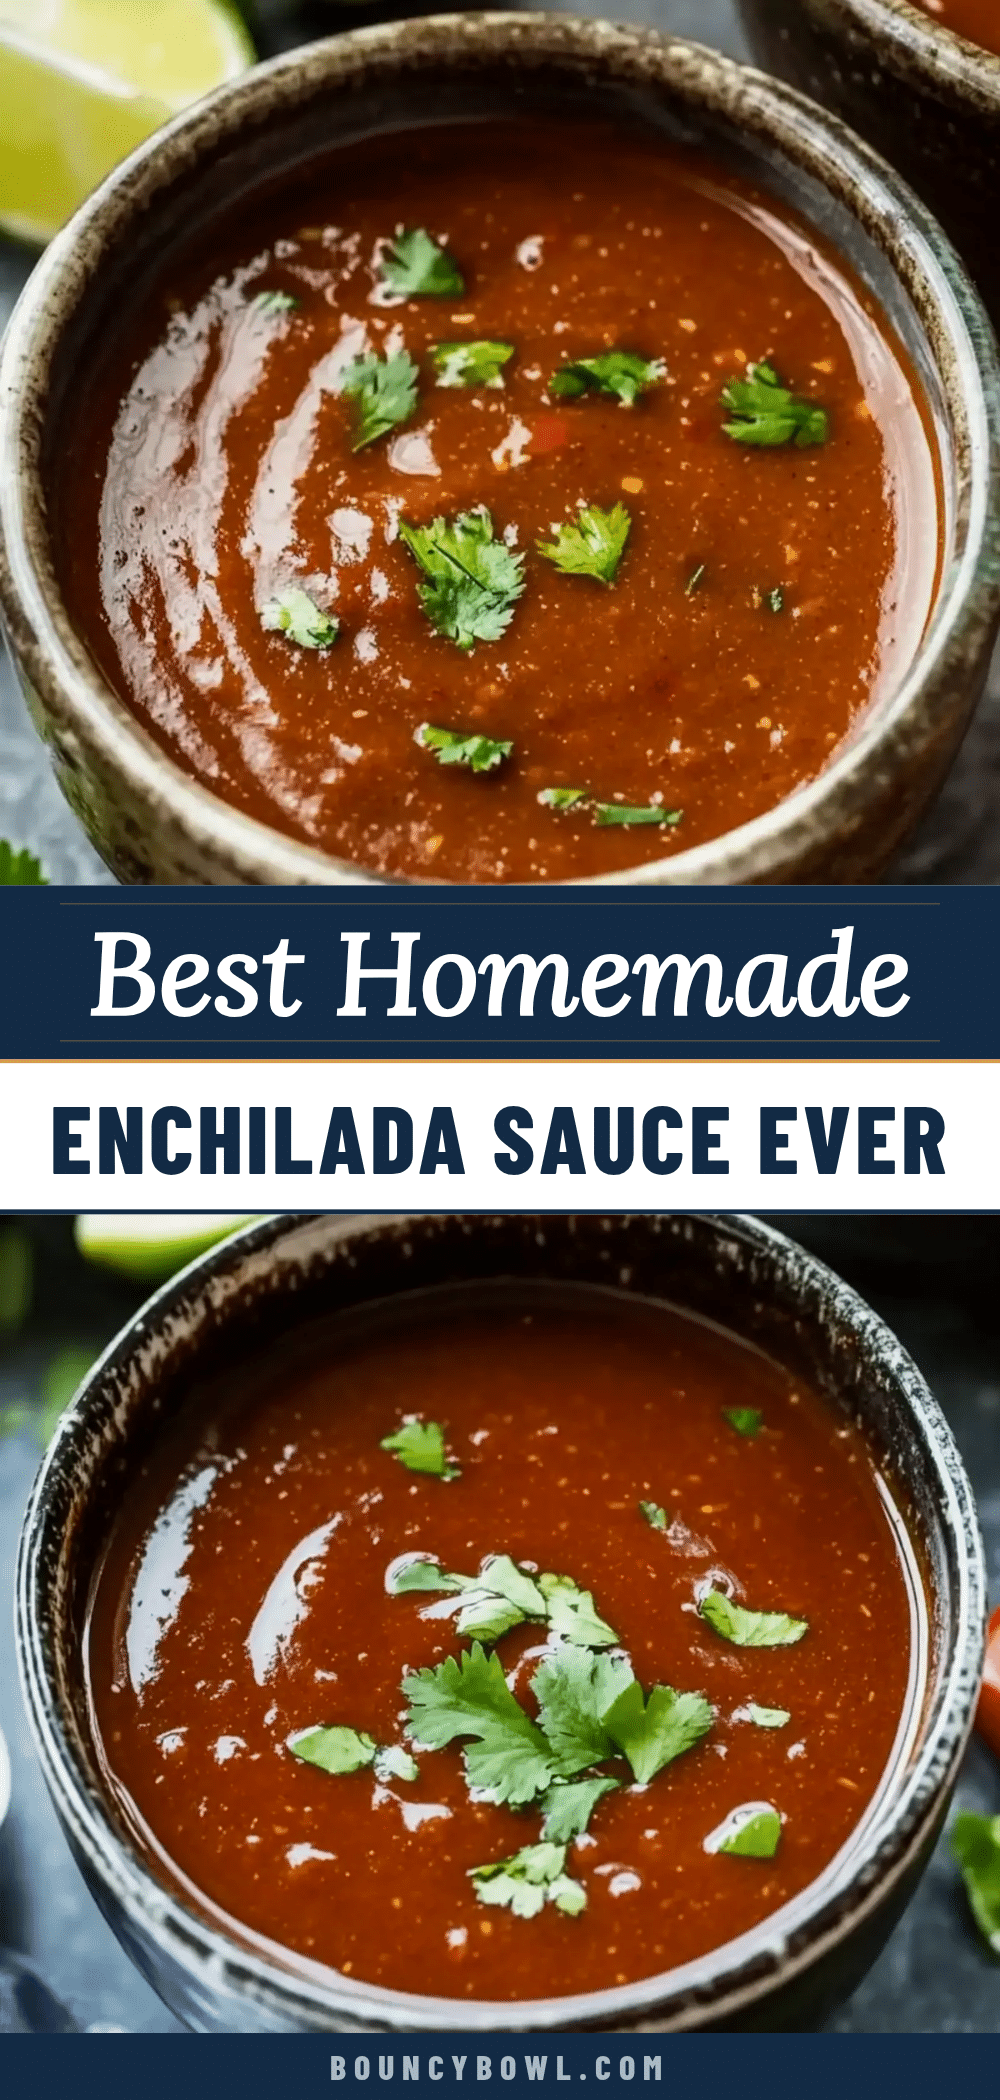
Best Homemade Enchilada Sauce for Easy Weeknight Dinners
This rich, smoky, and slightly spicy homemade enchilada sauce comes together in under 20 minutes using simple pantry staples. It’s the perfect base for enchiladas, burrito bowls, nachos, and more, with a depth of flavor that beats any store-bought version.
- Prep Time: 15 minutes
- Cook Time: 20 minutes
- Total Time: 35 minutes
- Yield: 4 servings 1x
- Category: Sauce
- Cuisine: Mexican
Ingredients
- 3–4 dried guajillo chiles, stems and seeds removed
- 2 dried ancho chiles, stems and seeds removed
- 1 dried arbol chile (optional, for heat)
- 2 tablespoons olive oil (or avocado oil)
- 1 medium yellow onion, roughly chopped
- 4 cloves garlic, smashed
- 1 teaspoon ground cumin
- 1 teaspoon dried oregano (Mexican oregano preferred)
- 1/2 teaspoon smoked paprika
- 1/4 teaspoon ground cloves
- 1 can (15 ounces) fire-roasted tomatoes
- 2 cups low-sodium chicken or vegetable broth
- 1 tablespoon apple cider vinegar
- 1 teaspoon brown sugar or honey (optional)
- Salt and black pepper, to taste
Instructions
- Toast the Dried Chiles: Heat a large skillet over medium heat. Add the dried guajillo and ancho chiles. Toast for 30-60 seconds per side, pressing down with a spatula, until fragrant and slightly puffed. Be careful not to burn them. Immediately transfer to a bowl and cover with hot water. Let soak for 10-15 minutes until soft and pliable.
- Cook the Aromatics: While the chiles soak, add olive oil to the same skillet over medium heat. Add chopped onion and cook until softened and translucent, about 4-5 minutes. Add smashed garlic cloves and cook for another 30 seconds until fragrant.
- Bloom the Spices: Add ground cumin, dried oregano, smoked paprika, and ground cloves to the skillet. Stir constantly for 30-60 seconds until aromatic.
- Combine Everything in the Blender: Drain the softened chiles (reserve soaking water). Add softened chiles, cooked onion and garlic mixture, fire-roasted tomatoes, and 1 cup of broth to a blender. Blend on high until completely smooth, about 1-2 minutes. Add more broth or reserved chile soaking water if too thick.
- Simmer the Sauce: Pour blended sauce into a medium saucepan. Add remaining 1 cup broth, apple cider vinegar, and brown sugar (if using). Whisk together. Bring to a gentle simmer over medium heat, then reduce heat to low. Cook uncovered for 10-15 minutes, stirring occasionally, until slightly thickened.
- Season and Finish: Taste and add salt and black pepper to your liking. If sauce tastes flat, add another splash of apple cider vinegar. If too spicy, add a pinch more brown sugar.
- Strain (Optional): For an ultra-smooth sauce, pour through a fine-mesh strainer before using.
Notes
Toasting the chiles and blooming the spices is crucial for depth of flavor. For a milder sauce, omit the arbol chile. The sauce tastes even better the next day. It can be refrigerated for up to 1 week or frozen for up to 3 months. For a thicker sauce, let it simmer longer or use a cornstarch slurry.
Nutrition
- Serving Size: 1/4 cup
- Calories: 45
- Sugar: 2
- Sodium: 200
- Fat: 2
- Carbohydrates: 6
- Fiber: 2
- Protein: 1
Keywords: homemade enchilada sauce, easy enchilada sauce, best enchilada sauce, red enchilada sauce, Mexican sauce, weeknight dinner, gluten-free, vegan


