Love this? Save it for later!
Share the inspiration with your friends
“You really have to try this,” my neighbor called over the fence one hot afternoon, holding out a little tub of pastel-colored ice cream shimmering softly in the sun. I was skeptical at first—Moon Mist ice cream? What could possibly be so special about that? But one spoonful later, I was hooked. It wasn’t just the creamy texture or the whimsical colors; it was the way that first bite instantly transported me to simpler summer evenings, when homemade treats meant magic in a bowl.
Honestly, I didn’t expect to become obsessed with making this creamy Moon Mist ice cream recipe at home. It started as a quick way to use up some leftover milk and fruit-flavored syrups, but soon it turned into a ritual. I found myself making batch after batch, tweaking the balance of flavors, chasing that perfect nostalgic buzz. It’s funny how something so simple can become a quiet comfort after a hectic day—no fancy ingredients or fancy equipment, just that smooth, dreamy texture and the soft hint of fruity sweetness that feels like a warm hug from the past.
What’s stuck with me the most is how this recipe brings people together. Whether it’s kids begging for “that purple ice cream” or friends sneaking spoonfuls late at night, creamy Moon Mist ice cream has this unpretentious charm. It’s not trying to be fancy, but it manages to be unforgettable. And I’m pretty sure it’ll find a place in your freezer and your heart, too.
Why You’ll Love This Creamy Moon Mist Ice Cream Recipe
After countless tests in my kitchen (and a few friendly taste tests), I’m confident this Moon Mist ice cream recipe hits all the right notes. Here’s why it’s earned a permanent spot in my recipe box:
- Quick & Easy: You can whip this up in under 30 minutes, plus freezing time—ideal for those spontaneous ice cream cravings or weekend treats.
- Simple Ingredients: No need for hard-to-find stuff. Basic milk, cream, sugar, and a few nostalgic syrups or flavorings you probably already have.
- Perfect for Summer Gatherings: Whether it’s a casual BBQ or a birthday party, this ice cream brings that retro vibe everyone loves.
- Crowd-Pleaser: Kids adore the colorful swirls, and adults appreciate the smooth, creamy texture and subtle fruity flavors.
- Unbelievably Delicious: The creamy base combined with hints of orange, raspberry, and vanilla creates a dreamy flavor combo that feels like a throwback to childhood.
This recipe isn’t just a rehash of the store-bought Moon Mist ice cream. The homemade flair means you control the creaminess, tweak the sweetness, and add that extra touch of love that makes all the difference. Plus, the method I use blends the flavors just right so they don’t overpower each other but still stand out beautifully. It’s the kind of ice cream that makes you close your eyes after the first spoonful and smile quietly to yourself.
What Ingredients You Will Need
This creamy Moon Mist ice cream recipe uses straightforward, wholesome ingredients that come together to create that silky texture and nostalgic flavor. Most of these are pantry staples, and you can swap a few to suit your taste or dietary needs.
- Whole milk (2 cups / 480 ml) – for rich creaminess; you can use 2% if you prefer lighter ice cream.
- Heavy cream (1 cup / 240 ml) – the secret to that smooth, luscious texture.
- Granulated sugar (3/4 cup / 150 g) – balances sweetness perfectly without overwhelming flavors.
- Vanilla extract (1 teaspoon) – adds depth and warmth to the base.
- Orange-flavored syrup (2 tablespoons) – for that classic citrus note reminiscent of vintage Moon Mist.
- Raspberry syrup (2 tablespoons) – brings the bright pinkish swirl and a sweet-tart contrast.
- Blueberry syrup (1 tablespoon) – optional, for subtle bluish hue and extra fruitiness.
- Egg yolks (3 large, room temperature) – used to make a custard base ensuring creamy richness without iciness.
- Salt (a pinch) – enhances all the flavors subtly.
For syrups, I personally like using Torani or Monin brands because they offer a natural fruit flavor without artificial aftertaste. If you want to skip syrups, you can use fresh fruit purees, but keep in mind that syrups help maintain the iconic pastel colors.
Feel free to use dairy-free cream and milk alternatives if needed—coconut cream works well here but may alter the flavor slightly. For a lighter version, swap half of the heavy cream with Greek yogurt (check out my creamy chicken Alfredo bake recipe for similar creamy swaps).
Equipment Needed
- Ice cream maker: A basic home ice cream machine is ideal for this recipe. I use a Cuisinart model that’s easy to clean and churns evenly.
- Mixing bowls: Medium and large, preferably glass or stainless steel.
- Whisk and spatula: For blending the custard base and folding in flavors gently.
- Medium saucepan: To gently heat the milk, cream, and sugar without scorching.
- Fine mesh sieve: To strain the custard for that perfectly smooth texture.
- Measuring cups and spoons: For precise ingredient amounts.
If you don’t have an ice cream maker, no worries—there’s a no-churn variation you can try by freezing the custard base in a container and stirring every 30 minutes until frozen (though the texture may be a bit less silky). Also, keep your ice cream maker bowl in the freezer for at least 24 hours before use—that step is crucial for proper churning.
Preparation Method
- Prepare the custard base: In a medium saucepan, combine whole milk, heavy cream, and half of the granulated sugar (75 g). Warm over medium heat until the sugar dissolves and the mixture is hot but not boiling (about 170°F / 77°C). Stir occasionally to prevent scorching. This should take around 5 to 7 minutes.
- Whisk egg yolks: While the milk mixture heats, whisk the egg yolks with the remaining sugar (75 g) in a bowl until pale and slightly thickened, about 2 minutes.
- Temper eggs: Slowly pour about 1 cup (240 ml) of the hot milk mixture into the egg yolks while whisking constantly. This step prevents the eggs from scrambling. Then, pour the egg mixture back into the saucepan with the remaining milk mixture.
- Cook custard: Return the saucepan to medium-low heat, stirring constantly with a wooden spoon or spatula, until the custard thickens and coats the back of the spoon (around 170-175°F / 77-80°C). Don’t let it boil, or you risk curdling.
- Strain and cool: Pour the custard through a fine mesh sieve into a clean bowl to remove any cooked bits. Stir in the vanilla extract and a pinch of salt. Let it cool slightly, then cover with plastic wrap directly on the surface to prevent a skin from forming. Chill in the fridge for at least 4 hours or overnight.
- Churn the ice cream: Once chilled, pour the custard base into your ice cream maker. Churn according to the manufacturer’s instructions (usually 20-25 minutes) until it reaches a soft-serve consistency.
- Layer the flavors: In a freezer-safe container, spoon a layer of the churned ice cream, then drizzle some orange syrup, raspberry syrup, and blueberry syrup in swirls. Repeat layering until all ice cream and syrups are used, then gently swirl with a butter knife to create the signature Moon Mist marbled effect.
- Freeze to set: Cover and freeze for at least 4 hours or until firm. Before serving, let it sit at room temperature for 5-10 minutes to soften slightly for easier scooping.
Tip: If your custard starts to curdle or scramble, immediately remove from heat and strain. Cooling quickly in an ice-water bath can help save the texture. Also, the swirling doesn’t have to be perfect—that’s part of the homemade charm!
Cooking Tips & Techniques
Getting that smooth creaminess without icy crystals is the tricky part here, and the custard base is key. Using egg yolks creates a rich texture that holds air well during churning, giving you that melt-in-your-mouth feel. I learned the hard way that rushing the tempering step leads to scrambled eggs in your base—ugh, such a waste!
Chilling the custard thoroughly before churning is essential. I usually prepare the base the night before and chill it for at least 8 hours. This step helps the fat solidify, which improves the texture and lets the flavors meld.
When adding the syrups, don’t mix them too aggressively. Gentle swirls keep the colors distinct and create that dreamy Moon Mist look. If you want to jazz it up a bit, you can fold in small chunks of homemade brownie or fruit, similar to how I do in my brownie fruit pizza for a fun texture contrast.
Finally, patience is your friend. Letting the ice cream soften a little before scooping means no more scraping frozen bricks, and the flavors bloom better on the tongue.
Variations & Adaptations
This creamy Moon Mist ice cream is versatile and open to playful tweaks. Here are some favorites I’ve tried:
- Vegan version: Swap dairy milk and cream for full-fat coconut milk and coconut cream. Use cornstarch or agar as an egg yolk substitute for thickening.
- Fruit puree mix-in: Replace syrups with fresh or frozen fruit purees—mango and blueberry work beautifully for a more natural color and flavor.
- Adult twist: Add a splash of orange liqueur or raspberry vodka to the base before freezing for a grown-up treat.
- Chocolate swirl: Drizzle some homemade fudge sauce during the layering step for a chocolatey moonbeam.
When I first made this, I tried a version with lavender syrup instead of blueberry, inspired by my refreshing lavender lemonade obsession. It was subtle but magical, perfect for a summer garden party. If you’re curious about floral flavors, you might enjoy pairing this ice cream with some light homemade treats like the rainbow cake roll I baked recently.
Serving & Storage Suggestions
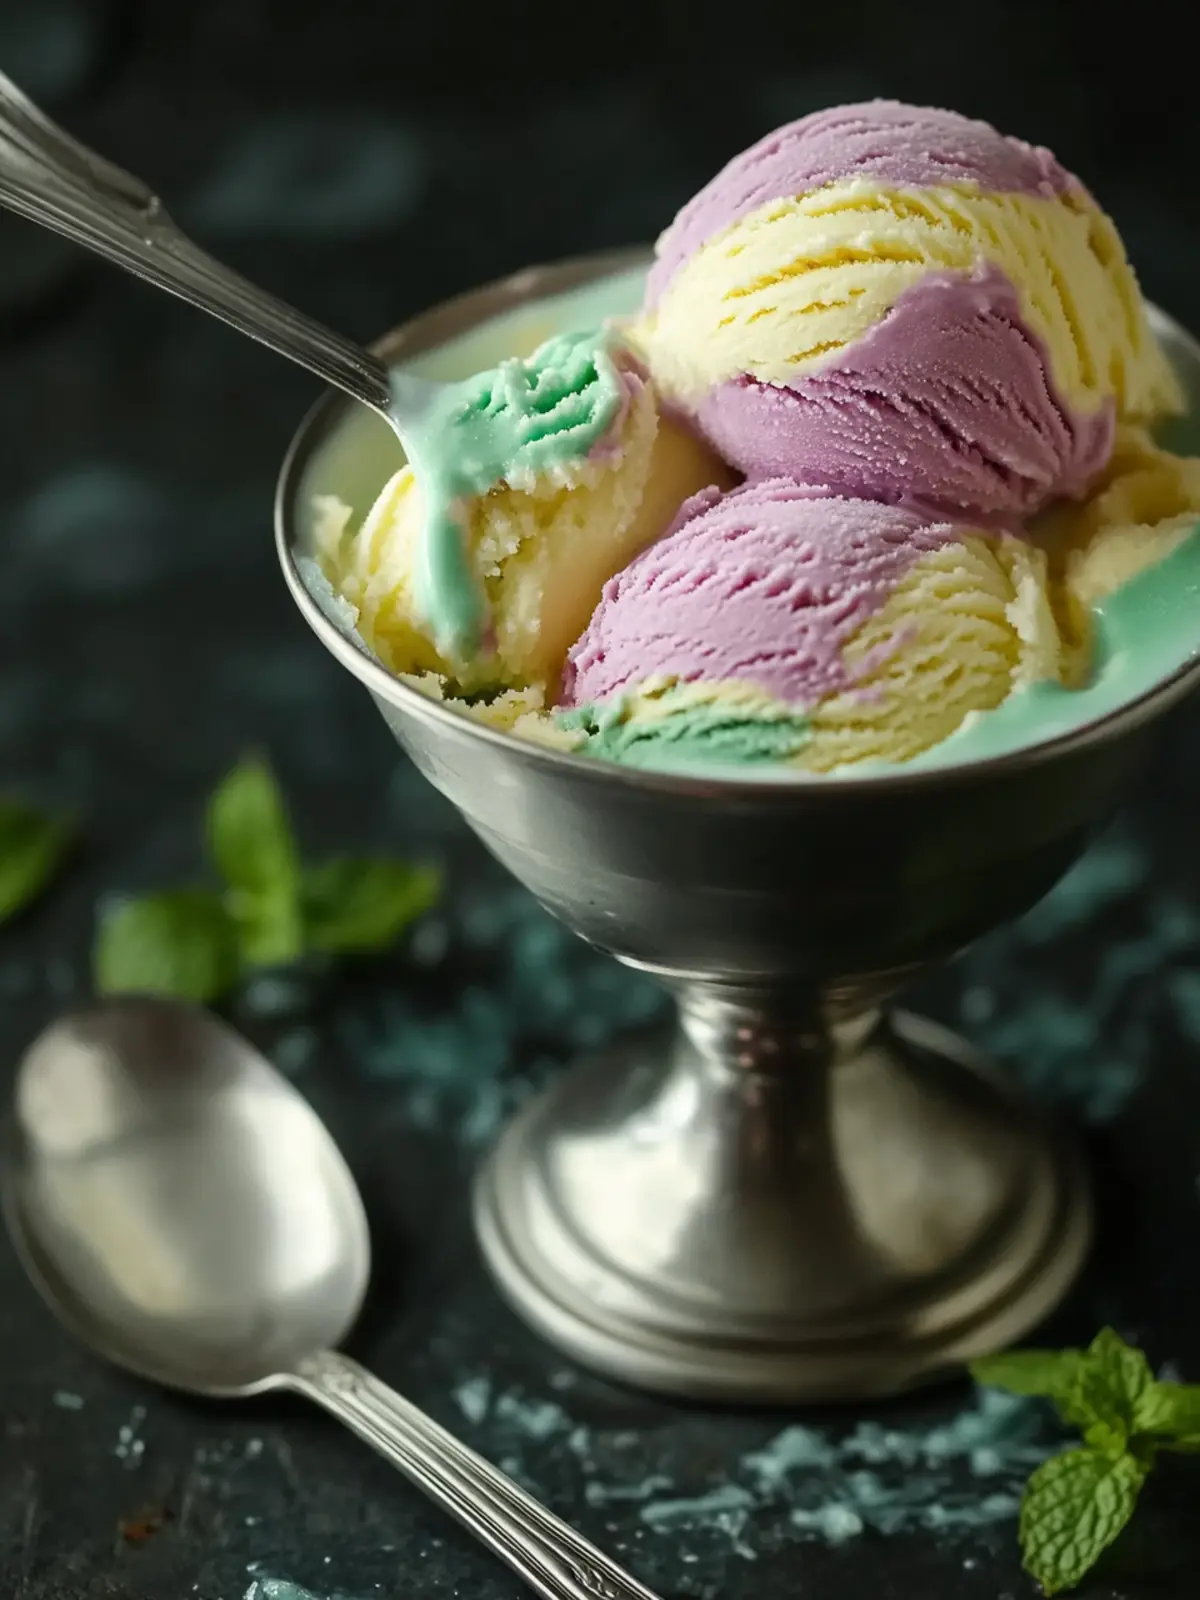
This ice cream is best served slightly softened at about 10–15 minutes out of the freezer. Scoop into colorful bowls or waffle cones for a cheerful presentation. A sprig of fresh mint or a few fresh berries on top adds a nice touch without overpowering the nostalgic flavors.
Pair it alongside warm desserts like pulled beef sliders for a playful contrast, or enjoy it simply on its own during a quiet afternoon.
Store ice cream in an airtight container to avoid freezer burn and maintain creaminess. Press a piece of parchment paper directly on the surface before sealing to reduce ice crystals. It keeps well for up to two weeks, but honestly, it rarely lasts that long in my house!
To re-soften after freezing hard, let it sit at room temperature for 10 minutes or microwave in 10-second increments on low power—just enough to ease scooping.
Nutritional Information & Benefits
A typical serving (about 1/2 cup or 125 ml) of this creamy Moon Mist ice cream contains roughly 250 calories, with 15 grams of fat, 20 grams of carbohydrates, and 4 grams of protein. The fat content comes mainly from the heavy cream, which contributes to the luxurious texture.
Key ingredients like whole milk and egg yolks provide calcium and vitamin D, important for bone health. If you opt for natural fruit syrups or fresh purees, you add antioxidants and vitamins—plus a little natural sweetness without too much refined sugar.
For those mindful of allergens, this recipe contains dairy and eggs. Substitutions like coconut cream and plant-based thickeners can make it suitable for vegan or dairy-free diets. The recipe is naturally gluten-free as well.
Conclusion
This creamy Moon Mist ice cream recipe is more than just a frozen treat—it’s a gentle reminder of childhood summers and simple pleasures. It’s creamy, colorful, and surprisingly easy to make, even if you’re not usually an ice cream person. The homemade touch means you can tweak it to your taste or dietary needs, turning it into your own little masterpiece.
I love how this recipe brings a quiet joy to busy days and a nostalgic smile to the table. If you give it a try, I’d love to hear how you make it your own or any fun twists you add. Here’s to many spoonfuls of creamy happiness ahead!
Frequently Asked Questions about Creamy Moon Mist Ice Cream
Can I make this ice cream without an ice cream maker?
Yes! You can use a no-churn method by freezing the custard base in a shallow container, stirring every 30 minutes for 2-3 hours to break up ice crystals. The texture won’t be quite as smooth but still delicious.
What if I don’t have orange, raspberry, or blueberry syrups?
Fresh fruit purees or jams can work as a substitute. Just swirl them gently into the ice cream before freezing. You can also experiment with other fruit flavors you like.
How long does the ice cream need to chill before churning?
Chill the custard base for at least 4 hours, but overnight is best. Cold base churns better and improves the final texture.
Can I prepare the ice cream base ahead of time?
Absolutely! The custard base can be made 1-2 days in advance and stored in the fridge, covered tightly, until you’re ready to churn.
What’s the best way to store leftover ice cream?
Use an airtight container and press parchment paper on the surface before sealing. Store in the freezer for up to two weeks for best quality.
Pin This Recipe!
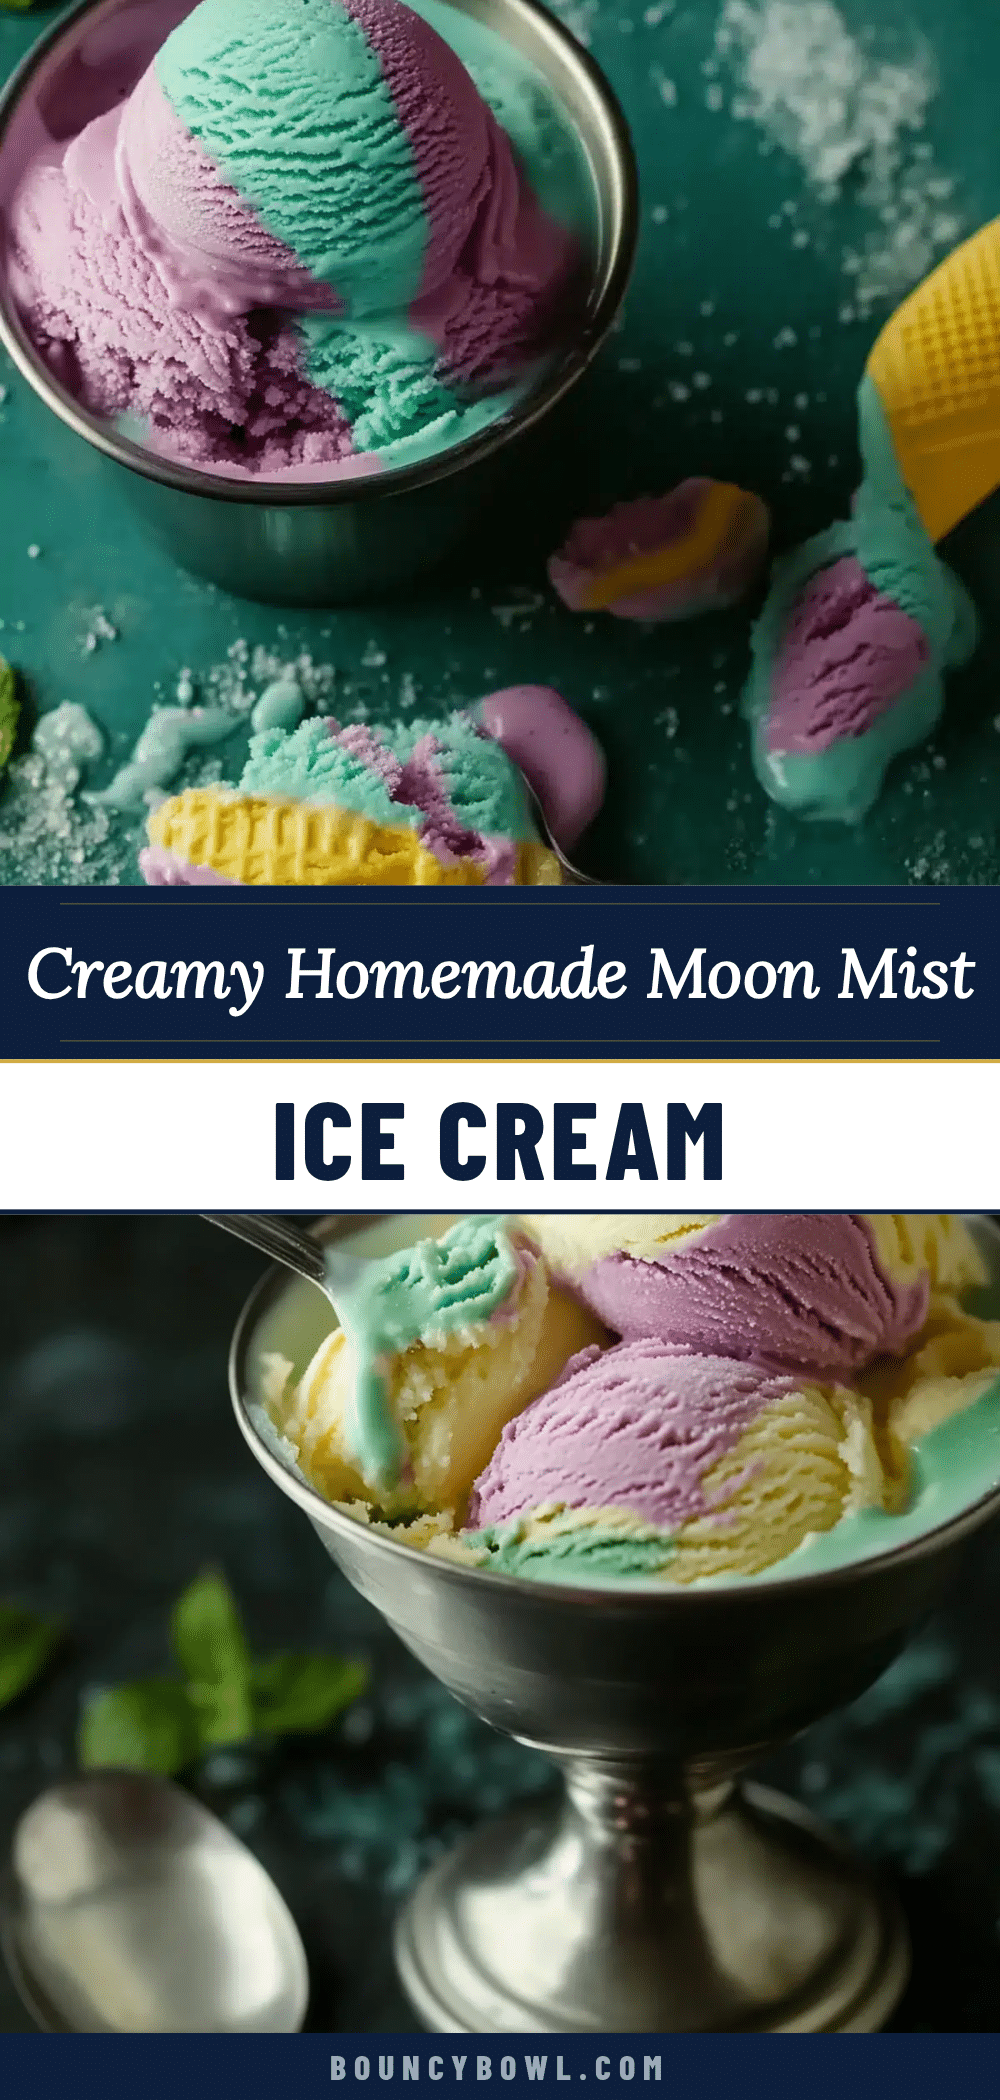
Creamy Moon Mist Ice Cream Recipe Easy Homemade Nostalgic Flavor
A nostalgic, creamy homemade Moon Mist ice cream featuring a smooth custard base with fruity swirls of orange, raspberry, and blueberry syrups. Easy to make and perfect for summer gatherings.
- Prep Time: 15 minutes
- Cook Time: 15 minutes
- Total Time: 8 hours 30 minutes
- Yield: 8 servings 1x
- Category: Dessert
- Cuisine: American
Ingredients
- 2 cups whole milk (480 ml)
- 1 cup heavy cream (240 ml)
- 3/4 cup granulated sugar (150 g)
- 1 teaspoon vanilla extract
- 2 tablespoons orange-flavored syrup
- 2 tablespoons raspberry syrup
- 1 tablespoon blueberry syrup (optional)
- 3 large egg yolks, room temperature
- Pinch of salt
Instructions
- In a medium saucepan, combine whole milk, heavy cream, and half of the granulated sugar (75 g). Warm over medium heat until the sugar dissolves and the mixture is hot but not boiling (about 170°F / 77°C), stirring occasionally.
- Whisk the egg yolks with the remaining sugar (75 g) in a bowl until pale and slightly thickened, about 2 minutes.
- Slowly pour about 1 cup (240 ml) of the hot milk mixture into the egg yolks while whisking constantly to temper the eggs. Then pour the egg mixture back into the saucepan with the remaining milk mixture.
- Return the saucepan to medium-low heat, stirring constantly until the custard thickens and coats the back of a spoon (around 170-175°F / 77-80°C). Do not boil.
- Strain the custard through a fine mesh sieve into a clean bowl. Stir in vanilla extract and a pinch of salt. Let cool slightly, cover with plastic wrap on the surface, and chill in the fridge for at least 4 hours or overnight.
- Pour the chilled custard base into an ice cream maker and churn according to manufacturer’s instructions (usually 20-25 minutes) until soft-serve consistency.
- In a freezer-safe container, layer the churned ice cream with drizzles of orange syrup, raspberry syrup, and blueberry syrup. Repeat layers and gently swirl with a butter knife to create a marbled effect.
- Cover and freeze for at least 4 hours or until firm. Before serving, let sit at room temperature for 5-10 minutes to soften.
Notes
Chill the custard base thoroughly before churning for best texture. Use gentle swirling to keep syrup colors distinct. If no ice cream maker is available, use the no-churn method by freezing and stirring every 30 minutes. Let ice cream soften 10-15 minutes before scooping for easier serving.
Nutrition
- Serving Size: 1/2 cup (125 ml)
- Calories: 250
- Fat: 15
- Carbohydrates: 20
- Protein: 4
Keywords: Moon Mist ice cream, homemade ice cream, creamy ice cream, nostalgic dessert, fruity ice cream, easy ice cream recipe, summer dessert


