Love this? Save it for later!
Share the inspiration with your friends
“Are you sure this doesn’t need baking?” my friend asked, raising an eyebrow as I plopped a spoonful of the creamy no-bake mini cheesecake cups into her hand. Honestly, I was half as skeptical the first time I whipped up these little delights. It was a hectic afternoon—no time for oven preheating or complicated steps—and I figured I’d give this shortcut a shot. What started as a quick fix turned into a repeat performance, and I found myself making these cups multiple times that week just to satisfy a sudden cheesecake craving without the fuss.
The texture caught me off guard—silky, smooth, and just the right balance of sweet and tangy. And the best part? No oven required, just a few simple ingredients and a little patience while they chill. I remember that quiet moment, spoon in hand, realizing these mini cheesecakes had earned a permanent spot in my dessert lineup. They’re the kind of treat that feels fancy but is actually a breeze to throw together, perfect for last-minute guests or a solo indulgence after a long day.
What stuck with me was how these creamy no-bake mini cheesecake cups turned a chaotic afternoon into something sweet and calm, an easy pleasure I knew I could trust anytime. They’re little pockets of joy, served cold and ready fast, with a texture so luscious it’s like a gentle hug in dessert form. I get why they keep popping up in my kitchen—it’s comfort, simplified and delicious.
Why You’ll Love This Recipe
After testing countless no-bake cheesecake recipes, this one stands out for so many reasons. It’s been family-approved, kitchen-tested, and frankly, a lifesaver on busy days. Here’s why this creamy no-bake mini cheesecake cups recipe quickly became one of my favorites:
- Quick & Easy: Ready in just 15 minutes, it’s perfect for those moments when you want dessert without the wait or the mess.
- Simple Ingredients: No need for fancy or hard-to-find items; most are pantry staples or easy to grab at any grocery store.
- Perfect for Any Occasion: Whether it’s a casual weeknight treat, a holiday gathering, or a spontaneous get-together, these cups fit right in.
- Crowd-Pleaser: Kids to adults, everyone loves the creamy texture and sweet tang of these mini cakes.
- Unbelievably Delicious: The silky cream cheese blends with just the right amount of sweetness and a hint of vanilla, making each bite melt in your mouth.
What really makes this recipe shine is the little twist of blending the cream cheese until ultra-smooth before folding in the other ingredients. This technique gives the cheesecake a light, airy texture that’s different from traditional dense versions. Plus, using graham cracker crumbs for the base adds the familiar crunch that makes every bite satisfying without weighing you down.
It’s honestly the kind of recipe that makes you close your eyes after the first bite and savor the moment. A little indulgence that feels special but is effortless to prepare, this recipe turns simple ingredients into a memorable dessert experience. If you’ve ever wished you could enjoy cheesecake without the oven hassle, these creamy no-bake mini cheesecake cups will quickly become your go-to.
What Ingredients You Will Need
This recipe sticks to straightforward, wholesome ingredients that come together to create a flavor-packed and satisfying dessert. Most of these are pantry basics, making it a no-fuss recipe you can whip up anytime.
- For the Crust:
- Graham cracker crumbs (about 1 cup / 100g) – I like using Honey Maid for that perfect balance of sweetness and crunch
- Unsalted butter, melted (4 tablespoons / 60g) – helps the crust hold together nicely
- Granulated sugar (2 tablespoons / 25g) – adds a little extra sweetness and crunch
- For the Filling:
- Cream cheese, softened (8 ounces / 225g) – use full-fat for the creamiest texture
- Powdered sugar (1 cup / 120g) – finely sifted to avoid lumps
- Heavy whipping cream (1 cup / 240ml) – for that light, airy finish
- Pure vanilla extract (1 teaspoon) – quality vanilla makes a noticeable difference here
- Fresh lemon juice (1 tablespoon) – adds a subtle tang that balances the sweetness
- For Garnish (Optional):
- Fresh berries (strawberries, blueberries, raspberries)
- Grated lemon zest
- Mint leaves for a pop of color
If you want a gluten-free version, swapping the graham cracker crumbs with almond flour or gluten-free cookie crumbs works beautifully. Also, for dairy-free adaptations, coconut cream and dairy-free cream cheese options can replace the traditional dairy ingredients, although the texture might be slightly different.
Equipment Needed
- Mixing bowls – a large one for the cream cheese and another for whipping cream
- Electric mixer or stand mixer – to whip the cream and smooth the cream cheese filling (hand mixers work too, but it takes a bit more effort)
- Measuring cups and spoons – precise measurements help keep the texture just right
- Spatula – for folding ingredients gently
- Small serving cups or ramekins – mini jars, clear plastic cups, or even small mason jars all work perfectly for portioning
- Optional: Food processor or plastic bag and rolling pin – for crushing graham crackers if you don’t have pre-made crumbs
For those on a budget, a simple hand whisk and a sturdy bowl will do, but I honestly recommend an electric mixer if you plan on making no-bake cheesecakes regularly. It saves so much arm fatigue and results in a silkier filling. Also, keep your cream cheese at room temperature before starting—trust me, it blends so much easier.
Preparation Method
- Prep the Crust: In a medium bowl, combine 1 cup (100g) graham cracker crumbs, 4 tablespoons (60g) melted unsalted butter, and 2 tablespoons (25g) granulated sugar. Stir until the crumbs are evenly coated and the mixture feels like damp sand. This should take about 2-3 minutes.
- Divide Crust into Cups: Spoon approximately 1 to 1.5 tablespoons of the crust mixture into each mini serving cup (about 8-10 cups). Press gently with the back of a spoon or your fingers to form an even layer. This takes around 5 minutes depending on how many cups you’re filling.
- Whip the Filling Base: In a large bowl, beat 8 ounces (225g) softened cream cheese with 1 cup (120g) powdered sugar until smooth and creamy, about 3-4 minutes using an electric mixer on medium speed. Scrape down the sides occasionally to avoid lumps.
- Add Flavor & Lemon: Mix in 1 teaspoon pure vanilla extract and 1 tablespoon fresh lemon juice. The lemon adds that subtle tang that makes the filling lively but not overpowering.
- Whip the Cream: In a separate bowl, pour 1 cup (240ml) heavy whipping cream and whip on high speed until stiff peaks form. This step usually takes 4-5 minutes.
- Fold Cream into Cream Cheese: Gently fold the whipped cream into the cream cheese mixture using a spatula. This keeps the filling light and airy. Take your time—fold slowly to keep the fluffiness intact. The filling should be smooth and hold soft peaks.
- Assemble: Spoon or pipe the creamy filling over the prepared crust layer in each cup, filling them almost to the top. Smooth the surface with a spatula or back of a spoon.
- Chill: Cover the cups with plastic wrap or lids and refrigerate for at least 2 hours to let the cheesecake set properly. If you’re in a real hurry, 1 hour in the freezer also works, but texture is best with a longer chill.
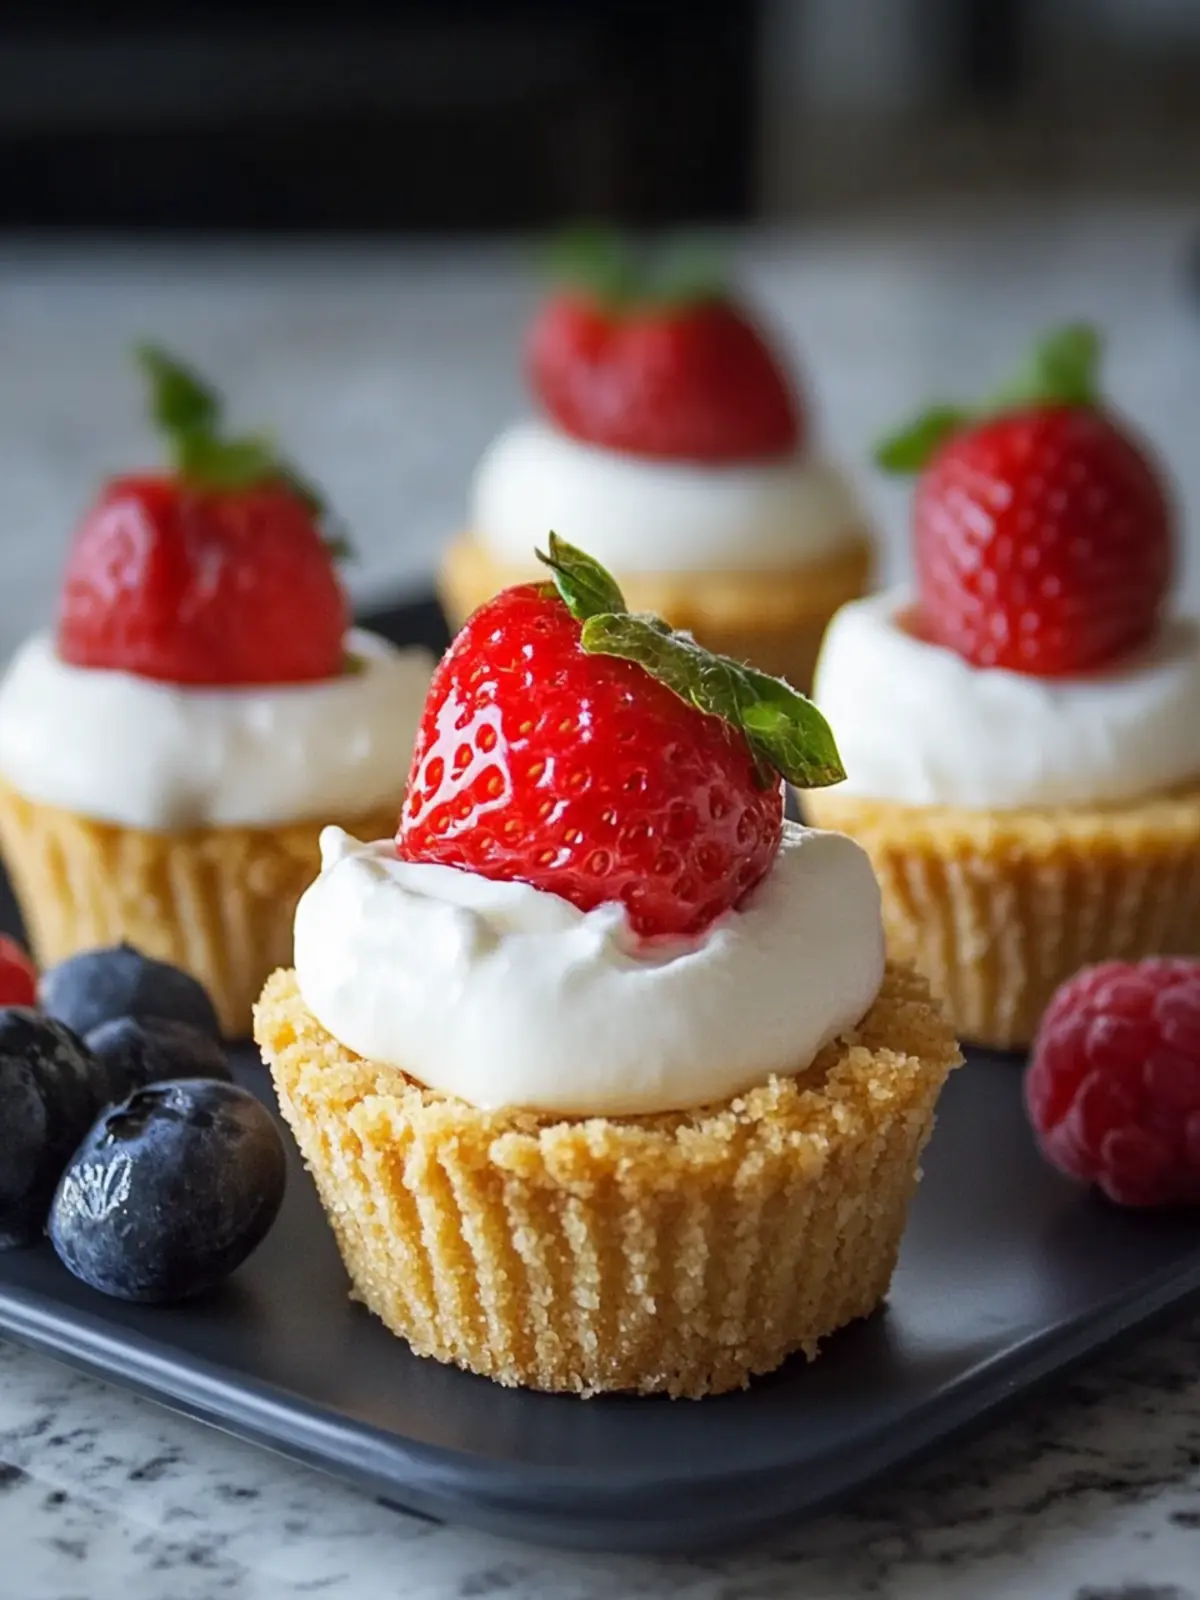
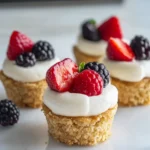
- Garnish and Serve: Just before serving, add fresh berries, a sprinkle of lemon zest, or a mint leaf for color and brightness.
If you notice your cream cheese is too cold, it can leave lumps—warming it slightly by microwaving in 10-second bursts helps. Also, don’t rush folding the whipped cream, or you’ll lose that dreamy texture. If you want to speed things up, prepare the crust ahead and keep refrigerated.
Cooking Tips & Techniques
One of the key secrets I’ve learned is to get that cream cheese perfectly smooth before folding in the whipped cream. Using an electric mixer on medium speed for several minutes really changes the texture from grainy to velvety. If you skip this, your filling might end up dense or uneven.
Whipping the cream to stiff peaks is another crucial step. Under-whipped cream means your cheesecake cups might be runny or won’t hold their shape, while over-whipped cream can turn grainy and start turning into butter (true story—been there, ruined a batch!). So watch carefully, and stop whipping as soon as the peaks stand tall.
Pressing the crust gently helps keep that satisfying crunch but avoids compacting it so much that it becomes hard. Light pressure is all you need.
Timing-wise, chilling is non-negotiable. I once tried serving them straight away, and the filling was too soft to hold its shape. A couple hours in the fridge makes the difference between a sloppy dessert and a perfectly set mini cheesecake.
Multitasking tip: While the cheesecake cups chill, you can prep a fresh salad like this fresh zesty lemon orzo salad with feta to balance your meal with something light and tangy.
Variations & Adaptations
- Berry Swirl: Fold in mashed raspberries or blueberry puree into the cream cheese filling before chilling for a pretty marbled effect and fruity twist.
- Chocolate Lovers: Add 2 tablespoons of cocoa powder to the crust mixture and sprinkle mini chocolate chips on top for a chocolate cheesecake cup. For a richer filling, melt 2 ounces of dark chocolate and swirl in before folding the cream.
- Vegan Version: Swap cream cheese for vegan cream cheese and use coconut cream instead of heavy cream. Use gluten-free cookie crumbs for crust. Chill longer as the texture differs slightly.
- Flavor Boost: Add a teaspoon of instant espresso powder or a pinch of cinnamon to the filling for extra depth.
Personally, I once made a batch with a hint of orange zest and a splash of Grand Marnier — it was surprisingly refreshing and got rave reviews from friends. Feel free to experiment with your favorite flavors or swap crust bases with crushed shortbread or gingersnaps for a seasonal touch (think fall vibes like those in the cozy Amish apple fritter bread recipe).
Serving & Storage Suggestions
These mini cheesecake cups are best served chilled straight from the fridge. They look especially charming served in clear cups or small mason jars that show off the crust and creamy layers. Garnish with fresh berries or a sprig of mint for a pretty presentation that feels just right for casual dinners or celebrations.
If you want to prep them in advance, they store well in the refrigerator for up to 3 days. Just cover tightly with plastic wrap or lids to prevent them from picking up fridge odors. For longer storage, these cups freeze well for up to 2 months — thaw overnight in the fridge before serving.
Reheating isn’t recommended since the texture is best cold and creamy. The flavors actually deepen after a day or two in the fridge, making leftovers even more irresistible. These cups pair well with a light, refreshing drink like a spritz or herbal iced tea.
Nutritional Information & Benefits
Each serving (one mini cup) roughly contains:
| Calories | 220-250 kcal |
|---|---|
| Fat | 18g (mostly from cream cheese and butter) |
| Carbohydrates | 12g (mostly from sugar and crust) |
| Protein | 3g |
Cream cheese provides calcium and protein, while the lemon juice adds a fresh dose of vitamin C. Using real butter and cream delivers richness but also healthy fats when enjoyed in moderation. For a lighter take, you can substitute reduced-fat cream cheese and use less sugar, although that changes the classic creamy texture.
These mini cheesecakes are gluten-containing unless you swap the crust, and they contain dairy, so they’re not suitable for those with allergies or intolerances without modification. I appreciate this recipe because it offers a balance between indulgence and simplicity, letting me enjoy a sweet treat without complicated prep or artificial ingredients.
Conclusion
These creamy no-bake mini cheesecake cups are proof that delicious doesn’t have to be complicated or time-consuming. The ease of preparation combined with that rich, velvety texture makes them a staple dessert in my kitchen. Whether you’re treating yourself or impressing friends, this recipe is endlessly adaptable and satisfying.
I love how these mini cheesecakes fit seamlessly into busy days or relaxed weekends, offering just the right touch of sweetness without fuss. Feel free to tweak the flavors or crust to match your mood or pantry — that’s the fun of no-bake desserts. If you’ve enjoyed this recipe, I’d love to hear your variations or creative twists in the comments below.
Remember, great desserts don’t always need an oven, just a little patience and a craving for something creamy and sweet.
Frequently Asked Questions
Can I make these mini cheesecakes ahead of time?
Yes! You can prepare and chill them up to 3 days in advance. Just keep them covered tightly in the fridge for best freshness.
What can I use instead of graham cracker crumbs?
Crushed digestive biscuits, shortbread cookies, or gluten-free cookie crumbs work well as substitutes for the crust.
How do I prevent lumps in the cream cheese filling?
Make sure your cream cheese is softened to room temperature and beat it thoroughly before adding other ingredients. Using an electric mixer helps achieve a smooth texture.
Can I freeze these mini cheesecake cups?
Definitely. Freeze for up to 2 months and thaw overnight in the fridge before serving. Texture might be slightly different but still delicious.
Is it possible to make this recipe dairy-free?
Yes, swap the cream cheese for a dairy-free version and use coconut cream instead of heavy cream. The texture will be a bit different but still tasty.
Pin This Recipe!
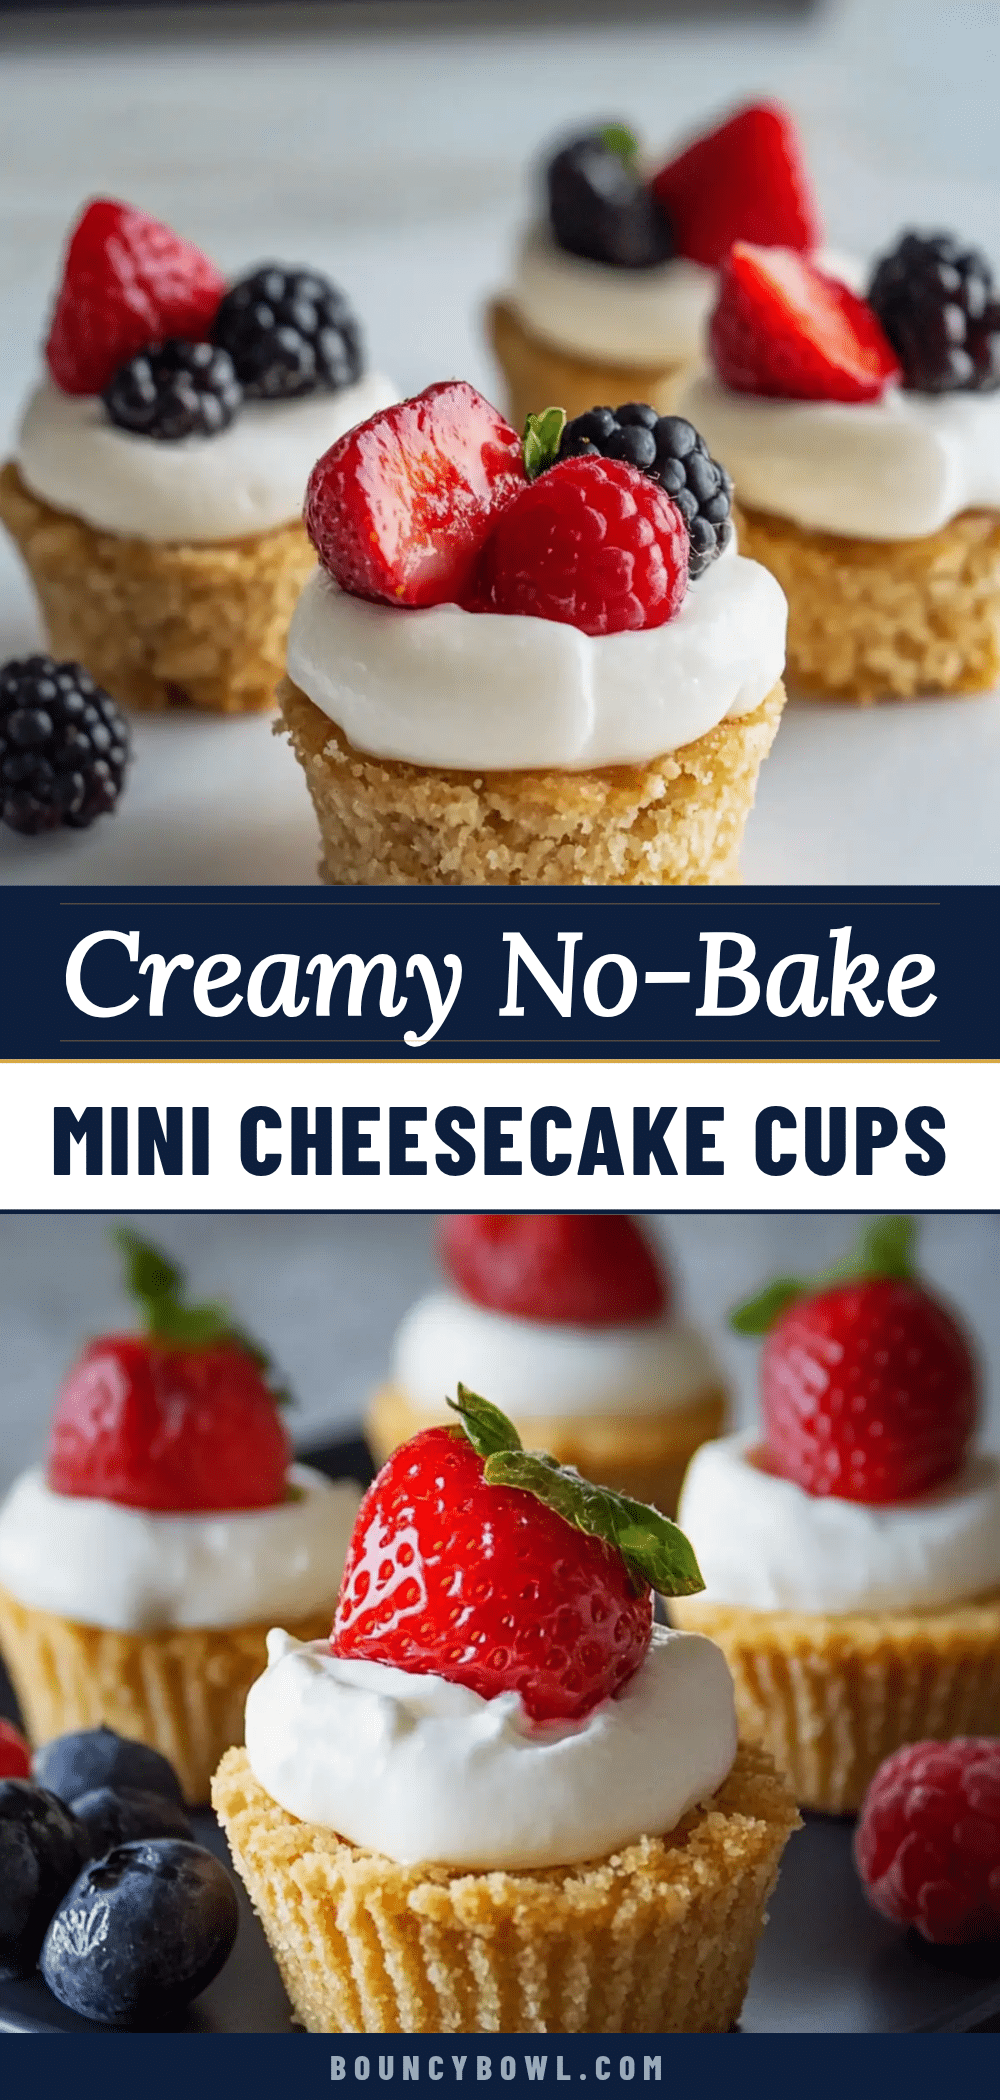
Creamy No-Bake Mini Cheesecake Cups
A quick and easy no-bake mini cheesecake recipe with a silky smooth texture, perfect for last-minute desserts or casual gatherings. Ready in just 15 minutes with simple pantry ingredients and no oven required.
- Prep Time: 10 minutes
- Cook Time: 0 minutes
- Total Time: 2 hours 10 minutes
- Yield: 8-10 mini cheesecake cups 1x
- Category: Dessert
- Cuisine: American
Ingredients
- 1 cup (100g) graham cracker crumbs
- 4 tablespoons (60g) unsalted butter, melted
- 2 tablespoons (25g) granulated sugar
- 8 ounces (225g) cream cheese, softened (full-fat recommended)
- 1 cup (120g) powdered sugar, sifted
- 1 cup (240ml) heavy whipping cream
- 1 teaspoon pure vanilla extract
- 1 tablespoon fresh lemon juice
- Optional garnish: fresh berries (strawberries, blueberries, raspberries), grated lemon zest, mint leaves
Instructions
- In a medium bowl, combine graham cracker crumbs, melted unsalted butter, and granulated sugar. Stir until the mixture feels like damp sand, about 2-3 minutes.
- Divide the crust mixture into 8-10 mini serving cups, about 1 to 1.5 tablespoons each. Press gently to form an even layer, about 5 minutes.
- In a large bowl, beat softened cream cheese with powdered sugar until smooth and creamy, about 3-4 minutes using an electric mixer on medium speed. Scrape down sides occasionally.
- Mix in vanilla extract and fresh lemon juice to the cream cheese mixture.
- In a separate bowl, whip heavy cream on high speed until stiff peaks form, about 4-5 minutes.
- Gently fold the whipped cream into the cream cheese mixture using a spatula, keeping the filling light and airy.
- Spoon or pipe the creamy filling over the crust layer in each cup, smoothing the surface.
- Cover the cups and refrigerate for at least 2 hours to set. Alternatively, chill for 1 hour in the freezer for faster setting.
- Before serving, garnish with fresh berries, lemon zest, or mint leaves as desired.
Notes
Use room temperature cream cheese to avoid lumps. Whip cream to stiff peaks but avoid over-whipping. Press crust gently to maintain crunch. Chill at least 2 hours for best texture. For gluten-free, substitute graham cracker crumbs with almond flour or gluten-free cookie crumbs. For dairy-free, use vegan cream cheese and coconut cream.
Nutrition
- Serving Size: One mini cheesecake
- Calories: 235
- Sugar: 10
- Sodium: 150
- Fat: 18
- Saturated Fat: 11
- Carbohydrates: 12
- Fiber: 0.5
- Protein: 3
Keywords: no-bake cheesecake, mini cheesecake cups, easy dessert, quick cheesecake, creamy cheesecake, no oven dessert