Love this? Save it for later!
Share the inspiration with your friends
“You won’t believe how good this is,” my friend texted me one hectic Thursday evening, right when I was staring blankly at my fridge wondering what to make for dinner. Honestly, I wasn’t sold at first—chicken with a crunchy crust sounded pretty standard. But when she mentioned it was a Cheesecake Factory copycat and promised it was easy, I figured, why not? So there I was, mid-pandemic kitchen chaos, trying to whip up something that felt a little special but didn’t require a trip to the store. The Crispy Cheesecake Factory Crusted Chicken Romano was born from that moment of culinary curiosity and pure hunger.
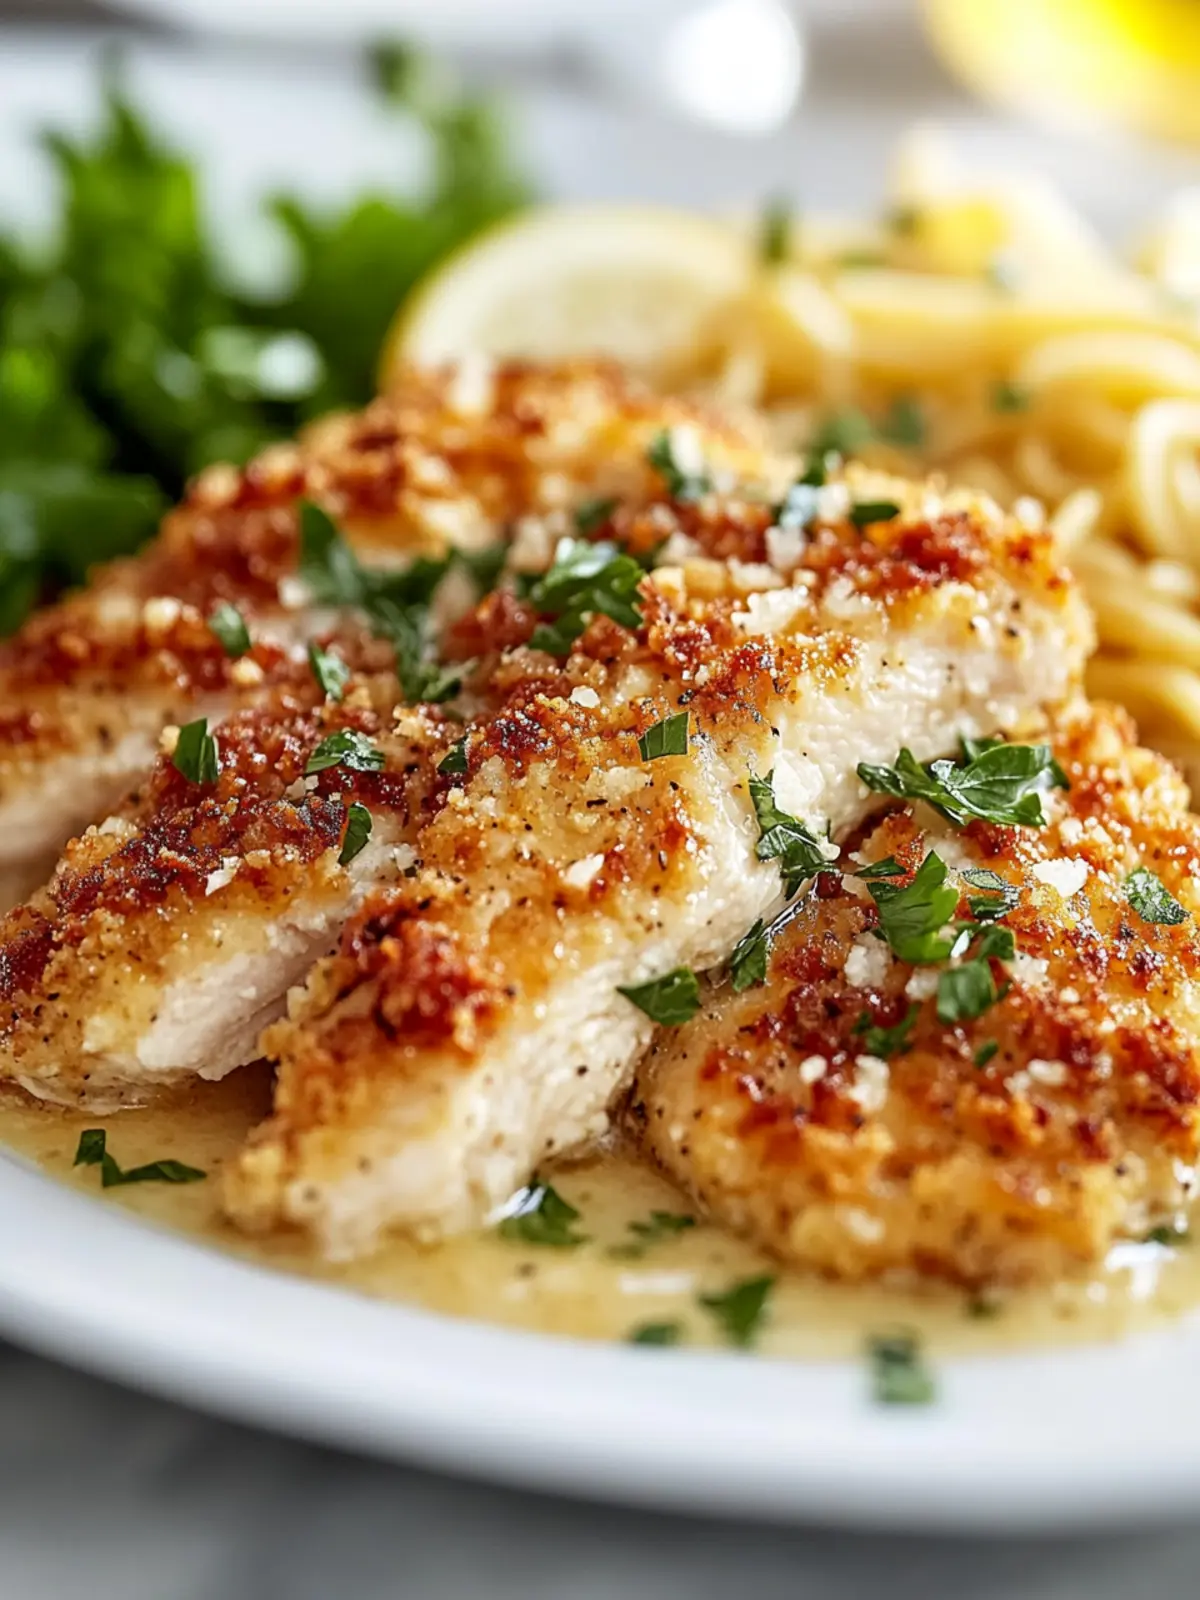
What really got me hooked was that first bite—the golden, perfectly crispy crust with that subtle Romano cheese punch, combined with juicy, tender chicken inside. It’s the kind of dish that makes you pause mid-chew, and honestly, I ended up making it three times that week. There’s this quiet satisfaction that comes from a recipe that’s reliably delicious and forgiving enough for any skill level. It’s comfort food with a slight fancy twist, and once I nailed it, I kept thinking about how it’d be perfect for those last-minute dinners when you want to impress without stress.
So yeah, this isn’t just another fried chicken recipe. It’s the one that saved a wild weeknight, impressed my partner, and fit right alongside my favorite sweet Hawaiian crockpot chicken for easy weeknight wins. I’m sharing it here because it really stuck with me—simple, crispy, and genuinely satisfying.
And if you ask me, that’s the kind of recipe worth keeping close.
Why You’ll Love This Crispy Cheesecake Factory Crusted Chicken Romano Recipe
Having tested this recipe multiple times, honestly, it ticks all the boxes for busy cooks who want something impressive but fuss-free. Here’s why this Crispy Cheesecake Factory Crusted Chicken Romano stands out:
- Quick & Easy: You can have this chicken ready in about 30 minutes, which is perfect for busy weeknights or when guests pop in unexpectedly.
- Simple Ingredients: No need for special trips to fancy stores—most of these are pantry staples like Romano cheese, panko, and basic spices.
- Perfect for Dinner Parties: It looks and tastes like you spent hours, but it’s actually quite straightforward, making it great for impressing friends without breaking a sweat.
- Crowd-Pleaser: Kids and adults alike love the crispy coating and rich flavor, making it a reliable hit at family dinners.
- Unbelievably Delicious: The combination of crunchy, cheesy crust with juicy chicken is just next-level comfort food.
What sets this apart from other crusted chicken recipes is the use of finely grated Romano cheese mixed into the panko breading. This gives a sharper, more savory flavor punch compared to regular breadcrumbs. Plus, the double-dredging process with seasoned flour and egg wash creates that signature thick crust that stays crispy even after a few minutes on the plate. It’s a little trick I picked up from my time experimenting with different breading techniques—definitely worth the extra step!
Honestly, this recipe isn’t just a meal; it’s that moment when you close your eyes after the first bite and think, “Yep, this is exactly what I needed tonight.” It’s comfort food, but with a grown-up twist that feels special without any stress.
What Ingredients You Will Need for Crispy Cheesecake Factory Crusted Chicken Romano
This recipe uses straightforward, wholesome ingredients that come together to create a bold flavor and satisfying texture. Most are pantry staples, and the few special touches like Romano cheese really make a difference. Here’s what you’ll need:
- Chicken breasts: Boneless, skinless, about 1 pound (450g), pounded to even thickness for uniform cooking.
- All-purpose flour: 3/4 cup (95g), seasoned with salt and pepper (helps the crust stick).
- Large eggs: 2, beaten (acts as the glue for the breading).
- Panko breadcrumbs: 1 1/2 cups (150g), for that light, extra-crispy texture. I like using Japanese-style panko for best crunch.
- Romano cheese: 1/2 cup (50g), finely grated (look for a sharp, aged Romano—this is key for authentic flavor).
- Garlic powder: 1 teaspoon, to add a subtle savory note.
- Dried Italian herbs: 1 teaspoon (oregano, basil, thyme blend works great).
- Salt & black pepper: To taste, for seasoning the chicken and breading.
- Olive oil or vegetable oil: For frying, about 1/4 cup (60ml). Use a neutral oil with a high smoke point if you prefer.
- Lemon wedges: For serving (optional but adds a nice bright contrast).
Substitution tips: If you want a gluten-free option, swap the all-purpose flour for almond flour and use gluten-free panko breadcrumbs. For a dairy-free version, omit the Romano cheese or replace it with nutritional yeast, though it won’t be quite the same.
For a fresh twist, you can add some fresh parsley or basil right into the breading mix. And if you’re feeling adventurous, a pinch of cayenne pepper amps up the heat beautifully.
Equipment Needed
- Large skillet or frying pan: A heavy-bottomed pan works best for even heat distribution.
- Meat mallet or rolling pin: To pound the chicken breasts evenly.
- Three shallow bowls or plates: For flour, egg wash, and breadcrumb mixture.
- Tongs or a slotted spatula: For flipping the chicken without losing the crust.
- Paper towels: To drain excess oil after frying.
- Grater: For finely shredding the Romano cheese.
If you don’t have a meat mallet, a sturdy rolling pin or even the bottom of a heavy pan can do the trick to flatten the chicken breasts. I once tried using a wine bottle in a pinch—it worked but was definitely less satisfying.
For budget-friendly frying, a nonstick skillet is perfectly fine, though a cast iron pan will help you get a better crust if you have one. Just remember to keep the oil at the right temperature to avoid soggy breading.
Preparation Method for Crispy Cheesecake Factory Crusted Chicken Romano
- Pound the Chicken: Place each chicken breast between two sheets of plastic wrap. Gently pound with a meat mallet or rolling pin until about 1/2 inch (1.3 cm) thick. This ensures even cooking and tender bites. (About 5 minutes)
- Prepare the Breading Stations: In the first shallow bowl, combine the all-purpose flour with 1 teaspoon salt and 1/2 teaspoon black pepper. In the second bowl, beat the eggs until smooth. In the third bowl, mix the panko breadcrumbs, grated Romano cheese, garlic powder, and dried Italian herbs.
- Season the Chicken: Lightly sprinkle both sides of each chicken breast with additional salt and pepper. This extra seasoning layer helps flavor the meat itself.
- Dredge the Chicken: Coat each chicken breast first in the flour mixture, shaking off excess. Then dip into the egg wash, letting excess drip back into the bowl. Finally, press firmly into the panko-Romano mixture, pressing to adhere a thick, even coating. (Double dredging creates that signature thick crust)
- Rest the Breaded Chicken: Place the coated chicken on a wire rack or plate for 5–10 minutes. This helps the breading set and stick better during frying.
- Heat the Oil: Warm about 1/4 cup (60 ml) of oil in a large skillet over medium heat. You want the oil hot but not smoking—around 350°F (175°C) if you have a thermometer. Too hot and the crust burns; too cool and it gets greasy.
- Cook the Chicken: Carefully place chicken breasts in the skillet without crowding. Fry for 4–5 minutes per side, or until the crust is golden brown and chicken reaches an internal temperature of 165°F (74°C). Avoid flipping too early to keep the crust intact.
- Drain and Serve: Transfer cooked chicken to a paper towel-lined plate to drain excess oil. Let rest for a couple of minutes to let juices redistribute. Serve with lemon wedges for a fresh pop of flavor.
Pro tip: If the crust starts browning too fast before the chicken cooks through, turn the heat down slightly and cover loosely with a lid to finish cooking without burning the outside.
Cooking Tips & Techniques for Perfect Crispy Chicken Romano
The secret to that iconic crispy crust lies in a few tried-and-true tricks I picked up over many kitchen trials. First, pounding the chicken evenly is a must. Uneven thickness means some parts cook faster and can dry out while others are underdone.
Another biggie is the double dredge: flour, egg, then the panko-Romano mix pressed firmly. That triple-layer creates a thick, crunchy coating that stays put even when you cut into the chicken. Trust me, I’ve skipped the flour step before, and the crust just slid off—lesson learned the hard way.
Temperature control during frying is crucial. Medium heat is your friend here. Too hot, and you’ll burn the crust; too low, and it soaks up oil and gets greasy. If you don’t have a thermometer, test the oil by dropping a small breadcrumb in—it should sizzle immediately but not smoke.
Also, don’t overcrowd the pan. Giving each piece space helps maintain that crispiness and cooks evenly. I like to cook in batches if needed, keeping the finished pieces warm in a low oven (about 200°F/95°C).
Finally, resting the chicken a few minutes after frying lets the juices redistribute, so you get juicy, tender bites inside the crispy shell. It’s a small step that makes a big difference.
Variations & Adaptations for Your Crispy Cheesecake Factory Crusted Chicken Romano
One of the best parts of this recipe is how adaptable it is to different tastes or dietary needs. Here are a few variations I’ve played with:
- Herb-Infused Crust: Add fresh chopped rosemary or thyme into the panko mixture for an earthy twist.
- Spicy Kick: Mix in a teaspoon of smoked paprika or cayenne pepper to the breadcrumb mix for some heat without overpowering the Romano flavor.
- Gluten-Free Option: Use almond flour instead of all-purpose flour and gluten-free panko breadcrumbs. The texture changes a bit but still delicious.
- Baked Version: For a lighter option, place the breaded chicken on a parchment-lined baking sheet and bake at 425°F (220°C) for 20-25 minutes, flipping halfway, until golden and crispy.
- Dairy-Free Adaptation: Skip the Romano cheese or substitute with nutritional yeast for a cheesy flavor without dairy.
Personally, I tried adding crushed garlic chips into the breading mix once—it gave an extra pop of garlic flavor that was surprisingly addictive.
Serving & Storage Suggestions
This Crispy Cheesecake Factory Crusted Chicken Romano shines best served hot and fresh, right off the pan. A squeeze of lemon juice brightens the rich, savory flavors beautifully. I usually pair it with a simple side like a fresh green salad or roasted veggies.
For a heartier meal, it goes well with creamy mashed potatoes or alongside my favorite Italian combo pasta salad that balances the crispy chicken perfectly.
Leftovers keep well in an airtight container in the fridge for up to 3 days. To reheat, I recommend warming in a skillet over medium heat rather than microwave to keep that crust crispy. You can also pop it in a 375°F (190°C) oven for 10 minutes.
Flavors mellow a bit after resting, so it’s still tasty cold or at room temperature, which makes it handy for lunchboxes or picnics.
Nutritional Information & Benefits
Estimated per serving (based on 4 servings):
| Calories | 350-400 kcal |
|---|---|
| Protein | 35g |
| Fat | 18g |
| Carbohydrates | 15g |
| Fiber | 1-2g |
Chicken breast is an excellent lean protein source, supporting muscle health and satiety. The panko and flour provide carbs for energy, while the Romano cheese adds calcium and a rich umami boost.
This recipe is naturally gluten-containing but easy to adapt for gluten-free diets. It’s moderate in fat, mostly from the frying oil and cheese, so using olive oil or a neutral high-smoke point oil helps keep it on the healthier side.
From a wellness standpoint, it’s a satisfying, balanced meal that doesn’t skimp on flavor or texture, which makes it easier to stick to healthier eating habits without feeling deprived.
Conclusion
So, if you’re craving something crispy, cheesy, and downright satisfying, this Crispy Cheesecake Factory Crusted Chicken Romano recipe is a winner. It’s straightforward to make, impresses without the stress, and brings that comforting, crunchy-cheesy goodness every time.
Feel free to tweak the herbs, spices, or cooking method to suit your taste. I love how versatile it is, and it’s become a go-to when I want a little extra something special on a regular weeknight. Plus, it pairs wonderfully with other favorites from my kitchen, like the sweet Hawaiian crockpot chicken.
Give it a try, and I’d love to hear how you make it your own—drop a comment below or share your favorite twists. Happy cooking!
FAQs About Crispy Cheesecake Factory Crusted Chicken Romano
Can I use chicken thighs instead of breasts?
Yes! Boneless, skinless thighs work great and stay juicy. Just adjust cooking time slightly as thighs can be thicker and take a bit longer.
How do I keep the crust crispy when serving later?
Reheat in a hot skillet or oven instead of microwave. Avoid stacking pieces to prevent sogginess, and serve promptly after warming.
Is it possible to bake this chicken instead of frying?
Absolutely. Bake at 425°F (220°C) for about 20-25 minutes, flipping halfway to crisp both sides. It’s a lighter alternative with good results.
What’s the best way to grate Romano cheese for this recipe?
Use a fine microplane grater for the best texture. Pre-grated Romano from the store works, but fresh grated delivers a sharper flavor and better crust adhesion.
Can I prepare the breaded chicken ahead of time?
You can bread the chicken and refrigerate it for a few hours before frying. Just place on a wire rack to keep the crust from getting soggy. Fry just before serving for best results.
Pin This Recipe!
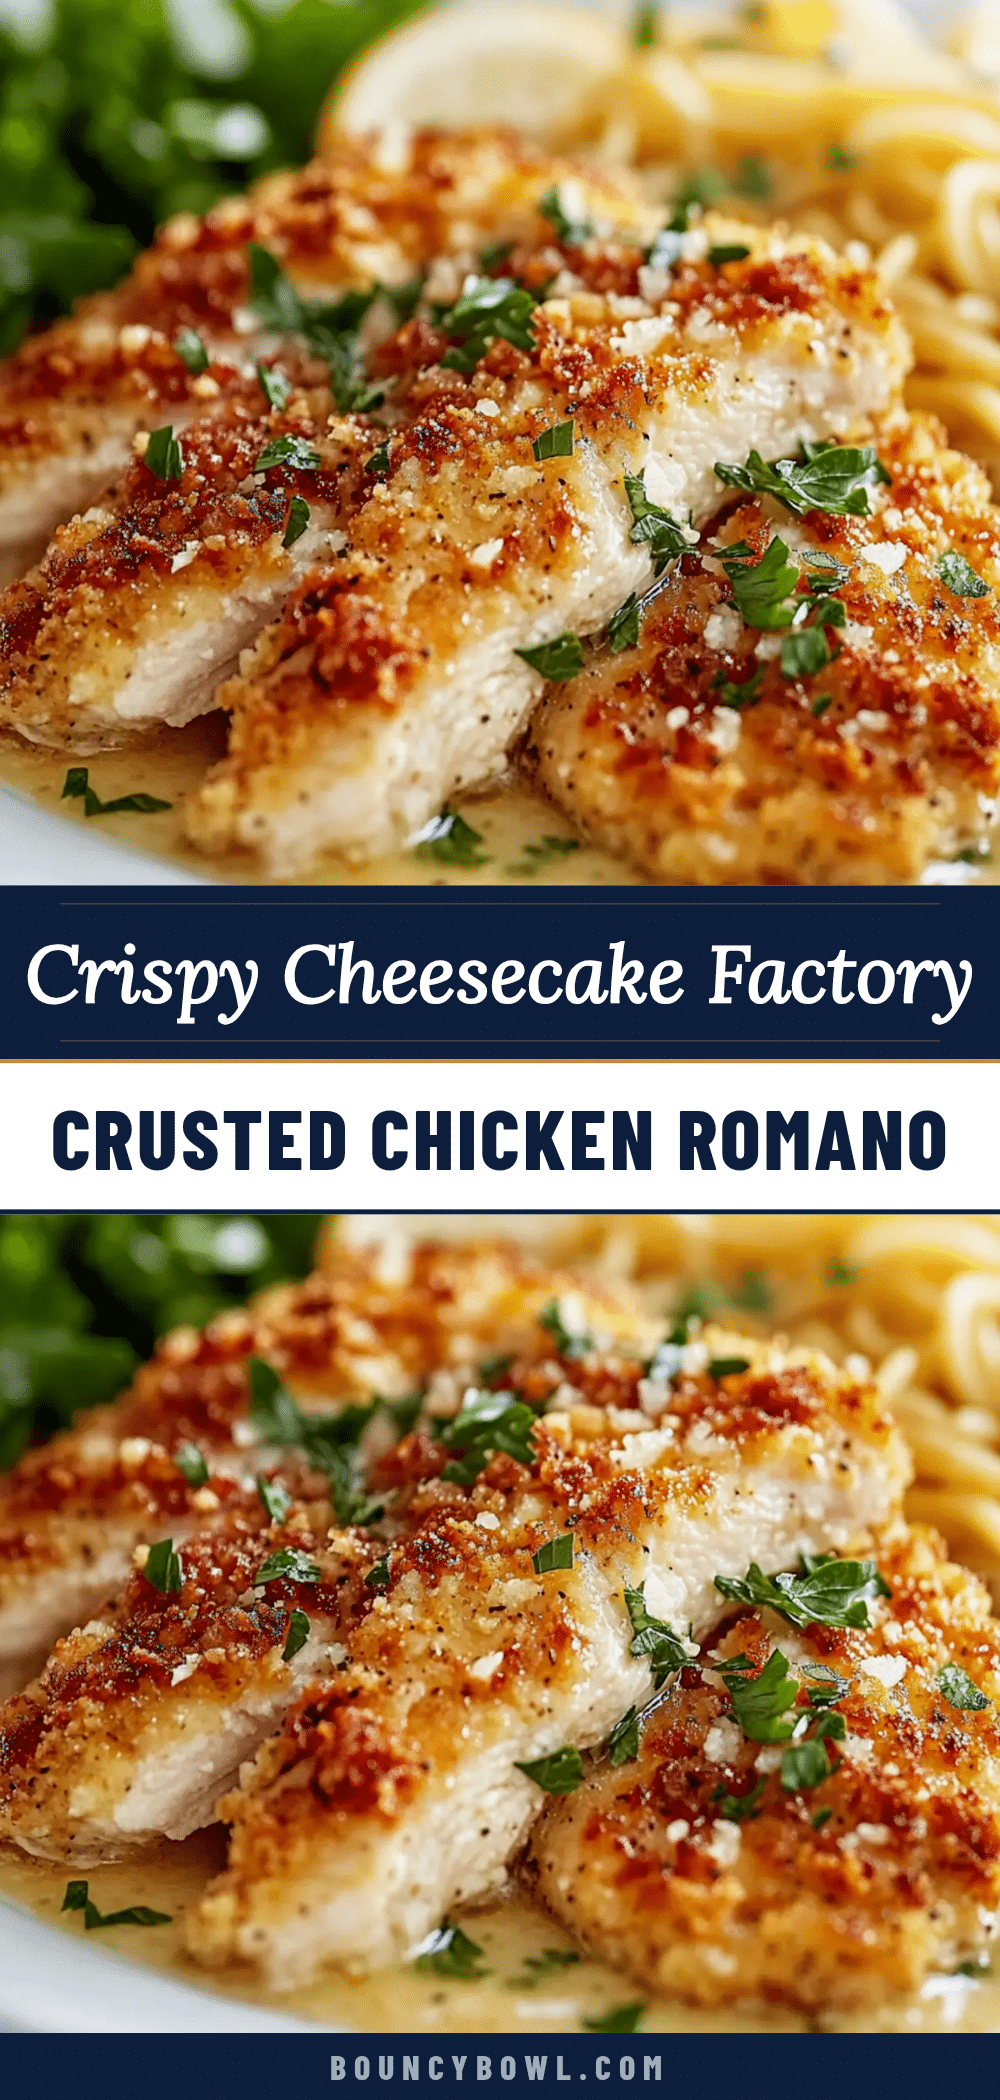
Crispy Cheesecake Factory Crusted Chicken Romano Recipe Easy and Perfect

A quick and easy recipe for crispy, juicy chicken breasts coated in a flavorful Romano cheese and panko crust, perfect for busy weeknights or dinner parties.
- Prep Time: 10 minutes
- Cook Time: 20 minutes
- Total Time: 30 minutes
- Yield: 4 servings 1x
- Category: Main Course
- Cuisine: American
Ingredients
- 1 pound boneless, skinless chicken breasts, pounded to even thickness
- 3/4 cup all-purpose flour (95g), seasoned with salt and pepper
- 2 large eggs, beaten
- 1 1/2 cups panko breadcrumbs (150g), preferably Japanese-style
- 1/2 cup finely grated Romano cheese (50g)
- 1 teaspoon garlic powder
- 1 teaspoon dried Italian herbs (oregano, basil, thyme blend)
- Salt and black pepper, to taste
- 1/4 cup olive oil or vegetable oil (60ml) for frying
- Lemon wedges, for serving (optional)
Instructions
- Place each chicken breast between two sheets of plastic wrap. Gently pound with a meat mallet or rolling pin until about 1/2 inch (1.3 cm) thick to ensure even cooking and tender bites (about 5 minutes).
- Prepare the breading stations: In the first shallow bowl, combine the all-purpose flour with 1 teaspoon salt and 1/2 teaspoon black pepper. In the second bowl, beat the eggs until smooth. In the third bowl, mix the panko breadcrumbs, grated Romano cheese, garlic powder, and dried Italian herbs.
- Lightly sprinkle both sides of each chicken breast with additional salt and pepper to season the meat.
- Coat each chicken breast first in the flour mixture, shaking off excess. Then dip into the egg wash, letting excess drip back into the bowl. Finally, press firmly into the panko-Romano mixture, pressing to adhere a thick, even coating (double dredging creates the signature thick crust).
- Place the coated chicken on a wire rack or plate for 5–10 minutes to help the breading set and stick better during frying.
- Warm about 1/4 cup (60 ml) of oil in a large skillet over medium heat. The oil should be hot but not smoking—around 350°F (175°C) if using a thermometer.
- Carefully place chicken breasts in the skillet without crowding. Fry for 4–5 minutes per side, or until the crust is golden brown and chicken reaches an internal temperature of 165°F (74°C). Avoid flipping too early to keep the crust intact.
- Transfer cooked chicken to a paper towel-lined plate to drain excess oil. Let rest for a couple of minutes to let juices redistribute.
- Serve hot with lemon wedges for a fresh pop of flavor.
Notes
For gluten-free, substitute all-purpose flour with almond flour and use gluten-free panko breadcrumbs. For dairy-free, omit Romano cheese or replace with nutritional yeast. Maintain medium heat during frying to avoid burning or greasy crust. Rest chicken after frying to keep it juicy. Reheat in skillet or oven to maintain crispiness.
Nutrition
- Serving Size: 1 chicken breast
- Calories: 350400
- Fat: 18
- Carbohydrates: 15
- Fiber: 12
- Protein: 35
Keywords: crispy chicken, Cheesecake Factory copycat, crusted chicken, Romano cheese, panko chicken, easy dinner, weeknight recipe, fried chicken, comfort food