Love this? Save it for later!
Share the inspiration with your friends
“You really have to try this baklava,” my coworker insisted one afternoon, waving a small foil-wrapped package like it was a treasure chest. Honestly, I was skeptical. Greek baklava? I assumed it was one of those desserts best left to fancy patisseries or elaborate holiday spreads. But that night, after a long day of juggling work calls and dinner prep, I found myself unfolding those flaky layers in my quiet kitchen. The scent of toasted nuts and honey was comforting, almost grounding, after the chaos.
I’d never thought of making crispy Greek baklava myself until this moment—until I realized how approachable the recipe really was. There’s something about that sticky, sweet honey syrup soaking into the perfectly crisp layers of filo dough that feels like a warm hug, you know? It was a quiet realization that this wasn’t just any dessert; it was a recipe that somehow made me slow down and savor something simple but special.
Since then, I’ve made this Crispy Greek Baklava with Honey Syrup & Nuts more times than I can count. It’s become my go-to for sharing with friends or when I just need a little reminder that good things can come from straightforward ingredients and a bit of patience. If you love nutty, crunchy sweets with that golden drizzle of honey, this recipe might just become a favorite for you, too.
Why You’ll Love This Crispy Greek Baklava Recipe with Honey Syrup
Having tested several baklava recipes over the years, I can say this version stands out for a few reasons that make it a keeper in my kitchen:
- Quick & Easy: Despite its fancy reputation, this baklava comes together in about an hour, perfect for those evenings when you want something sweet but aren’t up for a marathon in the kitchen.
- Simple Ingredients: No need for exotic spices or hard-to-find nuts. Most of these items are pantry staples or easy to find at your local market.
- Perfect for Gatherings: Whether it’s a holiday, a potluck, or an impromptu dinner party, baklava impresses without stressing you out.
- Crowd-Pleaser: The crunchy texture paired with the rich honey syrup is a hit with both kids and adults—trust me, I’ve seen many seconds taken!
- Unbelievably Delicious: The magic here is in the balance—the crisp layers of filo with the warm nuttiness and the sweet, slightly floral honey syrup. It’s comfort food with a Mediterranean twist.
What sets this baklava apart is the attention to layering and syrup timing. I learned the hard way that drizzling the honey syrup too early makes the pastry soggy, so I pour it just as it comes out of the oven, letting the crispiness stay intact while soaking in the sweetness. Also, a mix of walnuts and pistachios gives a depth of flavor that’s more interesting than just one nut alone, creating a perfectly balanced crunch.
This isn’t just another sweet treat; it’s one that invites you to slow down and enjoy the little moments—the sound of that first crack when you break a piece and the warm honey that lingers on your fingers. It’s a little act of joy you can create anytime.
What Ingredients You Will Need
This recipe uses simple, wholesome ingredients to deliver bold flavor and satisfying texture without the fuss. Most are pantry staples, and substitutions are easy if you’re working with what you have.
- Filo (Phyllo) dough: About 1 package (16 oz / 450 g), thawed according to package instructions. Look for fresh filo in the freezer aisle; I prefer Greek brand filo for the best crispness.
- Unsalted butter: 1 cup (225 g), melted. This adds richness and helps the layers crisp up perfectly.
- Mixed nuts: 2 cups (about 200 g) total, roughly chopped. I use a blend of walnuts (1 cup / 100 g) and pistachios (1 cup / 100 g) for that classic flavor combo.
- Granulated sugar: 1/2 cup (100 g), to sweeten the nut filling.
- Cinnamon: 1 tsp ground. Adds that warm, cozy note that ties the nuts and syrup together.
- Honey: 1 cup (340 g), preferably Greek thyme honey if you can find it, for that authentic floral taste.
- Water: 1/2 cup (120 ml), for the syrup.
- Lemon juice: 2 tbsp (30 ml), to balance the sweetness and add brightness to the syrup.
- Vanilla extract: 1 tsp, optional but adds a lovely depth to the syrup.
Substitutions are simple too. If you need a gluten-free version, you can try a specialty gluten-free filo, though it’s a little tricky to find. For the nuts, almonds or pecans work well if walnuts or pistachios aren’t your thing. And if you’re avoiding dairy, swap the butter with a quality plant-based alternative, but be sure it melts well.
When I first made this, I almost skipped the cinnamon, but honestly, it really lifts the flavor in a subtle way—don’t leave it out.
Equipment Needed
- Baking dish: A 9×13 inch (23×33 cm) glass or metal pan works best for even baking and easy slicing.
- Pastry brush: For brushing melted butter between the filo layers. If you don’t have one, a small spoon works fine, just be gentle.
- Mixing bowls: For combining nuts and preparing syrup.
- Sharp knife: To cut the baklava into neat pieces before baking.
- Measuring cups and spoons: Accuracy helps with the syrup balance and layering.
I don’t use any fancy equipment for this recipe — just good old-fashioned patience and a steady hand. Over the years, I’ve also learned that keeping the filo covered with a damp towel while working prevents it from drying out, which is a game-changer. If you’re on a budget, skip specialty tools like an electric mixer; everything here can be done by hand.
Preparation Method
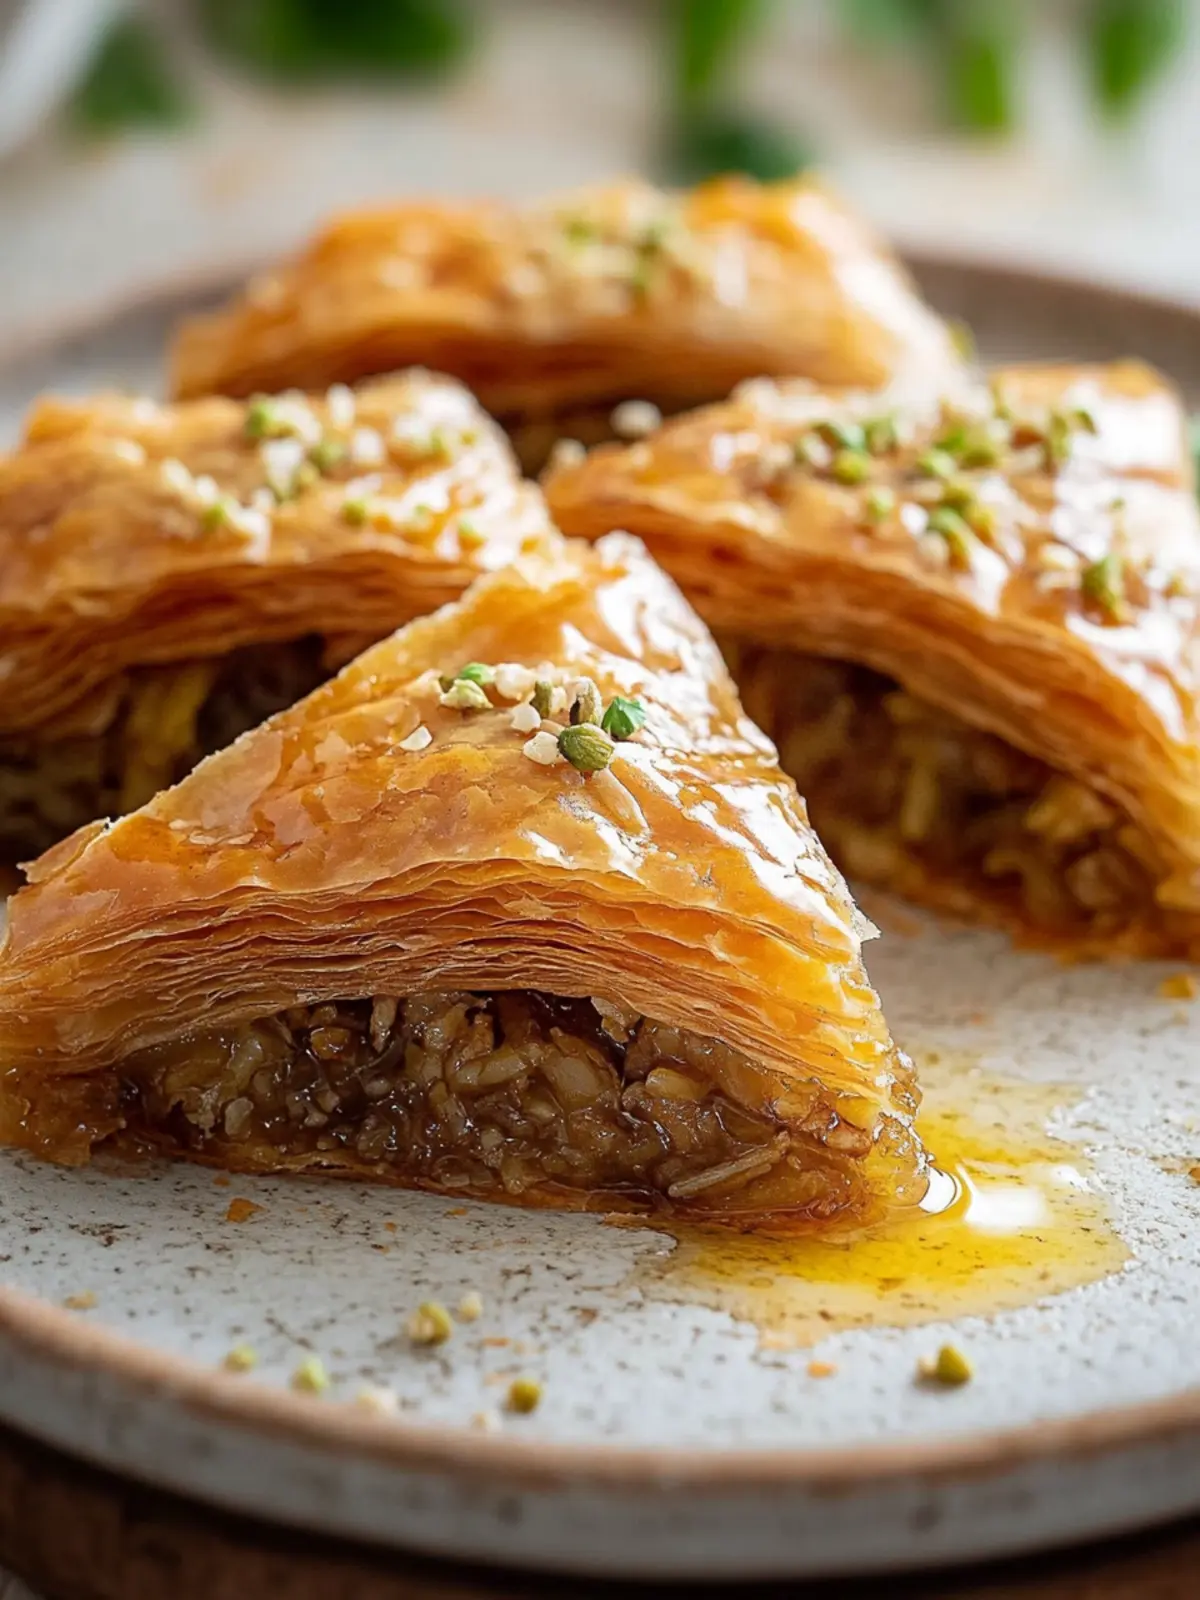
- Preheat your oven to 350°F (175°C). Grease your 9×13 inch (23×33 cm) baking dish lightly with some melted butter to prevent sticking.
- Prepare the nut filling: In a bowl, combine 2 cups (200 g) mixed chopped nuts, 1/2 cup (100 g) granulated sugar, and 1 tsp ground cinnamon. Stir well to distribute the sugar and spice evenly.
- Lay out the filo dough: Keep the filo covered with a damp towel while working to prevent it from drying. Place one sheet of filo in the baking dish and brush generously with melted butter. Repeat layering about 8 sheets, brushing each with butter.
- Sprinkle a thin layer of the nut mixture evenly over the buttered filo layers.
- Add another 5-6 sheets of filo on top of the nuts, brushing each with melted butter as before.
- Sprinkle the remaining nut mixture evenly over the second filo layer.
- Finish layering with the remaining filo sheets (about 8-10), each brushed with butter. Make sure the top layer is generously buttered—it gets beautifully golden and crisp.
- Cut the baklava into diamond or square shapes with a sharp knife before baking. This helps the syrup soak in later on.
- Bake in the preheated oven for 45-50 minutes or until the baklava is golden brown and crisp. Keep an eye on the edges so they don’t burn.
- While baking, prepare the honey syrup: In a saucepan, combine 1 cup (340 g) honey, 1/2 cup (120 ml) water, 2 tbsp (30 ml) lemon juice, and 1 tsp vanilla extract. Bring to a gentle boil, then let simmer for 8-10 minutes until slightly thickened. Remove from heat and let cool slightly.
- Once the baklava is out of the oven, immediately pour the warm honey syrup evenly over it. You’ll hear that satisfying sizzle—this locks in the moisture and sweetness while keeping the crispness intact.
- Let the baklava cool completely at room temperature (at least 3-4 hours, ideally overnight) before serving. This resting time lets the syrup fully soak in and the layers meld into that perfect texture harmony.
Quick tip: If you notice any syrup pooling at the bottom, gently tilt the pan to redistribute it before it cools. Also, cutting the baklava before baking makes slicing afterward so much easier and cleaner.
Patience here pays off. The first time I didn’t wait long enough before digging in, and the syrup dribbled everywhere—it’s a messy but sweet lesson learned!
Cooking Tips & Techniques for Perfect Crispy Greek Baklava
Getting baklava just right can feel intimidating, but these tips will help you nail that crispy, syrupy balance:
- Keep filo moist: Always cover filo sheets with a damp towel while working to prevent them from drying out and cracking.
- Butter is your friend: Don’t skimp on brushing each layer with melted butter. It’s what creates the golden, crisp texture that baklava is known for.
- Cut before baking: Cutting into diamond shapes or squares before baking not only makes serving easier but also allows the syrup to penetrate every slice.
- Control syrup temperature: Pour warm syrup over hot baklava right out of the oven. Doing the reverse can make the pastry soggy or stick to the pan.
- Don’t rush cooling: Let the baklava rest at room temperature for hours or overnight. This helps the syrup soak evenly and the flavors to meld beautifully.
I once tried adding the syrup cold because I was in a hurry—the result was a sad, soggy mess. I’ve learned that a little patience and timing go a long way. Also, feel free to experiment with nut ratios; sometimes I mix in some chopped almonds or a pinch of clove for a twist, but that’s a personal preference.
Multitasking tip: While your baklava is baking, you can prepare a quick side like a shrimp and broccoli stir fry to balance that sweet finish with something savory for dinner.
Variations & Adaptations
Baklava is wonderfully versatile. Here are a few ways to switch it up depending on your mood or dietary needs:
- Nut swaps: Use almonds, pecans, or hazelnuts instead of walnuts and pistachios for a different flavor profile.
- Vegan adaptation: Replace butter with coconut oil or a plant-based margarine that melts well and brush the filo with that. Use agave syrup mixed with a little lemon juice in place of honey.
- Spice it up: Add cardamom or ground cloves to the nut mixture for a Middle Eastern flair.
- Low-sugar version: Reduce sugar in the nuts slightly and use a lighter honey syrup with added water. The baklava will be less sweet but still delicious.
- Alternative cooking: For smaller batches, you can bake individual baklava cups using muffin tins lined with filo layers and nuts, drizzled with syrup after baking.
One variation I tried recently was adding finely chopped dried apricots into the nut filling—surprisingly delightful! It added a burst of tartness that contrasted nicely with the sweetness. Feel free to customize the syrup with orange blossom water or rose water for a floral hint.
Serving & Storage Suggestions
This baklava is best served at room temperature after it has rested well. The texture is crispy and sticky, perfect for pairing with a strong coffee or a cup of mint tea. I like to serve it alongside simple desserts like crispy baklava cookies to keep the nutty theme going.
Store leftover baklava in an airtight container at room temperature for up to 5 days. Avoid refrigerating as it tends to soften the crisp layers. For longer storage, baklava freezes well—just thaw it at room temperature and re-crisp briefly in a warm oven (around 300°F / 150°C for 5-7 minutes) before serving.
Flavors actually deepen after a day or two as the syrup fully infuses the layers. That’s why making it ahead for a gathering can be a smart move.
Nutritional Information & Benefits
Each serving of this crispy Greek baklava (depending on the size) roughly contains:
| Calories | 320-350 kcal |
|---|---|
| Fat | 20-22 g (mostly from nuts and butter) |
| Carbohydrates | 30-35 g (includes natural sugars from honey) |
| Protein | 5-6 g (from nuts) |
The nuts provide heart-healthy fats, fiber, and protein, making this more than just an empty sweet. Honey adds natural antioxidants and a gentle sweetness without refined sugars. Of course, it’s a treat, so portion control keeps it balanced.
This recipe is gluten-rich due to filo dough, but as mentioned, you can find gluten-free filo options or try alternative layered pastry. If you’re mindful of dairy, butter swaps work fine.
From a wellness perspective, I appreciate that this baklava offers a sweet bite with wholesome nuts rather than processed fats or artificial sugars, making it a dessert I feel good sharing with guests and family.
Conclusion
So there you have it—a crispy, sticky, nutty Greek baklava recipe that doesn’t demand hours or a pastry degree to master. What I love most is how this dessert brings a little sweetness and calm to busy days, turning simple ingredients into a special moment.
Feel free to tweak the nuts, syrup, or spices to suit your taste—that’s the beauty of this recipe. Whether you’re making it for a festive occasion or just because, it’s a way to slow down and enjoy something delicious that feels both timeless and personal.
If you try this baklava, I’d love to hear how you make it your own. And if you want a savory dish to follow it up, the creamy chicken alfredo bake pairs surprisingly well with the sweet finish. Happy baking and sweet moments ahead!
Frequently Asked Questions About Crispy Greek Baklava
How long does homemade baklava keep fresh?
At room temperature in an airtight container, baklava stays fresh and crispy for about 4-5 days. Avoid refrigerating to keep the layers crisp.
Can I make baklava ahead of time?
Absolutely! Baklava actually tastes better the next day after the syrup fully soaks in. Just store it at room temperature and cover well.
What type of nuts work best in baklava?
Traditional baklava uses walnuts and pistachios, but almonds, pecans, or hazelnuts all work well and bring their own unique flavors.
Is it necessary to cut baklava before baking?
Yes, cutting it before baking helps the syrup penetrate each piece and makes serving easier without crumbling.
How can I make baklava vegan?
Replace butter with coconut oil or vegan margarine and swap honey for agave or maple syrup in the syrup. The texture and flavor will still be delicious!
Pin This Recipe!
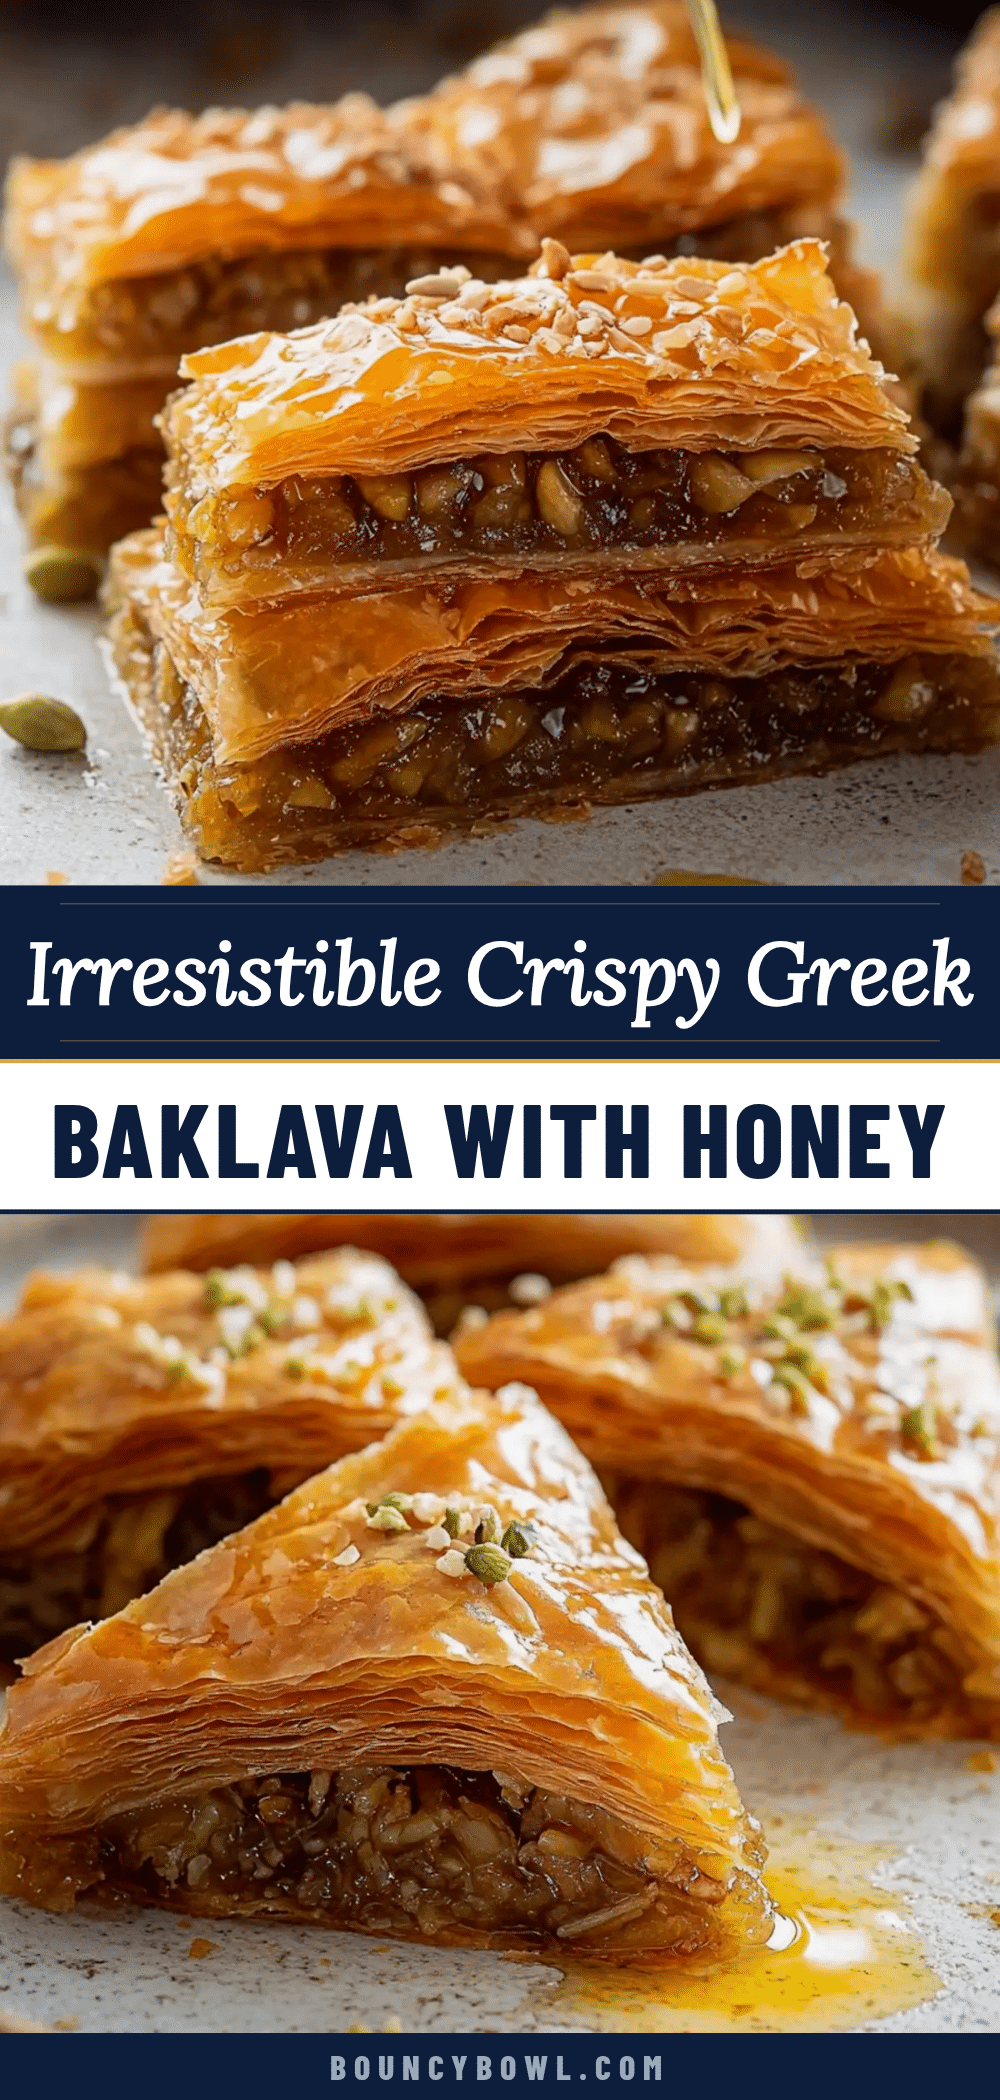
Crispy Greek Baklava Recipe with Honey Syrup Perfect for Nut Lovers
A quick and easy Greek baklava recipe featuring crispy layers of filo dough, a nutty filling of walnuts and pistachios, and a warm honey syrup drizzle. Perfect for gatherings and nut lovers seeking a sweet Mediterranean treat.
- Prep Time: 15 minutes
- Cook Time: 50 minutes
- Total Time: 4 hours 15 minutes
- Yield: 16 servings 1x
- Category: Dessert
- Cuisine: Greek
Ingredients
- 1 package (16 oz / 450 g) filo (phyllo) dough, thawed
- 1 cup (225 g) unsalted butter, melted
- 2 cups (about 200 g) mixed nuts, roughly chopped (1 cup walnuts, 1 cup pistachios)
- 1/2 cup (100 g) granulated sugar
- 1 tsp ground cinnamon
- 1 cup (340 g) honey, preferably Greek thyme honey
- 1/2 cup (120 ml) water
- 2 tbsp (30 ml) lemon juice
- 1 tsp vanilla extract (optional)
Instructions
- Preheat your oven to 350°F (175°C). Grease a 9×13 inch (23×33 cm) baking dish lightly with some melted butter to prevent sticking.
- In a bowl, combine 2 cups mixed chopped nuts, 1/2 cup granulated sugar, and 1 tsp ground cinnamon. Stir well to distribute evenly.
- Keep the filo covered with a damp towel while working to prevent it from drying. Place one sheet of filo in the baking dish and brush generously with melted butter. Repeat layering about 8 sheets, brushing each with butter.
- Sprinkle a thin layer of the nut mixture evenly over the buttered filo layers.
- Add another 5-6 sheets of filo on top of the nuts, brushing each with melted butter as before.
- Sprinkle the remaining nut mixture evenly over the second filo layer.
- Finish layering with the remaining filo sheets (about 8-10), each brushed with butter. Make sure the top layer is generously buttered.
- Cut the baklava into diamond or square shapes with a sharp knife before baking.
- Bake in the preheated oven for 45-50 minutes or until golden brown and crisp.
- While baking, prepare the honey syrup: In a saucepan, combine 1 cup honey, 1/2 cup water, 2 tbsp lemon juice, and 1 tsp vanilla extract. Bring to a gentle boil, then simmer for 8-10 minutes until slightly thickened. Remove from heat and let cool slightly.
- Once the baklava is out of the oven, immediately pour the warm honey syrup evenly over it.
- Let the baklava cool completely at room temperature for at least 3-4 hours, ideally overnight, before serving.
Notes
Keep filo sheets covered with a damp towel to prevent drying. Brush each filo layer generously with melted butter for crispness. Cut baklava before baking to allow syrup penetration. Pour warm syrup over hot baklava immediately after baking to maintain crispiness. Let baklava rest at room temperature for several hours or overnight for best texture and flavor. Store at room temperature in an airtight container for up to 5 days; avoid refrigeration to keep crisp layers. Baklava freezes well; re-crisp in a warm oven before serving.
Nutrition
- Serving Size: 1 piece (about 1/16
- Calories: 335
- Sugar: 20
- Sodium: 50
- Fat: 21
- Saturated Fat: 7
- Carbohydrates: 33
- Fiber: 3
- Protein: 6
Keywords: baklava, Greek dessert, honey syrup, nuts, filo dough, walnut baklava, pistachio baklava, crispy baklava, Mediterranean dessert, nut lovers


