Love this? Save it for later!
Share the inspiration with your friends
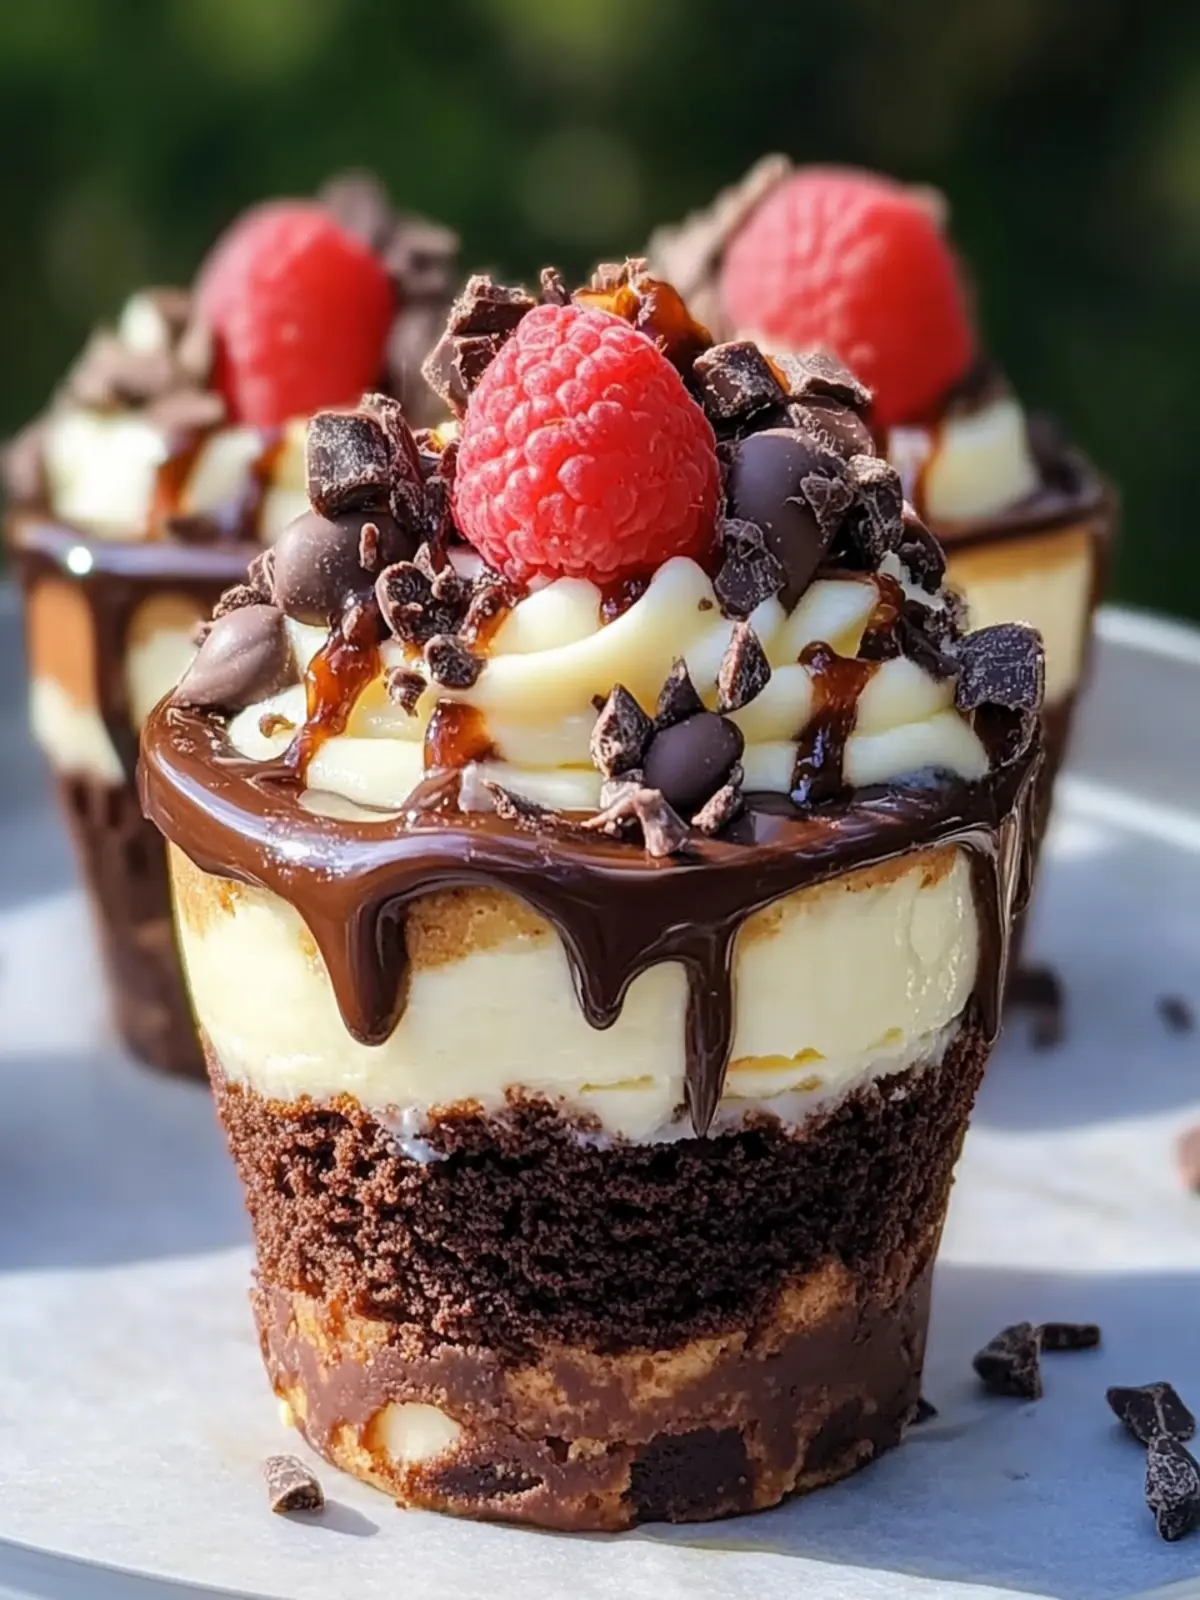
“You really have to try these cups,” my coworker nudged me one afternoon, sliding a tiny foil cup across the break room table. The rich aroma of chocolate mingled with cream cheese was impossible to ignore. Honestly, I was skeptical at first — cheesecake and brownies, all crammed into bite-sized cups? Seemed almost too much. But that first bite? It shut me up. The dense fudgy brownie bottom paired with the silky cream cheese topping was like a little celebration in my mouth. I couldn’t help but make a batch myself that very weekend, tweaking the recipe here and there. I ended up making these Decadent Loaded Brownie Cheesecake Cups three times in one week. The best part wasn’t just the flavor — it was how effortlessly impressive they felt. Perfect for when you want to spoil yourself or surprise friends without spending hours.
These cups became my go-to whenever I needed a little sweet reset, especially after those long workdays when cooking felt like a chore but dessert was non-negotiable. The way the creamy cheesecake layer melts into the rich, fudgy brownie base is honestly addictive. And, well, it’s hard to resist a dessert you can eat with your hands — no forks, no fuss.
What stuck with me is how this recipe manages to balance indulgence with simplicity. It’s not just a dessert; it’s a small moment of joy that fits right into a busy day. So if you find yourself craving something that feels a bit special but won’t eat up your whole evening, these brownie cheesecake cups might just become your new favorite treat.
Why You’ll Love This Recipe
Having made Decadent Loaded Brownie Cheesecake Cups multiple times, I can say it’s one of those recipes that feels like a win every time. Here’s why it’s so often requested and rarely lasts long at gatherings:
- Quick & Easy: The entire process takes under an hour, including baking and prep, so it’s perfect for those last-minute dessert urges.
- Simple Ingredients: No need for fancy or hard-to-find items — most of these are pantry staples you probably already have on hand.
- Perfect for Entertaining: Whether it’s a casual weekend hangout or a holiday party, these cups impress without stress.
- Crowd-Pleaser: Kids and adults alike can’t get enough. The combo of fudgy brownie and creamy cheesecake is just that good.
- Extra Decadence: The secret swirl technique creates that gorgeous marbled effect, and adding chocolate chips or nuts on top takes it over the top.
This recipe isn’t just another brownie or cheesecake. The layering and balance between textures make it stand out. Plus, you get the richness of a brownie with the smooth tang of cheesecake in a bite-sized cup — talk about irresistible indulgence.
If you’re into desserts like the cream cheese brownies I’ve shared before, this recipe offers a fresh, fun twist that’s just as satisfying but easier to share and serve.
What Ingredients You Will Need
This recipe uses simple, wholesome ingredients to deliver bold flavor and satisfying texture without the fuss. Most of these are kitchen basics, making it an easy grab-and-go dessert option.
- For the Brownie Base:
- Unsweetened cocoa powder (⅓ cup / 30g) — for that deep chocolate flavor
- All-purpose flour (½ cup / 65g) — for structure
- Granulated sugar (¾ cup / 150g) — to balance the bitterness
- Unsalted butter, melted (6 tbsp / 85g) — adds richness
- Large egg (1) — room temperature, helps bind
- Vanilla extract (1 tsp) — enhances flavor
- Salt (¼ tsp) — balances sweetness
- For the Cheesecake Layer:
- Cream cheese, softened (8 oz / 225g) — I recommend Philadelphia brand for the smoothest texture
- Granulated sugar (¼ cup / 50g) — sweetens the cheesecake
- Large egg (1) — room temperature, adds creaminess
- Vanilla extract (½ tsp) — for subtle warmth
- Sour cream (2 tbsp / 30ml) — optional but adds a lovely tang and creaminess
- Optional Toppings:
- Mini chocolate chips (2 tbsp / 30g) — for extra chocolate bursts
- Chopped walnuts or pecans (2 tbsp) — for crunch
- Sea salt flakes — to sprinkle on top for a sweet-salty finish
If you want a gluten-free version, swapping the all-purpose flour for almond flour works pretty well, though the texture will be a touch denser. For dairy-free adaptations, try using vegan cream cheese and coconut oil instead of butter.
Equipment Needed
- Muffin tin (12-cup) — the perfect size for these individual cups
- Muffin liners or foil cups — I prefer foil for sturdiness
- Mixing bowls — one for brownie batter and one for cheesecake filling
- Electric hand mixer or stand mixer — helps get the cheesecake layer silky smooth
- Measuring cups and spoons — precise measurements make a difference here
- Rubber spatula — great for folding ingredients gently
- Cooling rack — to cool the cups evenly after baking
If you don’t have an electric mixer, whisking by hand works but expect a bit more elbow grease. A silicone spatula is my go-to for scraping down bowls — it’s worth investing in one if you don’t have it already.
Preparation Method
- Preheat your oven to 325°F (160°C) and line a 12-cup muffin tin with foil cups or paper liners. This helps the cups hold their shape and makes cleanup easier. (5 minutes)
- Make the brownie batter: In a medium bowl, whisk together ⅓ cup (30g) unsweetened cocoa powder, ½ cup (65g) all-purpose flour, ¾ cup (150g) granulated sugar, and ¼ tsp salt. Stir in 6 tbsp (85g) melted unsalted butter, 1 large egg, and 1 tsp vanilla extract until smooth and glossy. The batter will be thick but spreadable. (10 minutes)
- Prepare the cheesecake layer: In a separate bowl, beat 8 oz (225g) softened cream cheese with ¼ cup (50g) sugar until creamy and lump-free. Add 1 large egg, ½ tsp vanilla extract, and 2 tbsp (30ml) sour cream (if using). Mix just until combined — overmixing can add air and cause cracks. (8 minutes)
- Fill the cups: Spoon about 1 tablespoon of the brownie batter into each cup, spreading it to cover the bottom. Next, dollop about 1 tablespoon of the cheesecake mixture on top of the brownie layer. Use a toothpick or skewer to gently swirl the two layers together — don’t overdo it, just enough to create a marbled effect. (10 minutes)
- Add toppings: Sprinkle mini chocolate chips or chopped nuts evenly on top, and a pinch of sea salt flakes if you like a sweet-salty kick. (2 minutes)
- Bake: Place the pan in the oven and bake for 20–22 minutes, or until the cheesecake layer is set but still slightly jiggly in the center. Avoid overbaking to keep the texture creamy. (22 minutes)
- Cool and chill: Let the cups cool in the pan for 15 minutes, then transfer to a cooling rack. Once cooled, refrigerate for at least 2 hours to let the flavors meld and the cheesecake layer firm up. (2+ hours)
- Serve: Enjoy straight from the foil cup or carefully peel away the liner for a clean bite. These cups are best eaten chilled but can be left at room temperature for 20 minutes before serving for a softer texture.
Pro tip: If you notice the cheesecake layer cracking during baking, it often means the oven temperature is too high or the batter was overmixed. Try baking at a slightly lower temperature next time, and mix gently.
Cooking Tips & Techniques
Getting the perfect balance between fudgy brownie and creamy cheesecake takes a little finesse, but I’ve learned some tricks along the way:
- Use room temperature eggs and cream cheese: This helps the batter blend smoothly without lumps or curdling.
- Don’t overmix the cheesecake layer: Overbeating incorporates too much air, which can cause cracks and a spongy texture.
- Swirling technique: Use a toothpick or skewer to gently swirl the cheesecake and brownie layers just a few times — too much mixing blends them completely, losing that gorgeous marbled look.
- Monitor baking time closely: The cheesecake layer should be set but still have a slight jiggle in the middle. It will firm up as it cools, so resist the urge to overbake.
- Chilling is key: Refrigeration isn’t just for texture; it helps the flavors meld, making the cups taste richer and more cohesive.
One time, I skipped chilling and served them right after cooling — the texture was off, and they felt almost too gooey. Lesson learned: always give cheesecake its well-deserved chill time.
Variations & Adaptations
If you want to change things up or need to cater to specific diets, these brownie cheesecake cups are surprisingly flexible.
- Chocolate Peanut Butter Swirl: Add a tablespoon of smooth peanut butter dolloped on top of the cheesecake layer before swirling. It creates a rich, nutty contrast that’s simply addictive.
- Berry Infusion: Drop a few fresh raspberries or blueberries onto the cheesecake layer before baking. The tartness cuts through the richness beautifully, especially in spring and summer.
- Vegan Version: Use dairy-free cream cheese, flax eggs (1 tbsp ground flaxseed + 3 tbsp water per egg), and coconut oil instead of butter. It won’t be exactly the same but still delightfully indulgent.
- Spiced Brownie Cups: Add ½ tsp cinnamon and a pinch of cayenne to the brownie batter for a subtle warmth and unexpected kick.
Personally, I once tried swapping the sour cream for Greek yogurt in the cheesecake mix — it added a lovely tang but made the texture a bit denser. Still tasty, just a different vibe.
Serving & Storage Suggestions
These Decadent Loaded Brownie Cheesecake Cups are best served chilled for that perfect creamy texture. Before serving, let them sit at room temperature for about 15 minutes if you prefer a softer bite.
They make fantastic party treats—stack them on a pretty platter or place a small dollop of whipped cream and a fresh berry on top for a little extra flair. Pair them with a cup of strong coffee or a glass of milk to balance the richness.
To store, keep them covered in the refrigerator for up to 4 days. They also freeze well — just wrap each cup tightly in plastic wrap and place in an airtight container for up to 3 months. Thaw overnight in the fridge for best results, then bring to room temperature before serving.
Over time, the flavors deepen, making leftovers even better the next day. Though, fair warning: they rarely last that long in our house!
Nutritional Information & Benefits
Each brownie cheesecake cup roughly contains:
| Calories | 220 |
|---|---|
| Fat | 14g |
| Carbohydrates | 22g |
| Protein | 3g |
The cream cheese adds a good dose of calcium and protein, while the cocoa powder supplies antioxidants. Of course, this dessert is rich and best enjoyed in moderation. For gluten-free needs, almond flour is a great swap, and dairy-free options keep it accessible for various diets.
From my experience, these cups satisfy sweet cravings without feeling overly heavy, especially when shared with friends or family. They’re a small indulgence that feels worth every bite.
Conclusion
Making Decadent Loaded Brownie Cheesecake Cups has become one of those kitchen wins I keep coming back to. They’re just the right amount of chocolatey, creamy, and fuss-free. Whether you’re whipping them up for a casual treat or a special occasion, the recipe invites you to customize and make it your own.
I love how easily they come together and the smiles they bring — a little reminder that indulgence doesn’t have to be complicated. If you give this recipe a try, I’d love to hear how you make it your own or what toppings you add. Sweet treats like these are always better shared!
FAQs About Decadent Loaded Brownie Cheesecake Cups
Can I make these cups ahead of time?
Yes! They keep well refrigerated for up to 4 days and can also be frozen for longer storage. Just thaw in the fridge overnight before serving.
What if I don’t have cream cheese?
You can substitute with mascarpone or ricotta, though the texture and flavor will be slightly different—less tangy but still creamy.
How do I prevent the cheesecake layer from cracking?
Mix the cheesecake ingredients gently to avoid incorporating too much air. Bake at a moderate temperature and don’t overbake; the center should still jiggle slightly when done.
Can I make these dairy-free or vegan?
Absolutely. Use dairy-free cream cheese and butter substitutes, and replace eggs with flax eggs for a vegan option. The texture might vary but remains delicious.
What’s the best way to swirl the brownie and cheesecake layers?
Spoon each layer into the cups, then use a toothpick or skewer to gently swirl a few times. Avoid overmixing to keep the pretty marbled look.
Pin This Recipe!
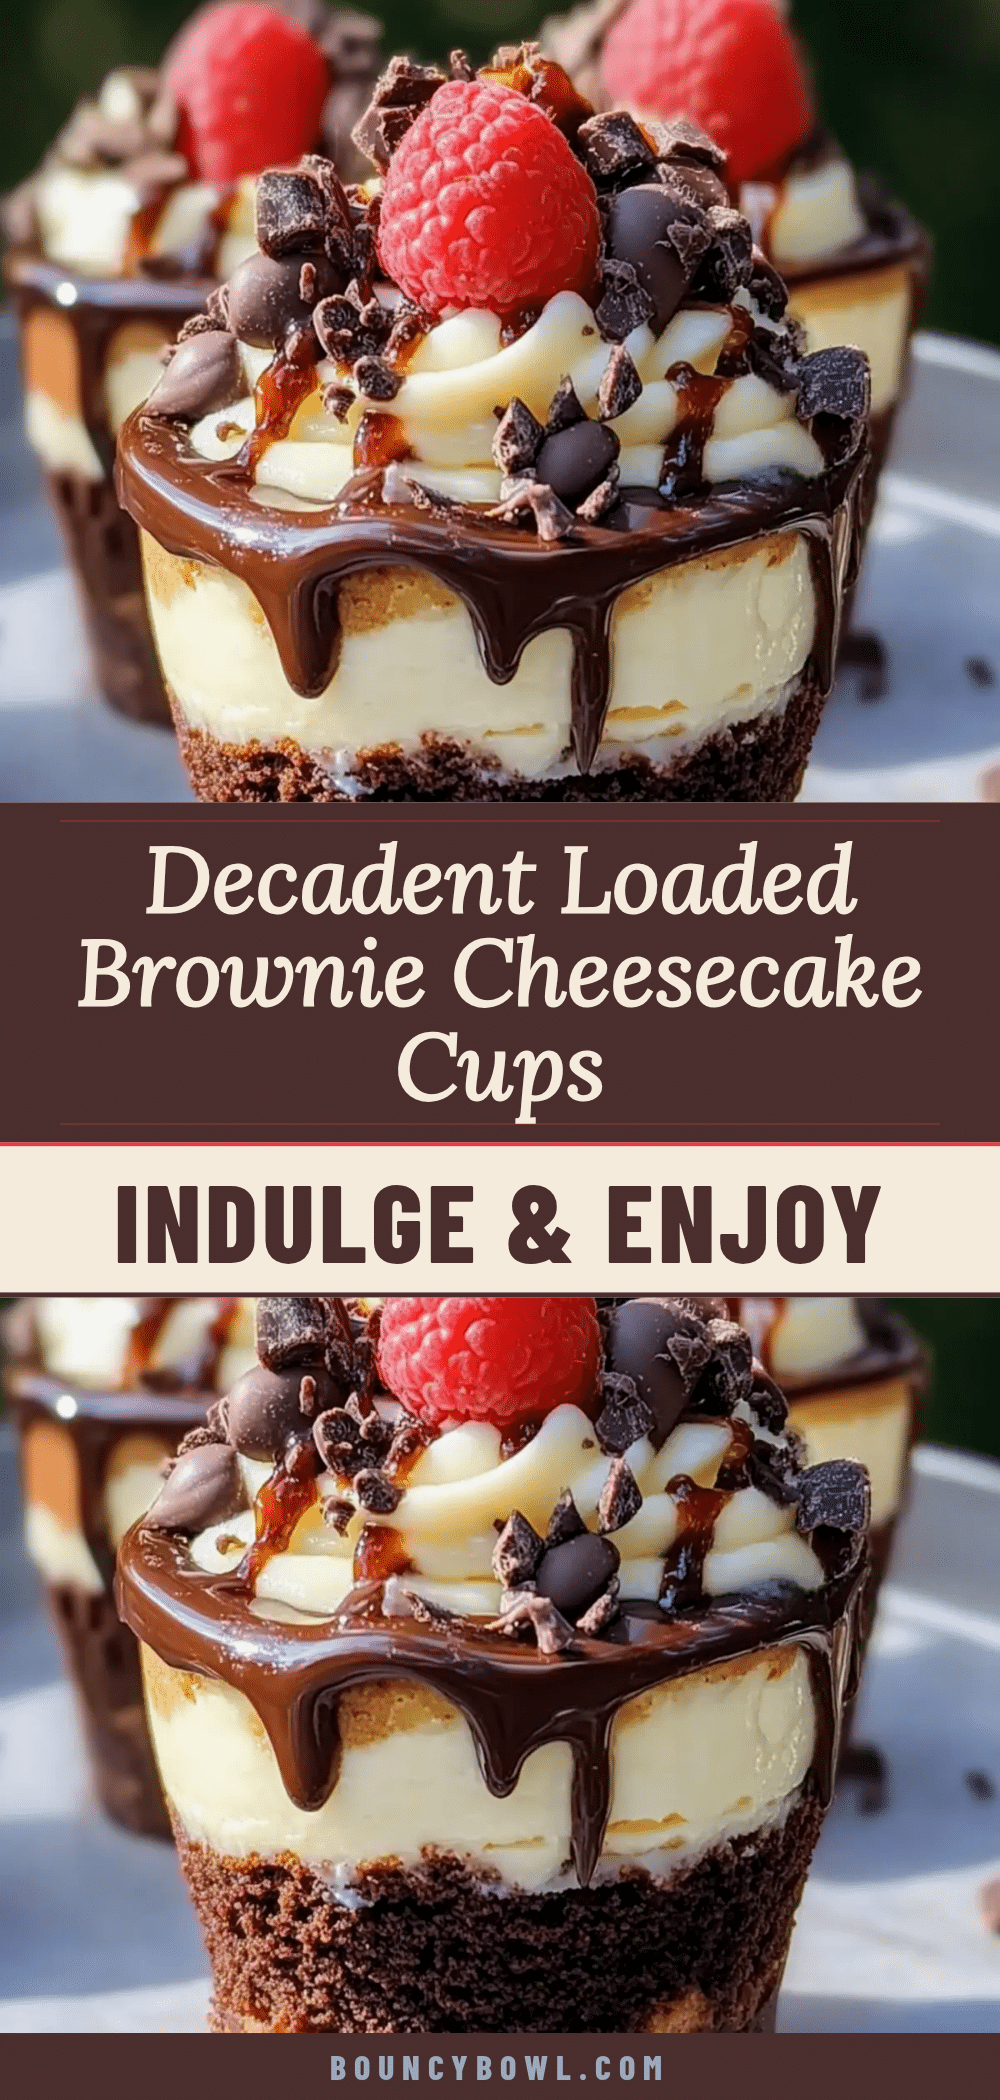
Decadent Loaded Brownie Cheesecake Cups
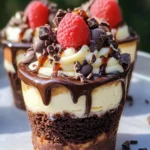
These bite-sized cups combine a dense fudgy brownie base with a silky cream cheese topping, creating an irresistible indulgence that’s quick and easy to make.
- Prep Time: 25 minutes
- Cook Time: 22 minutes
- Total Time: 2 hours 47 minutes
- Yield: 12 servings 1x
- Category: Dessert
- Cuisine: American
Ingredients
- ⅓ cup (30g) unsweetened cocoa powder
- ½ cup (65g) all-purpose flour
- ¾ cup (150g) granulated sugar
- 6 tbsp (85g) unsalted butter, melted
- 1 large egg (room temperature)
- 1 tsp vanilla extract
- ¼ tsp salt
- 8 oz (225g) cream cheese, softened
- ¼ cup (50g) granulated sugar
- 1 large egg (room temperature)
- ½ tsp vanilla extract
- 2 tbsp (30ml) sour cream (optional)
- 2 tbsp (30g) mini chocolate chips (optional)
- 2 tbsp chopped walnuts or pecans (optional)
- Sea salt flakes (optional)
Instructions
- Preheat your oven to 325°F (160°C) and line a 12-cup muffin tin with foil cups or paper liners.
- Make the brownie batter: In a medium bowl, whisk together cocoa powder, flour, sugar, and salt. Stir in melted butter, egg, and vanilla extract until smooth and glossy.
- Prepare the cheesecake layer: In a separate bowl, beat softened cream cheese with sugar until creamy and lump-free. Add egg, vanilla extract, and sour cream (if using). Mix just until combined.
- Fill the cups: Spoon about 1 tablespoon of brownie batter into each cup, spreading to cover the bottom. Dollop about 1 tablespoon of cheesecake mixture on top. Use a toothpick or skewer to gently swirl the two layers to create a marbled effect.
- Add toppings: Sprinkle mini chocolate chips or chopped nuts evenly on top, and a pinch of sea salt flakes if desired.
- Bake for 20–22 minutes, or until the cheesecake layer is set but still slightly jiggly in the center.
- Cool in the pan for 15 minutes, then transfer to a cooling rack. Refrigerate for at least 2 hours before serving.
- Serve chilled, either straight from the foil cup or peeled from the liner. Let sit at room temperature for 15 minutes if a softer texture is preferred.
Notes
Use room temperature eggs and cream cheese for smooth batter. Avoid overmixing cheesecake layer to prevent cracks. Swirl layers gently for marbled effect. Bake until cheesecake layer is set but slightly jiggly. Chill for best texture and flavor. For gluten-free, substitute almond flour for all-purpose flour. For dairy-free, use vegan cream cheese and coconut oil instead of butter.
Nutrition
- Serving Size: 1 brownie cheesecake
- Calories: 220
- Fat: 14
- Carbohydrates: 22
- Protein: 3
Keywords: brownie cheesecake cups, bite-sized dessert, easy dessert, chocolate cheesecake, quick dessert, party treats, fudgy brownies, creamy cheesecake