Love this? Save it for later!
Share the inspiration with your friends
The first batch came out looking a little sad, honestly. I had three bananas on the counter that were more brown than yellow, and I was this close to tossing them in the freezer for another day. But I wanted something sweet. Something that wouldn’t make me regret it twenty minutes later.
I mashed those bananas with a fork, stirred in some oats, and threw a handful of chocolate chips into the mix. No sugar. No butter. No eggs. I baked them for twelve minutes and pulled out something that actually tasted good. Not “good for you” good. Just good.
These simple 3-ingredient guilt-free banana treats have saved me more times than I can count. Late-night cravings, afternoon slumps, that moment when you want dessert but don’t want to turn your kitchen into a disaster zone. They work every single time.
There’s something about recipes that don’t ask for much that just feel right. No special equipment, no obscure ingredients from the health food store, no complicated steps that require you to read the instructions three times. Just three things you probably already have, and a few minutes of your time.
I’ve made these banana treats so many times now that I don’t even measure anymore. But for you, I’ll measure. Because everyone deserves to know how easy this really is.
Why You’ll Love This Recipe
Let me tell you why these little banana bites have become a permanent fixture in my kitchen. I’ve tested this recipe at least a dozen times, tweaking the oat-to-banana ratio, trying different mix-ins, and even experimenting with bake times. This version is the one that works best.
- Three Ingredients Only : Bananas, oats, and your choice of add-in. That’s it. No long grocery list, no expensive specialty items.
- Ready in Under 20 Minutes : From craving to satisfied in less time than it takes to decide what to order for delivery.
- Actually Guilt-Free : No added sugar, no butter, no oil. Just natural sweetness from ripe bananas and wholesome oats.
- Perfect for Meal Prep : Make a batch on Sunday and grab them all week for quick breakfasts or snacks.
- Kid-Approved and Adult-Friendly : My nephew calls them “banana cookies” and asks for them every time he visits.
- Endlessly Customizable : Chocolate chips, nuts, dried fruit, spices — whatever you have on hand works perfectly.
What makes these different from other banana oat recipes? The texture. They come out soft and chewy, not dry or crumbly. The trick is using really ripe bananas — the ones with brown spots all over the peel. That natural sweetness means you don’t need any added sugar. Trust me, I’ve tried with less ripe bananas and the difference is night and day.
These treats are the kind of recipe that makes you feel like you’re getting away with something. They taste indulgent but they’re not. That first bite, when you realize how good something so simple can be? That’s the moment that keeps me coming back.
What Ingredients You Will Need
This recipe keeps things incredibly simple. You only need three base ingredients, plus whatever mix-ins you want to add. Here’s what you’ll need and why each ingredient matters.
Base Ingredients
- 3 ripe bananas (medium to large, heavily spotted with brown) — The riper the banana, the sweeter your treats will be. Green or yellow bananas won’t mash well and won’t provide enough natural sweetness. I’ve made this mistake before, and the result was bland and barely edible. Look for bananas that feel soft to the touch and smell sweet.
- 1 ½ cups rolled oats (old-fashioned oats work best) — Quick oats will work in a pinch, but they absorb moisture differently and can make the treats mushy. Steel-cut oats are too tough and won’t soften enough during the short bake time. I use rolled oats from Quaker or Bob’s Red Mill — both give consistent results. For a gluten-free version, make sure you buy certified gluten-free oats.
- ⅓ cup mix-ins of your choice — This is where you get creative. My go-to is dark chocolate chips, but you can use chopped nuts, dried cranberries, shredded coconut, or even a sprinkle of cinnamon.
Optional Add-Ins for Extra Flavor
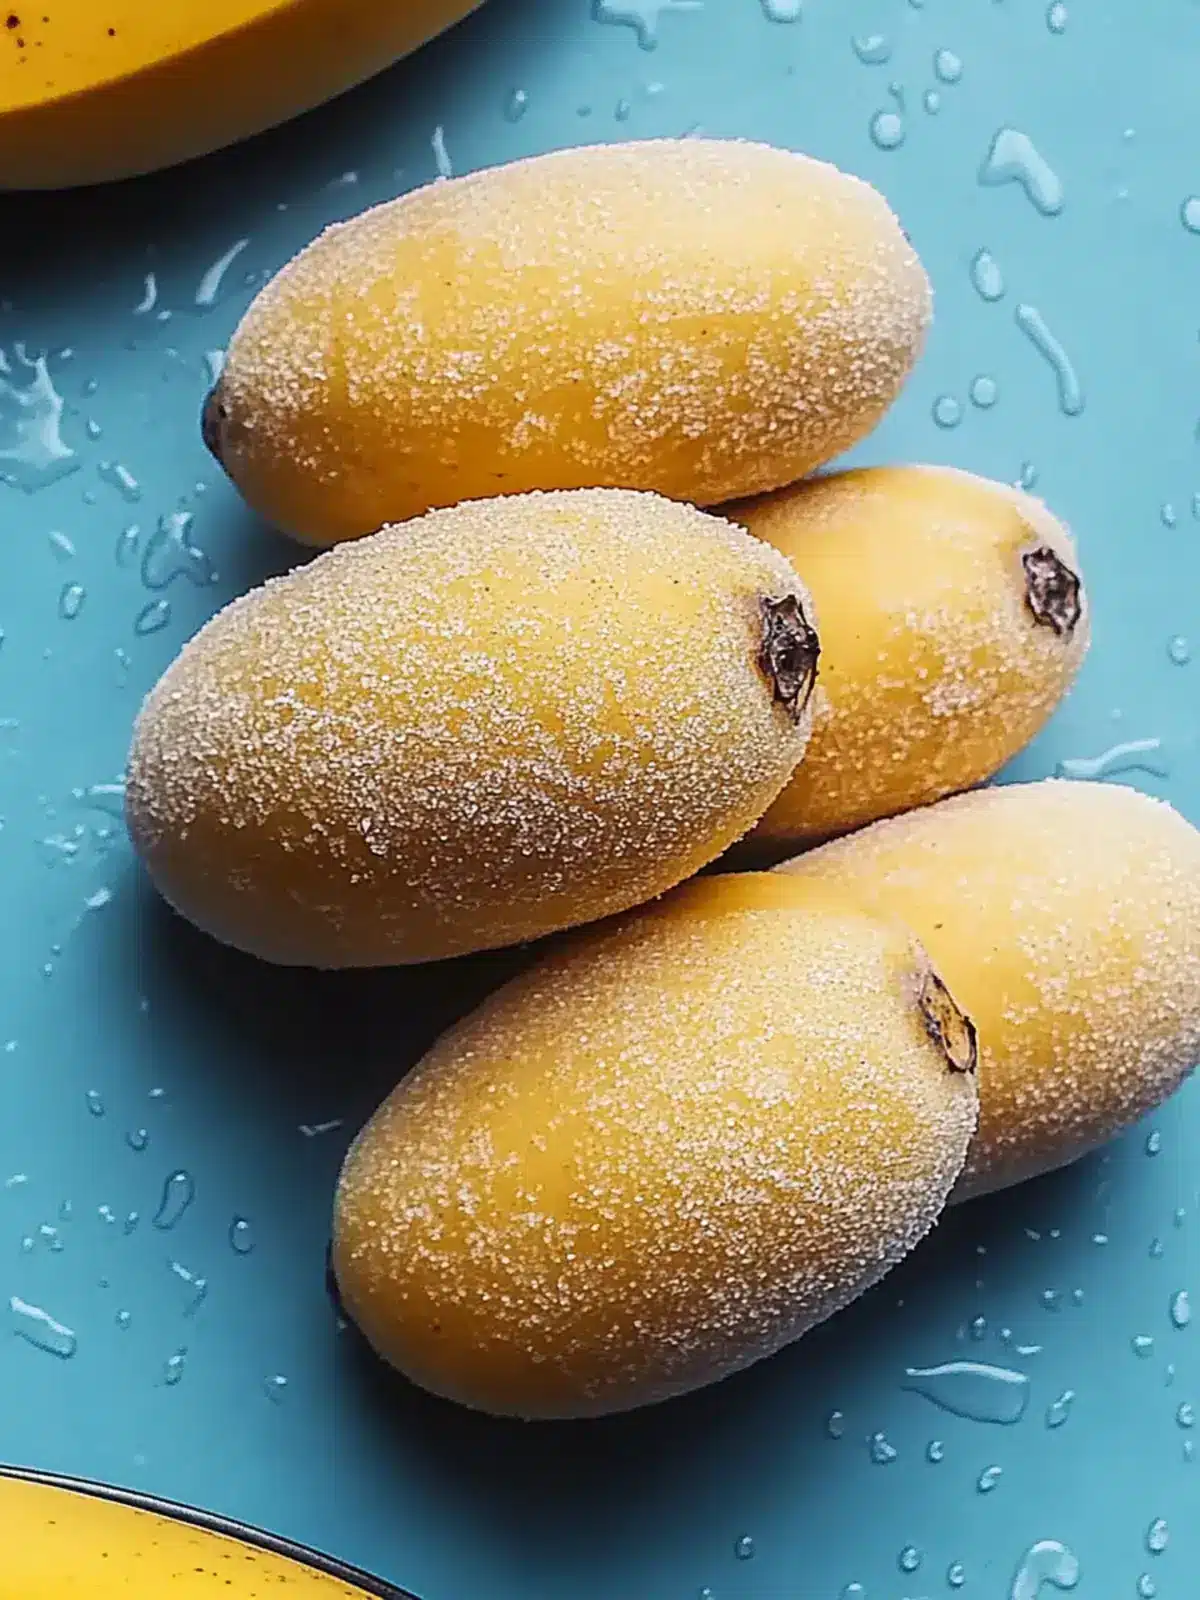
- ½ teaspoon vanilla extract — Adds warmth and depth. Not essential, but it makes the treats taste more like a real dessert.
- ¼ teaspoon salt — A tiny pinch balances the sweetness and brings out the banana flavor. Don’t skip this if you’re using unsalted add-ins.
- 1 tablespoon peanut butter or almond butter — Swirl it into the batter for a protein boost and nutty flavor. I love using chunky peanut butter for extra texture.
- 1 tablespoon ground flaxseed or chia seeds — Adds fiber and omega-3s without changing the taste. You won’t even notice it’s there.
- ¼ cup unsweetened cocoa powder — For chocolate lovers, reduce the oats to 1 ¼ cups and add cocoa powder for a double-chocolate version.
I’ve tested this recipe with all sorts of combinations, and the beauty of it is that you really can’t go wrong. The bananas and oats form a flexible base that works with whatever you have in your pantry. If you’ve made our moist extreme banana nut bread, you know how forgiving banana-based recipes can be.
Equipment Needed
You don’t need fancy kitchen gadgets for this recipe. Here’s what you’ll need:
- Large mixing bowl — Any bowl will do, but a wide one makes mashing easier.
- Fork or potato masher — A fork works perfectly. I’ve used a potato masher when I had one handy, but a fork gives you more control over the texture.
- Measuring cups and spoons — For the oats and any add-ins. Eyeballing works after you’ve made these a few times, but measure for the first batch.
- Baking sheet — A standard half-sheet pan works great. Line it with parchment paper for easy cleanup.
- Parchment paper or silicone baking mat — Non-stick is essential here. These treats will stick to an unlined pan.
- Spatula or spoon — For scooping the batter onto the baking sheet.
- Cooling rack — Optional but helpful for cooling the treats evenly.
If you don’t have a baking sheet, you can use a muffin tin to make banana oat cups instead. Just grease the tin well and fill each cup about two-thirds full. Bake for 15-18 minutes instead of 10-12. I’ve done this when I wanted something that felt more like a muffin, and it worked beautifully.
Preparation Method
This recipe comes together in about 20 minutes from start to finish. Here’s exactly how to do it.
Step 1: Preheat and Prep
Preheat your oven to 350°F (175°C). Line a baking sheet with parchment paper or a silicone baking mat. If you’re using parchment, make sure the edges are smooth so they don’t curl up and burn.
Step 2: Mash the Bananas
Peel the three ripe bananas and place them in a large mixing bowl. Mash them with a fork until smooth. You want a consistency similar to baby food — no large chunks remaining. Some small lumps are fine, but the smoother the mash, the more uniform your treats will be. This should take about 2 minutes of steady mashing.
Personal tip: If your bananas aren’t quite ripe enough, you can speed up the process by placing them (unpeeled) on a baking sheet in the oven at 300°F for 10-15 minutes. The skins will turn black, but the fruit inside will soften and sweeten. I’ve done this when I couldn’t wait for bananas to ripen naturally.
Step 3: Add the Oats
Add 1 ½ cups of rolled oats to the mashed bananas. Stir until everything is well combined. The mixture will look thick and somewhat sticky — that’s exactly what you want. Let it sit for 2-3 minutes so the oats can absorb some of the moisture from the bananas. This resting period makes a big difference in texture.
Step 4: Fold in Your Mix-Ins
Add your ⅓ cup of mix-ins and any optional flavorings (vanilla, salt, spices). Fold gently until everything is evenly distributed. If you’re using chocolate chips, save a few to press into the tops of the treats before baking — it makes them look prettier.
Step 5: Scoop and Shape
Scoop tablespoon-sized portions of the batter onto the prepared baking sheet. Leave about 2 inches between each scoop — they won’t spread much, but a little space helps them bake evenly. Use the back of a spoon or your fingers to gently flatten each scoop into a disc about ½ inch thick. Round edges look nicer, but honestly, rustic shapes have more charm.
Step 6: Bake
Bake for 10-12 minutes, or until the edges are golden brown and the tops look set. The centers will still be soft — that’s fine. They’ll firm up as they cool. If you prefer crunchier treats, bake for 13-14 minutes, but watch closely so they don’t burn.
Step 7: Cool and Enjoy
Let the treats cool on the baking sheet for 5 minutes, then transfer them to a cooling rack. They’re fragile when hot, so be gentle. Once completely cool, they’ll hold together beautifully. Enjoy warm or at room temperature.
Cooking Tips & Techniques
After making these banana treats more times than I can count, I’ve learned a few things the hard way. Here are my best tips for perfect results every time.
Don’t overmix the batter. Stir just until the oats are incorporated. Overmixing can make the treats tough instead of tender. I learned this after one particularly dense batch that felt more like a hockey puck than a cookie.
Use a cookie scoop for uniform sizes. A small cookie scoop (about 1 tablespoon) gives you evenly sized treats that bake at the same rate. If you’re scooping by eye, you’ll end up with some burnt edges and some undercooked centers. Trust me on this one.
Let them cool completely before storing. These treats trap moisture when they’re warm, which can make them soggy in storage. I once packed a batch while they were still slightly warm and regretted it the next day. Patience pays off here.
If they fall apart, add more oats. Sometimes bananas are extra watery, and the batter becomes too loose. If your mixture looks more like soup than dough, add another tablespoon of oats at a time until it firms up. This happens more often with frozen and thawed bananas.
Double the batch for meal prep. These freeze beautifully, so I always make at least 24 at a time. They thaw in about 10 minutes at room temperature, or you can pop them in the microwave for 15 seconds.
Line your pan properly. Parchment paper is non-negotiable here. I tried using a greased pan once, and half the treats stuck despite my best efforts. A silicone baking mat works even better if you have one.
Variations & Adaptations
This recipe is incredibly flexible. Here are some of my favorite variations that I’ve tested and loved.
Chocolate Peanut Butter Version
Add 1 tablespoon of cocoa powder to the dry oats before mixing, and fold in 2 tablespoons of peanut butter along with the mix-ins. The chocolate and peanut butter combination is irresistible. I make this version when I want something that feels more like a dessert than a snack.
Tropical Twist
Replace half the oats with unsweetened shredded coconut and add ¼ cup of dried pineapple or mango chunks. The tropical flavor pairs beautifully with the banana base. This version is perfect for summer when you’re craving something bright and fruity.
Spiced Apple Version
Add ½ teaspoon of cinnamon, ¼ teaspoon of nutmeg, and fold in ¼ cup of finely diced dried apple. The warm spices make these taste like autumn in cookie form. I make these for fall gatherings and they always disappear quickly.
Vegan and Gluten-Free Adaptation
Use certified gluten-free oats for a gluten-free version. The recipe is already vegan if you skip chocolate chips that contain milk solids — use dairy-free chocolate chips instead. I’ve tested this with both regular and gluten-free oats, and the texture is nearly identical.
Lower Carb Option
Replace half the oats with almond flour or finely ground flaxseed meal. This reduces the carb content while adding healthy fats and fiber. The texture will be slightly denser, but the flavor is still excellent.
If you enjoy recipes that are easy to customize, you’ll love our decadent chocolate chip banana bars — another banana-based treat that’s perfect for experimenting with different add-ins.
Serving & Storage Suggestions
These banana treats are versatile enough for any time of day. Here’s how to serve and store them for the best experience.
Serving Suggestions
Serve them warm or at room temperature. Warm treats are softer and more cookie-like, while room temperature ones hold their shape better. I love them with a cup of coffee for breakfast or as an afternoon pick-me-up. For a more indulgent treat, spread a little peanut butter or almond butter on top.
They also make a great lunchbox addition for kids. My nephew calls them “banana cookies” and doesn’t realize they’re actually healthy. Pair them with fresh fruit or yogurt for a balanced snack.
If you’re hosting, arrange them on a platter with fresh berries and a drizzle of melted dark chocolate. They look impressive but took you almost no effort — that’s my favorite kind of hosting.
Storage Instructions
Store cooled treats in an airtight container at room temperature for up to 3 days. If your kitchen is warm or humid, refrigerate them instead — they’ll last up to a week in the fridge. Layer them with parchment paper between layers to prevent sticking.
For longer storage, freeze them in a single layer on a baking sheet until solid, then transfer to a freezer-safe bag or container. They’ll keep for up to 3 months. Thaw at room temperature for about 10 minutes, or microwave for 15-20 seconds.
How Flavors Develop
These treats are actually better the next day. The flavors meld together overnight, and the texture becomes more uniform. I’ve made batches on Sunday and enjoyed them all week — they stay fresh and delicious for days.
Nutritional Information & Benefits
Here’s the estimated nutritional breakdown per treat (based on 12 treats per batch, using dark chocolate chips as the mix-in):
| Nutrient | Amount Per Treat |
|---|---|
| Calories | 95 |
| Total Fat | 2.5g |
| Saturated Fat | 1g |
| Carbohydrates | 17g |
| Fiber | 3g |
| Sugar | 7g (natural from bananas) |
| Protein | 3g |
Health Benefits
Bananas are packed with potassium, which supports heart health and muscle function. They also contain vitamin B6 and vitamin C. Oats provide soluble fiber that helps maintain stable blood sugar levels and keeps you feeling full longer. Dark chocolate (if you choose it as your mix-in) offers antioxidants and can satisfy sweet cravings with less sugar than milk chocolate.
This recipe is naturally vegan, dairy-free, and can easily be made gluten-free with certified oats. It contains no added sugar, no oil, and no refined flour. For anyone watching their intake of processed foods, these treats are a wonderful alternative to packaged snacks.
FAQs
Can I use quick oats instead of rolled oats?
Yes, but the texture will be slightly different. Quick oats absorb moisture faster and can make the treats denser and softer. If you use quick oats, reduce the resting time after mixing to just 1 minute, and check for doneness at 10 minutes of baking.
Can I make these without baking?
Absolutely! You can cook them in a non-stick skillet over medium-low heat for about 3-4 minutes per side, like pancakes. They won’t be as firm as baked ones, but they’re delicious this way. You can also try an air fryer at 350°F for 8-10 minutes.
Why did my treats fall apart?
This usually happens when the bananas are too watery (common with frozen and thawed bananas) or when there aren’t enough oats to bind the mixture. Add an extra tablespoon of oats if the batter seems too loose, and make sure you let the mixture rest for a few minutes before baking.
Can I use green bananas?
I don’t recommend it. Green bananas are starchier and less sweet, which means your treats will lack flavor and won’t hold together as well. Wait until your bananas have brown spots on the peel — that’s when they’re at their peak for baking.
How many treats does this recipe make?
This recipe makes about 12 treats using tablespoon-sized scoops. If you make them larger or smaller, adjust the baking time accordingly. Larger treats need 2-3 extra minutes, while smaller ones might be done in 8-9 minutes.
Conclusion
These simple 3-ingredient guilt-free banana treats have become one of those recipes I never get tired of making. They’re quick, they’re easy, and they deliver exactly what you want from a snack — something sweet, satisfying, and totally worth eating.
The best part? You can make them your own. Swap in whatever mix-ins you have on hand, adjust the sweetness to your liking, or experiment with different spices. Every batch can be a little different, and that’s what keeps this recipe interesting.
I’d love to hear how yours turn out. Drop a comment below and let me know what mix-ins you used, or share a photo of your creation. And if you’re looking for more easy, wholesome treats, check out our healthy moist applesauce cake — another no-fuss recipe that proves simple ingredients can create something truly special.
Now go grab those spotty bananas on your counter. They’re ready for their moment.
Pin This Recipe!
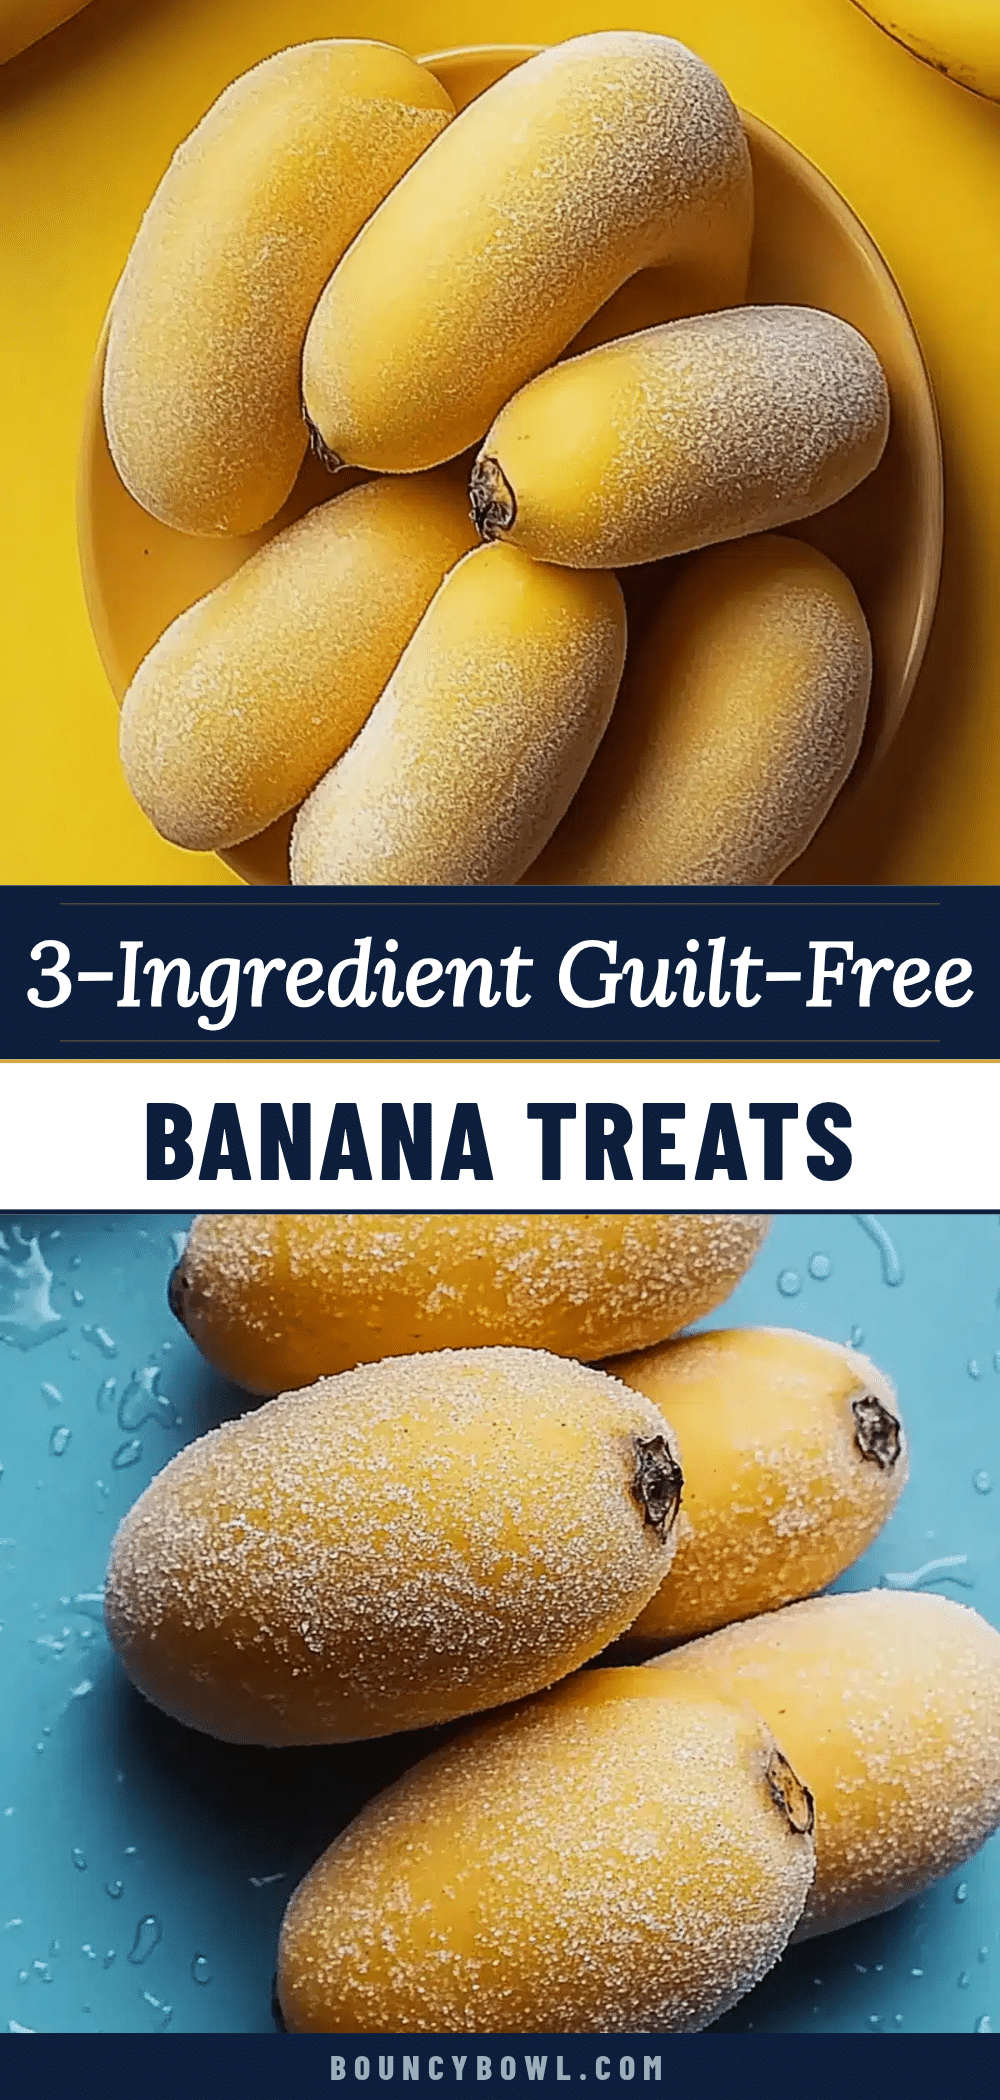
Easy 3-Ingredient Banana Treats: Guilt-Free & Quick
These simple 3-ingredient guilt-free banana treats are quick, easy, and made with just bananas, oats, and your choice of mix-ins. Ready in under 20 minutes, they’re a healthy snack that tastes indulgent.
- Prep Time: 10 minutes
- Cook Time: 12 minutes
- Total Time: 22 minutes
- Yield: 12 treats 1x
- Category: Snack
- Cuisine: American
Ingredients
- 3 ripe bananas (medium to large, heavily spotted with brown)
- 1 ½ cups rolled oats (old-fashioned oats work best)
- ⅓ cup mix-ins of your choice (e.g., dark chocolate chips, chopped nuts, dried cranberries, shredded coconut)
- ½ teaspoon vanilla extract (optional)
- ¼ teaspoon salt (optional)
- 1 tablespoon peanut butter or almond butter (optional)
- 1 tablespoon ground flaxseed or chia seeds (optional)
- ¼ cup unsweetened cocoa powder (optional, reduce oats to 1 ¼ cups)
Instructions
- Preheat your oven to 350°F (175°C). Line a baking sheet with parchment paper or a silicone baking mat.
- Peel the three ripe bananas and place them in a large mixing bowl. Mash them with a fork until smooth, similar to baby food consistency.
- Add 1 ½ cups of rolled oats to the mashed bananas. Stir until well combined. Let the mixture sit for 2-3 minutes so the oats can absorb moisture.
- Fold in your ⅓ cup of mix-ins and any optional flavorings (vanilla, salt, spices). If using chocolate chips, save a few to press into the tops before baking.
- Scoop tablespoon-sized portions of the batter onto the prepared baking sheet, leaving about 2 inches between each scoop. Gently flatten each scoop into a disc about ½ inch thick.
- Bake for 10-12 minutes, or until the edges are golden brown and the tops look set. For crunchier treats, bake for 13-14 minutes.
- Let the treats cool on the baking sheet for 5 minutes, then transfer them to a cooling rack. Enjoy warm or at room temperature.
Notes
Use very ripe bananas with brown spots for natural sweetness. Let the mixture rest for 2-3 minutes after adding oats to improve texture. For extra moisture, add more oats if batter seems too loose. These treats freeze well for up to 3 months.
Nutrition
- Serving Size: 1 treat
- Calories: 95
- Sugar: 7
- Fat: 2.5
- Saturated Fat: 1
- Carbohydrates: 17
- Fiber: 3
- Protein: 3
Keywords: banana treats, 3-ingredient, guilt-free, healthy snack, vegan, gluten-free, easy recipe, no sugar, oats, chocolate chips


