Love this? Save it for later!
Share the inspiration with your friends
The little mushrooms were sitting on my counter, and I had no idea what to do with them. My friend Jen was coming over in a few hours, and I’d promised snacks—something that felt special but didn’t require me to spend the whole afternoon in the kitchen. I stared at those cremini mushrooms, then at the block of cream cheese softening on the counter, and a lightbulb went off. Not a fancy lightbulb, mind you. More like the dim, flickering kind that says, “Just stuff them and see what happens.”
I’d made stuffed mushrooms before, but they always felt like a restaurant thing. Something you order at a fancy party, not something you whip up on a random Tuesday. But here’s the thing about these savory easy stuffed mushrooms your guests will love—they’re actually stupidly simple. I filled the caps with a mixture of cream cheese, garlic, and a little Parmesan, popped them in the oven, and waited. The smell that filled my kitchen was ridiculous. Garlicky, buttery, earthy.
Jen walked in right as they came out of the oven. She grabbed one, blew on it for about two seconds, and took a bite. Then she grabbed another. Then she looked at me and said, “You have to make these for every gathering from now on.” And honestly? She was right. These little bites have become my go-to appetizer for everything—game days, holiday parties, even quiet nights when I want something that feels a bit indulgent. They’re proof that you don’t need a complicated recipe to impress people. Just good ingredients, a little heat, and mushrooms that are ready to be filled with something delicious.
Why You’ll Love This Recipe
I’ve tested this recipe at least a dozen times, tweaking the filling ratios, trying different cheeses, and even experimenting with the baking time. What I landed on is the version that disappears fastest at parties. Here’s why this one works so well:
- Quick & Easy : Ready in about 30 minutes from start to finish. No marinating, no complicated steps, no stress.
- Simple Ingredients : You probably have most of this stuff in your fridge right now. Cream cheese, Parmesan, garlic, breadcrumbs—all pantry staples.
- Perfect for Entertaining : These are the ultimate party appetizer. They look fancy, but they’re secretly one of the easiest things you can make.
- Crowd-Pleaser : I’ve served these to vegetarians, meat-lovers, picky eaters, and everyone in between. They always get devoured.
- Unbelievably Delicious : The creamy, garlicky filling against the tender mushroom cap is pure comfort food magic.
What makes these different from other stuffed mushroom recipes? It’s the texture. I use a mix of cream cheese and Parmesan, which gives you that ultra-creamy, slightly tangy filling that doesn’t turn into a gluey mess. The breadcrumbs on top add just enough crunch to contrast with the soft mushroom. It’s a balance that took me a few tries to nail—and now I’m sharing it with you.
This is the kind of recipe that makes you close your eyes after the first bite. It’s comfort food disguised as something elegant. Perfect for impressing guests without breaking a sweat, or turning a simple weeknight into something a little more special.
What Ingredients You Will Need
This recipe uses simple, wholesome ingredients that come together to create a bold, savory flavor. Most of these are pantry staples, so you might not even need a trip to the store.
- Cremini mushrooms (about 1 pound or 450g) – These are also called baby bellas. They have a firmer texture and deeper flavor than white button mushrooms. Look for caps that are about 1-2 inches wide so they’re easy to fill and eat in one bite.
- Cream cheese (8 ounces or 225g, softened) – Full-fat cream cheese gives the richest, creamiest filling. If you use low-fat, the filling might be a bit looser. Let it sit on the counter for 30 minutes before mixing so it blends smoothly.
- Parmesan cheese (½ cup or 50g, grated) – Use the real stuff, not the green can. Freshly grated Parmesan melts better and adds a nutty, salty depth that pre-shredded just can’t match.
- Garlic (3 cloves, minced) – Fresh garlic is non-negotiable here. The pre-minced stuff in a jar has a different flavor—more acidic, less sweet. Take the extra 30 seconds to mince fresh cloves.
- Breadcrumbs (¼ cup or 30g, plain or panko) – Panko gives a lighter, crunchier topping. Regular breadcrumbs work too, but they’ll be a bit finer. I prefer panko here for that satisfying crunch.
- Olive oil (2 tablespoons or 30ml) – Extra virgin olive oil adds a fruity note, but regular works fine. You’ll use this to brush the mushrooms before baking.
- Salt and black pepper (to taste) – Go easy on the salt since Parmesan is already salty. A good pinch of black pepper adds warmth.
- Fresh parsley (2 tablespoons, chopped) – For garnish. It adds a pop of color and freshness that balances the richness. Totally optional but highly recommended.
- Optional add-ins : A pinch of red pepper flakes for heat, or 2 tablespoons of finely chopped sun-dried tomatoes for a tangy twist. I’ve tried both, and they’re fantastic.
If you want a dairy-free version, use vegan cream cheese and nutritional yeast instead of Parmesan. The texture won’t be exactly the same, but it’s still delicious.
Equipment Needed
You don’t need a lot of fancy tools for this recipe. Here’s what I use:
- Baking sheet (rimmed, 13×18 inches or similar) – A rimmed sheet keeps any juices from spilling. Line it with parchment paper for easy cleanup.
- Small mixing bowl – For combining the filling. Any medium bowl works.
- Spatula or wooden spoon – For mixing the filling until smooth.
- Sharp knife and cutting board – For mincing garlic and chopping parsley.
- Small spoon or piping bag – A small spoon works fine for filling the caps. If you want to get fancy, a piping bag makes it quicker, but honestly, I just use a spoon.
- Pastry brush – For brushing the mushrooms with olive oil. If you don’t have one, just drizzle the oil over the caps and rub it in with your fingers.
That’s it. No stand mixer, no food processor, no complicated gadgets. This is a hands-on recipe that comes together in minutes.
Preparation Method
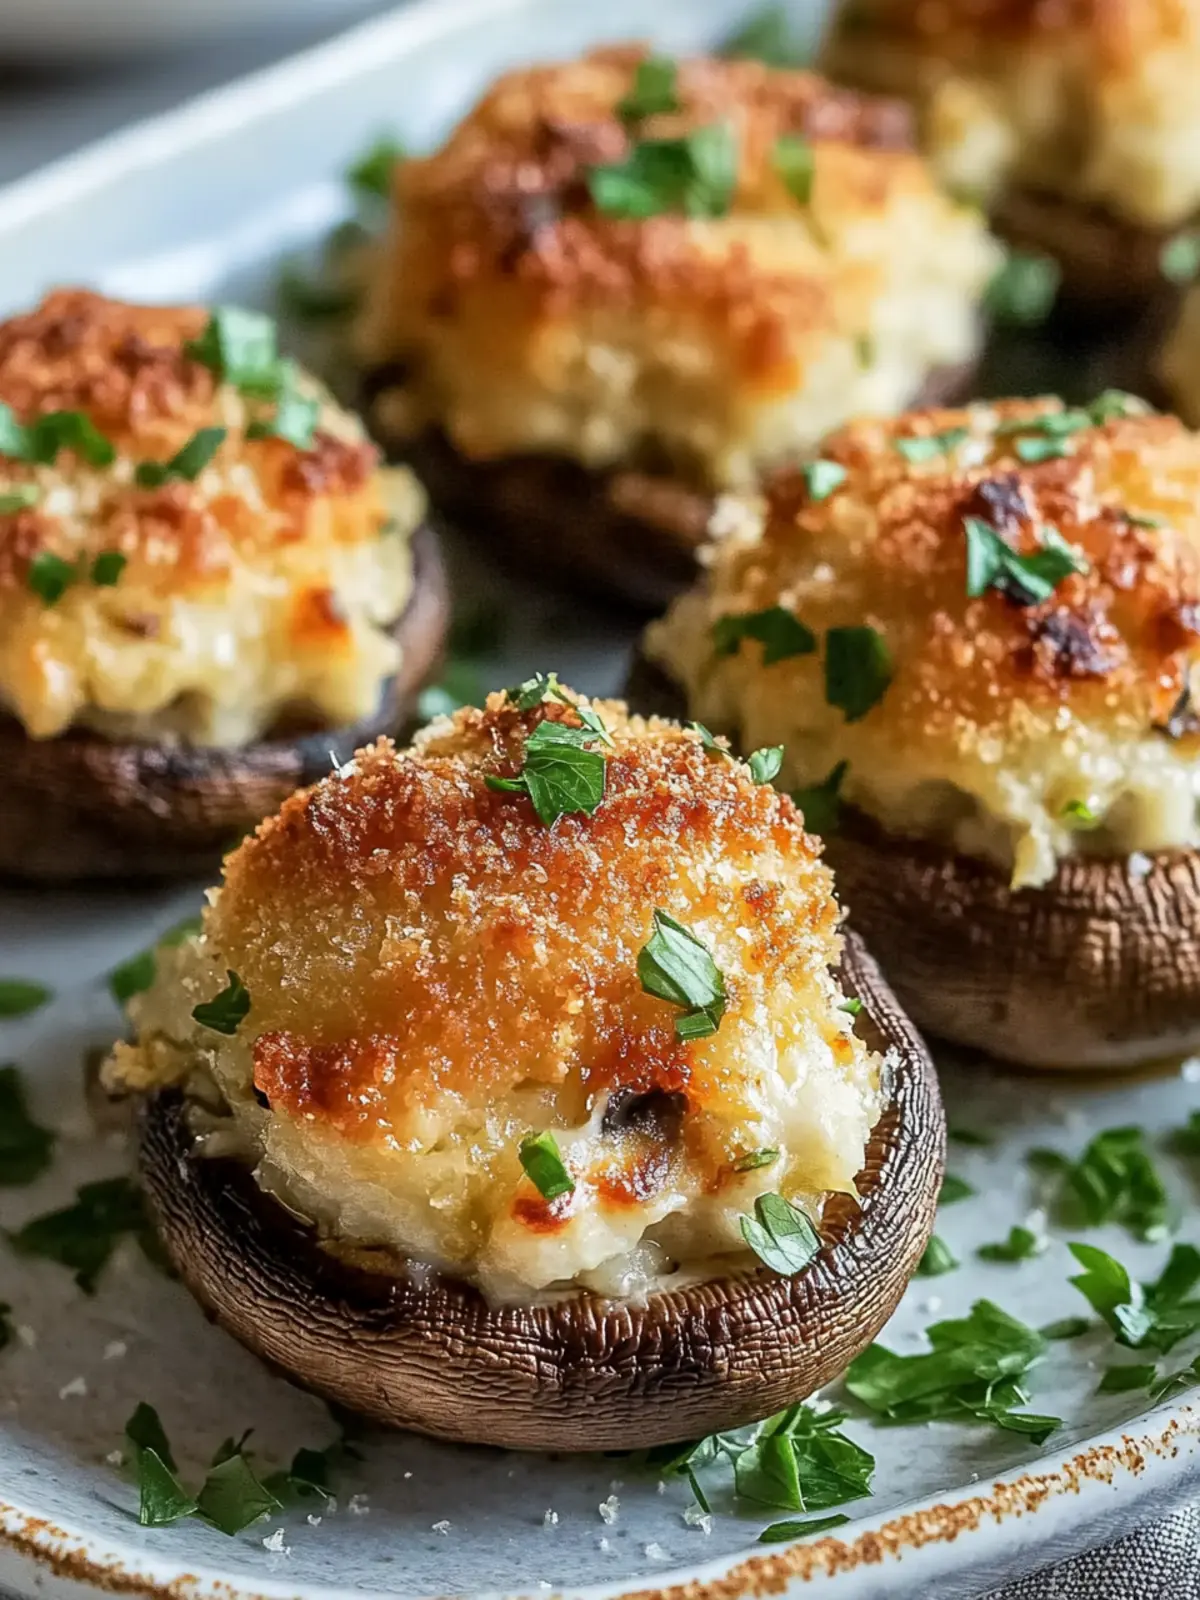
- Preheat your oven to 375°F (190°C). Line a rimmed baking sheet with parchment paper. This makes cleanup a breeze and prevents the mushrooms from sticking.
- Clean the mushrooms. Wipe each mushroom with a damp paper towel to remove any dirt. Don’t rinse them under water—they’ll soak up moisture like sponges and turn soggy. Gently twist off the stems. You can save the stems for another use (like adding to soup or stock), but for this recipe, we’re just using the caps.
- Brush the caps with olive oil. Place the mushroom caps on the prepared baking sheet, cavity side up. Use a pastry brush to lightly coat each cap with olive oil. This helps them brown beautifully and prevents them from drying out.
- Make the filling. In a small mixing bowl, combine the softened cream cheese, grated Parmesan, minced garlic, and a pinch of salt and pepper. Mix until smooth and well combined. Taste it—yes, raw. Adjust the seasoning if needed. The filling should be creamy and flavorful, with the garlic coming through but not overpowering.
- Fill the mushrooms. Using a small spoon, carefully fill each mushroom cap with the cream cheese mixture. Don’t overstuff—you want a nice mound, but not so much that it spills over during baking. I usually aim for about a heaping teaspoon per cap.
- Top with breadcrumbs. Sprinkle a pinch of breadcrumbs over each filled mushroom. This creates that golden, crunchy topping. Press them down gently so they stick to the filling.
- Bake for 18-20 minutes. Place the baking sheet in the preheated oven. Bake until the mushrooms are tender and the tops are golden and bubbly. The filling should be hot all the way through. If you want extra browning, switch the oven to broil for the last 1-2 minutes—but watch them closely so they don’t burn.
- Let them rest for 5 minutes. This is important. The filling will be molten hot straight out of the oven. Letting them rest allows the flavors to settle and prevents burned tongues. I learned this the hard way.
- Garnish and serve. Sprinkle with fresh chopped parsley for a pop of color and freshness. Serve warm, but not scorching hot. They’re best within 30 minutes of coming out of the oven.
Your kitchen will smell incredible at this point—garlicky, earthy, and just a little bit buttery. Trust me, your guests will start hovering near the oven.
Cooking Tips & Techniques
I’ve made these mushrooms more times than I can count, and I’ve definitely made my share of mistakes. Here’s what I’ve learned so you don’t have to repeat my failures:
- Don’t skip the oil brush. I once forgot to brush the mushrooms with oil, and they came out dry and shriveled. The oil helps them stay plump and gives them a nice golden color.
- Use room temperature cream cheese. Cold cream cheese is impossible to mix smoothly. You’ll end up with lumps of cream cheese in your filling. Let it sit out for 30 minutes before you start.
- Don’t overmix the filling. Stir just until everything is combined. Overmixing can make the filling dense and heavy instead of light and creamy.
- Watch the broiler. If you decide to broil the tops for extra crunch, keep an eye on them. I’ve burned a whole batch because I got distracted for 30 seconds. Those little breadcrumbs go from golden to black in a heartbeat.
- Make ahead tip. You can assemble the mushrooms up to 24 hours in advance. Just fill them, arrange them on the baking sheet, cover with plastic wrap, and refrigerate. Add the breadcrumbs right before baking so they stay crunchy.
One time I tried to double the recipe and used two baking sheets on different oven racks. The ones on the top rack cooked faster and the bottoms got a little too dark. If you’re making a big batch, rotate the pans halfway through baking.
Variations & Adaptations
This recipe is super flexible. Here are some variations I’ve tried and loved:
- Spicy version: Add ½ teaspoon of red pepper flakes to the filling. The heat cuts through the richness beautifully. I made this for a game day party, and they disappeared first.
- Herb version: Mix in 2 tablespoons of fresh chopped herbs like thyme, rosemary, or chives. I love using thyme—it pairs perfectly with the earthy mushroom flavor.
- Meat-lover’s version: Cook 4 ounces of crumbled Italian sausage or bacon until crispy, then mix it into the filling. This turns them into a heartier appetizer that even carnivores will love.
- Dairy-free version: Use vegan cream cheese and nutritional yeast instead of Parmesan. The texture won’t be as creamy, but the flavor is still great. I’ve served this to dairy-free friends and they didn’t feel left out.
- Gluten-free version: Use gluten-free breadcrumbs or crushed pork rinds for the topping. Both work well and add a nice crunch.
One of my favorite variations is adding finely chopped sun-dried tomatoes to the filling. The tangy sweetness complements the creamy cheese and earthy mushrooms. I made this for a brunch gathering once, and someone asked for the recipe before they even finished eating.
Serving & Storage Suggestions
These stuffed mushrooms are best served warm, straight from the oven. Let them rest for 5 minutes so the filling sets slightly, then arrange them on a platter. I like to serve them on a white platter with a sprinkle of fresh parsley—it makes them look extra fancy with zero effort.
They pair beautifully with other appetizers. If you’re hosting a party, try serving them alongside creamy cold buffalo chicken dip for a crowd-pleasing spread. For a Mediterranean twist, add a bowl of fresh cowboy caviar pasta salad on the side.
For storage, place any leftovers in an airtight container in the refrigerator. They’ll keep for up to 3 days. To reheat, pop them in a 350°F (175°C) oven for 5-7 minutes, or until warmed through. Don’t use the microwave—it makes the mushrooms rubbery and the filling gummy.
You can also freeze them. Arrange the baked and cooled mushrooms on a baking sheet and freeze until solid, then transfer to a freezer-safe bag. They’ll keep for up to 3 months. Reheat from frozen in a 375°F (190°C) oven for 10-12 minutes. The texture won’t be quite as perfect as fresh, but they’re still delicious.
Honestly, these mushrooms taste even better the next day. The flavors meld together overnight, and the filling gets even creamier. I’ve been known to make a double batch just so I have leftovers for lunch.
Nutritional Information & Benefits
Here’s the approximate nutritional breakdown per serving (4-5 stuffed mushrooms):
- Calories: 210
- Protein: 8g
- Fat: 16g
- Carbohydrates: 9g
- Fiber: 1g
- Sugar: 3g
Mushrooms are a great source of B vitamins, selenium, and copper. They’re also one of the few natural food sources of vitamin D (especially if they’ve been exposed to UV light). The cream cheese adds calcium, and the Parmesan provides a good dose of protein.
If you’re watching your carb intake, these are relatively low-carb friendly. Each serving has about 9g of carbs, with most of that coming from the mushrooms themselves. You can reduce the carbs further by using almond flour instead of breadcrumbs for the topping.
I like to think of these as a “treat yourself” appetizer. They’re indulgent but not over-the-top, and they’re made with real, whole ingredients. No weird preservatives or artificial flavors here.
Conclusion
These savory easy stuffed mushrooms have become my signature appetizer for a reason. They’re simple enough for a random Tuesday but impressive enough for a holiday party. The creamy, garlicky filling paired with tender mushroom caps is a combination that never gets old.
I love that this recipe leaves room for creativity. Want to add bacon? Go for it. Prefer a little heat? Toss in some red pepper flakes. The base recipe is solid, but it’s also a canvas for your own preferences. That’s what makes cooking fun, right?
If you try this recipe, I’d love to hear how it goes. Leave a comment below and let me know if you made any tweaks or if your guests devoured them as fast as mine do. And if you’re looking for another easy appetizer, check out easy fluffy sausage pancake bites for a breakfast-style option that’s just as crowd-pleasing.
Happy cooking, friend. Your taste buds are in for a treat.
Frequently Asked Questions
Can I use white button mushrooms instead of cremini?
Yes, absolutely. White button mushrooms are milder in flavor and slightly more tender. They’ll work just fine, though the filling might be a bit looser since they release more moisture during baking. Just make sure to wipe them clean and don’t soak them.
Can I make these stuffed mushrooms ahead of time?
Yes! You can assemble them up to 24 hours in advance. Fill the caps, arrange them on the baking sheet, cover with plastic wrap, and refrigerate. Add the breadcrumbs just before baking so they stay crunchy. You can also bake them fully and reheat later.
How do I prevent the mushrooms from getting watery?
Don’t wash them under running water. Use a damp paper towel to wipe off any dirt. Also, make sure you don’t overstuff the caps—too much filling can trap moisture. Baking at 375°F (190°C) helps them cook through without steaming.
Can I freeze stuffed mushrooms?
Yes, but for best results, freeze them after baking. Let them cool completely, then arrange on a baking sheet and freeze until solid. Transfer to a freezer-safe bag. Reheat from frozen in a 375°F (190°C) oven for 10-12 minutes. The texture won’t be as perfect as fresh, but they’re still tasty.
What can I use instead of breadcrumbs for the topping?
Panko breadcrumbs are a great substitute for a crunchier texture. For a gluten-free option, try crushed pork rinds or almond flour. I’ve also used crushed crackers in a pinch—they work surprisingly well.
Pin This Recipe!
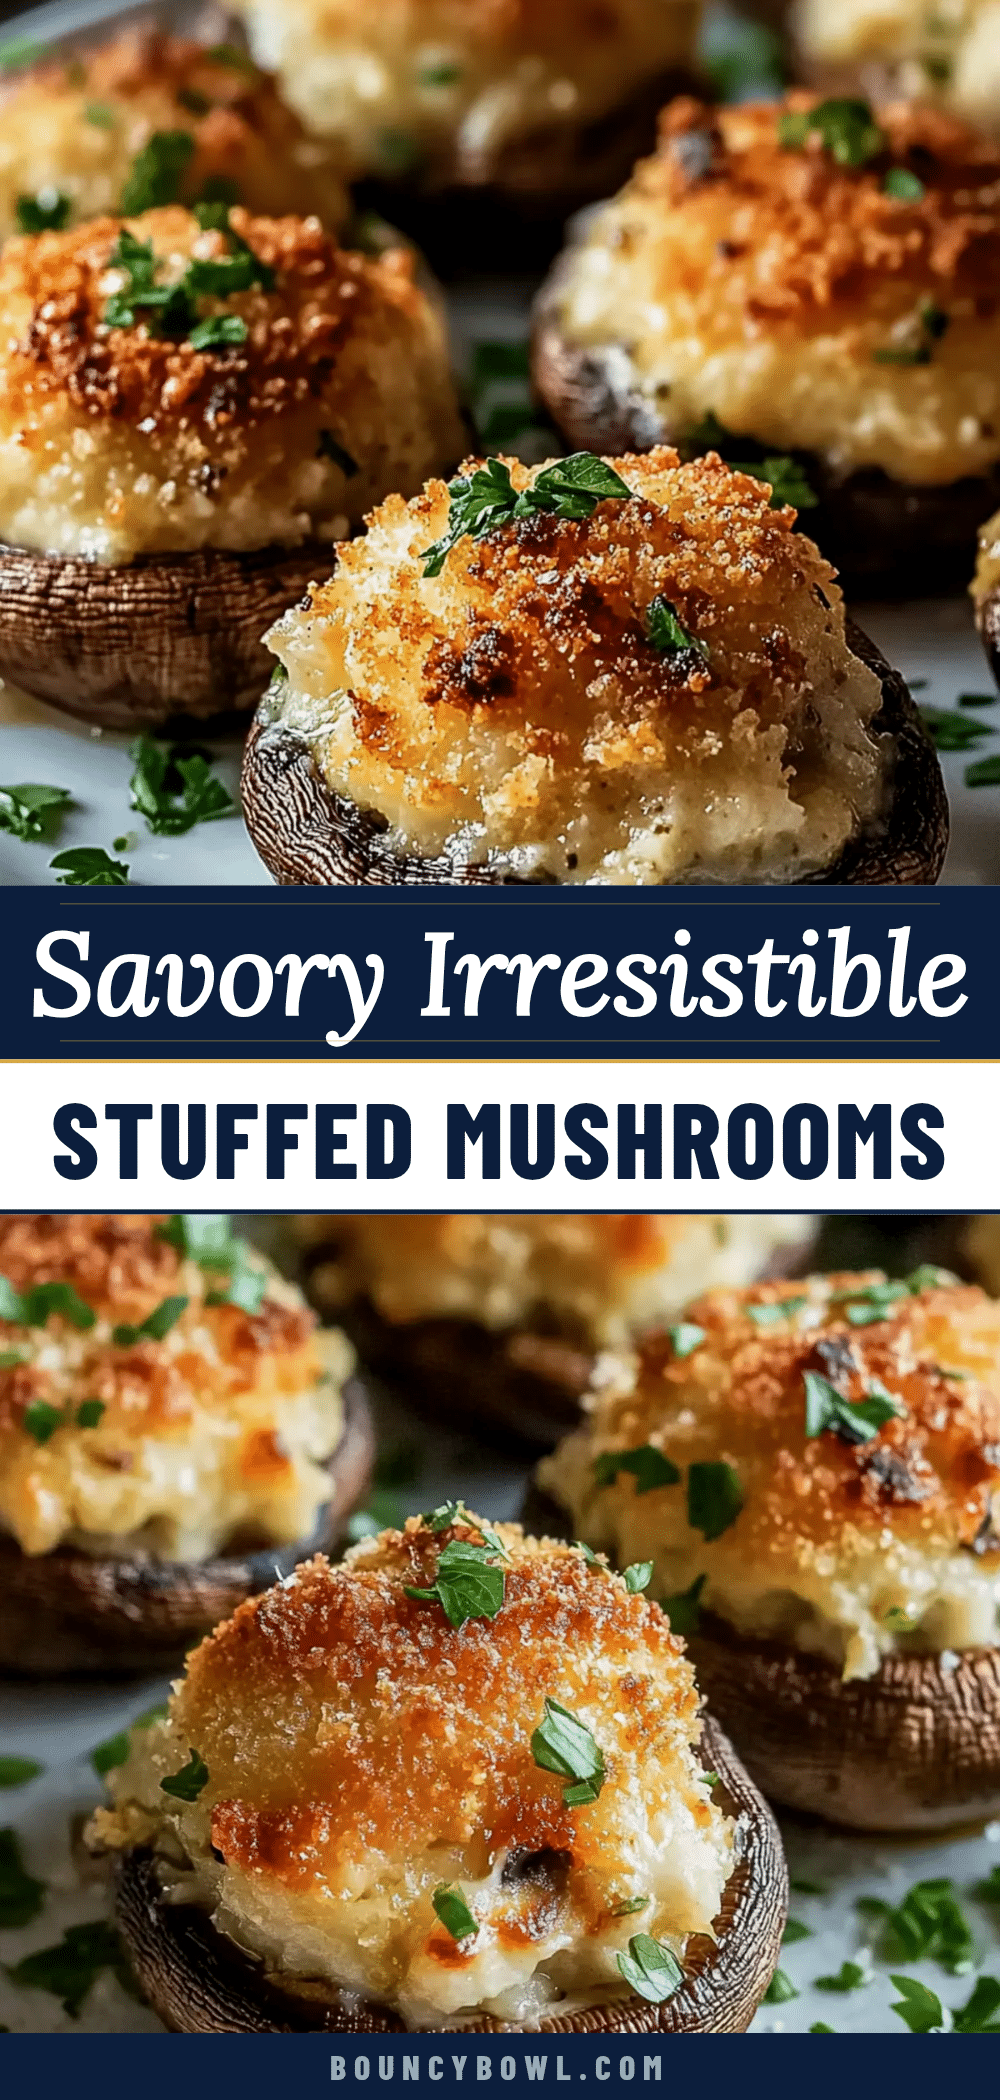
Easy Stuffed Mushrooms: The Best Savory Appetizer
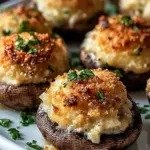
These easy stuffed mushrooms are the perfect savory appetizer, featuring a creamy, garlicky filling with a crunchy breadcrumb topping. Ready in about 30 minutes, they’re a crowd-pleasing party favorite that looks fancy but is secretly simple to make.
- Prep Time: 10 minutes
- Cook Time: 20 minutes
- Total Time: 30 minutes
- Yield: 4 servings 1x
- Category: Appetizer
- Cuisine: American
Ingredients
- 1 pound (450g) cremini mushrooms (baby bellas), stems removed
- 8 ounces (225g) cream cheese, softened
- ½ cup (50g) freshly grated Parmesan cheese
- 3 cloves garlic, minced
- ¼ cup (30g) plain or panko breadcrumbs
- 2 tablespoons (30ml) olive oil
- Salt and black pepper to taste
- 2 tablespoons fresh parsley, chopped (for garnish)
- Optional: pinch of red pepper flakes or 2 tablespoons finely chopped sun-dried tomatoes
Instructions
- Preheat your oven to 375°F (190°C). Line a rimmed baking sheet with parchment paper.
- Clean the mushrooms by wiping each with a damp paper towel. Gently twist off the stems and discard or save for another use.
- Place the mushroom caps on the prepared baking sheet, cavity side up. Brush each cap lightly with olive oil.
- In a small mixing bowl, combine softened cream cheese, grated Parmesan, minced garlic, and a pinch of salt and pepper. Mix until smooth and well combined.
- Using a small spoon, fill each mushroom cap with the cream cheese mixture, about a heaping teaspoon per cap.
- Sprinkle a pinch of breadcrumbs over each filled mushroom, pressing gently to adhere.
- Bake for 18-20 minutes, until mushrooms are tender and tops are golden and bubbly. For extra browning, broil for the last 1-2 minutes, watching closely.
- Let the mushrooms rest for 5 minutes before serving.
- Garnish with fresh chopped parsley and serve warm.
Notes
Don’t wash mushrooms under water; use a damp paper towel to avoid sogginess. Use room temperature cream cheese for smooth mixing. For make-ahead, assemble up to 24 hours in advance, add breadcrumbs just before baking. Leftovers keep in the fridge for up to 3 days; reheat in a 350°F oven for 5-7 minutes. Freeze baked mushrooms for up to 3 months.
Nutrition
- Serving Size: 4-5 stuffed mushroom
- Calories: 210
- Sugar: 3
- Sodium: 350
- Fat: 16
- Saturated Fat: 8
- Carbohydrates: 9
- Fiber: 1
- Protein: 8
Keywords: stuffed mushrooms, easy appetizer, party appetizer, vegetarian appetizer, cremini mushrooms, cream cheese, garlic, breadcrumbs