Love this? Save it for later!
Share the inspiration with your friends
“Hey, want to try something wild for breakfast?” my kid blurted out one summer morning, waving a popsicle mold like it held the secret to happiness. Honestly, I was skeptical. Breakfast popsicles? It sounded like a sugar-loaded gimmick. But that day, with the sun already blazing through the kitchen window and the usual cereal bowl feeling a bit meh, I decided to give the idea a shot.
The result was surprising—an unexpectedly fun, crunchy, and cool treat that made mornings something to look forward to. The crunch of the cereal suspended in creamy, subtly sweet popsicles was like a mini celebration in every bite. I found myself making these popsicles multiple times that week, tweaking the cereal combos, and even sneaking them in as a playful dessert after dinner. It wasn’t just a novelty; it became a go-to for those hectic mornings or lazy weekends when you want something quick but not boring.
What stuck with me was how this simple twist made breakfast feel new again. No fuss, just a handful of cereal, a splash of milk, and some frozen magic. Plus, it’s a great way to use up leftover cereal that’s lost its crunch in the box (we all have that one, right?). Somehow, these popsicles brought a little bit of childhood whimsy back to the table and gave me a quiet moment of joy in the chaos of everyday life.
So, if you’re craving a crunchy, creamy, and fun change from your usual cereal bowl, this Fun and Crunchy Breakfast Cereal Popsicles Recipe might just become your new favorite morning ritual (or an anytime treat). It’s simple enough for the kids to get involved and cool enough to brighten even the hottest days. Trust me, breakfast just got way more interesting.
Why You’ll Love This Recipe
This recipe has been my secret weapon for turning rushed mornings into moments of delight. I’ve tested it with different cereal types and milk bases, and it always hits the spot. Here’s why this recipe stands out:
- Quick & Easy: Ready to pop into the freezer in under 10 minutes, perfect when time is tight or when spontaneous snack attacks happen.
- Simple Ingredients: No need for fancy shopping trips—just grab your favorite cereal and milk from the pantry.
- Perfect for Summer & Brunch: A playful way to cool down on warm mornings or add a fun twist to weekend brunches.
- Crowd-Pleaser: Whether it’s kids or adults, everyone loves the surprise crunch and creamy texture combo.
- Unbelievably Delicious: The contrast between the soft popsicle and crunchy cereal is oddly satisfying and totally addictive.
This isn’t your average frozen treat. The magic lies in choosing the right cereal and the gentle balance of milk sweetness. I prefer cereals with a bit of crunch that hold up well when frozen—think of the classic corn flakes or fruity loops. And instead of plain milk, sometimes I mix in a splash of vanilla or cinnamon to take things up a notch.
Honestly, this recipe has become a fun way to experiment, like when I tried it with the fruity cereal from my Persian-style chicken pilaf day or as a playful dessert after a filling meal like the garlic pulled beef sliders. It’s a small, sweet reminder that breakfast doesn’t have to be boring.
What Ingredients You Will Need
This recipe uses simple, wholesome ingredients to deliver bold flavor and satisfying texture without the fuss. You likely have most of these already, and there’s plenty of room to swap or experiment.
- Breakfast Cereal (3 cups / 75g): Choose crunchy types that hold up when frozen. Corn flakes, rice crisps, or fruity loops work great. Avoid overly sugary or coated cereals that turn soggy quickly.
- Milk (2 cups / 480ml): Whole milk gives creaminess, but you can use almond, oat, or coconut milk for dairy-free options.
- Sweetener (2 tbsp / 30ml): Maple syrup, honey, or agave nectar to add a touch of natural sweetness. Optional depending on your cereal choice.
- Vanilla Extract (1 tsp / 5ml): Adds a warm, comforting flavor. Pure vanilla is best for that authentic taste.
- Optional Mix-ins: Mini chocolate chips, chopped nuts, or fresh berries can add an extra layer of flavor and texture.
For a creamier texture, try stirring in a couple of tablespoons of Greek yogurt or cream cheese. It’s a trick I picked up when making creamy desserts like the Blue Moon ice cream—it really makes the popsicles feel richer.
Pro tip: If you want a colorful twist, swap in fruit-flavored cereals or add a swirl of berry puree right before freezing. And if you’re watching sugar, opt for cereals with lower sugar content and reduce or skip the sweetener altogether.
Equipment Needed
- Popsicle molds: Essential for shaping your cereal popsicles. Silicone molds are great because they’re flexible and make unmolding easier.
- Popsicle sticks: Wooden or reusable plastic sticks work fine. If your molds don’t come with sticks, you can use sturdy toothpicks in a pinch.
- Mixing bowl: For combining milk, sweetener, and vanilla before adding cereal.
- Measuring cups and spoons: For accuracy, especially with sweeteners and flavorings.
- Freezer-safe container (optional): If you want to make layered or different flavored popsicles, a shallow dish can help with freezing layers separately.
If you don’t have popsicle molds, small paper cups with foil covers and sticks work surprisingly well. Also, silicone molds can last for years if you rinse them after each use and avoid sharp utensils when unmolding.
Preparation Method
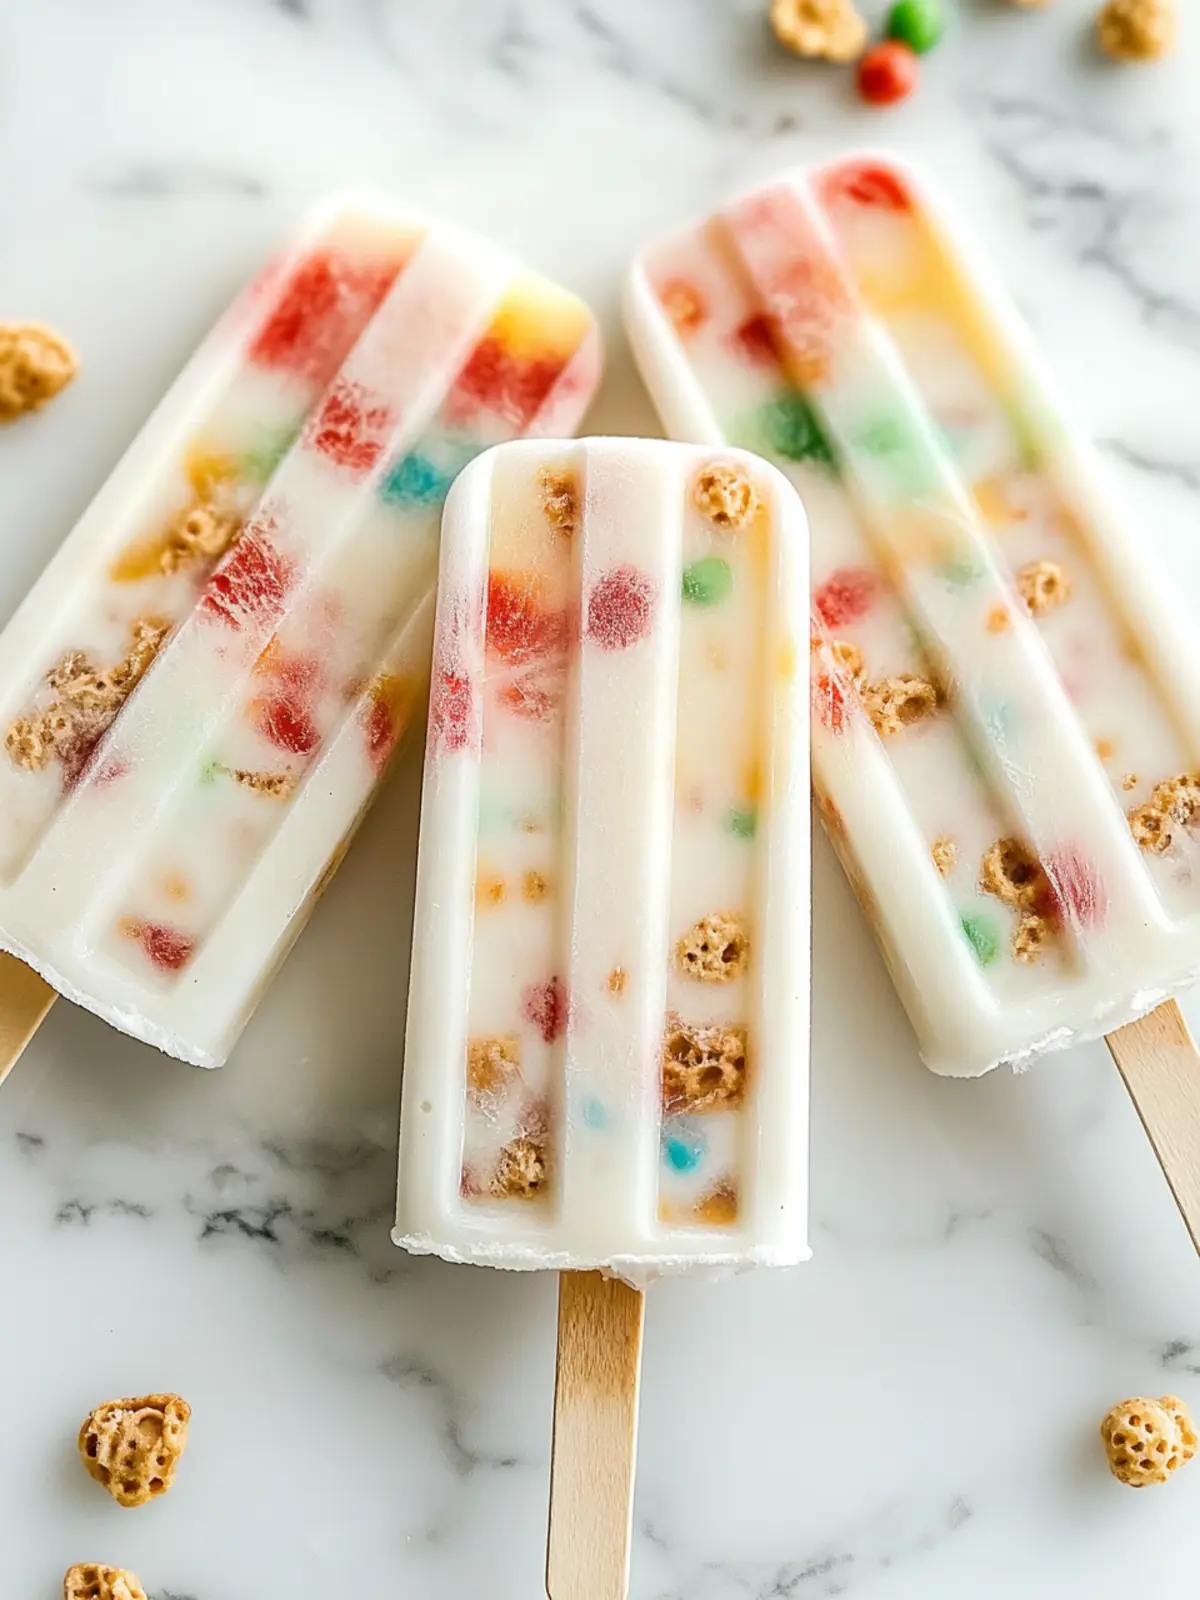
- Mix the base: In a mixing bowl, combine 2 cups (480ml) of your chosen milk, 2 tablespoons (30ml) of sweetener, and 1 teaspoon (5ml) vanilla extract. Stir well until the sweetener dissolves. This should take about 2 minutes.
- Prepare the cereal: Measure out 3 cups (75g) of crunchy breakfast cereal. If using mix-ins like chocolate chips or nuts, have them ready as well.
- Layer the popsicles: Pour a small amount of the milk mixture into each popsicle mold—about 1/3 full. Add a spoonful of cereal on top. Repeat layering milk and cereal until molds are nearly full, leaving a little space for the popsicle stick.
- Insert sticks: If your molds don’t have a built-in stick holder, place the sticks now, making sure they’re centered and standing upright.
- Freeze: Place molds in the freezer for at least 4-6 hours or until completely solid. Overnight works best for a firm popsicle.
- Unmold carefully: To release, run warm water briefly over the outside of the mold to loosen the popsicles. Gently pull on the sticks to remove.
- Serve immediately or keep stored in a freezer-safe container for up to one week.
Watch out for soggy cereal! The layering is key—too much milk all at once can drown the cereal and make it mushy. Also, don’t overfill the molds; leaving some space at the top helps the popsicles freeze evenly and prevents spillage.
Cooking Tips & Techniques
Keeping the cereal crunchy inside a frozen popsicle may sound tricky, but a few tricks make all the difference. First, use cereals that are naturally resilient—corn flakes and rice crisps are my favorites. I learned the hard way that sugary, coated cereals tend to get soggy too fast.
Layering the cereal and milk rather than mixing them all at once helps maintain that coveted crunch. You want little pockets of crispy cereal surrounded by creamy milk. Patience in freezing time is crucial too—rushing the process can cause uneven texture.
For a smoother taste, try chilling the milk mixture before layering. Cold milk slows down the cereal from absorbing too much liquid immediately. I also sometimes toast the cereal lightly in a dry pan (just a minute or two) to add a nutty flavor and extra sturdiness.
Don’t be shy about experimenting with milk types. Almond or oat milk gives a lovely sweetness, while coconut milk adds a tropical twist. My personal favorite is a blend of whole milk and a splash of cream for richness.
When unmolding, warm water baths around the mold help loosen the popsicles without melting them too much. And if you want to get fancy, try layering in some fruit puree or chocolate sauce between the cereal layers for an extra surprise.
Variations & Adaptations
This recipe is super flexible, perfect for customizing to your taste and dietary needs.
- Dietary: Swap dairy milk for plant-based options like almond, coconut, or oat milk to make these popsicles vegan and dairy-free.
- Seasonal: Add fresh fruit layers like chopped strawberries or blueberries in summer for a burst of natural sweetness and color.
- Flavor Twist: Mix in a teaspoon of cinnamon or nutmeg for cozy warmth, or a splash of espresso for a grown-up morning treat.
- Allergen-Friendly: Use gluten-free cereal to accommodate sensitivities or swap nuts for seeds like pumpkin or sunflower if allergies are a concern.
- Personal Favorite: I once tried a combo inspired by the crispy baklava cookies recipe—adding chopped pistachios and a drizzle of honey on top before freezing. It was an unexpected delight!
You can also make layered popsicles by freezing one flavor at a time, like a creamy vanilla layer followed by a fruity layer with cereal on top—just freeze each separately before adding the next.
Serving & Storage Suggestions
Serve these cereal popsicles straight from the freezer for the best crunch and creamy texture. They’re perfect for breakfast on-the-go or as a fun snack during hot afternoons. For presentation, popping them out onto a plate lined with fresh berries or a drizzle of chocolate sauce makes for a colorful, inviting treat.
Store leftover popsicles in an airtight container or a zip-top freezer bag for up to one week. Over time, the cereal may soften slightly but will still taste delicious. To re-crisp the cereal, you could sprinkle fresh cereal on top right before serving.
When reheating is needed (like slightly thawing for easier biting), let them sit at room temperature for 5 minutes or run briefly under warm water to avoid melting.
These popsicles pair wonderfully with a fresh fruit salad or a warm cup of coffee for adults. If you want to keep the fun going, try serving alongside other playful breakfast recipes like the sweet cinnamon swirl pizza for a brunch spread that’s anything but ordinary.
Nutritional Information & Benefits
Each popsicle contains roughly 100-150 calories depending on milk and cereal choice, making it a light and satisfying option. Using whole milk provides calcium and vitamin D, while cereals fortified with iron add a boost to your morning nutrition.
Choosing cereals made with whole grains offers fiber, which supports digestion and keeps you feeling full longer. Swapping in plant-based milks can reduce saturated fat and cater to lactose intolerance. Adding fresh fruit mix-ins can increase vitamin C and antioxidants.
Keep in mind that cereal sugars vary widely, so check labels if you’re managing sugar intake. This recipe is naturally gluten-free if you select gluten-free cereals and milk, making it accessible for many dietary preferences.
From my experience, these popsicles are a fun way to sneak in a bit of breakfast nutrition while keeping things light and enjoyable—especially for kids who might otherwise skip breakfast altogether.
Conclusion
This Fun and Crunchy Breakfast Cereal Popsicles Recipe is a simple, playful twist that brings joy back to the breakfast table. Whether you’re juggling a busy morning or craving a cool treat on a sunny day, these popsicles fit the bill without fuss or fancy ingredients.
Feel free to make it your own by swapping cereals, trying new milks, or adding your favorite flavors. I love how this recipe turns a humble bowl of cereal into something a little unexpected and a lot fun. It’s proof that sometimes the best ideas come from a spark of curiosity and a handful of cereal.
Give it a try, share your own cereal popsicle combos, and maybe surprise your family with a new breakfast tradition. Here’s to crunchy mornings and cool treats that make you smile!
FAQs
Can I use any type of cereal for these popsicles?
It’s best to use cereals that stay crunchy when frozen, like corn flakes, rice crisps, or fruity loops. Avoid sugary or coated cereals that tend to get soggy quickly.
What milk works best for cereal popsicles?
Whole milk gives a creamy texture, but almond, oat, or coconut milk are great for dairy-free options. You can even mix milk with a bit of yogurt for extra creaminess.
How long do I need to freeze the popsicles?
Freeze them for at least 4-6 hours, but overnight is ideal for a firm, fully set popsicle.
Can I prepare these popsicles in advance?
Absolutely! They store well in the freezer for up to a week in an airtight container or freezer bag.
Any tips for unmolding popsicles easily?
Run warm water briefly over the outside of the mold to loosen the popsicles before gently pulling on the sticks. Silicone molds make this even easier.
Pin This Recipe!
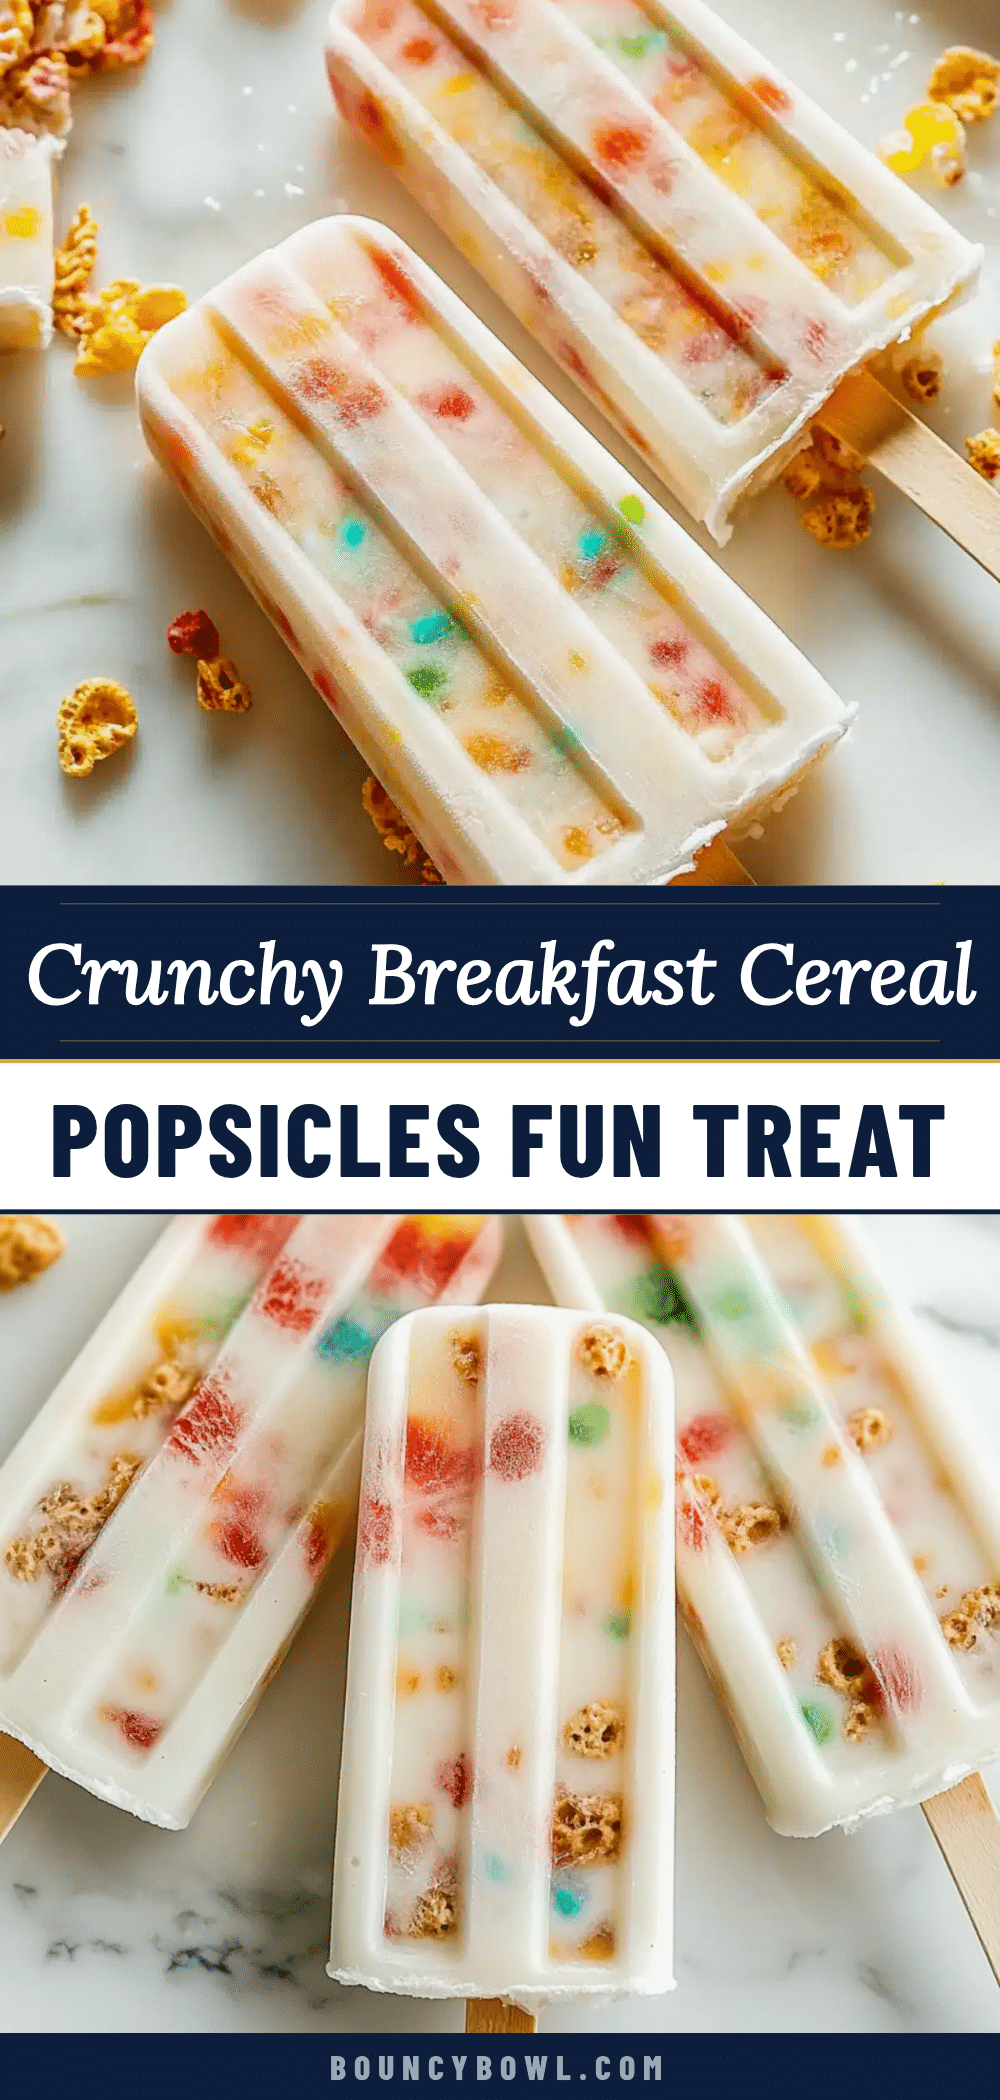
Fun and Crunchy Breakfast Cereal Popsicles
A playful and crunchy breakfast treat combining your favorite cereal and milk frozen into popsicles. Perfect for quick mornings, brunch, or a fun anytime snack.
- Prep Time: 10 minutes
- Cook Time: 4 to 6 hours (freezing time)
- Total Time: 4 hours 10 minutes to 6 hours 10 minutes
- Yield: 6 popsicles 1x
- Category: Breakfast
- Cuisine: American
Ingredients
- 3 cups (75g) crunchy breakfast cereal (corn flakes, rice crisps, or fruity loops recommended)
- 2 cups (480ml) milk (whole milk preferred, or almond, oat, coconut milk for dairy-free)
- 2 tablespoons (30ml) sweetener (maple syrup, honey, or agave nectar, optional)
- 1 teaspoon (5ml) vanilla extract
- Optional mix-ins: mini chocolate chips, chopped nuts, fresh berries
- Optional: 2 tablespoons Greek yogurt or cream cheese for creamier texture
Instructions
- In a mixing bowl, combine 2 cups (480ml) of your chosen milk, 2 tablespoons (30ml) of sweetener, and 1 teaspoon (5ml) vanilla extract. Stir well until the sweetener dissolves (about 2 minutes).
- Measure out 3 cups (75g) of crunchy breakfast cereal. Prepare any optional mix-ins if using.
- Pour a small amount of the milk mixture into each popsicle mold—about 1/3 full. Add a spoonful of cereal on top.
- Repeat layering milk and cereal until molds are nearly full, leaving space for the popsicle stick.
- Insert popsicle sticks, ensuring they are centered and upright.
- Freeze molds for at least 4-6 hours or overnight until completely solid.
- To unmold, run warm water briefly over the outside of the mold to loosen the popsicles, then gently pull on the sticks.
- Serve immediately or store in a freezer-safe container for up to one week.
Notes
Use cereals that hold up well when frozen like corn flakes or rice crisps to maintain crunch. Layer milk and cereal instead of mixing to avoid sogginess. Chilling the milk mixture before layering helps keep cereal crunchy. Warm water helps unmold popsicles easily. Experiment with milk types and add-ins like fruit puree or spices for variety.
Nutrition
- Serving Size: 1 popsicle
- Calories: 100150
- Sugar: 812
- Sodium: 100150
- Fat: 35
- Saturated Fat: 12
- Carbohydrates: 2025
- Fiber: 13
- Protein: 35
Keywords: breakfast popsicles, cereal popsicles, crunchy breakfast, easy breakfast recipe, homemade popsicles, summer breakfast, kid-friendly breakfast


