Love this? Save it for later!
Share the inspiration with your friends
“You better hide these,” my friend warned with a grin as she eyed the tray of homemade chunky candy bars cooling on the counter. Honestly, I didn’t expect much when I first threw together this recipe one late evening after a long day. I was craving something sweet but didn’t want to mess with complicated baking or wait hours. The idea of layering simple ingredients into a rich, chunky candy bar came from a scrap of inspiration and a bit of kitchen improvisation.
The texture was the first thing that caught me off guard — thick, chewy, with crunchy bits and gooey pockets all at once. And the flavor? Oh, it hit that perfect spot where salty meets sweet, and chocolate melts into caramel and nuts. I thought, “Who knew making candy bars at home could be this easy and this satisfying?”
Since then, I’ve found myself making these Irresistible Homemade Chunky Candy Bars with Rich Layers multiple times a week, tweaking the layers here and there but never straying far from the core combo. They became my go-to for gifting, last-minute treats, or just a pick-me-up when I needed a little sweet comfort. The recipe stuck because it’s approachable, fun to make, and, well—there’s just something about biting into a candy bar you crafted yourself that feels like a tiny victory. No fancy equipment, no obscure ingredients, just good old-fashioned indulgence layered with care.
Why You’ll Love This Recipe
From my many attempts and taste tests, I can say this recipe really nails the balance between indulgence and simplicity. You’ll find it hard to believe you made candy bars this rich and chunky right in your own kitchen.
- Quick & Easy: Ready in about 45 minutes, including cooling time — perfect for when you want a treat without a lengthy process.
- Simple Ingredients: No need for specialty stores; staples like chocolate chips, caramel, nuts, and a few pantry items do the trick.
- Perfect for Sharing: Whether it’s a casual get-together or a holiday party, these candy bars win over kids and adults alike.
- Unbelievably Delicious: The combination of crunchy, chewy, and gooey layers creates a texture that’s downright addictive.
- Customizable Layers: You can swap nuts or add dried fruit to suit your taste, making it your own signature treat.
What sets this recipe apart is the layering technique, which is so straightforward but results in rich depth of flavor and texture. I love that the caramel layer softens just enough to meld with chocolate, while the nuts add a satisfying bite. It’s not just candy bars—it’s a homemade treat that feels special without fuss. And honestly, after trying countless store-bought bars, these homemade versions make me pause and savor every bite.
What Ingredients You Will Need
This recipe uses simple, wholesome ingredients to build those rich layers without any complicated prep. Most of these are pantry or fridge staples, and substitutions are easy if you want to tweak things.
- For the base layer:
- 1 cup (120g) graham cracker crumbs (or digestive biscuits, crushed)
- ½ cup (115g) unsalted butter, melted (adds richness and binds the base)
- 2 tablespoons granulated sugar
- For the caramel layer:
- 1 cup (320g) soft caramel candies or store-bought caramel sauce (I like using Kraft for its smooth texture)
- 2 tablespoons heavy cream (makes caramel extra creamy)
- For the chunky topping:
- 1 cup (120g) roasted peanuts or mixed nuts, chopped (adds crunch and saltiness)
- 1 cup (175g) semi-sweet chocolate chips (Ghirardelli or Nestlé Toll House work great here)
- ¼ cup (30g) shredded coconut (optional, for extra texture)
- Optional extras:
- 1 teaspoon vanilla extract (for a warm, sweet note)
- Sea salt flakes for sprinkling on top (balances sweetness)
For a gluten-free option, substitute graham crackers with gluten-free cookies or almond flour. Dairy-free eaters can swap butter with coconut oil and use vegan caramel sauce. I’ve also made versions tossing in dried cherries or toffee bits for an extra twist.
Equipment Needed
Luckily, this recipe doesn’t call for any fancy gadgets—just the basics you probably already have.
- 8×8 inch (20×20 cm) square baking pan (glass or metal works well)
- Mixing bowls (a couple of medium-sized ones)
- Spoon or spatula for mixing and spreading
- Microwave-safe bowl or small saucepan (to melt caramel and butter)
- Measuring cups and spoons for accuracy
- Knife and cutting board (for chopping nuts)
If you don’t have a baking pan, a loaf pan or rectangular dish will do; just adjust the layer thickness slightly. For melting caramel, a double boiler works if you want more control, but the microwave method is fine as long as you stir frequently to avoid burning. I keep a silicone spatula on hand for scraping down the bowl — it helps get every last bit of caramel goodness.
Preparation Method
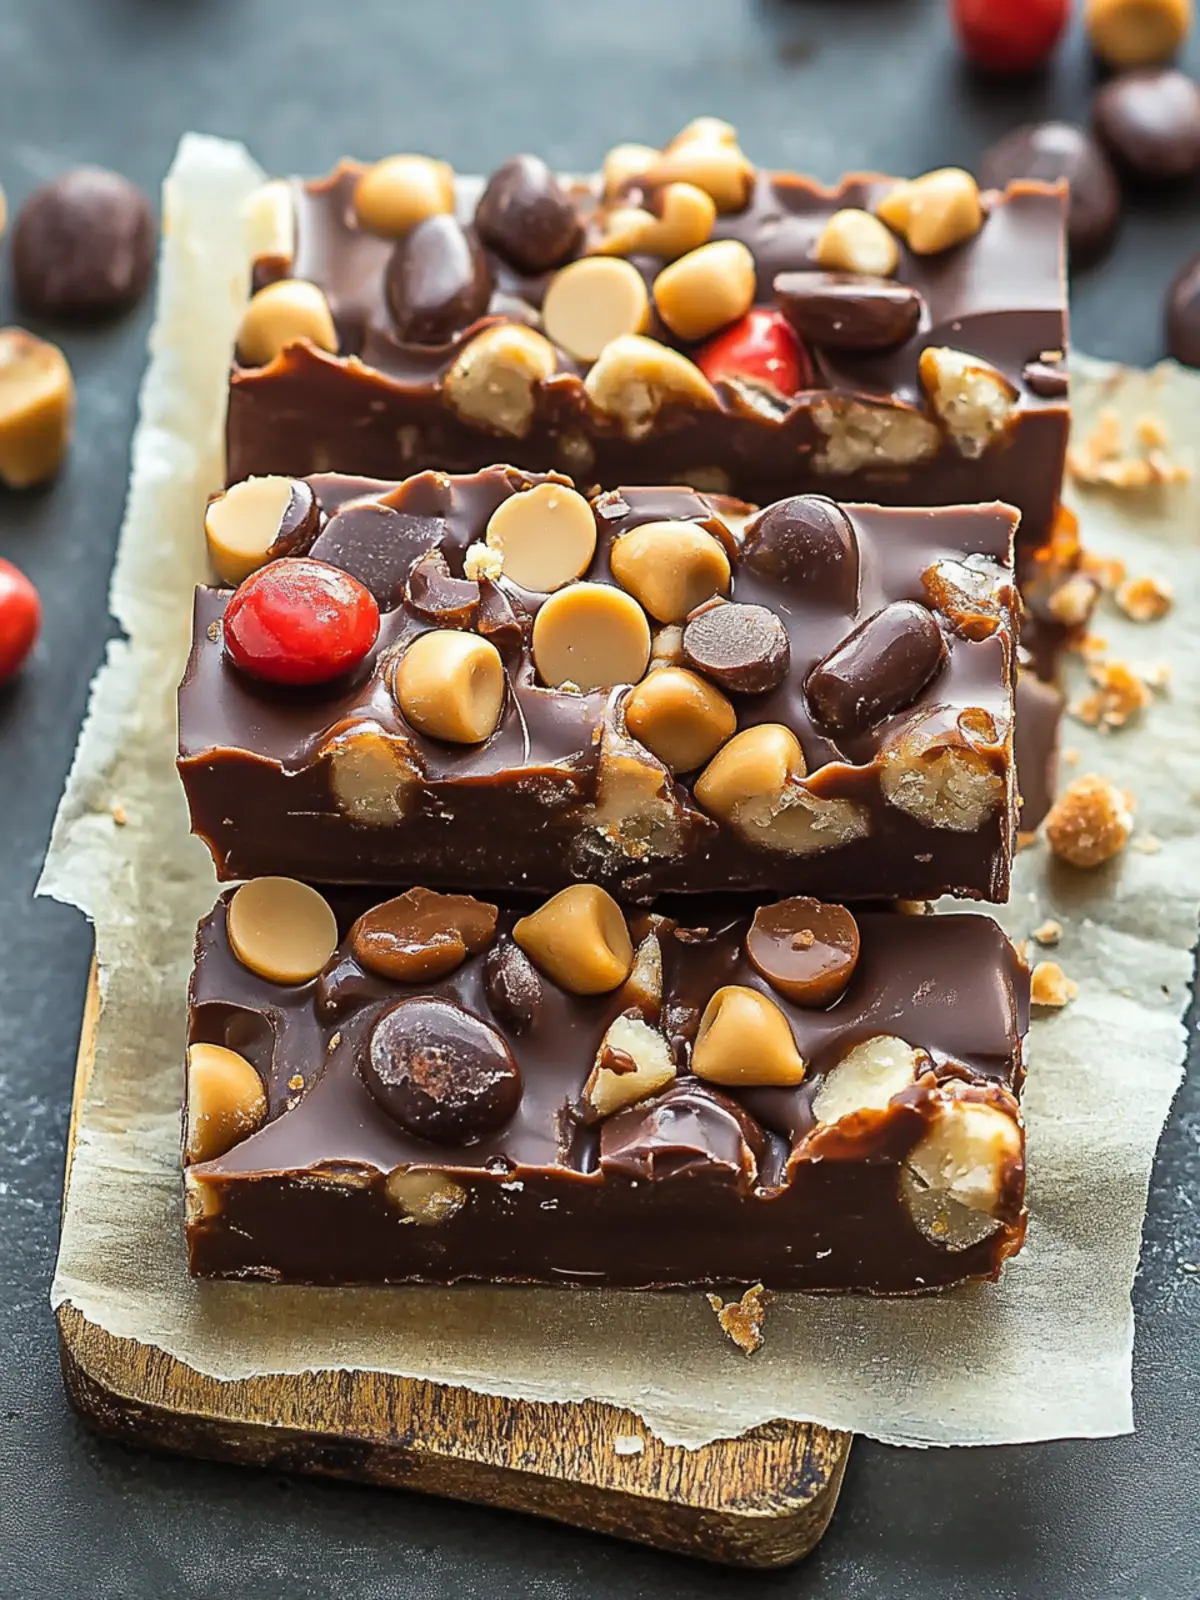
- Prepare the base layer: Preheat your oven to 350°F (175°C). In a medium bowl, combine 1 cup (120g) graham cracker crumbs, ½ cup (115g) melted unsalted butter, and 2 tablespoons sugar until the mixture looks like wet sand. Press this evenly into the bottom of your greased 8×8 inch pan. Bake for 10 minutes, then remove and let cool slightly. This gives the base a sturdy, buttery crunch.
- Make the caramel layer: While the base bakes, melt 1 cup (320g) caramel candies with 2 tablespoons heavy cream in a microwave-safe bowl. Heat in 30-second bursts, stirring in between, until smooth and pourable. If it seizes, add a splash more cream and stir vigorously. Stir in 1 teaspoon vanilla extract if using.
- Assemble the layers: Pour the warm caramel evenly over the cooled crust and spread gently with a spatula. Don’t press down too hard — you want a soft, gooey layer resting on top of the crunchy base.
- Add the chunky topping: Sprinkle 1 cup (120g) chopped roasted peanuts, 1 cup (175g) semi-sweet chocolate chips, and ¼ cup (30g) shredded coconut evenly over the caramel. This gives your candy bars that signature chunky texture and bursts of flavor.
- Final bake and set: Return the pan to the oven and bake for another 8-10 minutes at 350°F (175°C), just enough to soften the chocolate slightly without melting it completely. Remove and immediately sprinkle with a pinch of sea salt flakes if desired. Let cool completely at room temperature, then refrigerate for at least 2 hours to fully set.
- Cut and serve: Once chilled, use a sharp knife to cut into bars. For cleaner cuts, wipe the knife between slices. Store leftovers in an airtight container in the fridge.
Pro tip: If your caramel hardens too quickly while spreading, warm it gently again. Also, watch the second bake closely — too long and the chocolate can lose its texture. The ideal candy bar should be firm but yield a little when you bite into it.
Cooking Tips & Techniques
Making candy bars at home can feel intimidating, but these tips make it straightforward:
- Layer patience: Let each layer cool enough before adding the next. This helps keep the distinct textures instead of blending into a single mushy mass.
- Caramel handling: Use soft caramels rather than hard ones, or a smooth caramel sauce, for easier melting. Stir constantly to prevent scorching and clumping.
- Nut prep: Toast nuts lightly in a dry pan before chopping to bring out nuttier flavors and crunchier texture.
- Chocolate chips vs. chunks: Chips melt more uniformly, while chunks give bigger pockets of chocolate. I prefer chips for a balanced melt.
- Cutting clean bars: Chill candy bars fully before slicing. Warm knife blades with hot water and dry them off for neat edges.
Honestly, the first time I tried melting caramel, I ended up with a sticky mess because I didn’t stir enough. Lesson learned: slow and steady wins the caramel race. Also, I like to multitask by prepping the base while caramel melts. Saves time and keeps things moving smoothly.
Variations & Adaptations
This recipe is flexible enough to suit different tastes and dietary needs without losing its charm.
- Nut-free version: Replace nuts with toasted oats or crushed pretzels for crunch without allergens.
- Chocolate lovers: Use dark chocolate chips or mix milk and white chocolate for a marbled effect.
- Seasonal twist: Swap shredded coconut with dried cranberries or chopped dried apricots for a fruity pop.
- Healthier take: Use almond flour crust and natural nut butter caramel to cut refined sugars.
- Extra gooey: Add a drizzle of warm peanut butter or Nutella between layers before topping.
I once tried adding a sprinkle of espresso powder to the caramel layer — it gave a subtle mocha note that was surprisingly good. If you want to experiment with cooking methods, these bars also chill nicely in the freezer for a firmer, icier bite.
Serving & Storage Suggestions
These candy bars are best served cold or slightly chilled to enjoy the layered textures fully. Let them sit at room temperature for a few minutes before eating if they’ve been in the fridge too long.
Pair them with a cup of strong coffee or a cold glass of milk for a classic combo. They also make a fun, rich dessert at the end of a meal or a decadent snack during movie nights.
To store, keep them in an airtight container in the refrigerator for up to 5 days. For longer storage, wrap individual bars tightly and freeze for up to 2 months. When reheating slightly, a few seconds in the microwave softens the chocolate and caramel without melting the nuts.
The flavors actually deepen after a day in the fridge, so making them ahead of time is a win. Just be sure to bring them back to room temp briefly for that perfect chewy bite.
Nutritional Information & Benefits
One homemade chunky candy bar (approx. 90g) contains roughly:
| Calories | 380 |
|---|---|
| Fat | 22g (mostly from nuts and butter) |
| Carbohydrates | 40g (includes sugars from caramel and chocolate) |
| Protein | 6g (thanks to nuts) |
While indulgent, these candy bars include nutrient-rich nuts which bring healthy fats and some protein, balancing the treat a bit. Using real butter and quality chocolate means you get authentic flavors without artificial ingredients. For gluten-free or dairy-free diets, simple swaps keep these bars accessible without losing their signature richness.
From a wellness angle, I think of these candy bars as a treat to savor mindfully—perfect for those moments when you want comfort food with a little homemade love behind it.
Conclusion
This Irresistible Homemade Chunky Candy Bars with Rich Layers recipe is proof that you don’t need to be a professional confectioner to make something truly special at home. The layers of crunchy crust, velvety caramel, and chunky, melty toppings come together to make a treat you’ll want to share — or maybe not!
Feel free to play around with nuts, chocolate types, or even add your favorite dried fruit to make it truly yours. I love how this recipe brings a little joy and a lot of flavor to my kitchen, especially when I’m craving something sweet but don’t want to fuss.
If you try it out, I’d love to hear how you customized your candy bars or any tricks you discovered along the way — just drop a comment below. Here’s to homemade treats that taste like little slices of happiness!
Frequently Asked Questions
Can I use other types of nuts besides peanuts?
Absolutely! Almonds, pecans, walnuts, or even a mixed nut blend work beautifully. Just chop them roughly for that chunky texture.
What’s the best way to store these candy bars?
Store them in an airtight container in the fridge for up to 5 days or freeze for up to 2 months. Thaw slightly before eating for best texture.
Can I make these candy bars vegan or dairy-free?
Yes! Use coconut oil instead of butter, vegan caramel sauce, and dairy-free chocolate chips. The texture might vary slightly but still delicious.
Is it possible to make these without baking?
You can skip baking the base by using crushed cookies mixed with melted butter as the crust and chilling it until firm. The caramel and toppings stay the same.
How can I make the caramel layer less sticky?
Adding a bit of heavy cream when melting caramel softens it. Also, let the caramel cool slightly before spreading to avoid it running too much.
For a delightful sweet and savory pairing, after enjoying these candy bars, you might want to check out the flavorful bacon double smash burger recipe, which balances richness in a totally different way. And if you’re curious about easy homemade desserts, the flavorful mini rainbow cheesecake bites are worth a look for their bright, creamy layers.
Pin This Recipe!
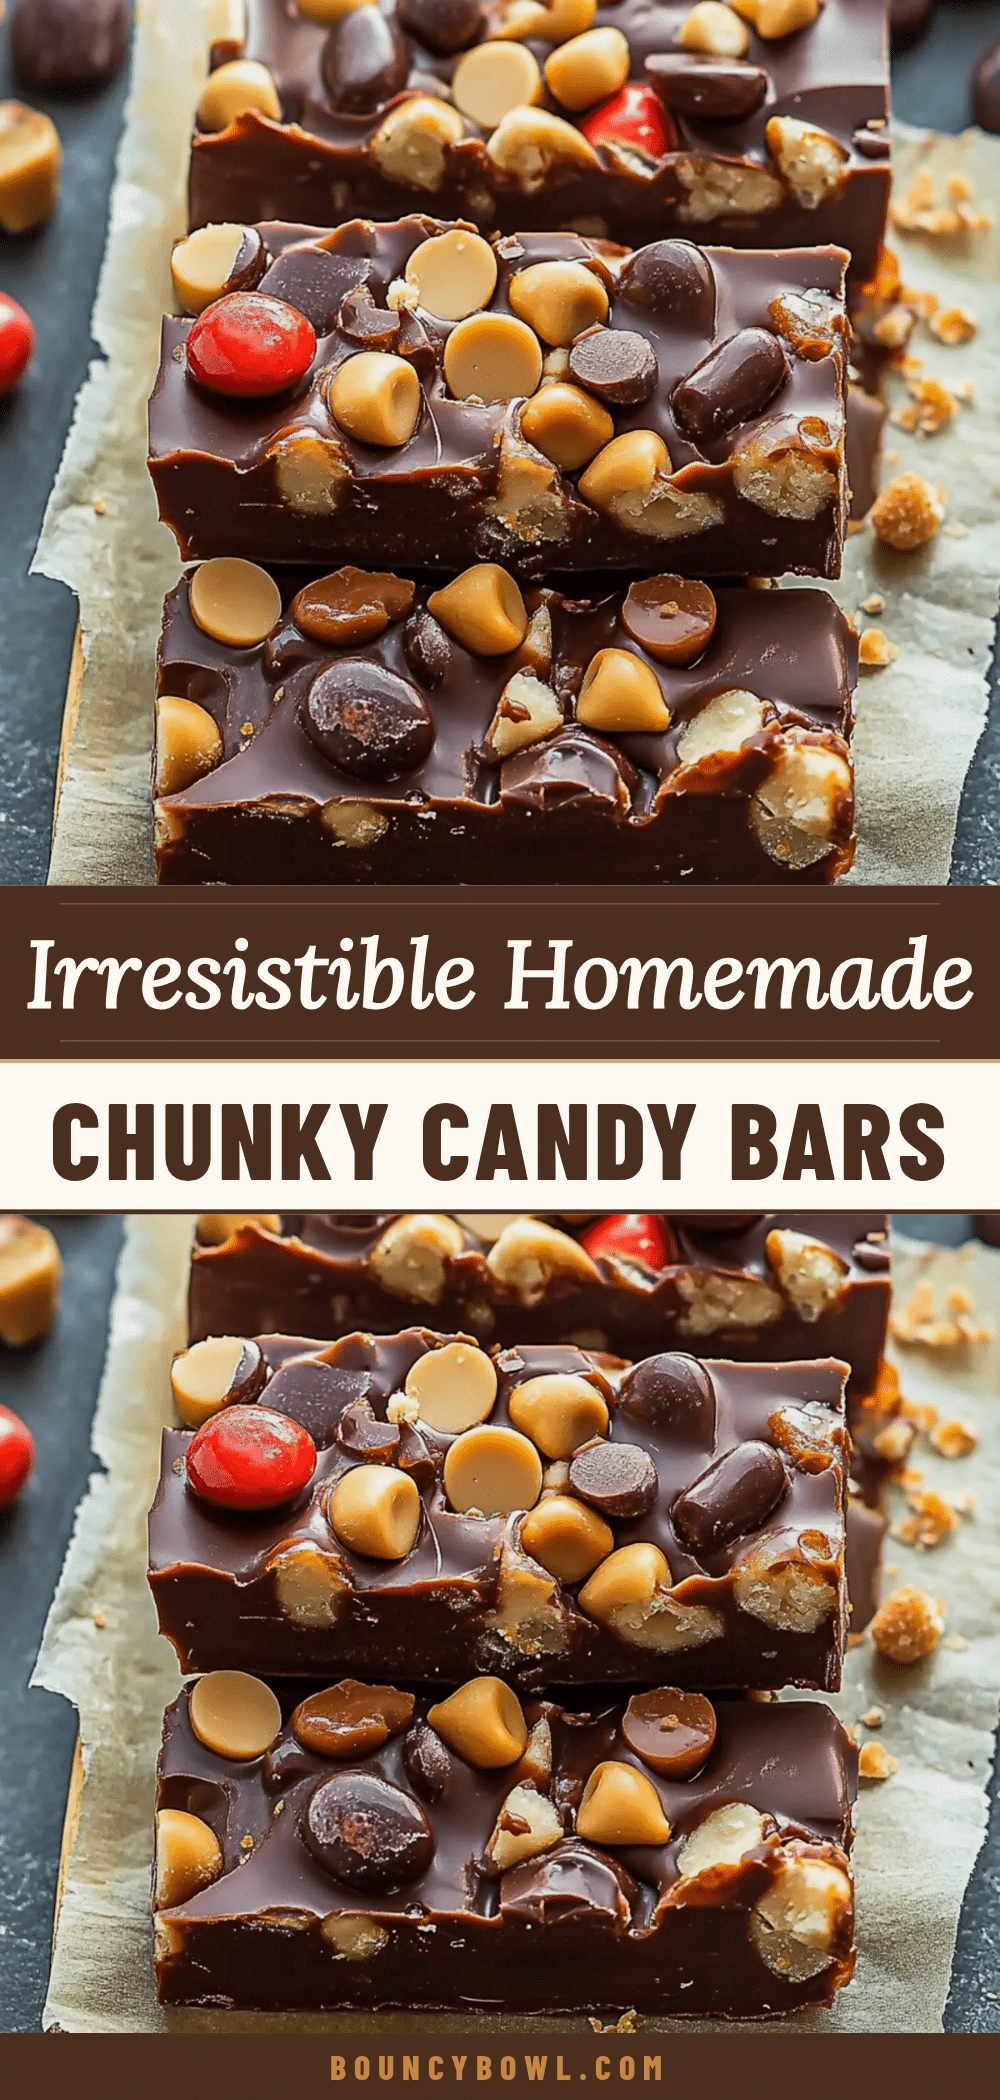
Irresistible Homemade Chunky Candy Bars
A quick and easy recipe for rich, chunky candy bars layered with a buttery graham cracker crust, creamy caramel, and a crunchy chocolate-nut topping. Perfect for homemade indulgence without complicated baking.
- Prep Time: 15 minutes
- Cook Time: 25 minutes
- Total Time: 45 minutes
- Yield: 16 servings 1x
- Category: Dessert
- Cuisine: American
Ingredients
- 1 cup (120g) graham cracker crumbs or digestive biscuits, crushed
- ½ cup (115g) unsalted butter, melted
- 2 tablespoons granulated sugar
- 1 cup (320g) soft caramel candies or store-bought caramel sauce
- 2 tablespoons heavy cream
- 1 teaspoon vanilla extract (optional)
- 1 cup (120g) roasted peanuts or mixed nuts, chopped
- 1 cup (175g) semi-sweet chocolate chips
- ¼ cup (30g) shredded coconut (optional)
- Sea salt flakes for sprinkling (optional)
Instructions
- Preheat oven to 350°F (175°C). In a medium bowl, combine graham cracker crumbs, melted butter, and sugar until mixture resembles wet sand. Press evenly into the bottom of a greased 8×8 inch baking pan.
- Bake the base layer for 10 minutes, then remove and let cool slightly.
- Melt caramel candies with heavy cream in a microwave-safe bowl in 30-second bursts, stirring until smooth and pourable. Stir in vanilla extract if using.
- Pour warm caramel evenly over the cooled crust and spread gently with a spatula.
- Sprinkle chopped nuts, chocolate chips, and shredded coconut evenly over the caramel layer.
- Return the pan to the oven and bake for another 8-10 minutes at 350°F (175°C) to soften the chocolate slightly.
- Remove from oven and immediately sprinkle with sea salt flakes if desired. Let cool completely at room temperature, then refrigerate for at least 2 hours to set.
- Cut into bars using a sharp knife, wiping the knife between slices for clean cuts. Store leftovers in an airtight container in the refrigerator.
Notes
Use soft caramel candies or smooth caramel sauce for easier melting. Toast nuts lightly before chopping for enhanced flavor. Chill candy bars fully before slicing for clean cuts. For gluten-free, substitute graham crackers with gluten-free cookies or almond flour. For dairy-free, use coconut oil and vegan caramel sauce. Avoid overbaking the topping to maintain texture.
Nutrition
- Serving Size: 1 candy bar (approx.
- Calories: 380
- Sugar: 28
- Sodium: 150
- Fat: 22
- Saturated Fat: 12
- Carbohydrates: 40
- Fiber: 2
- Protein: 6
Keywords: chunky candy bars, homemade candy bars, layered candy bars, easy candy recipe, caramel candy bars, chocolate candy bars, no-bake candy bars, quick dessert


