Love this? Save it for later!
Share the inspiration with your friends
The butter was already on the counter, softening, and I had absolutely no plan for it. That was the thing—I’d been staring at a half-used block of unsalted butter for two days, feeling guilty every time I opened the fridge. My original intention was to make a loaf of something respectable, maybe a quick bread to use up the buttermilk I’d also bought on a whim. But then my phone buzzed. A text from my neighbor: “Cookie emergency? Kidding. But I’m craving something ridiculous.” I laughed, typed back “Give me an hour,” and immediately panicked.
I didn’t want to do chocolate chip again—I’d made those three times last month. I wanted something that felt special but didn’t require a trip to the store. That’s when I remembered the Kentucky Butter Cake my aunt used to bring to every family gathering. That dense, velvety pound cake with the magical butter sauce that soaked into every crevice. I wondered if I could shrink that whole experience down into a cookie. A cookie that could be ready in under 30 minutes, start to finish, and still deliver that same buttery, melt-in-your-mouth magic. Honestly, I wasn’t sure it would work. But I had butter, sugar, and a little bit of hope.
So I started mixing. I creamed the butter and sugar until it was pale and fluffy—that’s the step you never skip, by the way. I added an egg, some vanilla, and then the dry ingredients. The dough was soft, almost too soft, but I chilled it for ten minutes while I preheated the oven. When they came out, puffed and golden around the edges, I brushed them with a simple butter-vanilla-sugar glaze while they were still warm. The first bite stopped me mid-text. It was exactly what I wanted: a tender, almost cake-like cookie with that signature Kentucky Butter Cake flavor, but in a fraction of the time. These melt-in-your-mouth Kentucky butter cake cookies became my new emergency cookie, and honestly, I think they’re better than the original cake.
Why You’ll Love This Recipe
I’ve tested this recipe at least seven times now, tweaking the butter-to-sugar ratio, adjusting the bake time, and even trying different glazing methods. Here’s what I’ve learned and why I think you’ll fall for these cookies too.
- Quick & Easy: From start to finish, you’re looking at about 25 minutes. No chilling the dough for hours, no complicated folding techniques. Just mix, scoop, bake, and glaze.
- Simple Ingredients: You probably already have everything in your kitchen. Butter, sugar, eggs, vanilla, flour, and a little milk. That’s it. No fancy extracts or obscure baking ingredients.
- Perfect for Any Occasion: These work for a last-minute dessert, a bake sale, a holiday cookie exchange, or just a Tuesday afternoon when you need something sweet. They’re versatile like that.
- Crowd-Pleaser: I brought a batch to a potluck last month, and three people asked for the recipe before I even sat down. Kids love them, adults love them, and they disappear fast.
- Unbelievably Delicious: The texture is what gets everyone. These cookies are soft, almost tender, with a slight chew around the edges. The glaze seeps in just enough to make every bite taste like the center of a butter cake.
What makes these different from other butter cookies is the double-dose of butter flavor. You get it from the dough itself, but also from the warm glaze that soaks into the cookies right after baking. It’s not a separate frosting—it’s a brush-on situation that transforms the texture completely. I’ve tried other versions that use pudding mix or extra extracts, but nothing beats the simplicity of real butter and a little patience.
This recipe isn’t just good—it’s the kind that makes you close your eyes after the first bite. It’s comfort food reimagined as a cookie: faster, easier, but with the same soul-soothing satisfaction. Perfect for impressing guests without stress, or turning a simple afternoon into something memorable.
What Ingredients You Will Need
This recipe uses simple, wholesome ingredients to deliver bold butter flavor and a tender, cake-like texture without any fuss. Most of these are pantry staples, so you probably don’t need to make a special trip.
For the Cookie Dough
- 1/2 cup (1 stick) unsalted butter, softened – I use Land O’Lakes for consistent results. Make sure it’s truly softened, not melted. You want it to be spreadable but still hold its shape.
- 3/4 cup granulated sugar – Regular white sugar works best here. It gives the cookies a slight crispness on the edges while keeping the centers soft.
- 1 large egg, room temperature – Room temperature eggs incorporate better into the creamed butter, giving you a smoother dough. If you forget to take it out early, place the egg in a bowl of warm water for 5 minutes.
- 1 teaspoon vanilla extract – Pure vanilla extract makes a difference. I’ve tried imitation in a pinch, but the flavor isn’t as rich. Use the real stuff if you can.
- 1 1/2 cups all-purpose flour – Spoon and level your flour for best results. Scooping directly from the bag can pack in too much flour, making the cookies dry.
- 1/2 teaspoon baking powder – This gives the cookies their slight lift. Don’t skip it, or you’ll end up with dense, flat discs.
- 1/4 teaspoon salt – Salt balances the sweetness and enhances the butter flavor. I use fine sea salt for even distribution.
- 2 tablespoons milk – Whole milk adds a bit of richness, but 2% works fine too. You can also use buttermilk for a tangier flavor.
For the Butter Glaze
- 1/4 cup unsalted butter – Melted and still warm when you brush it on the cookies. This is what makes them truly melt-in-your-mouth.
- 1/2 cup powdered sugar – Sifted to avoid lumps. The powdered sugar dissolves into the warm butter, creating a smooth, glossy glaze.
- 1/2 teaspoon vanilla extract – A little extra vanilla in the glaze reinforces the flavor.
- 1 tablespoon milk (or more, as needed) – Adjust the consistency here. You want a glaze that’s thick enough to cling to the cookies but thin enough to soak in slightly.
Ingredient Tips: I recommend using a high-quality unsalted butter for best texture and flavor. Salted butter can work, but you’ll want to reduce the added salt in the dough to just a pinch. For a slightly different twist, you can substitute the milk with heavy cream for an even richer glaze. If you’re feeling adventurous, add a pinch of nutmeg to the dough—it pairs beautifully with the butter flavor.
Equipment Needed
You don’t need a lot of fancy tools for these melt-in-your-mouth Kentucky butter cake cookies. Here’s what I use every time:
- Electric hand mixer or stand mixer – Creaming the butter and sugar by hand is possible, but it takes forever and your arm will ache. A mixer makes it quick and ensures the butter gets properly aerated.
- Mixing bowls – One large bowl for the dough, one small bowl for the glaze.
- Baking sheet – A light-colored, rimmed baking sheet works best. Dark sheets can cause the bottoms to brown too quickly.
- Parchment paper or silicone baking mat – Lining your sheet prevents sticking and makes cleanup a breeze. Silicone mats give the cookies a slightly softer bottom.
- Cookie scoop (1.5 tablespoon size) – This ensures even-sized cookies that bake uniformly. If you don’t have one, use two spoons to drop rounded scoops.
- Pastry brush – For brushing the warm glaze onto the cookies. A silicone brush works well and doesn’t shed bristles.
- Cooling rack – Letting the cookies cool on a rack prevents them from steaming and getting soggy on the bottom.
Budget-Friendly Alternatives: If you don’t have a cookie scoop, a tablespoon measure works fine. No pastry brush? Use the back of a spoon to drizzle and spread the glaze. No cooling rack? Transfer the cookies carefully to a clean cutting board or a plate lined with paper towels.
Preparation Method
Let’s get baking! This recipe moves quickly, so I like to have everything measured out before I start. Here’s the step-by-step.
- Preheat your oven to 350°F (175°C). Line a baking sheet with parchment paper or a silicone mat. This is important—ungreased sheets can cause the cookies to spread too much.
- Cream the butter and sugar. In a large mixing bowl, beat the softened butter and granulated sugar together on medium speed until light and fluffy, about 2-3 minutes. Scrape down the sides of the bowl halfway through. You’re looking for a pale, airy mixture that looks almost like frosting. This step is non-negotiable for tender cookies.
- Add the egg and vanilla. Beat in the room-temperature egg and vanilla extract until fully combined. The mixture might look slightly curdled at this point—that’s okay. It will come together when you add the dry ingredients.
- Mix the dry ingredients. In a separate bowl, whisk together the flour, baking powder, and salt. This ensures the baking powder is evenly distributed. Gradually add the dry mixture to the wet mixture, mixing on low speed just until combined. Do not overmix. Overworking the dough can make the cookies tough.
- Add the milk. Pour in the milk and mix on low speed until the dough comes together. It should be soft and slightly sticky, but still scoopable. If it feels too sticky, chill it for 10 minutes in the fridge.
- Scoop the dough. Use a 1.5-tablespoon cookie scoop to portion the dough. Place the scoops about 2 inches apart on the prepared baking sheet. You should get about 18-20 cookies. I usually bake 12 at a time and refrigerate the rest of the dough while the first batch bakes.
- Bake. Bake for 10-12 minutes, or until the edges are lightly golden and the centers look set but still soft. The cookies will puff up slightly and crack on top. Do not overbake—they continue to cook on the hot sheet for another minute after you pull them out.
- Make the glaze while the cookies bake. In a small saucepan over low heat, melt the 1/4 cup butter. Remove from heat and whisk in the powdered sugar, vanilla, and milk until smooth. The glaze should be thick but pourable. If it’s too thick, add another teaspoon of milk.
- Glaze the warm cookies. As soon as the cookies come out of the oven, let them cool on the baking sheet for 2 minutes. Then, using a pastry brush, generously brush the warm glaze over the tops. The glaze will soak in slightly, creating that signature melt-in-your-mouth texture. Don’t skip this step—it’s what makes these cookies special.
- Cool completely. Transfer the glazed cookies to a cooling rack and let them cool completely. The glaze will set into a thin, glossy shell. If you can’t wait, I understand. Just know they’re even better after 30 minutes.
Sensory Cue: When the cookies are done, the edges should be just barely golden, and the centers should look puffed but not wet. The glaze should smell like vanilla and butter—heavenly. If you tap the top of a cookie gently, it should feel firm but give slightly under pressure.
Cooking Tips & Techniques
I’ve made these cookies more times than I can count, and I’ve definitely learned a few things the hard way. Here are my best tips for perfect results every time.
- Don’t overbake. This is the number one mistake. These cookies are meant to be soft and tender. If you wait until they’re fully golden brown, they’ll be dry. Pull them out when the edges are just set and the centers still look slightly underdone.
- Glaze while warm. The glaze soaks into the cookies best when they’re still warm from the oven. If you wait until they’re completely cool, the glaze will just sit on top and not penetrate. Trust me on this—I learned it the hard way when I got distracted by my phone.
- Use room temperature ingredients. Cold eggs can seize the butter mixture, leading to a lumpy dough. Room temperature eggs and milk incorporate more smoothly, giving you a better texture.
- Chill the dough if needed. If your kitchen is warm or your dough feels too sticky to scoop, pop it in the fridge for 10-15 minutes. This helps the cookies hold their shape and prevents excessive spreading.
- Double the glaze if you like extra. Some people want a thicker layer of glaze. I’ve doubled the glaze recipe before, and it works beautifully. Just brush on a second coat after the first one has set for a few minutes.
- Use a light-colored baking sheet. Dark sheets absorb more heat and can cause the bottoms of the cookies to brown too quickly. If you only have dark sheets, reduce the oven temperature by 25°F.
One time, I forgot to add the baking powder. The cookies came out flat and dense—still tasty, but not the same. So double-check your ingredients before you start mixing. It’s a small step that makes a big difference.
Variations & Adaptations
This recipe is surprisingly flexible. Here are a few ways I’ve adapted it over time.
- Lemon Butter Cookies: Add 1 tablespoon of lemon zest to the dough and substitute 1 tablespoon of lemon juice for the milk. The citrus cuts through the richness beautifully. These are perfect for spring or summer.
- Chocolate-Dipped Version: Once the cookies are completely cool, dip half of each cookie into melted dark chocolate. Let them set on parchment paper. The combination of buttery cookie and rich chocolate is irresistible.
- Gluten-Free Option: Substitute the all-purpose flour with a 1:1 gluten-free baking flour blend. I’ve tried this with Bob’s Red Mill, and it works well. The texture is slightly more crumbly but still delicious.
- Brown Butter Twist: Brown the butter for the glaze instead of using regular melted butter. Cook it in a saucepan over medium heat until it turns golden brown and smells nutty, then proceed with the glaze. It adds a whole new depth of flavor.
- Spiced Version: Add 1/2 teaspoon of cinnamon and a pinch of nutmeg to the dry ingredients. These spiced butter cookies are wonderful in the fall, especially with a cup of hot apple cider.
I personally love the lemon variation—it’s bright and unexpected. I made a batch for a brunch party last spring, and they disappeared before the pretty pink cinnamon rolls even got touched. That’s saying something.
Serving & Storage Suggestions
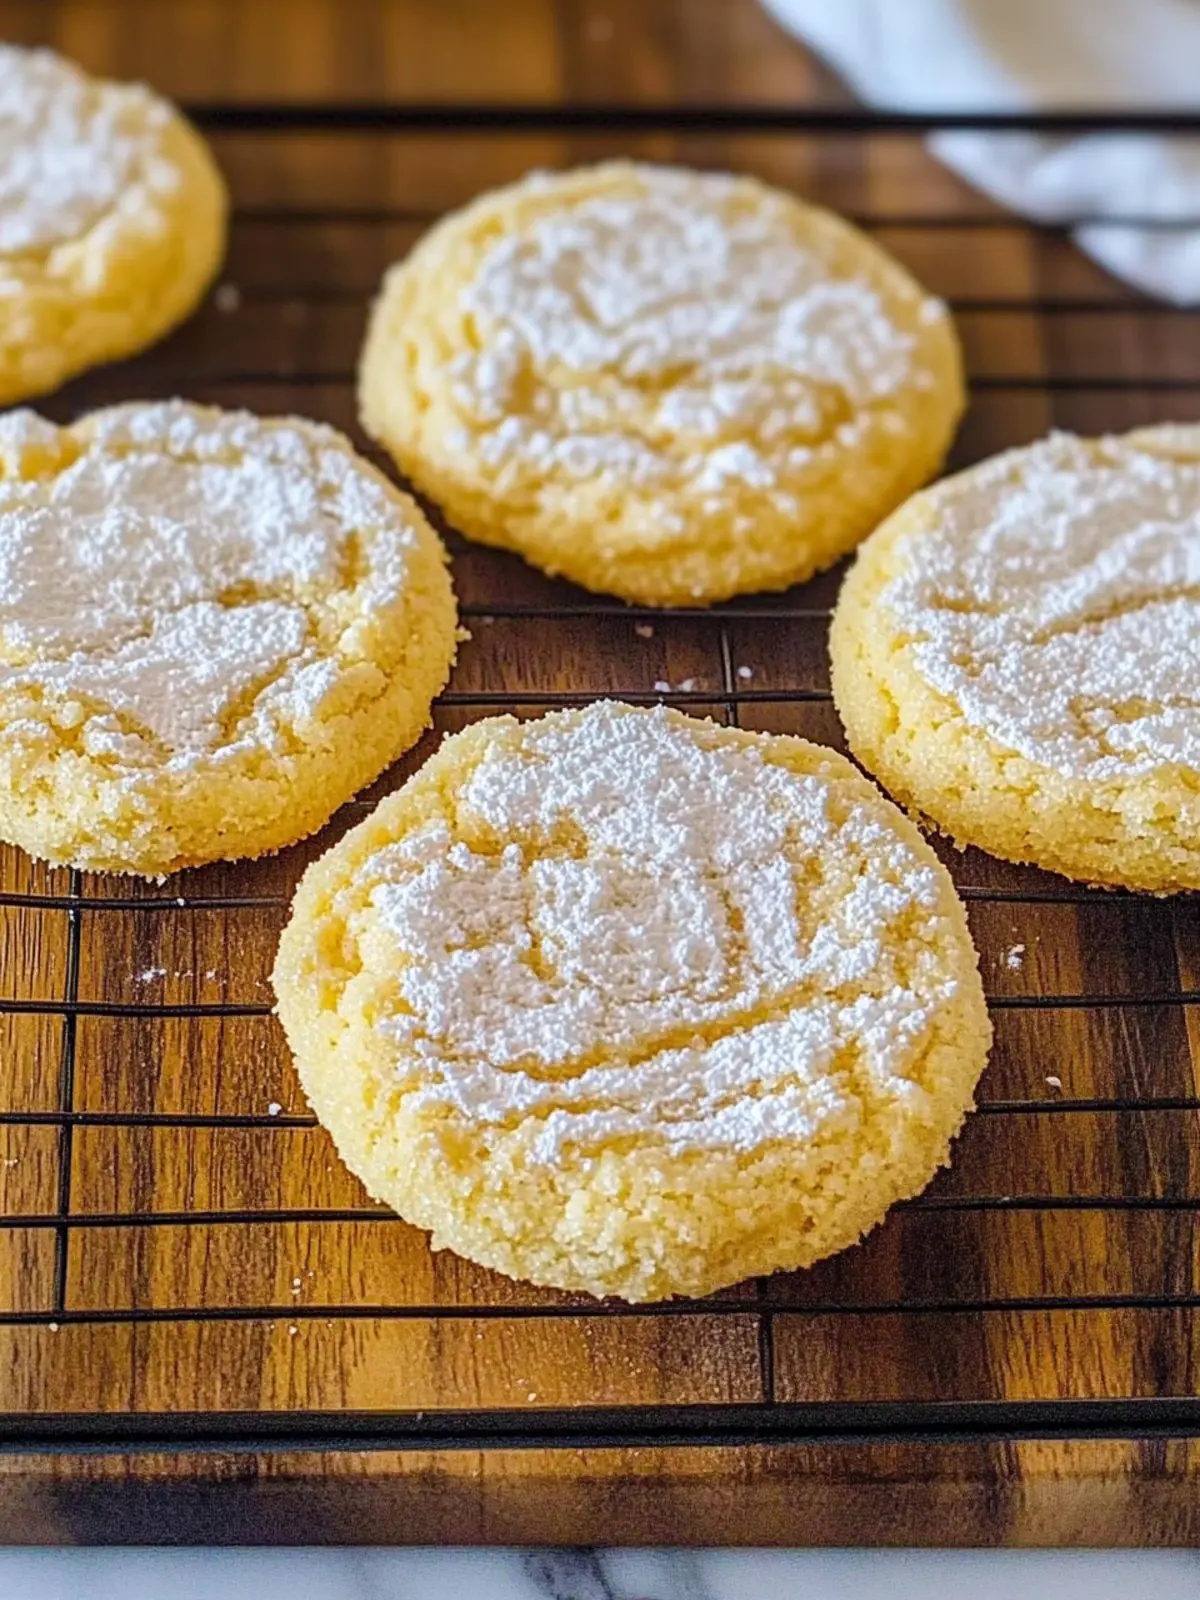
These cookies are best served at room temperature, but they’re also fantastic slightly warm. If you’re serving them for a gathering, arrange them on a platter with a light dusting of powdered sugar for a pretty presentation.
Storage: Store the cookies in an airtight container at room temperature for up to 5 days. I recommend placing a piece of bread in the container to keep them soft—the cookies will absorb moisture from the bread, staying tender. Replace the bread every other day.
Freezing: These cookies freeze beautifully. Place them in a single layer in a freezer-safe container, with parchment paper between layers. They’ll keep for up to 3 months. To thaw, let them sit at room temperature for about 30 minutes. You can also freeze the unbaked dough balls—just scoop them onto a baking sheet, freeze until solid, then transfer to a freezer bag. Bake directly from frozen, adding 1-2 minutes to the bake time.
Reheating: If you want that just-baked warmth, pop a cookie in the microwave for 8-10 seconds. It’s not quite the same as fresh, but it’s close. For a crispier edge, reheat in a 300°F oven for 3-4 minutes.
Flavor Development: Honestly, these cookies taste even better the next day. The glaze has fully soaked in, and the flavors have mellowed and melded together. If you can resist eating them all on day one, you’re in for a treat on day two.
Nutritional Information & Benefits
Let’s be real—these are butter cookies, so they’re not exactly health food. But they’re made with simple, recognizable ingredients, and that counts for something. Here’s the estimated nutritional breakdown per cookie (based on 20 cookies):
- Calories: 145
- Fat: 8g
- Saturated Fat: 5g
- Carbohydrates: 17g
- Sugar: 11g
- Protein: 2g
- Sodium: 55mg
Health Benefits: While these are an indulgent treat, butter does contain butyrate, a short-chain fatty acid that may support gut health. Eggs provide high-quality protein and essential vitamins like B12 and D. And let’s not forget the psychological benefit of a homemade cookie—sometimes that’s exactly what you need.
Dietary Considerations: This recipe is vegetarian and can be made gluten-free with a simple flour swap. It contains dairy, eggs, and gluten (unless adapted). If you’re looking for a dairy-free option, you can try using plant-based butter, but the texture will be slightly different.
Conclusion
These melt-in-your-mouth Kentucky butter cake cookies are everything I want in a dessert: quick, simple, and absolutely delicious. They take the classic flavors of a Southern butter cake and shrink them down into a cookie that’s ready in under 30 minutes. No chilling overnight, no complicated techniques—just good, honest baking that delivers every single time.
I love how versatile they are. You can keep them classic, or play around with the variations I mentioned. I’ve made them for holidays, potlucks, and random Tuesday cravings, and they’ve never let me down. Honestly, I think they’re even better than the original cake. The texture is so tender, and the glaze adds that little bit of magic that makes people close their eyes and sigh.
I’d love to hear how yours turn out. Did you try a variation? Did you double the glaze? Drop a comment below and let me know—I read every single one. And if you’re looking for another easy dessert, you might enjoy these best loaded turtle cookies with gooey caramel. They’re a little more indulgent, but just as satisfying.
Happy baking, friend. You’ve got this.
Frequently Asked Questions
Can I use salted butter instead of unsalted?
Yes, you can. Just reduce the added salt in the dough to a pinch. The cookies will still taste great, but keep in mind that salted butter can vary in salt content between brands.
Do I have to brush the glaze on while the cookies are warm?
Yes, for best results. The warm cookies absorb the glaze better, creating that soft, melt-in-your-mouth texture. If you glaze them when they’re cool, the glaze will just sit on top.
Can I make the dough ahead of time?
Absolutely. You can refrigerate the dough for up to 3 days or freeze the scooped dough balls for up to 3 months. Just bake from frozen, adding a minute or two to the bake time.
Why did my cookies spread too much?
This usually happens if the butter was too soft or the dough was too warm. Make sure your butter is softened, not melted, and chill the dough for 10-15 minutes if your kitchen is warm. Also, check that your baking powder is fresh.
Can I double this recipe?
Yes, it doubles beautifully. Just make sure your mixing bowl is large enough to handle the extra volume. You’ll also need to bake in batches, keeping the unused dough in the fridge while the first batch bakes.
Pin This Recipe!
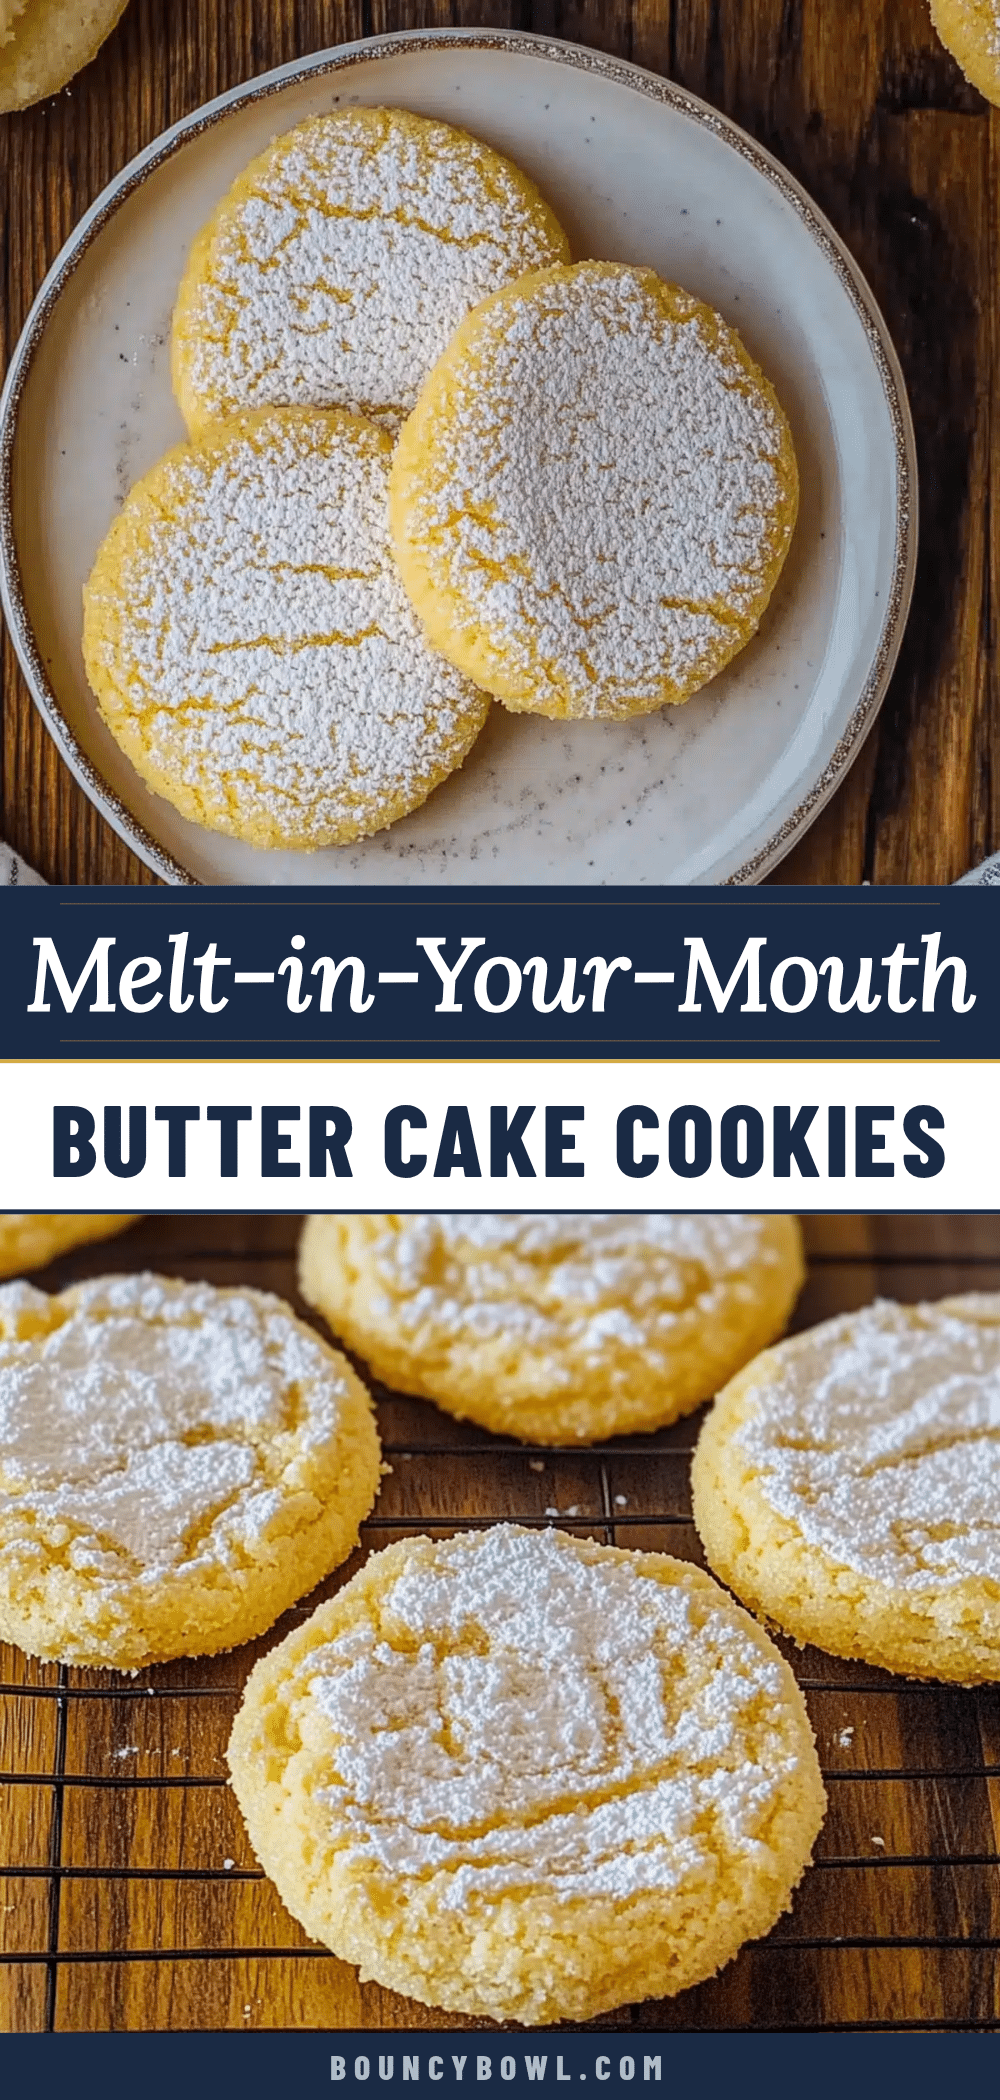
Melt-in-Your-Mouth Kentucky Butter Cake Cookies (Easy Recipe)
These melt-in-your-mouth Kentucky butter cake cookies are quick, simple, and absolutely delicious. They take the classic flavors of a Southern butter cake and shrink them down into a cookie that’s ready in under 30 minutes.
- Prep Time: 10 minutes
- Cook Time: 12 minutes
- Total Time: 25 minutes
- Yield: 18-20 cookies 1x
- Category: Dessert
- Cuisine: American
Ingredients
- 1/2 cup (1 stick) unsalted butter, softened
- 3/4 cup granulated sugar
- 1 large egg, room temperature
- 1 teaspoon vanilla extract
- 1 1/2 cups all-purpose flour
- 1/2 teaspoon baking powder
- 1/4 teaspoon salt
- 2 tablespoons milk
- 1/4 cup unsalted butter (for glaze)
- 1/2 cup powdered sugar (for glaze)
- 1/2 teaspoon vanilla extract (for glaze)
- 1 tablespoon milk (for glaze, or more as needed)
Instructions
- Preheat your oven to 350°F (175°C). Line a baking sheet with parchment paper or a silicone mat.
- In a large mixing bowl, beat the softened butter and granulated sugar together on medium speed until light and fluffy, about 2-3 minutes. Scrape down the sides of the bowl halfway through.
- Beat in the room-temperature egg and vanilla extract until fully combined.
- In a separate bowl, whisk together the flour, baking powder, and salt. Gradually add the dry mixture to the wet mixture, mixing on low speed just until combined.
- Pour in the milk and mix on low speed until the dough comes together. It should be soft and slightly sticky, but still scoopable. If it feels too sticky, chill it for 10 minutes in the fridge.
- Use a 1.5-tablespoon cookie scoop to portion the dough. Place the scoops about 2 inches apart on the prepared baking sheet. You should get about 18-20 cookies.
- Bake for 10-12 minutes, or until the edges are lightly golden and the centers look set but still soft.
- While the cookies bake, make the glaze: In a small saucepan over low heat, melt the 1/4 cup butter. Remove from heat and whisk in the powdered sugar, vanilla, and milk until smooth.
- As soon as the cookies come out of the oven, let them cool on the baking sheet for 2 minutes. Then, using a pastry brush, generously brush the warm glaze over the tops.
- Transfer the glazed cookies to a cooling rack and let them cool completely.
Notes
Don’t overbake. Glaze while warm for best absorption. Use room temperature ingredients. Chill dough if too sticky. Double the glaze if you like extra. Use a light-colored baking sheet.
Nutrition
- Serving Size: 1 cookie
- Calories: 145
- Sugar: 11
- Sodium: 55
- Fat: 8
- Saturated Fat: 5
- Carbohydrates: 17
- Protein: 2
Keywords: Kentucky butter cake cookies, butter cookies, easy cookie recipe, melt-in-your-mouth cookies, cake cookies


