Love this? Save it for later!
Share the inspiration with your friends
I am not a baker. Let’s just get that out of the way right now. I’m the person who burns toast and somehow manages to turn boxed mac and cheese into a science experiment gone wrong. So when my neighbor, a lovely woman named Carol who gardens in pristine white sneakers, handed me a loaf of banana bread wrapped in foil last fall, I accepted it with a polite smile and zero expectations. I figured I’d nibble a slice out of courtesy and quietly toss the rest.
I did not toss the rest.
I ate the entire loaf in two days. Standing at the counter. Cold. With my fingers. It was the most absurdly moist, nutty, and satisfying banana bread I had ever tasted. It wasn’t dry or crumbly. It didn’t need butter or cream cheese. Honestly, it was perfect. I called Carol immediately, probably sounding a little unhinged, and begged for the recipe. She laughed and told me it was her “extreme” banana nut bread—the one she makes when the bananas are practically black and the walnuts are getting lonely in the pantry.
That was six months ago. I have made this Moist Extreme Banana Nut Bread at least fifteen times since. I’ve tweaked it, tested it, and burned a batch or two (my fault, not the recipe’s). And now, I’m ready to share the nutty bliss with you. This isn’t just another banana bread recipe. It’s the one that turned a self-proclaimed baking disaster into someone who actually offers to bring dessert.
Why You’ll Love This Recipe
This isn’t your average banana bread. It’s extreme in all the right ways—extreme moisture, extreme nutty flavor, and extreme ease. Here is why this recipe will become your new go-to:
- Unbelievably Moist: The secret is a combination of very ripe bananas and a surprising ingredient that locks in moisture without making the bread heavy. Every slice stays soft for days.
- Simple Ingredients: You probably have everything in your kitchen right now. No weird extracts or specialty flours. Just real, simple stuff.
- Perfect for Breakfast or Dessert: It’s sweet enough to satisfy a sugar craving but wholesome enough to pass as a morning snack with your coffee. I’ve eaten it for both in the same day. No judgment.
- Crowd-Pleaser: I brought this to a potluck last month, and three people asked for the recipe before I even sat down. It disappears fast.
- Foolproof for Beginners: If I can make this, you can make this. The method is straightforward, and I’ll walk you through every step to avoid my early mistakes.
This recipe is different because it focuses on texture. So many banana breads are dry or dense. This one is tender, almost cake-like, with a crunchy walnut crumble on top that makes every bite interesting. It’s comfort food that actually delivers on its promise.
What Ingredients You Will Need
This recipe uses simple, wholesome ingredients that work together to create that signature moist texture and nutty flavor. Most of these are pantry staples, but a few key choices make all the difference.
- 3 Very Ripe Bananas: The darker, the better. Seriously, you want them almost black with brown spots. They mash easier and provide natural sweetness. (If your bananas aren’t ripe enough, pop them in a 300°F oven for 15 minutes to soften them up.)
- 1/3 Cup Melted Butter: Unsalted is best so you can control the salt level. Melted butter adds richness and keeps the bread tender. I’ve used salted butter in a pinch, just reduce the added salt by half.
- 3/4 Cup Granulated Sugar: White sugar gives the bread a light, tender crumb. You can substitute coconut sugar for a deeper flavor, but the texture will be slightly denser.
- 1 Large Egg: Room temperature is ideal. If you forget to take it out of the fridge, place it in a bowl of warm water for 5 minutes.
- 1 Teaspoon Vanilla Extract: Pure vanilla is best, but imitation works fine. It rounds out the banana flavor beautifully.
- 1 1/2 Cups All-Purpose Flour: Spoon and level your flour. Scooping directly from the bag packs it down and leads to dry bread. Trust me on this one.
- 1 Teaspoon Baking Soda: This is the leavening agent that helps the bread rise. Make sure it’s fresh—test it by dropping a spoonful into vinegar; if it fizzes, it’s good.
- 1/4 Teaspoon Salt: Enhances all the flavors. Don’t skip it.
- 1/2 Cup Chopped Walnuts: Plus extra for the top. Toasting them lightly in a dry pan for 2-3 minutes brings out their oils and makes them extra crunchy. Pecans also work wonderfully here.
- 1/4 Cup Sour Cream or Greek Yogurt: This is the secret ingredient for extreme moisture. It adds richness without making the bread greasy. I prefer full-fat Greek yogurt for the tang.
I usually grab my walnuts from the bulk bin at the grocery store—they’re fresher and cheaper than the pre-packaged ones. For the sour cream, I’m partial to Daisy brand, but any full-fat option will do.
Equipment Needed
You don’t need a fancy kitchen to make this bread. Here’s what you’ll need:
- A 9×5 Inch Loaf Pan: This is the standard size. If you use an 8×4 pan, you’ll need to increase the baking time by about 10 minutes.
- Large Mixing Bowl: For mashing and combining wet ingredients.
- Medium Mixing Bowl: For whisking dry ingredients.
- Wooden Spoon or Spatula: A whisk can overwork the batter, so a gentle hand is better.
- Fork or Potato Masher: For mashing the bananas. A fork works perfectly.
- Parchment Paper: Lining the pan makes removal a breeze. If you don’t have it, grease the pan thoroughly with butter or non-stick spray.
- Cooling Rack: Essential for even cooling. If you don’t have one, you can use the inverted pan method (carefully).
I’ve made this in a glass loaf pan and a metal one, and the metal pan gives a nicer, more even crust. Glass tends to hold heat longer, so keep an eye on the edges if you go that route.
Preparation Method
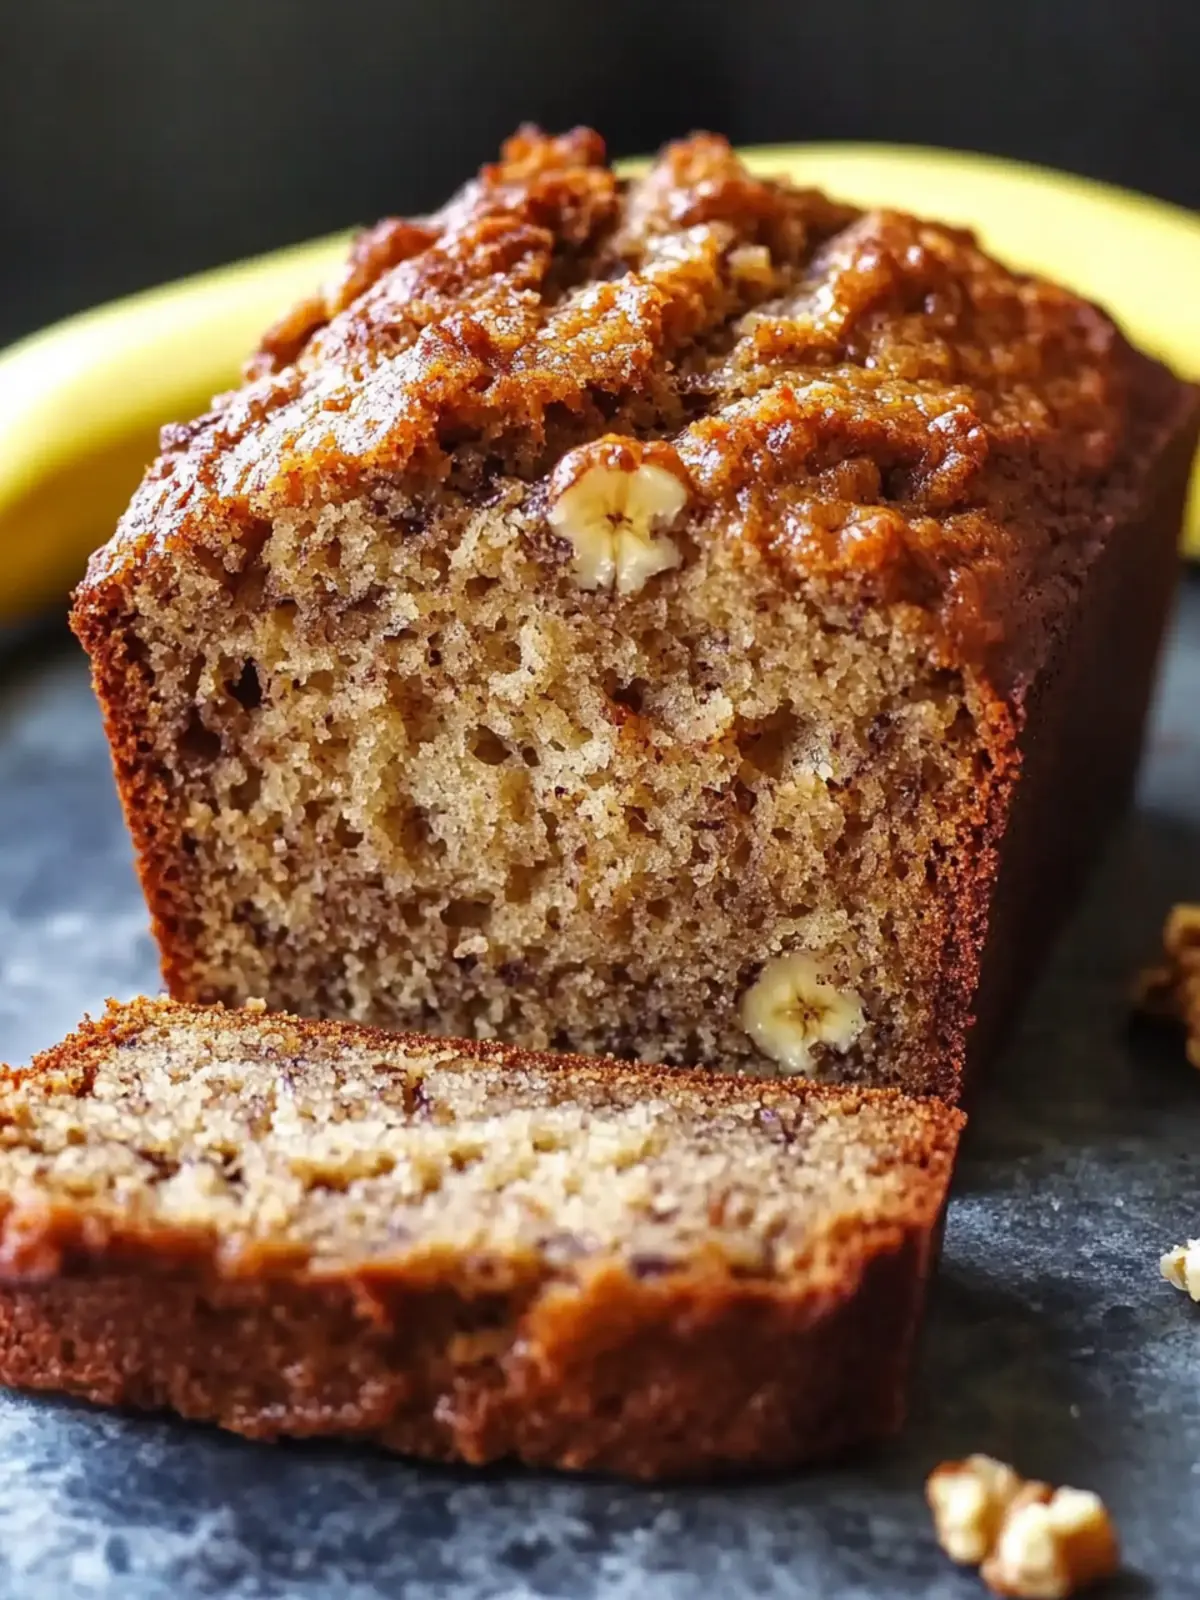
Let’s get baking. Follow these steps, and you’ll have a loaf that smells like heaven and tastes even better.
- Preheat and Prep: Preheat your oven to 350°F (175°C). Grease your 9×5 loaf pan with butter or line it with parchment paper, leaving an overhang on the long sides for easy lifting.
- Mash the Bananas: In a large mixing bowl, mash the three ripe bananas with a fork until smooth. A few small lumps are fine—they add texture. You should have about 1 1/2 cups of mashed banana.
- Mix the Wet Ingredients: Add the melted butter, granulated sugar, egg, vanilla extract, and sour cream (or Greek yogurt) to the mashed bananas. Stir with your wooden spoon until everything is well combined. It will look a little lumpy and glossy—that’s perfect.
- Whisk the Dry Ingredients: In a separate medium bowl, whisk together the all-purpose flour, baking soda, and salt. This ensures the baking soda is evenly distributed so you don’t get a weird metallic taste in one bite.
- Combine Gently: Pour the dry ingredients into the wet ingredients. Fold them together with your spatula using a gentle hand. Stir just until you no longer see streaks of flour. Overmixing develops gluten and makes the bread tough. Stop when it’s just combined—a few lumps are okay.
- Fold in the Walnuts: Gently fold in the 1/2 cup of chopped walnuts. Reserve about 1/4 cup for the top. The batter will be thick and slightly shaggy—don’t panic.
- Pour and Top: Pour the batter into your prepared loaf pan and spread it evenly with the spatula. Sprinkle the reserved walnuts on top, pressing them down gently so they stick.
- Bake: Place the pan in the center of the oven and bake for 55-65 minutes. Start checking at 50 minutes. The bread is done when a toothpick inserted into the center comes out clean or with just a few moist crumbs. If the top is browning too fast, tent it loosely with foil after 40 minutes.
- Cool: Let the bread cool in the pan on a wire rack for 15 minutes. Then, use the parchment overhang to lift it out and transfer it to the rack to cool completely. Patience is hard, but slicing it warm will make it crumble. Wait at least an hour.
A note from my personal failure log: I once pulled the bread out at 50 minutes because it looked done on top. The center was raw. Use the toothpick test. It’s your friend.
Cooking Tips & Techniques
Here are the little things I’ve learned the hard way, so you don’t have to.
- Don’t Overmix: I cannot stress this enough. Overmixing is the number one cause of dense, tough banana bread. Fold until just combined. A few flour streaks are better than a brick.
- Check Your Oven Temperature: Ovens lie. Mine runs 25 degrees hot. An oven thermometer is a cheap investment that saves countless baked goods. If your bread is browning too fast, your oven is too hot.
- Room Temperature Ingredients Matter: Cold eggs and sour cream can seize the butter and create a lumpy batter. Take them out 30 minutes before you start. If you forget, place the egg in warm water and zap the sour cream in the microwave for 10 seconds on low.
- Toast Your Walnuts: Raw walnuts are fine, but toasting them in a dry skillet over medium heat for 2-3 minutes makes them infinitely more flavorful. Watch them closely—they burn in seconds.
- The Toothpick Test Trick: Insert the toothpick in three different spots—center, and halfway to each edge. If any spot is wet, it needs more time. The edges will cook faster than the center.
I once forgot the baking soda entirely. The bread came out flat and dense, like a banana-flavored hockey puck. It was a sad day. Double-check your ingredients before you start.
Variations & Adaptations
This recipe is a great base for customization. Here are some ways to switch it up.
- Chocolate Chip Banana Nut Bread: Fold in 1/2 cup of semi-sweet chocolate chips along with the walnuts. The chocolate melts into pockets of gooey goodness. My kids prefer this version.
- Gluten-Free Option: Substitute the all-purpose flour with a 1:1 gluten-free baking flour blend (I like Bob’s Red Mill). Add 1 teaspoon of xanthan gum if your blend doesn’t include it. The texture will be slightly more tender, but still delicious.
- Vegan Adaptation: Replace the egg with a flax egg (1 tablespoon ground flaxseed + 3 tablespoons water, let sit for 5 minutes). Use melted coconut oil instead of butter, and a dairy-free yogurt in place of sour cream. The bread will be slightly less rich, but still moist.
- Spiced Version: Add 1 teaspoon of cinnamon and 1/4 teaspoon of nutmeg to the dry ingredients. It gives the bread a warm, cozy fall flavor. I make this version when the leaves start changing.
- Nut-Free: Skip the walnuts entirely and add 1/2 cup of dried cranberries or chopped dates instead. The bread will be sweet and chewy without any nut texture.
My personal favorite variation is the chocolate chip one. I made it for a book club meeting last month, and someone asked if I had bought it from a bakery. I just smiled.
Serving & Storage Suggestions
This bread is fantastic served warm or at room temperature. For a real treat, toast a slice and spread it with a little salted butter. The butter melts into the nooks and crannies, and the walnuts get extra crunchy. It’s pure bliss.
It pairs beautifully with a hot cup of coffee or a cold glass of milk. For a dessert twist, serve it with a scoop of vanilla ice cream and a drizzle of caramel sauce. I’ve also crumbled it over yogurt for a quick breakfast parfait.
Storage: Wrap the cooled loaf tightly in plastic wrap or store it in an airtight container at room temperature. It will stay moist for up to 4 days. Honestly, it gets better on day two as the flavors meld.
Freezing: This bread freezes beautifully. Wrap the whole loaf or individual slices tightly in plastic wrap, then a layer of foil. Freeze for up to 3 months. To thaw, leave it on the counter for a few hours or zap a slice in the microwave for 20 seconds.
I always freeze a few slices for emergencies—like when a banana loaf craving hits at 10 PM. It happens.
Nutritional Information & Benefits
Here is an approximate nutritional breakdown for one slice (based on 10 slices):
| Nutrient | Amount Per Slice |
|---|---|
| Calories | 280 |
| Fat | 14g |
| Saturated Fat | 6g |
| Carbohydrates | 38g |
| Fiber | 2g |
| Sugar | 21g |
| Protein | 5g |
Bananas are packed with potassium and vitamin B6, which support heart health and energy levels. Walnuts are a great source of omega-3 fatty acids, which are good for brain health. This isn’t a health food, but it’s a treat made with real ingredients that offer some nutritional value.
If you’re watching your sugar intake, you can reduce the sugar to 1/2 cup. The bread will be less sweet, but the bananas provide enough natural sweetness to keep it satisfying.
Conclusion
This Moist Extreme Banana Nut Bread is the recipe that turned me from a baking skeptic into someone who actually looks forward to overripe bananas. It’s easy, forgiving, and delivers that perfect combination of tender crumb and crunchy nut topping every single time. Whether you’re a seasoned baker or a total beginner (like me), this bread will make you look good.
I love this recipe because it feels like a warm hug. It’s the kind of food that makes a rainy afternoon better or a lazy Sunday morning feel special. I hope you make it your own—add chocolate chips, swap the nuts, or just follow it exactly. It’s hard to go wrong.
If you try this recipe, I’d love to hear about it. Drop a comment below and tell me how it turned out. Did you add a twist? Did your family devour it in one sitting? Share your banana bread stories. And if you’re looking for another easy, moist treat, check out my healthy moist applesauce cake—it’s another foolproof winner. Happy baking!
Frequently Asked Questions
Can I use frozen bananas for this recipe?
Absolutely. Thaw them completely, then drain off any excess liquid before mashing. Frozen bananas are actually sweeter and break down more easily, which makes the bread even more moist.
Why is my banana bread dry?
Dry banana bread usually means you either used too much flour (remember to spoon and level!) or overbaked it. Check your oven temperature with a thermometer and start testing for doneness at 50 minutes.
Can I make this into muffins instead of a loaf?
Yes! Grease a 12-cup muffin tin and fill each cup about 3/4 full. Bake at 350°F for 18-22 minutes, or until a toothpick comes out clean. You’ll get about 12 muffins.
How do I ripen bananas quickly?
Place unpeeled bananas on a baking sheet and bake at 300°F for 15-20 minutes, until the skins turn black. Let them cool before handling. They’ll be soft and sweet—perfect for baking.
Can I skip the walnuts?
Of course. The bread will still be delicious and moist. You can substitute the walnuts with pecans, chocolate chips, or dried fruit, or simply leave them out for a classic banana bread.
Pin This Recipe!
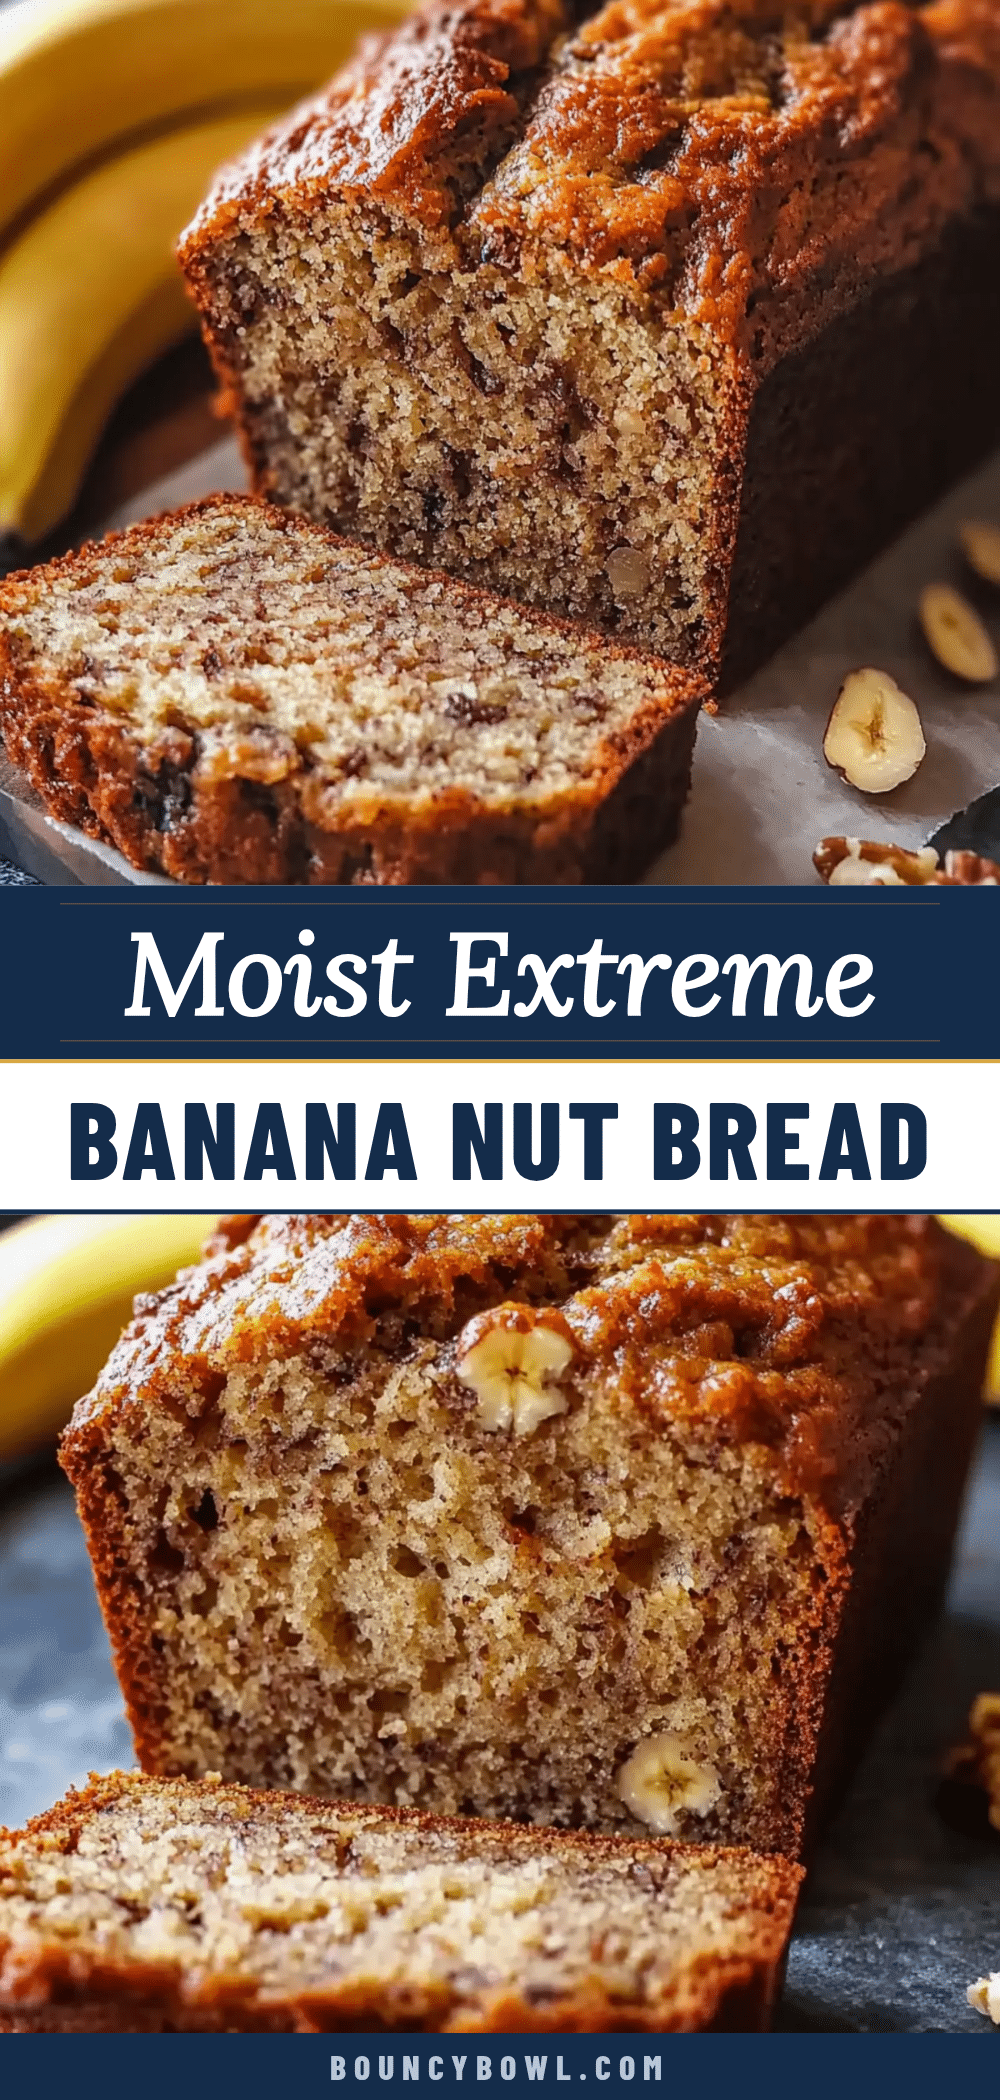
Moist Extreme Banana Nut Bread: Easy Nutty Bliss Recipe
This incredibly moist and nutty banana bread is the recipe that turned a self-proclaimed baking disaster into someone who actually offers to bring dessert. It’s easy, forgiving, and delivers a perfect combination of tender crumb and crunchy walnut topping every time.
- Prep Time: 15 minutes
- Cook Time: 55-65 minutes
- Total Time: 1 hour 20 minutes
- Yield: 10 servings 1x
- Category: Dessert
- Cuisine: American
Ingredients
- 3 very ripe bananas (about 1 1/2 cups mashed)
- 1/3 cup melted unsalted butter
- 3/4 cup granulated sugar
- 1 large egg, room temperature
- 1 teaspoon vanilla extract
- 1 1/2 cups all-purpose flour, spooned and leveled
- 1 teaspoon baking soda
- 1/4 teaspoon salt
- 1/2 cup chopped walnuts, plus extra for topping
- 1/4 cup sour cream or full-fat Greek yogurt
Instructions
- Preheat oven to 350°F (175°C). Grease a 9×5 inch loaf pan with butter or line with parchment paper, leaving overhang on long sides.
- In a large mixing bowl, mash bananas with a fork until smooth (a few small lumps are fine).
- Add melted butter, sugar, egg, vanilla extract, and sour cream (or Greek yogurt) to mashed bananas. Stir until well combined.
- In a separate medium bowl, whisk together flour, baking soda, and salt.
- Pour dry ingredients into wet ingredients. Fold gently with a spatula just until no streaks of flour remain. Do not overmix.
- Fold in 1/2 cup chopped walnuts. Reserve about 1/4 cup for topping.
- Pour batter into prepared loaf pan and spread evenly. Sprinkle reserved walnuts on top, pressing gently.
- Bake for 55-65 minutes, starting to check at 50 minutes. Bread is done when a toothpick inserted in center comes out clean or with a few moist crumbs. If top browns too fast, tent with foil after 40 minutes.
- Cool in pan on wire rack for 15 minutes, then lift out using parchment overhang and transfer to rack to cool completely (at least 1 hour before slicing).
Notes
Use very ripe (almost black) bananas for best sweetness and moisture. Spoon and level flour to avoid dry bread. Room temperature ingredients help create a smooth batter. Toast walnuts in a dry skillet for 2-3 minutes for extra flavor. The bread stays moist for up to 4 days at room temperature and freezes well for up to 3 months.
Nutrition
- Serving Size: 1 slice
- Calories: 280
- Sugar: 21
- Sodium: 200
- Fat: 14
- Saturated Fat: 6
- Carbohydrates: 38
- Fiber: 2
- Protein: 5
Keywords: banana bread, banana nut bread, moist banana bread, easy banana bread, walnut banana bread, homemade banana bread, extreme banana bread


