Love this? Save it for later!
Share the inspiration with your friends
The butter was sizzling in the pan before I even had the corn shucked. I had just gotten home from the farmer’s market, arms full of the season’s last sweet corn, and I was starving. Not the kind of hungry that waits for a proper meal, but the kind where you start eating ingredients before they become a dish. I grabbed a ear, stripped the husk, and tossed it straight into the hot, foaming butter. That first hiss of steam was practically a promise.
I wasn’t planning to write a recipe that day. Honestly, I was just trying to quiet my stomach. But as the garlic hit the pan and that nutty, savory smell filled my tiny kitchen, I knew I was onto something. I grated a heap of Parmesan right over the top, let it melt into the butter, and took a bite. It was one of those moments where you stop mid-chew, look at the food in your hand, and think, “Where have you been all my life?”
This Savory Garlic Parmesan Corn on the Cob isn’t about boiling water or waiting for a grill to heat up. It’s about getting that perfect, golden-brown crust on the kernels, the kind that pops when you bite down. The garlic gets sweet and mellow in the butter, and the Parmesan forms these little crispy, cheesy bits that cling to every nook and cranny. It’s messy, it’s indulgent, and it takes about as long as it takes to find a good show to watch. I’ve made this every week since that first accidental triumph, and it never gets old.
Why You’ll Love This Recipe
This isn’t your standard corn on the cob. We’re skipping the boiling water and the bland results. This method turns a simple side dish into the star of the meal.
- Quick & Easy: From start to finish, you’re looking at about 15 minutes. Perfect for those nights when you need a vegetable side that keeps up with a fast main dish, like this quick Chinese garlic butter shrimp.
- Simple Ingredients: Corn, butter, garlic, Parmesan, and a little salt and pepper. That’s it. No fancy shopping list required.
- Perfect for Summer Cookouts: While everyone else is waiting for the grill, you can have this ready on the stovetop in a fraction of the time. It’s the perfect last-minute addition to any barbecue.
- Crowd-Pleaser: I have yet to meet someone who doesn’t go back for seconds. The combination of savory garlic and salty cheese is universally loved.
- Next-Level Texture: You get the crisp-tender bite of pan-seared corn, the creamy richness of melted butter, and the irresistible crunch of toasted Parmesan. It’s a textural party in your mouth.
What makes this recipe different from just slathering butter on a cob? It’s the technique. By cooking the corn directly in the garlic butter, you’re essentially frying the kernels, which concentrates their natural sweetness. The Parmesan then acts as a crust, locking in flavor and adding a savory depth that plain corn just can’t touch. It’s comfort food that feels a little bit fancy, without any of the work.
What Ingredients You Will Need
This recipe relies on a handful of pantry staples to create something truly special. Each ingredient has a job, and together they make magic.
- Fresh Corn on the Cob (4 ears): Look for ears with bright green husks and plump, juicy kernels. The fresher the corn, the sweeter it will be. If the corn is a day or two old, it will still work great, but the natural sugars will have started converting to starch, so it won’t be quite as sweet. I prefer yellow corn for its robust flavor, but white or bicolor works beautifully too.
- Unsalted Butter (4 tablespoons, softened): Using unsalted butter lets you control the salt level, which is key because Parmesan is already quite salty. Softened butter melts faster and more evenly in the pan, creating a better base for the garlic to infuse. You can use salted butter, just cut back on the added salt later.
- Fresh Garlic (4 cloves, minced): Please, please use fresh garlic here. The jarred stuff is fine in a pinch, but fresh garlic has a pungency that mellows into a sweet, nutty flavor when it cooks in the butter. Mince it finely so it doesn’t burn before the corn is done.
- Grated Parmesan Cheese (½ cup, plus more for serving): This is not the time for the green can of pre-shredded stuff. You want a block of real Parmesan (Parmigiano-Reggiano is my go-to) and grate it yourself. Pre-grated cheese contains anti-caking agents that prevent it from melting smoothly and forming that crispy crust we’re after. A microplane or the small side of a box grater works perfectly.
- Salt and Black Pepper (to taste): A good pinch of flaky sea salt right at the end really makes the flavors pop. Freshly cracked black pepper adds a subtle warmth that complements the garlic.
- Optional Garnishes: A sprinkle of fresh chopped parsley adds a pop of color and freshness. A pinch of red pepper flakes is great if you like a little heat. Sometimes I add a squeeze of lemon juice right at the end for brightness.
Equipment Needed
You don’t need a lot of fancy gear for this one, which is part of its charm. Here’s what you’ll need:
- Large Skillet or Cast-Iron Pan: A 12-inch skillet is ideal. You want enough surface area to fit all four ears of corn without overcrowding. A cast-iron pan is my first choice because it holds heat so well, giving you that beautiful golden-brown sear.
- Sharp Knife and Cutting Board: For shucking the corn and mincing the garlic.
- Microplane or Box Grater: For grating the Parmesan. A microplane gives you that fine, fluffy texture that melts instantly.
- Tongs: Essential for turning the corn safely without splashing hot butter on yourself.
- Pastry Brush (optional): If you want to be extra thorough about coating the corn with butter, a pastry brush helps. But honestly, rolling the corn in the pan works just as well.
Preparation Method
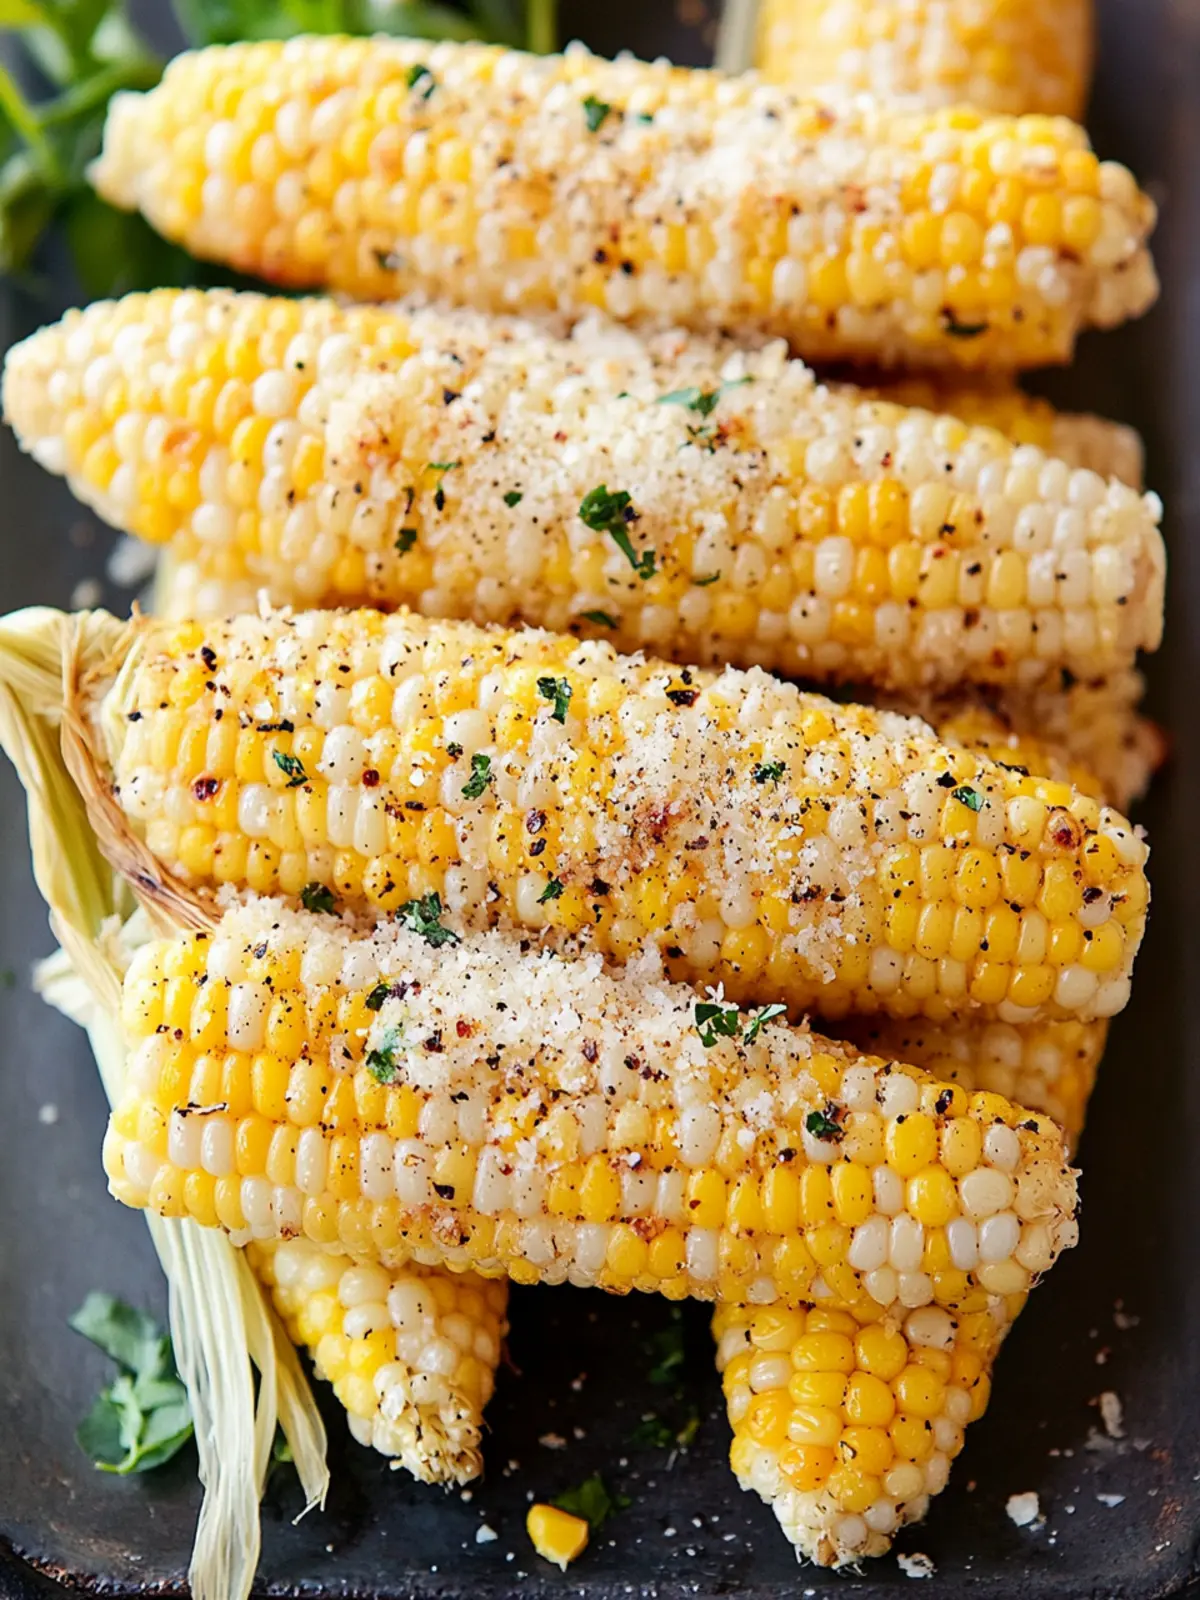
- Prep the Corn (5 minutes): Shuck each ear of corn, removing all the husk and silk. Rinse them under cold water to remove any stray threads. Pat them completely dry with a clean kitchen towel. This is important—any water on the corn will cause the butter to sputter and steam instead of sear.
- Get the Pan Ready (2 minutes): Place your large skillet over medium heat. Add the 4 tablespoons of unsalted butter and let it melt completely. Swirl the pan to coat the bottom evenly. Once the butter is melted and starts to foam slightly, add the minced garlic. Cook for about 30 seconds, stirring constantly, until the garlic is fragrant but not browned. Burnt garlic turns bitter, so keep a close eye on it.
- Sear the Corn (8-10 minutes): Carefully place the dry corn ears into the hot butter mixture. Using your tongs, roll each ear to coat it completely in the garlic butter. Let the corn cook undisturbed for about 2-3 minutes, until the bottom side is golden brown with some charred spots. Then, roll the corn a quarter turn and cook for another 2-3 minutes. Repeat this process until all sides of the corn are beautifully browned and slightly charred. The kernels should look plump and glossy, with some dark brown spots forming. This is where the flavor lives.
- Add the Cheese (1 minute): Reduce the heat to low. Sprinkle the ½ cup of freshly grated Parmesan evenly over the corn in the pan. Use your tongs to roll the corn through the melting cheese, making sure every ear gets a good coating. The cheese will melt into the butter and start to form a crust on the corn. Don’t walk away for this part—it happens fast.
- Finish and Serve (1 minute): Once the cheese is melted and sticking to the corn, remove the pan from the heat. Transfer the corn to a serving platter. Sprinkle with a little extra grated Parmesan, a pinch of flaky salt, some fresh cracked black pepper, and chopped parsley if you’re using it. Serve immediately while the cheese is still gooey and the corn is hot.
Cooking Tips & Techniques
I’ve made this recipe more times than I can count, and I’ve learned a few things the hard way. Let me save you the trouble.
- Don’t overcrowd the pan: If your skillet is too small, the corn will steam instead of sear. You want direct contact with the hot butter. If you need to, cook the corn in two batches, adding a little more butter for the second batch.
- The garlic is a diva: It goes from perfect to burnt in seconds. Keep the heat at medium, not high, when you add the garlic. If you see the garlic turning dark brown, pull the pan off the heat immediately and lower the temperature before proceeding.
- Dry corn is happy corn: I cannot stress this enough. Pat those ears bone-dry before they hit the pan. Wet corn creates steam, which prevents browning and makes the butter spit at you. Nobody wants that.
- Grate your own cheese: I know it’s an extra step, but pre-shredded cheese is coated in cellulose and starch. It won’t melt into that glorious, crispy crust. It will just clump and get greasy. Trust me on this one.
- Use a cast-iron skillet if you have one: The even heat distribution and heat retention of cast iron give you a much better sear. If you don’t have one, a stainless steel or non-stick pan will work, just make sure it’s preheated properly.
Variations & Adaptations
This recipe is a fantastic base for experimentation. Here are a few ways I’ve changed it up over the years.
- Spicy Chipotle Version: Add ½ teaspoon of chipotle powder or a minced chipotle pepper in adobo sauce to the butter along with the garlic. The smoky heat pairs beautifully with the sweet corn and salty Parmesan. This version is fantastic alongside a grilled steak or some effortless crock pot beef bites.
- Herb & Lemon Variation: After the cheese has melted, squeeze the juice of half a lemon over the corn and sprinkle with 2 tablespoons of fresh, chopped herbs like chives, dill, or basil. The acidity cuts through the richness and makes everything taste brighter.
- Dairy-Free Adaptation: Use a high-quality vegan butter (I like Miyoko’s) and a dairy-free Parmesan alternative. The texture will be slightly different, but the garlic and searing technique still deliver great flavor. Nutritional yeast can also be sprinkled on at the end for a cheesy, umami kick.
- Mexican Street Corn (Elote) Style: After cooking the corn with garlic butter, skip the Parmesan. Instead, spread a thin layer of mayonnaise on the corn, then roll it in crumbled Cotija cheese and a sprinkle of chili powder. Finish with a squeeze of lime. It’s a different beast, but just as addictive.
Serving & Storage Suggestions
This corn is best enjoyed immediately, straight from the pan, while the cheese is still warm and the kernels are crisp. But I have some tips for making the most of it.
- Serving: Serve the corn on a large platter, garnished with extra Parmesan and fresh herbs. It’s a perfect side dish for grilled chicken, steak, or fish. It also pairs wonderfully with a light, fresh salad like this fresh cowboy caviar pasta salad for a complete summer meal.
- Storage: If you have leftover corn (it happens, I guess), let it cool completely. Wrap each ear tightly in plastic wrap or aluminum foil, or place them in an airtight container. Store in the refrigerator for up to 3 days.
- Reheating: The best way to reheat is to return the corn to a hot, dry skillet over medium heat. Roll it around for 2-3 minutes until it’s heated through and the crust re-crisps. You can also use an air fryer at 350°F for 3-4 minutes. Microwaving will make the kernels rubbery and the cheese soggy, so I’d avoid that if you can.
- Flavor Development: Honestly, this corn is at its absolute peak right after cooking. The flavors don’t improve with time like a stew or soup. That’s why I always make just enough for one meal.
Nutritional Information & Benefits
While this is an indulgent side dish, corn on the cob does have some redeeming qualities. Here’s a quick look.
- Estimated Nutritional Values (per ear of corn with butter and cheese): Calories: 280, Fat: 18g, Carbohydrates: 28g, Protein: 8g. These are rough estimates and will vary based on the specific brands and amounts you use.
- Health Benefits: Corn is a good source of fiber, which aids digestion. It also contains antioxidants like lutein and zeaxanthin, which are good for eye health. The garlic provides allicin, a compound with potential anti-inflammatory and immune-boosting properties.
- Dietary Considerations: This recipe is naturally gluten-free and nut-free. To make it vegetarian, simply ensure your Parmesan is made with vegetarian rennet (most artisanal brands are). For a lower-calorie version, you can reduce the butter to 2 tablespoons and use a light sprinkle of Parmesan.
- Potential Allergens: This recipe contains dairy (butter and cheese).
Conclusion
This Savory Garlic Parmesan Corn on the Cob has become my go-to side dish for a reason. It’s fast, it’s forgiving, and it delivers a flavor payoff that feels completely out of proportion to the effort involved. It’s the kind of recipe that makes you look like a hero at a summer cookout without breaking a sweat.
I love that it turns a humble, seasonal vegetable into something crave-worthy. It’s not just a side dish; it’s a conversation starter. People always ask, “How did you get the cheese to stick like that?” And I love sharing the simple secret. So go ahead, give it a try. Make it your own—add more garlic, skip the pepper, throw in some chili flakes. Cooking should be fun, and this recipe is the perfect place to play. I’d love to hear how it turns out for you. Drop a comment below and tell me your favorite way to customize it!
Frequently Asked Questions
Can I use frozen corn on the cob for this recipe?
You can, but fresh corn is really best here. Frozen corn tends to release a lot of water as it thaws, which makes it steam instead of sear. If you’re using frozen, make sure to thaw it completely and pat it very dry with paper towels before cooking.
What if I don’t have a cast-iron skillet?
No problem at all. A large non-stick or stainless steel skillet works just fine. Just make sure the pan is preheated over medium heat before you add the butter. The key is to give the corn enough space to make direct contact with the hot surface.
Can I make this recipe on the grill instead of the stovetop?
Absolutely! This method works beautifully on a grill. Use a cast-iron skillet or a disposable aluminum pan on the grill grates. Follow the same steps, just let the pan get hot over the flames. The smoky flavor from the grill adds another layer of deliciousness.
My Parmesan isn’t melting. What went wrong?
Most likely, you’re using pre-shredded cheese. The anti-caking agents in those bags prevent it from melting smoothly. Always buy a block of real Parmesan and grate it yourself. Also, make sure your heat isn’t too low. The butter should be hot enough to melt the cheese immediately.
How do I keep the corn warm if I’m making a big batch?
If you’re cooking for a crowd, cook the corn in batches and keep the finished ears warm on a baking sheet in a 200°F oven. Don’t cover them with foil, or the steam will make the crispy cheese crust soggy. They’ll stay perfect for about 20-30 minutes this way.
Pin This Recipe!
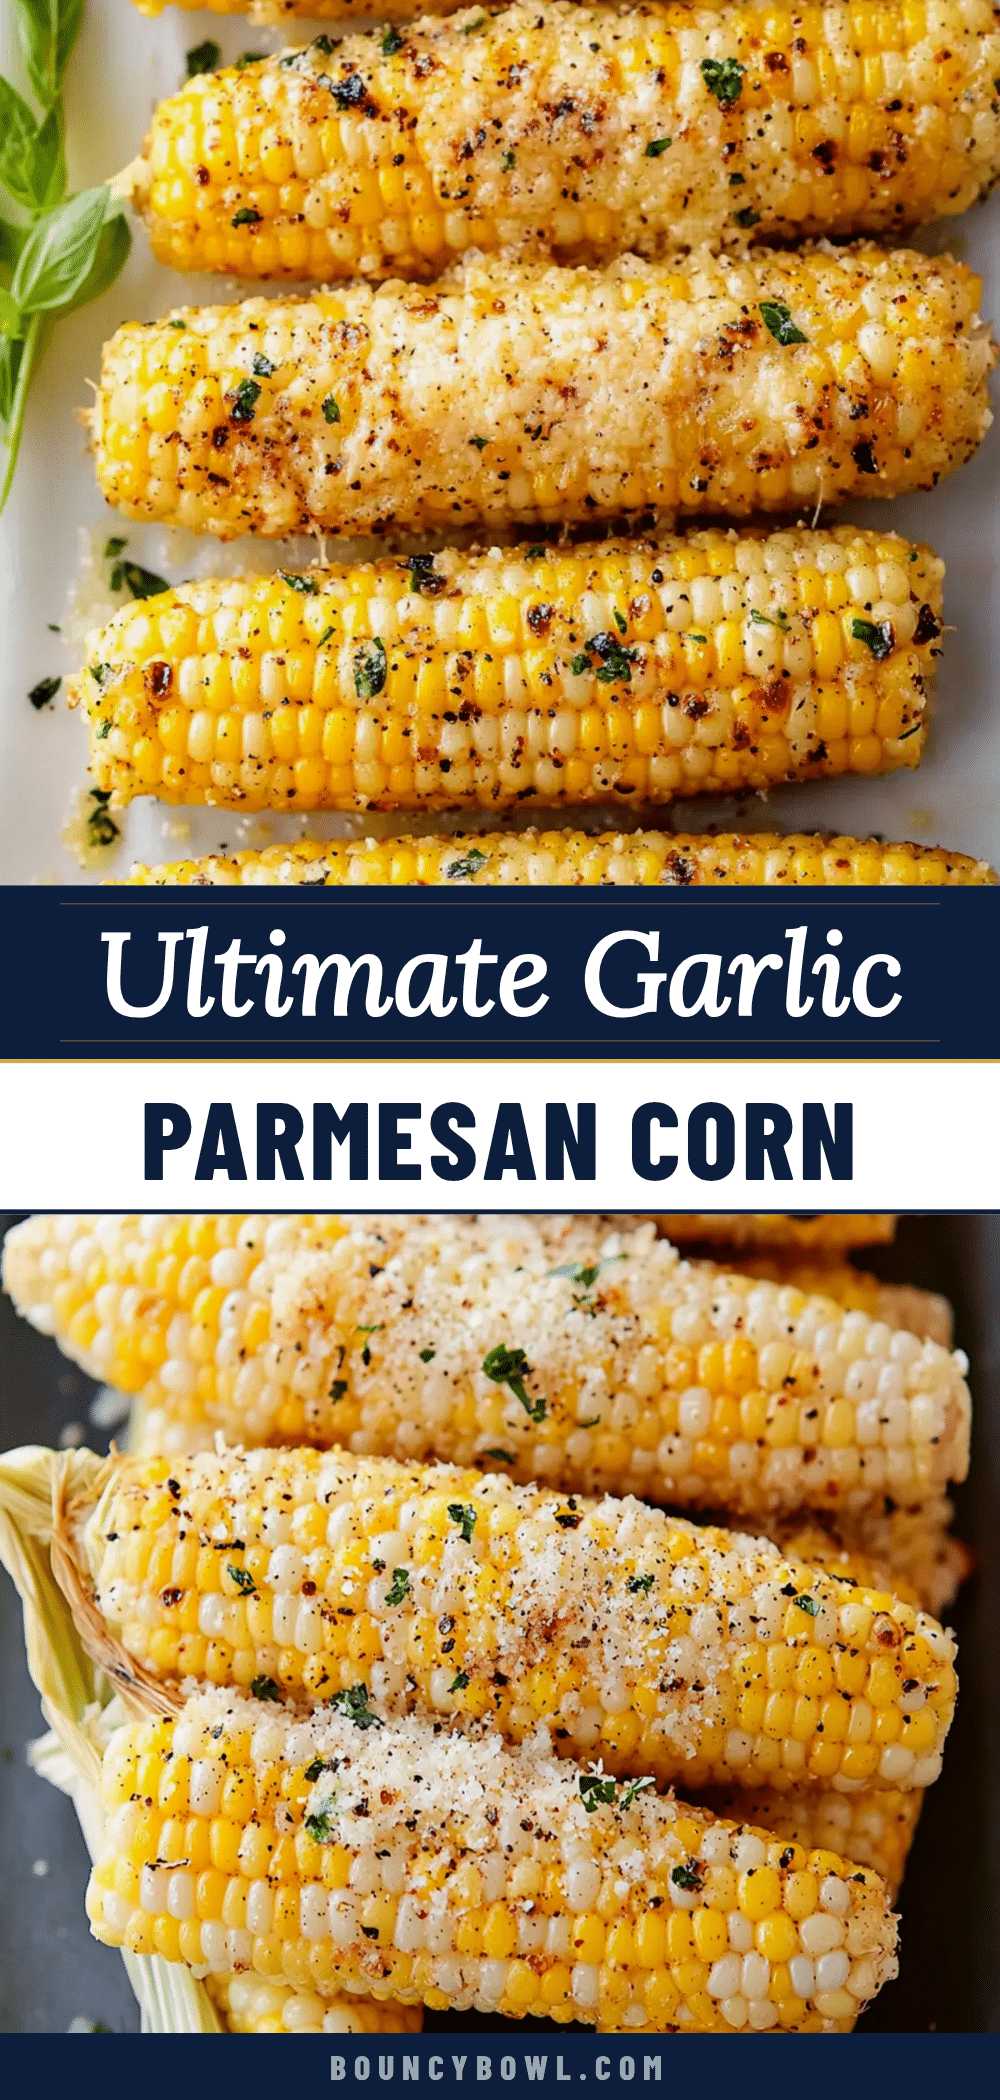
Savory Garlic Parmesan Corn on the Cob – Easy 15-Minute Recipe

This Savory Garlic Parmesan Corn on the Cob is a quick and indulgent side dish that turns simple ingredients into a crave-worthy star. Pan-seared in garlic butter and coated with a crispy Parmesan crust, it’s ready in just 15 minutes.
- Prep Time: 5 minutes
- Cook Time: 10 minutes
- Total Time: 15 minutes
- Yield: 4 servings 1x
- Category: Side Dish
- Cuisine: American
Ingredients
- 4 ears fresh corn on the cob
- 4 tablespoons unsalted butter, softened
- 4 cloves fresh garlic, minced
- ½ cup grated Parmesan cheese (plus more for serving)
- Salt and black pepper to taste
- Optional: fresh chopped parsley, red pepper flakes, lemon juice
Instructions
- Prep the corn: Shuck each ear, removing husk and silk. Rinse under cold water and pat completely dry with a clean kitchen towel.
- Get the pan ready: Place a large skillet over medium heat. Add 4 tablespoons unsalted butter and let it melt completely. Swirl to coat the bottom. Add minced garlic and cook for about 30 seconds, stirring constantly, until fragrant but not browned.
- Sear the corn: Carefully place the dry corn ears into the hot butter mixture. Using tongs, roll each ear to coat in garlic butter. Cook undisturbed for 2-3 minutes until the bottom side is golden brown with some charred spots. Roll a quarter turn and cook another 2-3 minutes. Repeat until all sides are beautifully browned and slightly charred (8-10 minutes total).
- Add the cheese: Reduce heat to low. Sprinkle ½ cup freshly grated Parmesan evenly over the corn. Roll the corn through the melting cheese to coat each ear. Cook for about 1 minute until the cheese melts and forms a crust.
- Finish and serve: Remove pan from heat. Transfer corn to a serving platter. Sprinkle with extra Parmesan, a pinch of flaky salt, fresh cracked black pepper, and optional parsley. Serve immediately.
Notes
For best results, use fresh corn and grate your own Parmesan. Pat corn completely dry before cooking to ensure a good sear. Keep heat at medium when adding garlic to prevent burning. Serve immediately for optimal texture.
Nutrition
- Serving Size: 1 ear of corn
- Calories: 280
- Sugar: 6
- Sodium: 320
- Fat: 18
- Saturated Fat: 11
- Carbohydrates: 28
- Fiber: 3
- Protein: 8
Keywords: garlic parmesan corn on the cob, easy corn recipe, 15 minute side dish, summer corn, pan-seared corn, cheesy corn