Love this? Save it for later!
Share the inspiration with your friends
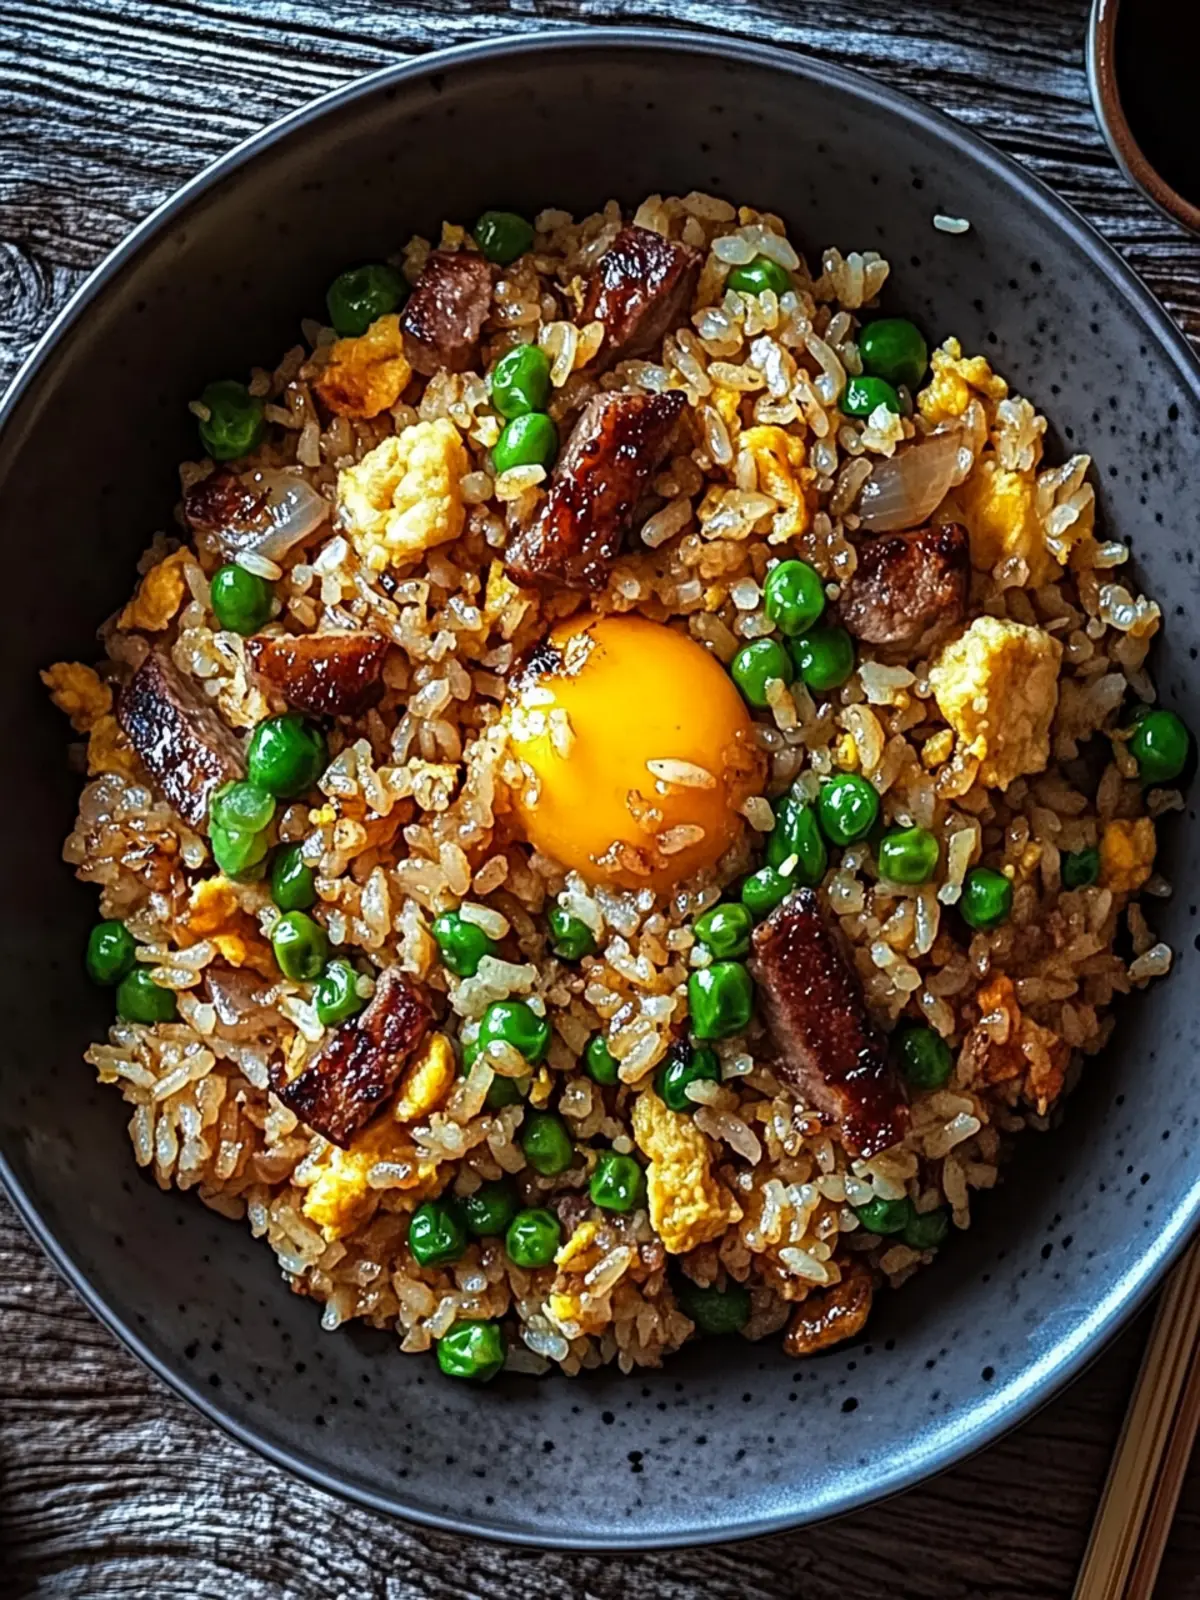
“You’ve got to try this fried rice,” my coworker insisted one hectic afternoon, waving a container of something that smelled like smoky heaven. Skeptical but starving, I gave in—and honestly, it wrecked all my fried rice expectations. This savory Japanese BBQ fried rice with crispy edges wasn’t just dinner; it was a whole mood. The kind of dish that sneaks up on you, first with a smoky sizzle and then that addictive crispy crust that makes you forget takeout forever.
That day, my kitchen was already a mess from a long workweek, and the last thing I wanted was a complicated recipe. But this? It came together with what felt like magic—and zero fuss. Turns out, the secret isn’t just the BBQ sauce; it’s the way the rice gets that perfect, crunchy edge that keeps you poking your chopsticks back in. It was one of those rare wins, where the burnt bits aren’t a kitchen fail but the star of the show.
Since then, I’ve found myself making this Japanese BBQ fried rice multiple times a week, sometimes swapping in whatever veggies I have on hand, sometimes adding a fried egg on top for extra comfort. It’s the kind of recipe that sticks because it’s simple, soulful, and satisfies cravings like nothing else. Honestly, it’s become my go-to for those nights when I want a cozy meal without the stress—kind of like my creamy shrimp Tuscan bake, but with a kick of smoky, savory goodness that’s pure Japanese-inspired comfort food.
So, here’s how you get that perfect crispy edge on your fried rice while packing in the deep grilled flavor from Japanese BBQ sauce. It’s a recipe that’s as rewarding to make as it is to eat—quietly confident, easy to tweak, and always ready to impress without fuss.
Why You’ll Love This Recipe
Having tested countless fried rice recipes, this savory Japanese BBQ fried rice really stands apart for a few reasons that’ll convince you to make it again and again:
- Quick & Easy: This recipe comes together in under 30 minutes, perfect when dinner needs to happen fast but still tastes like you put in effort.
- Simple Ingredients: No exotic pantry hunts here—you probably already have most of these ingredients, like day-old rice, soy sauce, and Japanese BBQ sauce (or a homemade mix).
- Perfect for Weeknight Dinners: Whether you’re cooking just for yourself or feeding a few hungry friends, this recipe hits that sweet spot between comforting and exciting.
- Crowd-Pleaser: It’s never failed to get rave reviews, from picky eaters to seasoned palates. The crispy edges especially keep everyone coming back for more.
- Unbelievably Delicious: The smoky, tangy BBQ flavor combined with that irresistible crunch makes this more than just your average fried rice.
What sets this recipe apart? It’s all about technique and balance. Instead of drowning the rice in sauce, you get just enough to coat each grain while letting the pan do its magic, creating those coveted crispy bits. Plus, the use of Japanese BBQ sauce (think savory, slightly sweet, with a hint of garlic and ginger) adds a layer of complexity that’s more refined than your usual stir-fry sauces.
Honestly, this dish feels like comfort food reimagined. It’s fast, flavorful, and flexible—great for impressing guests without stress or just treating yourself on a quiet night. If you’re curious about different ways to get those crispy edges in other dishes, you might enjoy the tips in my zesty harissa potatoes recipe, which shares a similar love for that perfect crunch.
What Ingredients You Will Need
This recipe relies on simple, wholesome ingredients that combine to give you bold flavors and that sought-after crispy texture without hassle. Most are pantry staples, and substitutions are easy if needed.
- Day-old cooked white rice (about 4 cups / 800 g) – Using leftover rice is key to avoid mushy fried rice. Long grain or Japanese short-grain rice works well.
- Japanese BBQ sauce (3 tablespoons) – You can find this bottled or make a quick blend of soy sauce, mirin, sugar, garlic, and ginger.
- Vegetable oil or sesame oil (2 tablespoons) – Sesame oil adds that nutty aroma, but vegetable oil works fine for frying.
- Garlic (2 cloves, minced) – Adds depth and warmth.
- Green onions (2 stalks, sliced) – For freshness and crunch.
- Eggs (2 large, beaten) – Helps bind the rice and adds richness.
- Cooked protein of choice (optional, about 1 cup) – I love adding diced chicken, shrimp, or tofu for a heartier meal.
- Soy sauce (1 tablespoon) – For seasoning and umami boost.
- Salt and pepper to taste – Be mindful; the BBQ and soy sauce already add saltiness.
- Optional vegetables: diced carrots, peas, or bell peppers (about ½ cup) – Adds color and texture.
For the best flavor, I recommend using a trusted brand like Kikkoman for soy sauce and looking for a Japanese BBQ sauce with balanced sweetness—not too overpowering. If you want a gluten-free version, swap soy sauce for tamari and double-check your BBQ sauce ingredients.
Seasonal tweaks are fun, too: in spring, swap in fresh snap peas or asparagus; in winter, try roasted mushrooms instead of raw veggies. If you’re curious about creamy comfort dinners, my creamy shrimp Tuscan bake offers a nice contrast with its rich sauce.
Equipment Needed
- Large non-stick skillet or cast iron pan: Essential for getting those crispy edges without sticking. Cast iron works best if you want that extra crunch, but a good non-stick will do just fine.
- Spatula or wooden spoon: For stirring and scraping the rice as it fries.
- Mixing bowl: To beat the eggs and toss ingredients before cooking.
- Measuring spoons and cups: For accuracy, especially with sauces and seasoning.
If you don’t have cast iron, a heavy-bottomed stainless steel pan is a decent substitute, but watch the heat carefully to avoid burning. I’ve found that a well-seasoned pan makes a huge difference in getting that perfect crispy rice crust. For budget-friendly options, many brands offer affordable non-stick pans that clean up easily and handle high heat.
Preparation Method
- Prep your ingredients: Mince the garlic, slice green onions, and dice any vegetables or protein you’re using. Make sure your rice is cold and separated to prevent clumps. (5 minutes)
- Beat the eggs: In a bowl, lightly beat the eggs with a pinch of salt and pepper. Set aside. (2 minutes)
- Heat the pan: Warm your skillet over medium-high heat and add 1 tablespoon of oil. Let it get hot but not smoking. (2 minutes)
- Cook the eggs: Pour in the beaten eggs and scramble lightly until mostly set but still slightly runny. Remove from pan and set aside. (3 minutes)
- Sauté aromatics and veggies: Add the remaining oil to the pan, then toss in the garlic and any vegetables. Stir-fry until fragrant and just tender—about 2-3 minutes. (3 minutes)
- Add rice and protein: Increase heat to high. Add the rice and cooked protein, breaking up any clumps. Stir well to combine with veggies. Spread the mixture evenly across the pan and let it sit without stirring for about 2 minutes to start crisping. (5 minutes)
- Season and add sauces: Drizzle the Japanese BBQ sauce and soy sauce over the rice evenly. Stir to coat, then spread again and let sit another 2 minutes for more crisp edges. (4 minutes)
- Return eggs and green onions: Add scrambled eggs back into the pan along with green onions. Toss everything together and cook for another minute. Taste and adjust seasoning with salt and pepper if needed. (2 minutes)
- Serve hot: Scoop the rice onto plates, making sure to scrape up some of those crispy bits from the pan. (1 minute)
Pro tip: Don’t rush the sitting steps where the rice crisps up. It’s tempting to stir constantly, but those moments of rest create the magic crispy edges. If your pan isn’t hot enough, you won’t get that crunch, so give it time and use high heat carefully. If you’re ever in the mood for a crispy, cheesy snack after, my crispy cheesy garlic bread rings might be just the thing.
Cooking Tips & Techniques
Getting restaurant-quality fried rice at home is all about a few key techniques and avoiding common pitfalls:
- Use cold, day-old rice: Freshly cooked rice is too moist and clumps easily. Leftover rice dries out a bit, making it perfect for frying.
- Preheat your pan well: A hot pan is essential to get that crispy crust without steaming the rice.
- Don’t overcrowd the pan: If you add too much rice at once, it steams instead of fries. Cook in batches if needed.
- Let the rice sit without stirring: Resist the urge to stir constantly. Letting it sit for a couple of minutes helps form the crispy edges.
- Balance flavor: Japanese BBQ sauce is flavorful, so start with less and add more if needed. You want the rice coated, not soaked.
- Use oils with a high smoke point: Vegetable or peanut oil works great, but adding a splash of toasted sesame oil at the end amps up the aroma.
One time, I accidentally used freshly steamed rice and ended up with a mushy mess—lesson learned! Also, don’t skimp on the garlic; it’s the unsung hero that gives the dish depth. Multitasking helps here—I usually prep all ingredients while the pan heats to keep things moving smoothly.
Variations & Adaptations
This savory Japanese BBQ fried rice is a great foundation that invites plenty of customization:
- Vegetarian/Vegan: Skip the eggs and cooked meats. Add firm tofu or tempeh and extra veggies like mushrooms and snap peas. Use a vegan Japanese BBQ sauce or tamari for soy sauce.
- Protein swaps: Try diced pork belly, thinly sliced beef, or shrimp for different flavors and textures. Leftover grilled chicken works well, too.
- Spice it up: Add a dash of chili flakes or a drizzle of spicy mayo on top for a kick. This works nicely if you like a bit of heat balancing the sweet-savory BBQ.
- Gluten-free: Use tamari or coconut aminos for soy sauce and double-check BBQ sauce ingredients to keep it gluten-free.
- Low-carb option: Swap rice for cauliflower rice, but note that you won’t get the same crispy edges (though it’s still tasty!).
Personally, I’ve tried adding kimchi for a tangy twist, which pairs beautifully with the smoky BBQ flavor. The tang cuts through the richness and adds a refreshing bite. This flexibility makes it a dish you can easily adapt depending on what’s in your fridge or your mood.
Serving & Storage Suggestions
Serve this savory Japanese BBQ fried rice hot, right from the pan, so you get the full effect of those crispy edges. Garnish with extra sliced green onions or toasted sesame seeds for a nice finish. Pair it with a light cucumber salad or miso soup to balance the richness.
For leftovers, store cooled fried rice in an airtight container in the fridge for up to 3 days. To reheat, use a hot skillet with a splash of oil to bring back some of the crunchiness—microwaving tends to make it soggy.
Flavors actually deepen overnight, so sometimes I find the next-day fried rice tastes even better, especially if you add a fresh squeeze of lime or a drizzle of soy sauce before serving. It’s a great make-ahead meal for busy days.
Nutritional Information & Benefits
This recipe provides a balanced mix of carbohydrates, protein, and fats. The rice offers energy-giving carbs, while eggs and added protein contribute essential amino acids. Garlic and green onions add antioxidants and flavor without calories.
Japanese BBQ sauce typically contains moderate sugar, so keep an eye on portions if you’re managing intake. Using lean proteins and plenty of vegetables boosts the nutrient profile. This dish can easily fit into gluten-free or dairy-free diets with simple swaps.
From a wellness perspective, it’s a satisfying comfort meal that doesn’t feel heavy or greasy—making it a realistic choice for those who want flavor without the guilt.
Conclusion
This savory Japanese BBQ fried rice with crispy edges is a recipe that’s stuck with me for good reason. It’s fast, fuss-free, and delivers that smoky, crunchy, comforting flavor combo I crave after a long day. What I appreciate most is how easy it is to tweak—whether adding extra veggies, switching proteins, or dialing up the spice.
Cooking it feels like a small win every time, and eating it brings a quiet satisfaction that’s hard to describe but easy to recognize. If you’re looking for a new fried rice recipe that breaks away from the usual, this one’s worth trying. I’d love to hear how you customize it or what crispy rice tricks you discover along the way!
Feel free to share your experience, questions, or any twists you try in the comments below. Here’s to cozy, flavorful dinners made simple.
FAQs About Savory Japanese BBQ Fried Rice
Can I use freshly cooked rice for this recipe?
It’s best to use day-old rice because it’s drier and fries better. Fresh rice tends to be too moist and can result in mushy fried rice.
What can I substitute for Japanese BBQ sauce?
You can mix soy sauce, mirin, a little sugar, garlic, and ginger to create a similar flavor if you don’t have ready-made sauce.
How do I get the crispy edges on my fried rice?
Make sure your pan is hot and don’t stir constantly. Let the rice sit undisturbed for a couple of minutes so it can crisp up naturally.
Can I make this recipe vegan?
Yes! Skip the eggs and meat, add tofu or extra veggies, and use vegan-friendly sauces to keep it plant-based.
What’s the best pan to use for crispy fried rice?
A cast iron skillet is ideal for even heat and great crispiness, but a heavy non-stick pan works well too.
Pin This Recipe!
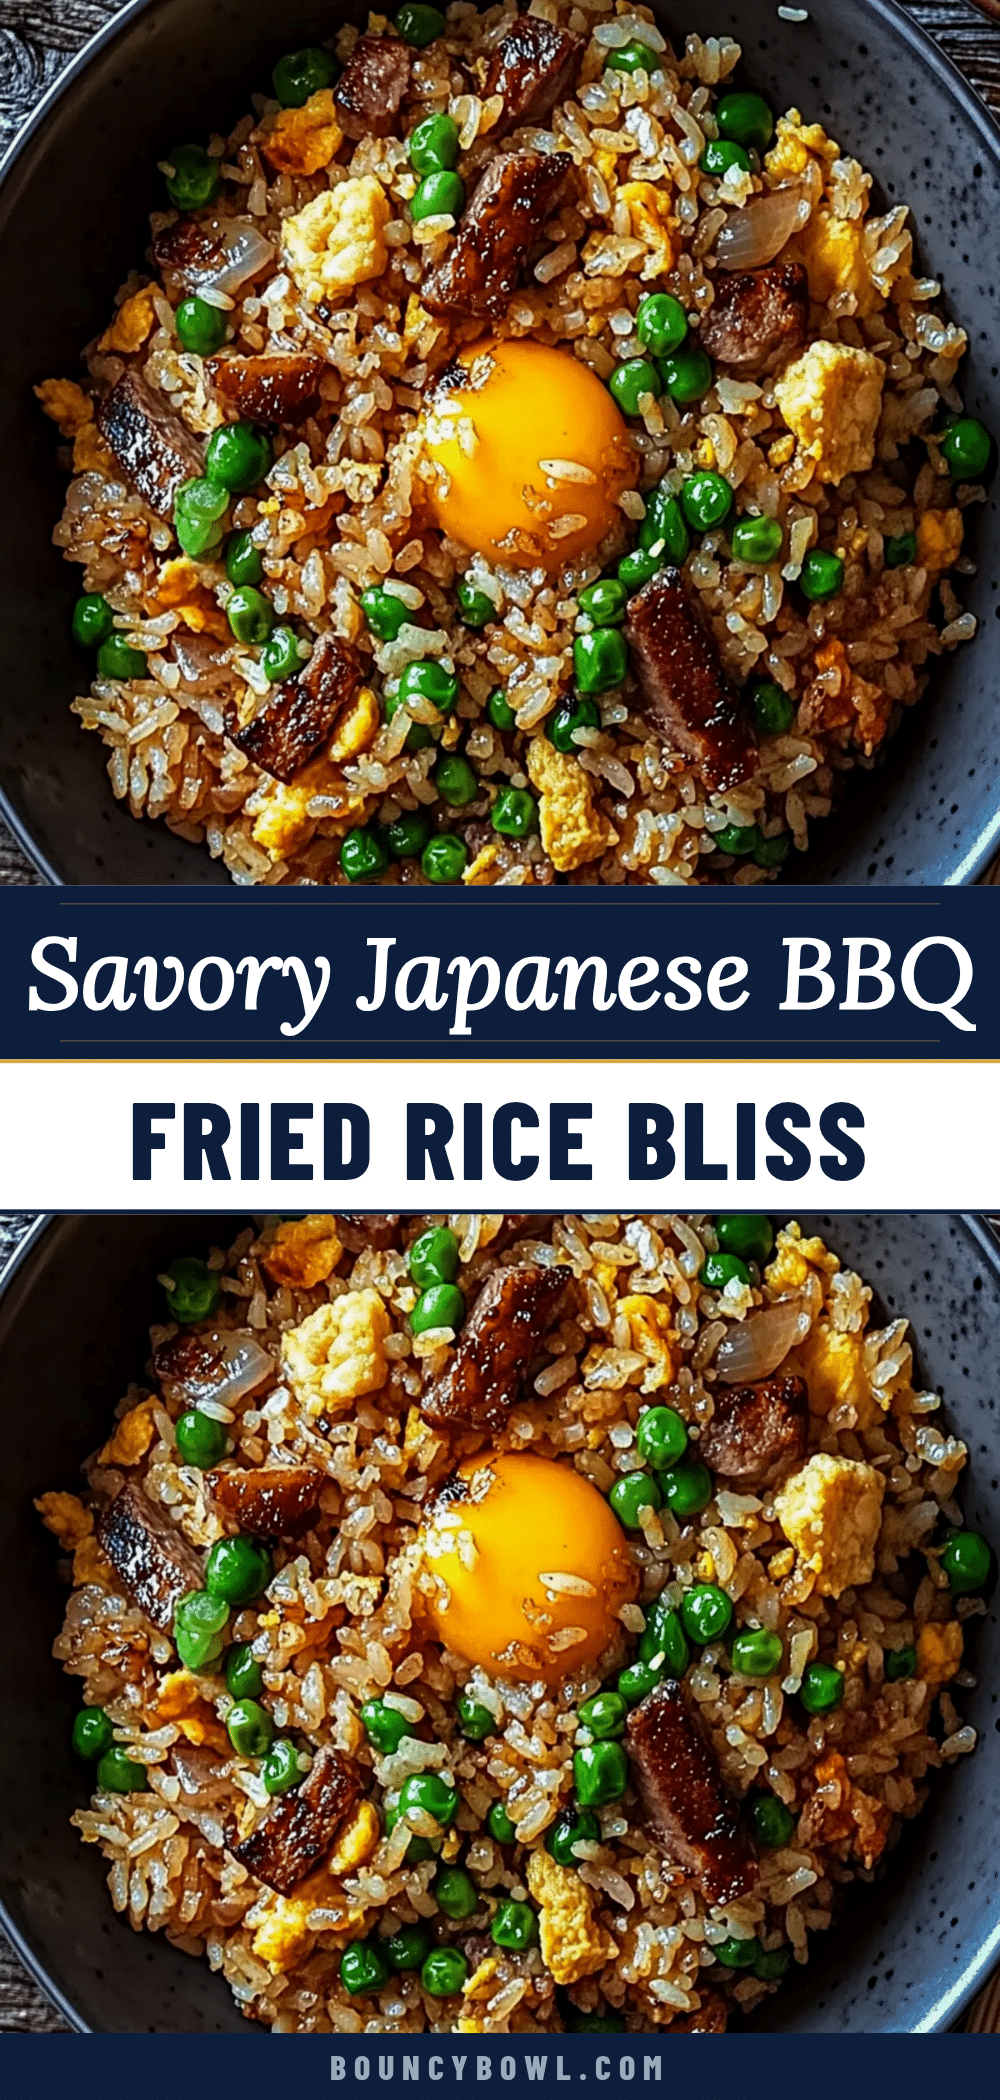
Savory Japanese BBQ Fried Rice

A quick and easy fried rice recipe featuring smoky Japanese BBQ sauce and crispy edges, perfect for a comforting weeknight dinner.
- Prep Time: 9 minutes
- Cook Time: 22 minutes
- Total Time: 31 minutes
- Yield: 4 servings 1x
- Category: Main Course
- Cuisine: Japanese
Ingredients
- 4 cups day-old cooked white rice (long grain or Japanese short-grain)
- 3 tablespoons Japanese BBQ sauce (store-bought or homemade blend of soy sauce, mirin, sugar, garlic, and ginger)
- 2 tablespoons vegetable oil or sesame oil
- 2 cloves garlic, minced
- 2 stalks green onions, sliced
- 2 large eggs, beaten
- 1 cup cooked protein of choice (optional; diced chicken, shrimp, or tofu)
- 1 tablespoon soy sauce
- Salt and pepper to taste
- ½ cup optional vegetables (diced carrots, peas, or bell peppers)
Instructions
- Mince the garlic, slice green onions, and dice any vegetables or protein you’re using. Make sure your rice is cold and separated to prevent clumps. (5 minutes)
- In a bowl, lightly beat the eggs with a pinch of salt and pepper. Set aside. (2 minutes)
- Warm your skillet over medium-high heat and add 1 tablespoon of oil. Let it get hot but not smoking. (2 minutes)
- Pour in the beaten eggs and scramble lightly until mostly set but still slightly runny. Remove from pan and set aside. (3 minutes)
- Add the remaining oil to the pan, then toss in the garlic and any vegetables. Stir-fry until fragrant and just tender—about 2-3 minutes. (3 minutes)
- Increase heat to high. Add the rice and cooked protein, breaking up any clumps. Stir well to combine with veggies. Spread the mixture evenly across the pan and let it sit without stirring for about 2 minutes to start crisping. (5 minutes)
- Drizzle the Japanese BBQ sauce and soy sauce over the rice evenly. Stir to coat, then spread again and let sit another 2 minutes for more crisp edges. (4 minutes)
- Add scrambled eggs back into the pan along with green onions. Toss everything together and cook for another minute. Taste and adjust seasoning with salt and pepper if needed. (2 minutes)
- Scoop the rice onto plates, making sure to scrape up some of those crispy bits from the pan. Serve hot. (1 minute)
Notes
Use day-old rice to avoid mushy fried rice. Let the rice sit undisturbed in the pan to develop crispy edges. Use a hot pan and oils with a high smoke point. For gluten-free, substitute soy sauce with tamari and verify BBQ sauce ingredients. Cast iron skillet is ideal for best crispiness.
Nutrition
- Serving Size: 1 cup fried rice
- Calories: 350
- Sugar: 5
- Sodium: 700
- Fat: 14
- Saturated Fat: 3
- Carbohydrates: 42
- Fiber: 2
- Protein: 12
Keywords: Japanese BBQ fried rice, crispy fried rice, easy fried rice recipe, weeknight dinner, savory fried rice, BBQ sauce fried rice