Love this? Save it for later!
Share the inspiration with your friends
The first time I made this sushi salad, it was born out of pure laziness. I had a beautiful block of sushi-grade ahi tuna sitting in my fridge, a half-used package of nori, and absolutely zero patience for rolling. You know that feeling when you want all the flavors of your favorite sushi roll but can’t deal with the fuss of sticky rice on your fingers and the pressure of a perfect roll? Yeah, that was me on a Tuesday night after a long day.
I grabbed a big bowl, tossed in some shredded lettuce, chopped cucumber, and avocado. Then I seared the tuna quickly, sliced it thin, and laid it right on top. A drizzle of spicy mayo, a splash of soy sauce, and a generous dollop of wasabi later, I had something that honestly tasted better than half the sushi I’ve ordered out. The crunch of the veggies, the buttery texture of the tuna, and that sharp kick of wasabi all mixed together in one messy, glorious bowl.
This is not a recipe I planned. It stumbled into my life through a mix of hunger and impatience, and now I make it all the time. It feels like a cheat code for sushi night—all the flavor, none of the stress. And the best part? You can eat it with a fork, no chopsticks required unless you want to feel fancy.
Why You’ll Love This Recipe
Let me tell you why this Flavorful Sushi Salad with Wasabi Ahi Tuna has become a staple in my kitchen. I’ve tested it on picky eaters, sushi snobs, and people who swear they don’t like raw fish. It won every single time.
- Quick & Easy: This comes together in about 20 minutes flat. No rolling, no special mats, no stress. Perfect for those nights when you want something impressive but don’t have the energy for a project.
- Simple Ingredients: You probably have most of the pantry items already—soy sauce, sesame oil, rice vinegar. The only special trip is for the ahi tuna, and most grocery stores carry it these days.
- Perfect for Warm Weather: This salad is light, refreshing, and satisfying without being heavy. It’s my go-to for summer dinners or when I want something that won’t weigh me down.
- Crowd-Pleaser: I’ve brought this to potlucks and watched people go back for thirds. It’s got that wow factor without being fussy.
- Unbelievably Delicious: The combination of seared tuna, creamy avocado, crunchy cucumber, and spicy wasabi dressing is pure magic. Every bite hits different.
What makes this recipe different from the rest? It’s the wasabi. Most sushi salads use plain soy sauce or a basic vinaigrette. I blend wasabi paste right into the dressing, giving it that unmistakable heat that clears your sinuses and makes your taste buds sit up straight. Plus, I sear the tuna instead of leaving it completely raw—this gives it a gorgeous crust while keeping the center buttery and tender. It’s the best of both worlds.
Honestly, this recipe is the kind that makes you close your eyes after the first bite. It’s comfort food with a twist—healthier, faster, and way more fun than a standard salad.
What Ingredients You Will Need
This recipe uses simple, fresh ingredients to create big flavor without a lot of fuss. Most of these are pantry staples or easy to find at any grocery store.
For the Wasabi Ahi Tuna
- Sushi-grade ahi tuna – 8 oz (225g), fresh or thawed if frozen. Look for deep red color and a clean, ocean-fresh smell. I prefer buying from a trusted fishmonger or high-end grocery store.
- Soy sauce – 2 tablespoons (30ml), for marinating the tuna. Low-sodium works great here.
- Sesame oil – 1 teaspoon (5ml), adds that nutty, toasty flavor.
- Rice vinegar – 1 tablespoon (15ml), for a touch of acidity.
- Black and white sesame seeds – 1 tablespoon each, for coating the tuna before searing. It adds crunch and visual appeal.
- Neutral oil – 1 tablespoon (15ml), like avocado or grapeseed, for searing the tuna.
For the Sushi Salad Base
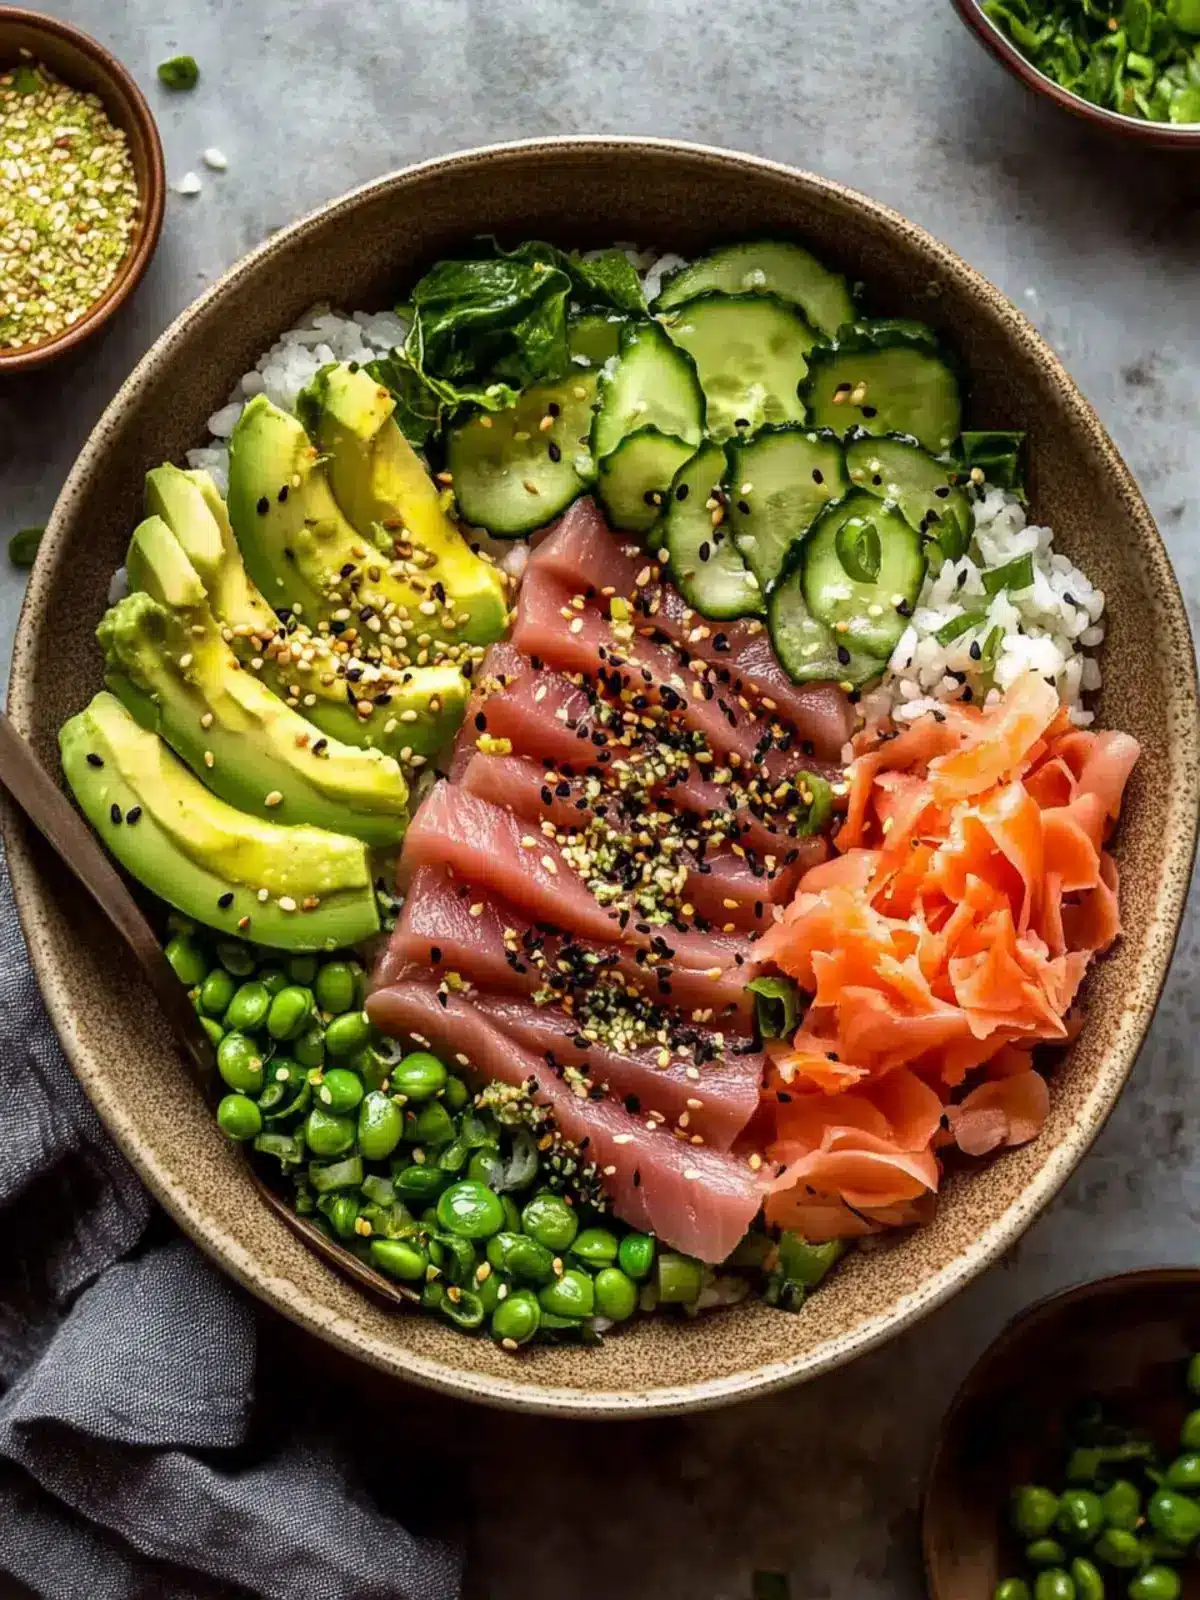
- Mixed greens or romaine lettuce – 4 cups (120g), chopped. I like a mix of romaine and butter lettuce for crunch and softness.
- Sushi rice or short-grain white rice – 1 cup (200g), cooked and cooled. This is optional but highly recommended for that authentic sushi feel.
- English cucumber – 1 medium, thinly sliced or cut into matchsticks.
- Avocado – 1 large, sliced. Adds creaminess that balances the heat.
- Nori sheets – 2 sheets, cut into thin strips or crumbled. This gives you that seaweed flavor without the rolling.
- Edamame – ½ cup (75g), shelled. Adds protein and a pop of green.
- Pickled ginger – ¼ cup (40g), for serving. The sweet-tangy flavor cuts through the richness.
For the Wasabi Dressing
- Wasabi paste – 1 to 2 teaspoons, depending on your heat tolerance. I use 1.5 teaspoons for a good kick.
- Soy sauce – 2 tablespoons (30ml).
- Rice vinegar – 2 tablespoons (30ml).
- Sesame oil – 1 tablespoon (15ml).
- Honey or maple syrup – 1 teaspoon (5ml), to balance the heat.
- Grated fresh ginger – 1 teaspoon (5g), for extra zing.
Optional Toppings
- Spicy mayo – Mix ¼ cup mayo with 1 tablespoon sriracha. Drizzle over the top for extra creaminess.
- Furikake seasoning – A sprinkle adds umami and crunch.
- Green onions – Thinly sliced, for a fresh finish.
I always recommend using the best quality tuna you can find—it makes a real difference. If you’re looking for a quick weeknight meal, try this alongside my Quick Chinese-Style Sautéed Shrimp for a surf-and-turf vibe.
Equipment Needed
You don’t need a lot of fancy tools for this recipe, which is part of why I love it. Here’s what you’ll need:
- Sharp knife – A good chef’s knife or a slicing knife is essential for cutting the tuna cleanly. A dull knife will tear the fish and ruin the texture.
- Cast iron skillet or non-stick pan – For searing the tuna. Cast iron gives you the best crust, but any heavy-bottomed pan works.
- Cutting board – Preferably a large one so you have room to work.
- Large mixing bowl – For tossing the salad.
- Small bowl or jar – For whisking the dressing.
- Tongs – For flipping the tuna without piercing it.
- Rice cooker or small pot – For cooking the sushi rice. A rice cooker makes it foolproof.
If you don’t have a cast iron skillet, don’t worry. I’ve used a regular non-stick pan plenty of times and it works just fine. The key is getting the pan screaming hot before the tuna goes in.
For the rice, if you’re short on time, you can use pre-cooked sushi rice from the refrigerated section of most grocery stores. Just warm it up slightly before adding to the salad.
Preparation Method
Let’s walk through this step by step. I’ll include all the little tricks I’ve learned from making this dozens of times.
Step 1: Cook the Sushi Rice
Rinse 1 cup (200g) of sushi rice under cold water until the water runs clear. This removes excess starch and keeps the rice from getting gummy. Cook according to your rice cooker or stovetop directions. Once done, spread it out on a sheet pan and let it cool to room temperature. Drizzle with 1 tablespoon of rice vinegar and a pinch of salt, then gently fold it in. Set aside.
Step 2: Prepare the Tuna
Pat the ahi tuna dry with paper towels. In a small bowl, mix 2 tablespoons soy sauce, 1 teaspoon sesame oil, and 1 tablespoon rice vinegar. Place the tuna in the marinade and let it sit for 5 minutes, turning once. Don’t leave it longer than 10 minutes or the acid will start to cook the fish.
While the tuna marinates, combine 1 tablespoon each of black and white sesame seeds on a plate. After marinating, roll the tuna in the sesame seeds, pressing gently so they stick. The seeds will form a beautiful crust when seared.
Step 3: Sear the Tuna
Heat a cast iron skillet over high heat for 2 minutes. Add 1 tablespoon of neutral oil and swirl to coat. The pan should be smoking hot. Carefully place the tuna in the pan and sear for 45 to 60 seconds per side. You want a deep golden crust on the outside but the center should remain deep red and raw. Use tongs to flip gently. Once done, transfer to a cutting board and let it rest for 2 minutes.
I learned the hard way that overcooking tuna makes it dry and tough. Trust the 45-second rule. If you’re nervous, cut into one piece to check—the center should look like a rare steak.
Step 4: Make the Wasabi Dressing
In a small bowl or jar, whisk together 2 tablespoons soy sauce, 2 tablespoons rice vinegar, 1 tablespoon sesame oil, 1 teaspoon honey, 1 teaspoon grated ginger, and 1.5 teaspoons wasabi paste. Taste and adjust the wasabi—add more if you like it fiery, less if you’re sensitive. I sometimes add an extra half teaspoon because I love the burn.
Step 5: Assemble the Salad
In a large bowl, combine the chopped greens, cooled sushi rice, sliced cucumber, avocado, edamame, and nori strips. Pour about half the dressing over the top and toss gently to coat. Be careful not to mash the avocado.
Step 6: Slice and Serve
Using a sharp knife, slice the seared tuna against the grain into ¼-inch thick pieces. The sesame crust should stay intact. Arrange the tuna slices on top of the salad. Drizzle the remaining dressing over the tuna, then add a dollop of spicy mayo if using. Garnish with pickled ginger, green onions, and a sprinkle of furikake.
Serve immediately. This salad doesn’t sit well because the nori gets soggy, so eat it right away. Trust me, you won’t have leftovers anyway.
Cooking Tips & Techniques
I’ve messed up this recipe more times than I’d like to admit. Here are the lessons I learned so you don’t have to repeat them.
Don’t skip patting the tuna dry. Moisture is the enemy of a good sear. If the tuna is wet, it’ll steam instead of sear, and you’ll end up with a gray, unappetizing crust. Take an extra 30 seconds to dry it thoroughly.
Get the pan screaming hot. This is non-negotiable. A hot pan gives you that beautiful golden crust in under a minute. If the pan isn’t hot enough, the tuna will cook through before the crust forms. I test by flicking a drop of water into the pan—if it sizzles and evaporates immediately, you’re ready.
Slice the tuna against the grain. This makes each piece tender and easy to chew. If you slice with the grain, the tuna will be stringy and tough. Look for the natural lines in the fish and cut perpendicular to them.
Let the tuna rest. I know it’s tempting to slice right away, but resting allows the juices to redistribute. If you cut too soon, those beautiful juices will run out onto the cutting board instead of staying in the fish.
Adjust the wasabi to your taste. Wasabi paste varies in intensity between brands. Start with 1 teaspoon, taste the dressing, and add more if needed. You can always add heat, but you can’t take it away.
For more tips on working with seafood, check out my Easy Lemon Basil Salmon Rolls—the same principles apply for getting that perfect sear.
Variations & Adaptations
One of the best things about this sushi salad is how flexible it is. Here are some ways to switch it up based on what you have or what you’re craving.
Make it vegetarian. Skip the tuna and use marinated tofu or tempeh instead. Press the tofu well, then sear it the same way you would the tuna. Or go completely plant-based with extra avocado, edamame, and pickled veggies.
Try a different protein. Cooked shrimp, crab sticks, or even leftover grilled salmon work beautifully. For a quick option, try my Quick Chinese Garlic Butter Shrimp as a topping—it’s incredible with the wasabi dressing.
Swap the greens. Baby spinach, arugula, or even shredded cabbage work great. Arugula adds a peppery bite that complements the wasabi nicely.
Make it a bowl. Skip the greens entirely and use sushi rice as the base. Top with all the fixings and eat it like a deconstructed sushi roll. This is my lazy Sunday version.
Add crunch. Toss in some crushed wonton strips, crispy fried onions, or even crushed potato chips for texture. I’ve done this when I wanted something extra indulgent and it was amazing.
Spice it up. Add a drizzle of sriracha or chili oil on top for extra heat. Or mix gochujang paste into the dressing for a Korean-inspired twist.
If you’re looking for a lighter side dish to go with this, my Fresh Sushi Cucumber Salad is a perfect match—it’s like the crunchy, refreshing cousin of this main dish.
Serving & Storage Suggestions
This sushi salad is best served immediately, right after assembly. The nori stays crisp, the avocado stays green, and the tuna is at its peak. I recommend serving it at room temperature rather than cold—the flavors are more vibrant that way.
For presentation, I like to arrange the tuna slices in a neat row on top of the salad, then drizzle the dressing in a zigzag pattern. A sprinkle of furikake and a pile of pickled ginger on the side makes it look like it came from a restaurant.
Storage: If you have leftovers (unlikely, but possible), store the components separately. Keep the dressed salad greens in one container, the tuna in another, and the dressing in a small jar. The tuna will keep in the fridge for up to 24 hours, but it’s best eaten the same day. The salad greens will get soggy if dressed, so keep the dressing separate until you’re ready to eat.
Reheating: Don’t reheat the tuna—it’s meant to be served at room temperature or slightly chilled. If you want to use leftover tuna, slice it cold and add it to a fresh batch of greens. The wasabi dressing can be stored in the fridge for up to a week in a sealed jar.
Flavor development: The dressing actually gets better after a day in the fridge. The flavors meld together and the wasabi mellows slightly. I sometimes make a double batch of dressing just to have on hand for quick salads.
For a complete meal, pair this salad with a bowl of Cozy Creamy Vegan Butter Bean Soup for a contrast in textures—the warm, creamy soup balances the cool, crisp salad beautifully.
Nutritional Information & Benefits
This sushi salad is packed with nutrients that make it as good for you as it is delicious. Here’s a rough estimate per serving (based on 2 servings):
| Nutrient | Amount per Serving |
|---|---|
| Calories | 420-480 |
| Protein | 32g |
| Fat | 18g |
| Carbohydrates | 38g |
| Fiber | 8g |
| Sugar | 6g |
| Sodium | 780mg |
Health benefits: Ahi tuna is loaded with omega-3 fatty acids, which support heart and brain health. It’s also a fantastic source of lean protein, making this salad satisfying without being heavy. Avocado adds healthy monounsaturated fats and fiber, while the cucumber and greens provide hydration and vitamins A and C. The ginger and wasabi have anti-inflammatory properties and can help with digestion.
Dietary considerations: This recipe is naturally gluten-free if you use tamari instead of soy sauce. It’s also dairy-free and low in added sugars. The sushi rice adds complex carbohydrates for sustained energy, but you can skip it for a lower-carb version. If you’re watching sodium, use low-sodium soy sauce and go easy on the furikake.
I love that this salad feels indulgent but is actually packed with good-for-you ingredients. It’s the kind of meal that makes you feel energized afterward, not sluggish.
Conclusion
This Flavorful Sushi Salad with Wasabi Ahi Tuna is proof that you don’t need to be a sushi chef to enjoy incredible Japanese-inspired flavors at home. It’s quick, it’s forgiving, and it’s absolutely packed with texture and taste. Whether you’re a sushi lover looking for a low-effort fix or someone who’s never worked with raw fish before, this recipe is for you.
I love that this salad makes me feel like I’m eating something special, even on a random Tuesday. It’s bright, it’s bold, and it’s become my go-to when I want to impress without stress. Play around with the toppings, adjust the wasabi to your liking, and make it your own. That’s the beauty of a recipe like this—it’s a starting point, not a rulebook.
I’d love to hear how yours turns out. Did you add something unexpected? Did you dial up the heat? Drop a comment below and let me know. And if you loved this, share it with a friend who needs a little sushi magic in their life. Happy cooking!
Frequently Asked Questions
Can I use frozen ahi tuna for this recipe?
Yes, absolutely. Most sushi-grade tuna is actually flash-frozen at sea to kill parasites. Just thaw it in the refrigerator overnight, pat it dry, and use it as you would fresh. Make sure it’s labeled “sushi-grade” or “sashimi-grade” for safety.
How do I know when the tuna is done searing?
Look for a deep golden crust on the outside. The center should still be deep red and translucent. If you’re unsure, cut into one piece after resting—it should look like a rare steak. Remember, 45 to 60 seconds per side is usually perfect for a 1-inch thick piece.
Can I make this salad ahead of time?
You can prep the components ahead, but assemble right before serving. Cook the rice and make the dressing up to 2 days in advance. Slice the veggies and store them in the fridge. Sear the tuna and slice it just before serving to keep it at its best.
What can I use instead of wasabi paste?
If you don’t have wasabi paste, you can use horseradish mixed with a little green food coloring (that’s what most wasabi pastes are anyway). Or use sriracha for a different kind of heat. Even a pinch of cayenne pepper in the dressing works in a pinch.
Is this recipe safe for pregnant women?
Pregnant women should avoid raw or undercooked fish due to the risk of foodborne illness. If you’re pregnant, cook the tuna all the way through until it’s opaque, or substitute with fully cooked shrimp or crab. The salad itself is safe when the fish is fully cooked.
Pin This Recipe!
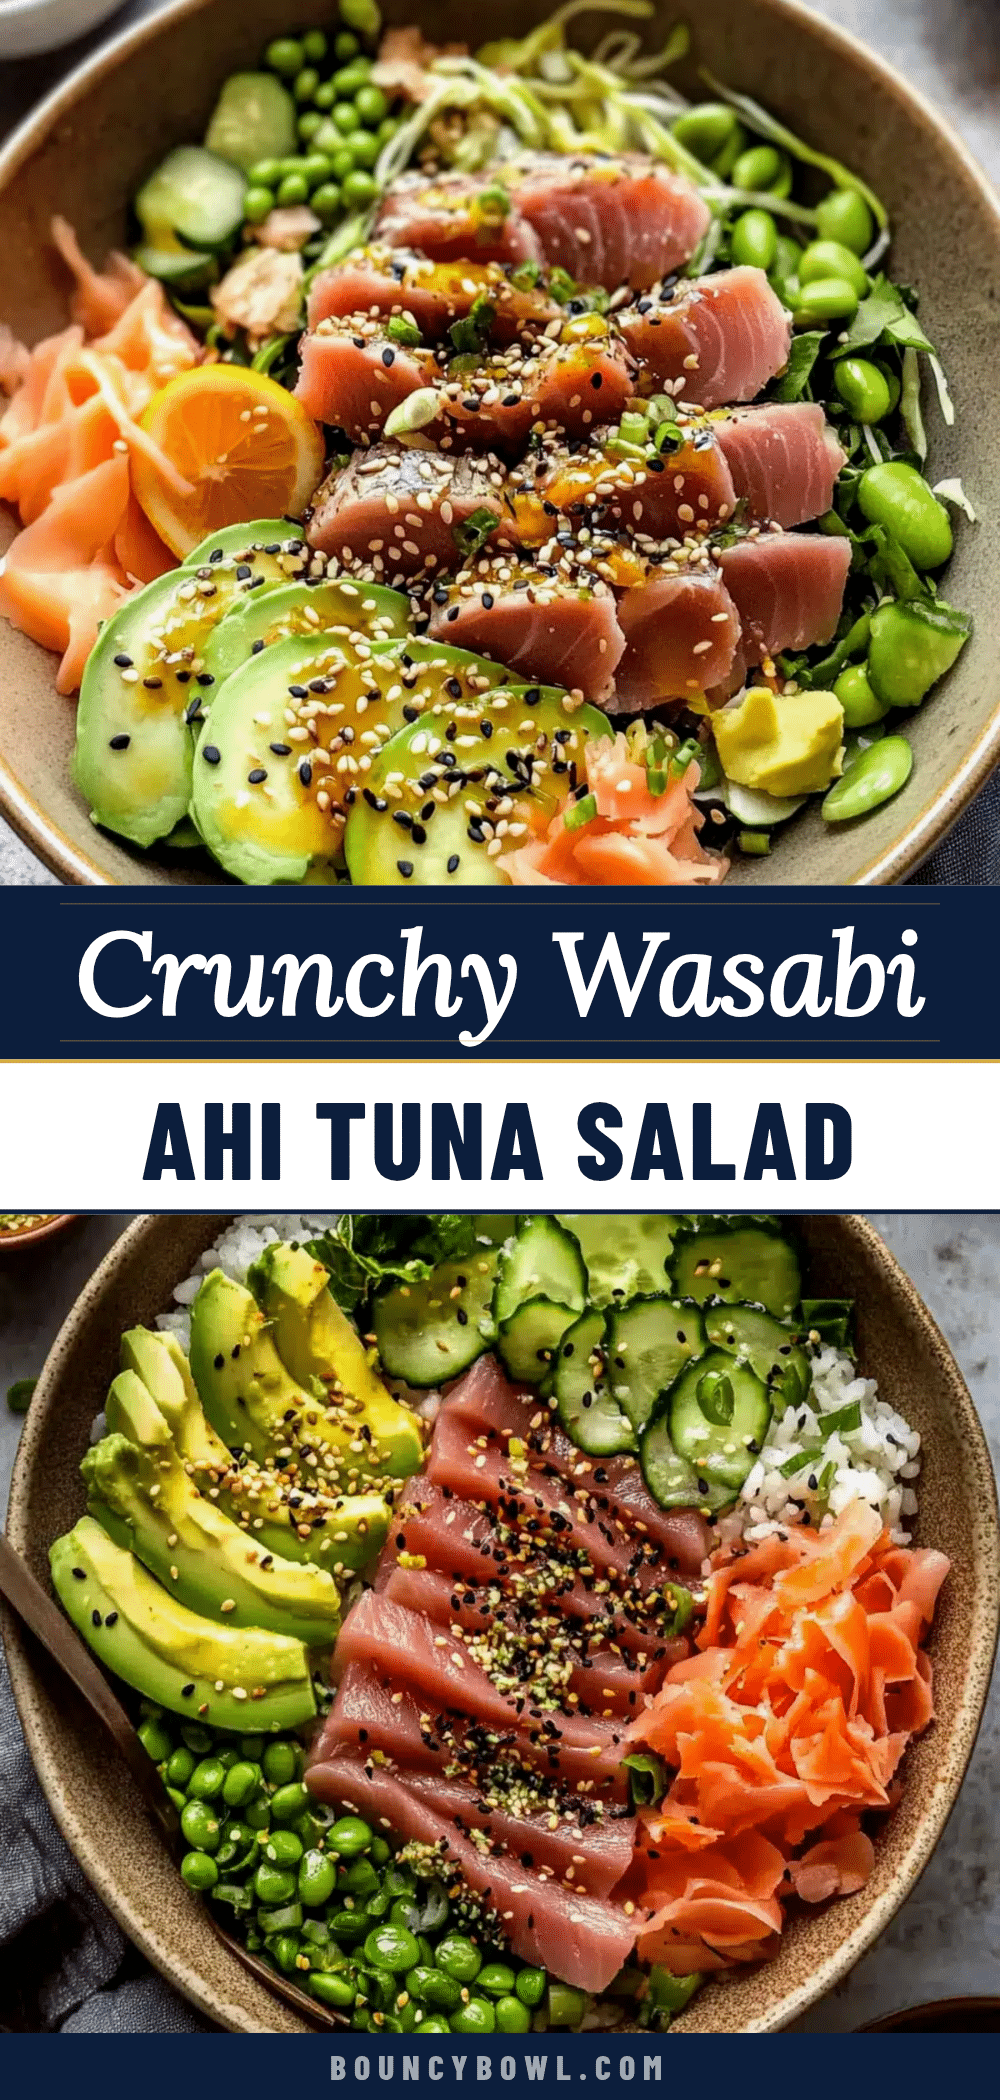
Best Flavorful Sushi Salad with Wasabi Ahi Tuna
A quick and easy sushi salad with seared ahi tuna, creamy avocado, crunchy cucumber, and a spicy wasabi dressing. All the flavor of sushi without the rolling.
- Prep Time: 15 minutes
- Cook Time: 10 minutes
- Total Time: 25 minutes
- Yield: 2 servings 1x
- Category: Main Course
- Cuisine: Japanese
Ingredients
- 8 oz (225g) sushi-grade ahi tuna
- 2 tablespoons (30ml) soy sauce
- 1 teaspoon (5ml) sesame oil
- 1 tablespoon (15ml) rice vinegar
- 1 tablespoon black sesame seeds
- 1 tablespoon white sesame seeds
- 1 tablespoon (15ml) neutral oil (avocado or grapeseed)
- 4 cups (120g) mixed greens or romaine lettuce, chopped
- 1 cup (200g) sushi rice or short-grain white rice, cooked and cooled
- 1 medium English cucumber, thinly sliced or cut into matchsticks
- 1 large avocado, sliced
- 2 nori sheets, cut into thin strips or crumbled
- ½ cup (75g) shelled edamame
- ¼ cup (40g) pickled ginger
- 1 to 2 teaspoons wasabi paste
- 2 tablespoons (30ml) soy sauce (for dressing)
- 2 tablespoons (30ml) rice vinegar (for dressing)
- 1 tablespoon (15ml) sesame oil (for dressing)
- 1 teaspoon (5ml) honey or maple syrup
- 1 teaspoon (5g) grated fresh ginger
- Optional: spicy mayo (¼ cup mayo + 1 tablespoon sriracha)
- Optional: furikake seasoning
- Optional: green onions, thinly sliced
Instructions
- Rinse 1 cup (200g) sushi rice under cold water until water runs clear. Cook according to package directions. Spread on a sheet pan, drizzle with 1 tablespoon rice vinegar and a pinch of salt, and let cool.
- Pat ahi tuna dry. In a small bowl, mix 2 tablespoons soy sauce, 1 teaspoon sesame oil, and 1 tablespoon rice vinegar. Marinate tuna for 5 minutes, turning once.
- Combine 1 tablespoon each black and white sesame seeds on a plate. Roll marinated tuna in seeds to coat.
- Heat a cast iron skillet over high heat for 2 minutes. Add 1 tablespoon neutral oil. Sear tuna for 45-60 seconds per side. Transfer to a cutting board and rest for 2 minutes.
- In a small bowl, whisk together 2 tablespoons soy sauce, 2 tablespoons rice vinegar, 1 tablespoon sesame oil, 1 teaspoon honey, 1 teaspoon grated ginger, and 1.5 teaspoons wasabi paste. Adjust to taste.
- In a large bowl, combine greens, cooled rice, cucumber, avocado, edamame, and nori strips. Add half the dressing and toss gently.
- Slice tuna against the grain into ¼-inch thick pieces. Arrange on salad. Drizzle remaining dressing over tuna. Add optional spicy mayo, pickled ginger, green onions, and furikake. Serve immediately.
Notes
Serve immediately to prevent nori from getting soggy. For best results, pat tuna dry and get the pan screaming hot. Adjust wasabi to taste. Leftovers: store components separately.
Nutrition
- Serving Size: 1 serving
- Calories: 450
- Sugar: 6
- Sodium: 780
- Fat: 18
- Saturated Fat: 3
- Carbohydrates: 38
- Fiber: 8
- Protein: 32
Keywords: sushi salad, ahi tuna, wasabi, quick dinner, healthy, gluten-free option


