Love this? Save it for later!
Share the inspiration with your friends
The first time I made this corn pudding casserole, I was actually trying to use up a half-opened bag of frozen corn that had been sitting in my freezer for way too long. You know those moments when you open the freezer door and something just stares back at you with what feels like judgment? That was this bag of corn. I had a holiday brunch to attend the next morning, and I needed something easy but impressive. My go-to strategy when I’m in a pinch is usually to throw things in a dish and hope for the best. Honestly, I didn’t expect much. I thought it would be a decent side dish that people would politely nibble on.
But then it came out of the oven. The top was golden brown with these slightly darker edges where the custard had bubbled up and caramelized just a little. The smell was buttery and sweet, with that warm corn aroma that reminds you of summer fairs and backyard cookouts. I took a spoonful to taste it before covering the dish for transport, and I swear I stood there in my quiet kitchen eating spoonful after spoonful like a woman possessed. It was that good. The texture was incredible—creamy on the inside with a soft, almost custard-like center, and the corn kernels added these little bursts of sweetness throughout.
I brought it to that brunch feeling nervous because I hadn’t tested it on anyone else yet. The dish was empty within thirty minutes. People asked for the recipe. One friend texted me later that week saying she had already made it twice. That bag of frozen corn? It started something I didn’t expect. This cozy creamy corn pudding casserole has become my most requested side dish for holidays, potlucks, and even just regular Tuesday dinners when I need something that feels a little bit special without a lot of effort. It’s the kind of recipe that quietly earns its spot in your rotation.
Why You’ll Love This Recipe
Let me tell you why this particular corn pudding casserole is different from every other version you’ve tried. I’ve tested this recipe about seven times to get the texture exactly right. The first few attempts were either too runny or too dense, but this version hits that perfect sweet spot every single time.
- Incredibly Easy: You just mix everything in one bowl, pour it into a baking dish, and let the oven do the work. It’s almost embarrassingly simple for how good it turns out.
- Simple Pantry Ingredients: You probably already have most of these things in your kitchen right now. No fancy trips to specialty stores or weird ingredients you’ll never use again.
- Perfect for Any Gathering: Thanksgiving, Easter, summer barbecues, or a cozy Sunday dinner—this dish fits everywhere. It’s like the friend who gets along with everyone at the party.
- Crowd-Pleaser Guaranteed: Kids love the sweetness, adults love the creamy texture, and everyone goes back for seconds. I’ve never seen leftovers of this dish.
- Unbelievably Comforting: There’s something about warm corn custard that just feels like a hug on a plate. It’s comfort food without being heavy or greasy.
What makes this recipe stand out is the combination of creamed corn and whole kernel corn. The creamed corn gives you that silky, custard-like base while the whole kernels provide texture and little pops of sweetness. I also use a touch of sugar and butter to enhance the natural corn flavor without making it taste like dessert. It’s savory enough to pair with roasted meats but sweet enough to satisfy that craving for something cozy. This isn’t just another corn casserole recipe—it’s the one you’ll come back to again and again.
What Ingredients You Will Need
This recipe uses simple, wholesome ingredients that work together to create something truly special. The beauty of this dish is that most of these items are probably already in your pantry or refrigerator, making it perfect for those last-minute dinner plans or unexpected guests.
- 1 can (15 oz) creamed corn (This is the secret to that silky, pudding-like texture. I prefer Del Monte or Green Giant for consistent results, but any brand works fine.)
- 1 can (15 oz) whole kernel corn, drained (Don’t skip draining this one! You want the liquid out so the casserole doesn’t get watery. The whole kernels add those lovely bursts of sweetness.)
- 1 cup (240 ml) whole milk (Whole milk gives the richest texture, but 2% works in a pinch. Avoid skim milk—it makes the pudding too thin and watery.)
- 2 large eggs, lightly beaten (Eggs are what give this dish its structure and that custard-like set. Make sure they’re at room temperature for the smoothest mixing.)
- 1/4 cup (60 g) unsalted butter, melted (I use salted butter in a pinch and just reduce the added salt slightly. The butter adds richness and helps the top get golden and beautiful.)
- 1/4 cup (50 g) granulated sugar (This enhances the natural sweetness of the corn without making it taste like candy. You can reduce it to 2 tablespoons if you prefer a more savory version.)
- 1/4 cup (30 g) all-purpose flour (The flour helps thicken the pudding and gives it structure. For a gluten-free version, use a 1:1 gluten-free flour blend.)
- 1/2 teaspoon salt (Don’t skip this! Salt balances the sweetness and brings out the corn flavor. I use fine sea salt for even distribution.)
- 1/4 teaspoon black pepper (Just a tiny bit adds a subtle warmth that complements the corn beautifully. Freshly ground is best here.)
- Optional: 1/2 cup (60 g) shredded cheddar cheese (This is my personal favorite addition. It adds a savory depth that makes the dish even more irresistible. Sharp cheddar works great.)
- Optional: 2 tablespoons chopped fresh chives or parsley (For garnish and a pop of color. Adds a fresh note that cuts through the richness.)
I always recommend using full-fat dairy for the best texture. Low-fat versions tend to break or become grainy during baking. Also, if you’re using fresh corn instead of canned, you’ll need about 2 cups of fresh corn kernels and you might need to add a little extra liquid since fresh corn has less moisture than canned.
Equipment Needed
You don’t need any fancy equipment for this recipe, which is part of why I love it so much. Here’s what you’ll need:
- 8×8 inch baking dish (A 9×9 works too, but the pudding will be slightly thinner and may bake a few minutes faster. Glass or ceramic dishes work best for even heat distribution.)
- Large mixing bowl (Any medium-to-large bowl will do. I use my favorite ceramic mixing bowl because it’s heavy and doesn’t slide around.)
- Whisk (A wire whisk helps incorporate the eggs smoothly without overmixing. A fork works in a pinch but takes more effort.)
- Measuring cups and spoons (Accuracy matters for the flour and sugar, so use proper measuring tools rather than estimating.)
- Can opener (Self-explanatory, but make sure it’s clean so you don’t get any metal shavings in your food.)
- Rubber spatula (For scraping every last bit of batter into the dish. Waste not, want not!)
- Oven mitts (The dish gets hot, and this pudding is too good to spill because you got impatient.)
If you don’t have an 8×8 dish, you can use a 9-inch pie plate or even a cast iron skillet. The baking time might vary slightly, so just keep an eye on it. I’ve made this in a disposable aluminum pan for potlucks before, and it works perfectly fine—just place it on a baking sheet for stability.
Preparation Method
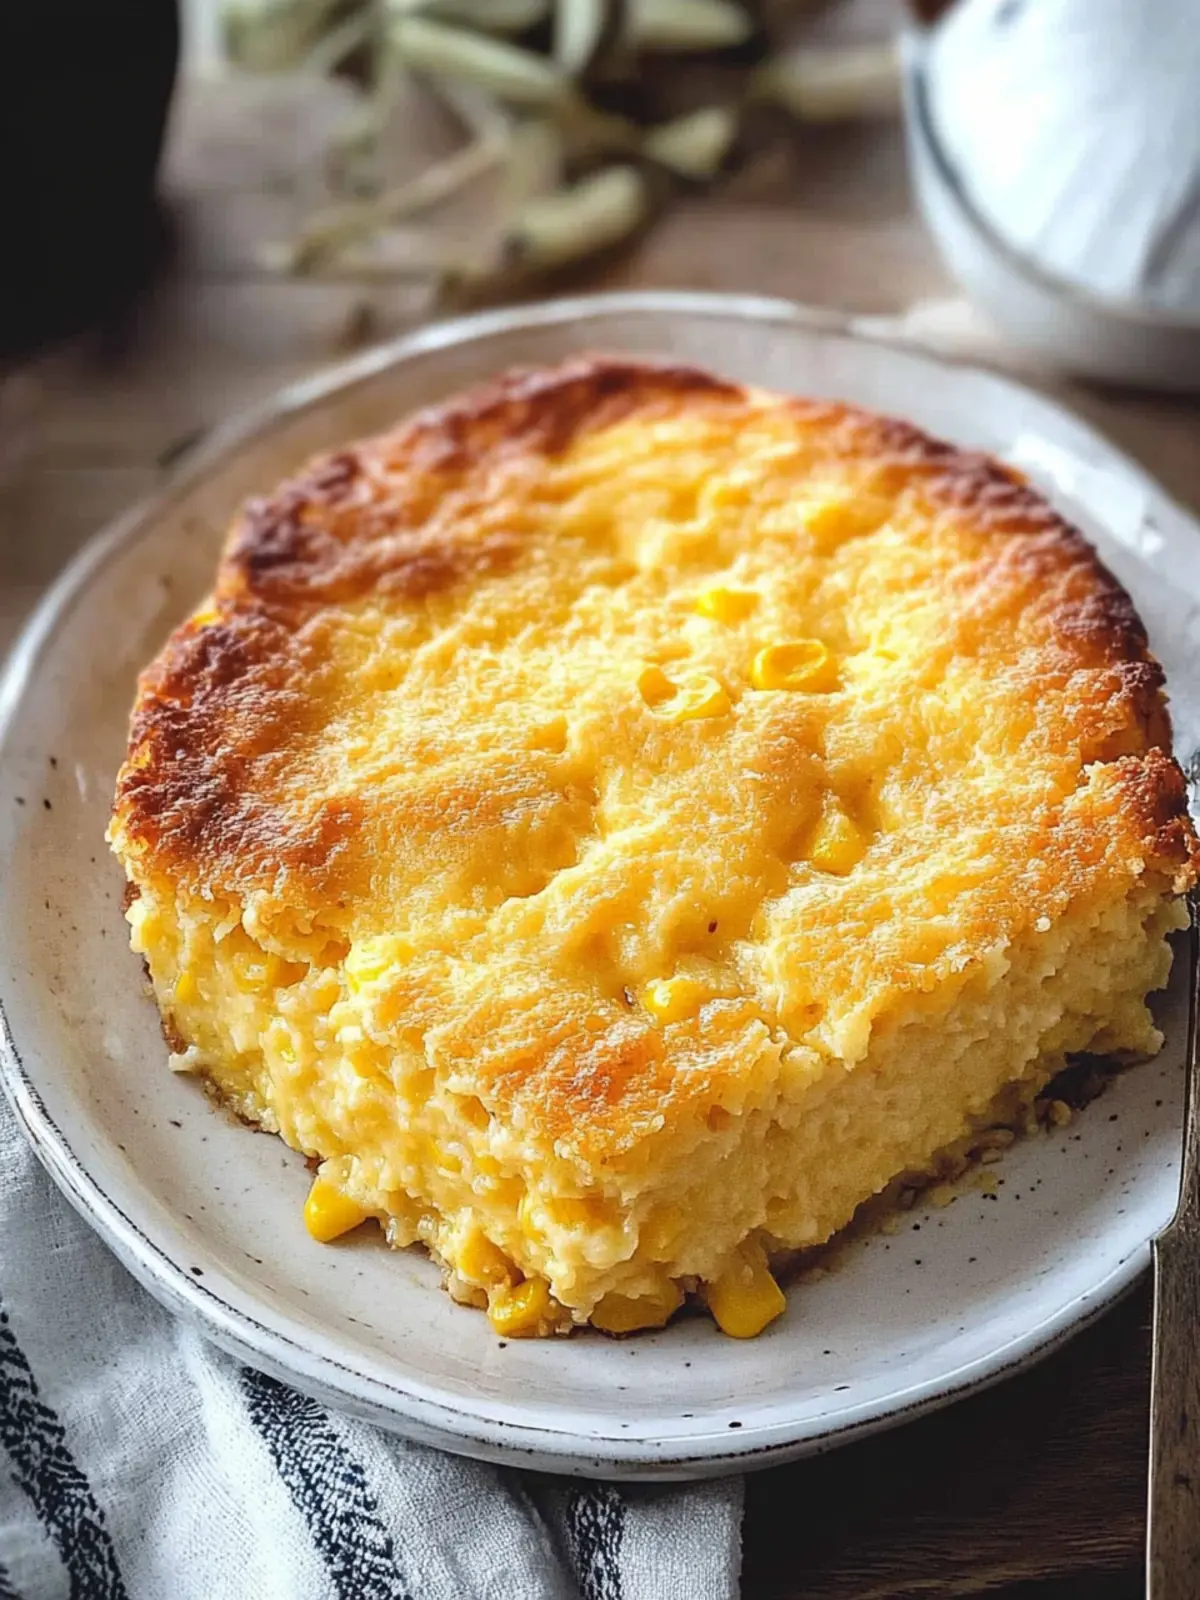
Making this cozy creamy corn pudding casserole is almost too easy. Follow these steps, and you’ll have a golden, bubbly dish that everyone will love.
- Preheat your oven to 350°F (175°C). This is important because you want the oven fully hot when the dish goes in. While it’s heating, lightly grease your 8×8 baking dish with butter or non-stick spray. I use butter because it adds flavor to the edges.
- In your large mixing bowl, whisk together the melted butter and sugar. Make sure the butter isn’t too hot—you don’t want it to scramble the eggs later. Just warm enough to melt the sugar slightly. Whisk until the mixture looks smooth and slightly thickened.
- Add the beaten eggs and milk, and whisk until fully combined. The mixture should look pale yellow and uniform. If you see streaks of egg white, keep whisking. This is also where you add the salt and pepper. Give it a good stir.
- Sprinkle the flour over the wet mixture and whisk until smooth. Add it slowly to avoid clumps. If you see lumps, keep whisking—they’ll break up. The batter should look like a thin pancake batter at this point. Don’t worry if it seems runny; the eggs and flour will set it as it bakes.
- Stir in the creamed corn and the drained whole kernel corn. Fold everything together gently but thoroughly. You want the corn evenly distributed throughout the batter. This is where you’d also add the shredded cheddar if you’re using it. Stir until the cheese is incorporated.
- Pour the mixture into your prepared baking dish. Use your rubber spatula to get every last bit. The batter should fill the dish about halfway. Give the dish a gentle tap on the counter to release any air bubbles.
- Bake for 45 to 55 minutes, or until the top is golden brown and the center is set. The edges should be puffed up and slightly darker than the middle. To test for doneness, insert a knife into the center—it should come out clean or with just a few moist crumbs. The pudding should jiggle slightly in the center but not look liquidy.
- Let it cool for at least 10 minutes before serving. This is crucial! The pudding continues to set as it cools, and cutting into it too early will result in a runny mess. I know it’s hard to wait, but trust me on this one. The waiting is the hardest part, but it’s worth it.
One thing I learned the hard way: don’t overbake this dish. The first time I made it, I left it in the oven an extra 10 minutes because I was nervous about it being undercooked. The result was a dry, slightly rubbery texture that was still tasty but nowhere near as good as it should have been. When the center is just set and the top is golden, pull it out. The residual heat will finish the cooking process.
Cooking Tips & Techniques
After making this corn pudding casserole more times than I can count, I’ve picked up a few tricks that make a real difference. Let me share them with you so you can skip the trial and error.
Room temperature ingredients matter. I know it’s tempting to use cold eggs straight from the fridge, but room temperature eggs blend more smoothly into the batter and create a more uniform texture. Same goes for the milk. If you’re short on time, place the eggs in a bowl of warm water for five minutes and microwave the milk for about 15 seconds.
Don’t overmix the batter. Once you add the flour, mix just until everything comes together. Overmixing develops the gluten in the flour, which can make the pudding tough instead of tender. You want it tender and delicate, not chewy.
Use a water bath for extra creamy texture. This is optional, but if you want the silkiest, most luxurious corn pudding, place your baking dish inside a larger pan and pour hot water halfway up the sides of the smaller dish. The gentle, even heat prevents the edges from cooking too fast while the center catches up. I do this when I’m making it for Thanksgiving or a special dinner.
Watch the edges. The edges of the casserole will brown faster than the center. If the top is getting too dark but the center isn’t set yet, tent the dish loosely with aluminum foil for the last 10-15 minutes of baking. This protects the top while the inside finishes cooking.
Let it rest. I cannot stress this enough. The pudding needs at least 10 minutes to set after coming out of the oven. If you cut into it immediately, it will be runny and the texture won’t be right. Patience pays off here.
One mistake I made early on was using a dish that was too big. The batter was too shallow, and the pudding dried out before the center could set properly. Stick with an 8×8 dish for the perfect thickness.
Variations & Adaptations
This cozy creamy corn pudding casserole is wonderfully adaptable. Here are some of my favorite variations that I’ve tried over the years.
Cheesy Corn Pudding: Add 1 cup of shredded sharp cheddar or Monterey Jack cheese to the batter. The cheese melts into the custard and creates these amazing savory pockets throughout. I made this version for a potluck once, and someone asked me if it was a secret family recipe. It’s that good.
Spicy Southwest Version: Add 1 diced jalapeño (seeds removed unless you like heat), 1/4 cup chopped cilantro, and 1/2 teaspoon cumin to the batter. Top with a sprinkle of chili powder before baking. This version pairs beautifully with grilled meats or tacos. I served it alongside some creamy tzatziki chicken salad for a summer dinner, and the combination was fantastic.
Gluten-Free Adaptation: Substitute the all-purpose flour with a 1:1 gluten-free flour blend or cornstarch. If using cornstarch, use only 2 tablespoons since it’s a more powerful thickener. The texture will be slightly different but still delicious. I’ve tested this version for a friend with celiac disease, and she couldn’t tell the difference.
Vegan Version: Use unsweetened oat milk or full-fat coconut milk instead of dairy milk, and substitute the eggs with 2 tablespoons of ground flaxseed mixed with 6 tablespoons of water (let it sit for 5 minutes to gel). Use vegan butter or coconut oil. The texture will be less custard-like but still creamy and satisfying.
Herb-Infused Version: Add 1 tablespoon of fresh thyme leaves or 2 teaspoons of dried rosemary to the batter. The herbs add an unexpected savory note that complements the sweetness of the corn. I made this for Easter brunch, and it was a hit alongside the ham.
Feel free to experiment with different add-ins like crumbled bacon, diced ham, or even roasted red peppers. This recipe is forgiving enough to handle all sorts of creative twists.
Serving & Storage Suggestions
This corn pudding casserole is best served warm, right after it’s had its 10-minute rest. The texture is at its peak—creamy, tender, and perfectly set. Scoop it out with a large spoon, making sure to get some of the golden edges with each serving. Those browned bits are absolutely delicious.
It pairs beautifully with so many main dishes. I love serving it alongside effortless crock pot beef bites for a cozy winter dinner, or with roasted chicken for a simple Sunday meal. It’s also a fantastic side for holiday feasts—Thanksgiving turkey, Easter ham, or Christmas roast. The sweetness of the corn complements savory meats perfectly.
For a complete meal, serve it with a simple green salad dressed with vinaigrette to cut through the richness. You could also pair it with quick Chinese-style sautéed shrimp for an unexpected but delicious flavor combination. The sweet corn and savory shrimp work surprisingly well together.
Storage: Leftover corn pudding keeps well in the refrigerator for up to 4 days. Store it in an airtight container or cover the baking dish tightly with plastic wrap. The texture will become slightly firmer as it sits, but it’s still delicious.
Reheating: The best way to reheat this dish is in the oven at 300°F (150°C) for about 10-15 minutes, or until warmed through. The microwave works in a pinch, but it can make the texture a bit rubbery. If using the microwave, heat in 30-second intervals and stir gently between each.
Freezing: You can freeze this corn pudding for up to 3 months. Let it cool completely, then wrap the dish tightly in plastic wrap and aluminum foil. To thaw, place it in the refrigerator overnight. Reheat in the oven as directed above. The texture might be slightly less creamy after freezing, but it’s still very good.
Nutritional Information & Benefits
Here’s the approximate nutritional breakdown for one serving (based on 8 servings per recipe):
- Calories: 210
- Total Fat: 10g
- Saturated Fat: 5g
- Cholesterol: 65mg
- Sodium: 380mg
- Total Carbohydrates: 28g
- Dietary Fiber: 2g
- Sugars: 10g
- Protein: 5g
Corn is actually a good source of fiber, which supports digestive health. It also contains antioxidants like lutein and zeaxanthin, which are beneficial for eye health. The eggs provide high-quality protein and important nutrients like choline, which supports brain function. While this dish isn’t exactly health food, it’s made with real, whole ingredients that offer more nutritional value than processed side dishes.
If you’re watching your sodium, you can reduce the added salt or use low-sodium canned corn. For a lower-calorie version, use skim milk and reduce the butter to 2 tablespoons. The texture won’t be as rich, but it will still be satisfying.
Conclusion
This cozy creamy corn pudding casserole has earned a permanent spot in my recipe collection, and I have a feeling it will earn one in yours too. It’s one of those rare recipes that manages to be both incredibly easy and genuinely impressive at the same time. The kind of dish that makes you look like you spent hours in the kitchen when really, you just stirred a few things together and let the oven work its magic.
I love how versatile it is—equally at home on a holiday table alongside turkey and ham as it is on a casual weeknight dinner plate next to roasted chicken or fish. It’s the side dish that everyone reaches for, the one that gets scraped clean while other dishes still have leftovers. And honestly, there’s something deeply satisfying about creating something so comforting from such simple ingredients.
I’d love to hear how yours turns out! Did you try any of the variations? Add your own twist? Drop a comment below and let me know. And if you’re looking for another cozy, comforting dish to add to your rotation, you might enjoy this cozy creamy chicken pot pie soup that comes together in just 30 minutes. Happy cooking, friends!
Frequently Asked Questions
Can I use fresh corn instead of canned?
Absolutely! You’ll need about 2 cups of fresh corn kernels (from about 3-4 ears of corn). Since fresh corn has less moisture than canned, you might want to add an extra tablespoon of milk to the batter. The fresh corn will give you an even sweeter, more vibrant flavor.
Why did my corn pudding turn out runny?
This usually happens for one of three reasons: you didn’t drain the whole kernel corn properly, you took the dish out of the oven too early, or you didn’t let it rest long enough after baking. Make sure your corn is well-drained, bake until the center is set but still slightly jiggly, and let it rest for at least 10 minutes before serving.
Can I make this ahead of time?
Yes! You can assemble the batter up to 24 hours in advance and store it covered in the refrigerator. Just give it a good stir before pouring it into the baking dish. You may need to add 5-10 minutes to the baking time since the batter will be cold. You can also bake it completely and reheat it in a 300°F oven for about 15 minutes.
Can I use frozen corn instead of canned?
Definitely. Use 2 cups of frozen corn kernels, thawed and drained well. Frozen corn is actually picked at peak ripeness, so it can be even sweeter than canned. Just make sure to pat it dry with paper towels to remove excess moisture that could make your pudding watery.
Is this dish gluten-free?
Not in its original form because of the all-purpose flour. But it’s easy to make gluten-free by substituting the flour with a 1:1 gluten-free flour blend or 2 tablespoons of cornstarch. The texture will be slightly different but still delicious and creamy.
Pin This Recipe!
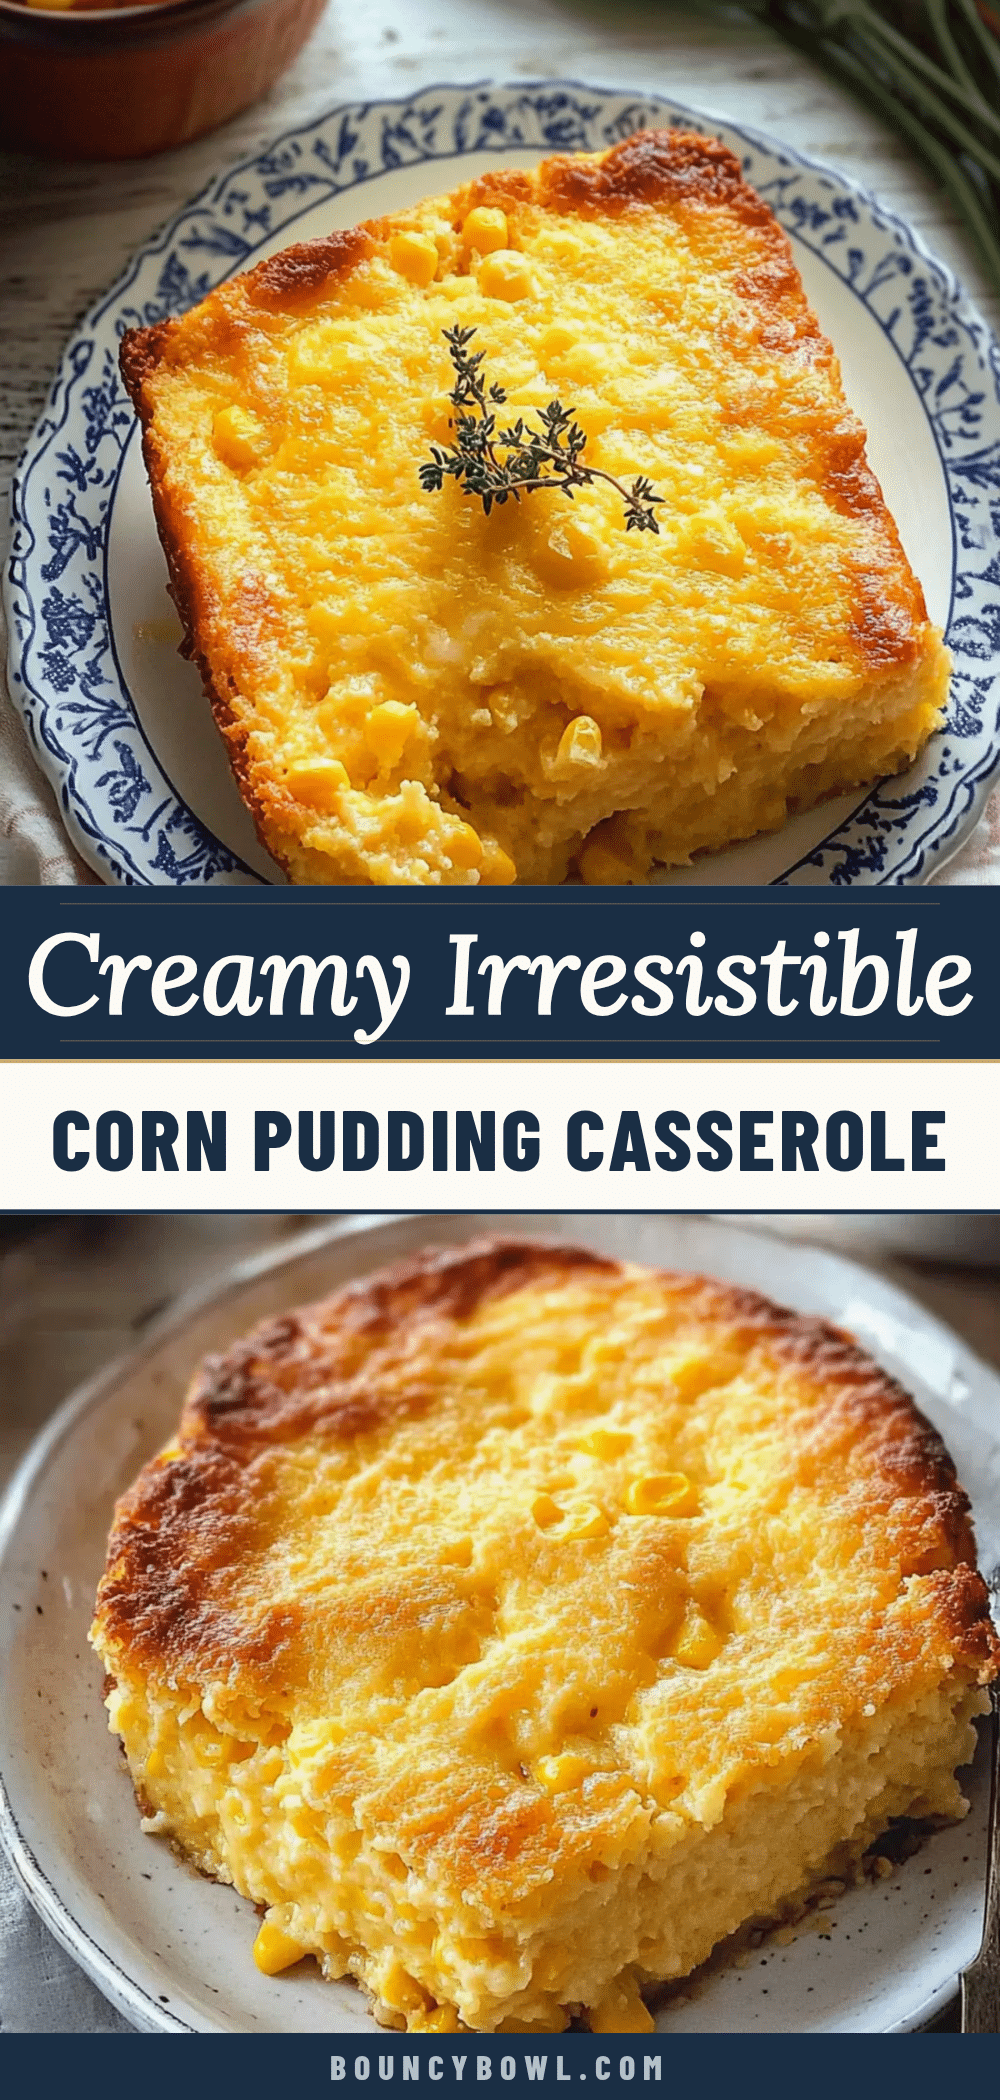
Cozy Creamy Corn Pudding Casserole Best Easy Recipe

This easy corn pudding casserole is incredibly creamy, perfectly sweet, and made with simple pantry ingredients. It’s the ultimate comfort side dish for holidays, potlucks, or any cozy dinner.
- Prep Time: 10 minutes
- Cook Time: 50 minutes
- Total Time: 1 hour
- Yield: 8 servings 1x
- Category: Side Dish
- Cuisine: American
Ingredients
- 1 can (15 oz) creamed corn
- 1 can (15 oz) whole kernel corn, drained
- 1 cup (240 ml) whole milk
- 2 large eggs, lightly beaten
- 1/4 cup (60 g) unsalted butter, melted
- 1/4 cup (50 g) granulated sugar
- 1/4 cup (30 g) all-purpose flour
- 1/2 teaspoon salt
- 1/4 teaspoon black pepper
- Optional: 1/2 cup (60 g) shredded cheddar cheese
- Optional: 2 tablespoons chopped fresh chives or parsley
Instructions
- Preheat your oven to 350°F (175°C). Lightly grease an 8×8 inch baking dish with butter or non-stick spray.
- In a large mixing bowl, whisk together the melted butter and sugar until smooth and slightly thickened.
- Add the beaten eggs and milk, and whisk until fully combined and pale yellow. Stir in the salt and pepper.
- Sprinkle the flour over the wet mixture and whisk until smooth, with no lumps.
- Stir in the creamed corn and drained whole kernel corn. If using, fold in the shredded cheddar cheese.
- Pour the mixture into the prepared baking dish. Tap the dish gently on the counter to release air bubbles.
- Bake for 45 to 55 minutes, until the top is golden brown and the center is set. A knife inserted into the center should come out clean or with a few moist crumbs.
- Let the pudding cool for at least 10 minutes before serving. The pudding will continue to set as it cools.
Notes
For extra creamy texture, use a water bath: place the baking dish inside a larger pan and pour hot water halfway up the sides. If the top browns too quickly, tent with foil for the last 10-15 minutes. Let the pudding rest for at least 10 minutes before serving to allow it to set properly.
Nutrition
- Serving Size: 1 serving
- Calories: 210
- Sugar: 10
- Sodium: 380
- Fat: 10
- Saturated Fat: 5
- Carbohydrates: 28
- Fiber: 2
- Protein: 5
Keywords: corn pudding, corn casserole, creamy corn, easy side dish, holiday side, comfort food