Love this? Save it for later!
Share the inspiration with your friends
“You seriously can’t have just one,” my friend joked as I handed over the last mini coffee cheesecake at our weekend brunch. Honestly, I was skeptical at first. I mean, a cheesecake flavored with coffee? Sounds like a fancy café experiment that might fall flat at home, right? But that afternoon, amidst the hum of casual chatter and the warm scent of freshly brewed espresso, these little desserts became the surprise hit. It wasn’t planned — I just needed a quick, no-fuss dessert after a hectic week, and the idea of combining creamy cheesecake with my favorite morning ritual (coffee, duh) felt like a no-brainer.
What really got me was how these mini treats packed that rich, comforting coffee flavor without overpowering the delicate cream cheese base. Every bite was like a quiet moment of bliss, the kind that wraps around you like that first sip of coffee on a chilly morning. And I kept making them — more than a few times within the week — tweaking the coffee intensity, adjusting the sweetness, and even trying different crusts. It’s funny how a simple recipe can turn into a mini obsession, but here we are.
These creamy mini coffee cheesecakes stuck with me not just because they taste amazing, but because they feel like a little pause button in a busy day — a tiny indulgence that somehow feels both special and totally doable. If you’re a coffee lover who’s ever wished dessert could be a bit more caffeinated and a lot more creamy, this recipe might just be the quiet little joy you didn’t know you needed.
Why You’ll Love This Recipe
After testing this recipe multiple times (and sharing it with some of the toughest critics — my coworkers), I’m confident it’s a keeper for anyone who loves coffee and cheesecake. Here’s why it stands out:
- Quick & Easy: Ready in under 45 minutes, including baking. Perfect for last-minute cravings or when you want a dessert without fuss.
- Simple Ingredients: No weird additives or fancy gadgets. You probably have most of this in your pantry already.
- Perfect for Gatherings: Mini size means easy to serve at brunches, coffee dates, or potlucks without the mess of slicing a big cake.
- Crowd-Pleaser: The balance between creamy and coffee-flavored hits that sweet spot for both coffee lovers and cheesecake fans.
- Unbelievably Delicious: The texture’s silky smooth with a slight tanginess from the cream cheese — not too heavy, not too sweet.
This isn’t just your average cheesecake with a splash of coffee. The trick is in using finely brewed espresso powder (not instant coffee, if you can swing it) to get a deep, authentic flavor without bitterness. Plus, the crust combines buttery graham cracker crumbs with a hint of cinnamon, which lifts the whole experience. Honestly, it’s the kind of dessert that makes you close your eyes after the first bite and savor that cozy, comforting feeling.
Whether you’re impressing friends at a brunch or sneaking a treat for yourself during a quiet afternoon, these creamy mini coffee cheesecakes have become my go-to for a fuss-free yet unforgettable coffee-inspired dessert.
What Ingredients You Will Need
This recipe uses simple, wholesome ingredients to deliver bold flavor and a satisfying texture without the fuss. You’ll notice most are pantry staples, with coffee adding that star touch. Here’s what you’ll need:
- For the crust:
- Graham cracker crumbs, 1 cup (about 100g) – I recommend Honey Maid for a great buttery flavor
- Unsalted butter, 4 tablespoons (60g), melted – adds richness and helps the crust hold
- Granulated sugar, 2 tablespoons – balances the butter and adds a touch of sweetness
- Ground cinnamon, ¼ teaspoon – optional but adds a warm note that pairs beautifully with coffee
- For the cheesecake filling:
- Cream cheese, 16 ounces (450g), softened – use full-fat for best creaminess
- Granulated sugar, ⅔ cup (135g) – adjust to your sweetness preference
- Eggs, 2 large, room temperature – helps set the filling
- Sour cream, ½ cup (120ml) – adds tang and smooth texture
- Vanilla extract, 1 teaspoon – classic flavor enhancer
- Espresso powder, 2 teaspoons – finely ground, not instant, for authentic coffee flavor
- Heavy cream, ⅓ cup (80ml) – gives extra silkiness
Ingredient tips: If you want a dairy-free version, swap cream cheese and sour cream with plant-based alternatives like cashew cream or coconut yogurt. For a gluten-free crust, use almond flour or gluten-free graham crumbs. Freshly brewed espresso concentrated into a paste works wonders if you don’t have powder.
Seasonal twists? Try adding a sprinkle of nutmeg or a swirl of caramel sauce on top before baking. I once experimented with swapping sour cream for Greek yogurt, and it gave a subtle tang that was surprisingly delightful.
Equipment Needed
- 12-cup standard muffin tin – essential for shaping these mini cheesecakes
- Paper or silicone muffin liners – makes removal and cleanup easier
- Mixing bowls – at least two (one for crust, one for filling)
- Electric mixer or hand mixer – helps achieve that smooth, creamy filling
- Measuring cups and spoons – accuracy matters for balance
- Spatula – for folding and smoothing the batter
- Small saucepan or kettle – to prepare espresso if using fresh grounds
- Cooling rack – to cool cheesecakes evenly after baking
If you don’t have a muffin tin, mini ramekins can work, but baking times may vary slightly. For those on a budget, silicone muffin liners are reusable and save money over time. I’ve used both hand mixers and stand mixers; a hand mixer works perfectly fine if you don’t want to invest in bigger equipment.
Preparation Method
- Preheat the oven to 325°F (160°C). Line a 12-cup muffin tin with paper liners and set aside. This temperature helps the cheesecakes bake gently to avoid cracks.
- Prepare the crust: In a medium bowl, combine 1 cup graham cracker crumbs, 4 tablespoons melted butter, 2 tablespoons sugar, and ¼ teaspoon cinnamon. Stir until the mixture looks like wet sand, well blended but not soggy.
- Press crust into muffin cups: Divide the crust mixture evenly among the liners (about 1 tablespoon each). Use the back of a spoon or your fingers to press firmly and create a solid base. This step is key to avoid crumbly bottoms.
- Mix the filling: In a large bowl, beat 16 ounces softened cream cheese with ⅔ cup sugar until smooth and creamy (about 2-3 minutes). Add 2 eggs one at a time, mixing just until combined. Then blend in ½ cup sour cream, 1 teaspoon vanilla extract, 2 teaspoons espresso powder, and ⅓ cup heavy cream until the batter is silky and well combined. Avoid overmixing to prevent air bubbles.
- Fill the cups and bake: Spoon the filling evenly over each crust, filling about ¾ full. Bake for 22-25 minutes or until the edges are set but the centers still jiggle slightly when nudged. (If you notice cracking, reduce the oven temperature by 10 degrees next time.)
- Cool and chill: Let the cheesecakes cool in the pan for 30 minutes, then transfer to the fridge to chill for at least 4 hours or overnight. This resting time lets flavors meld and texture firm up perfectly.
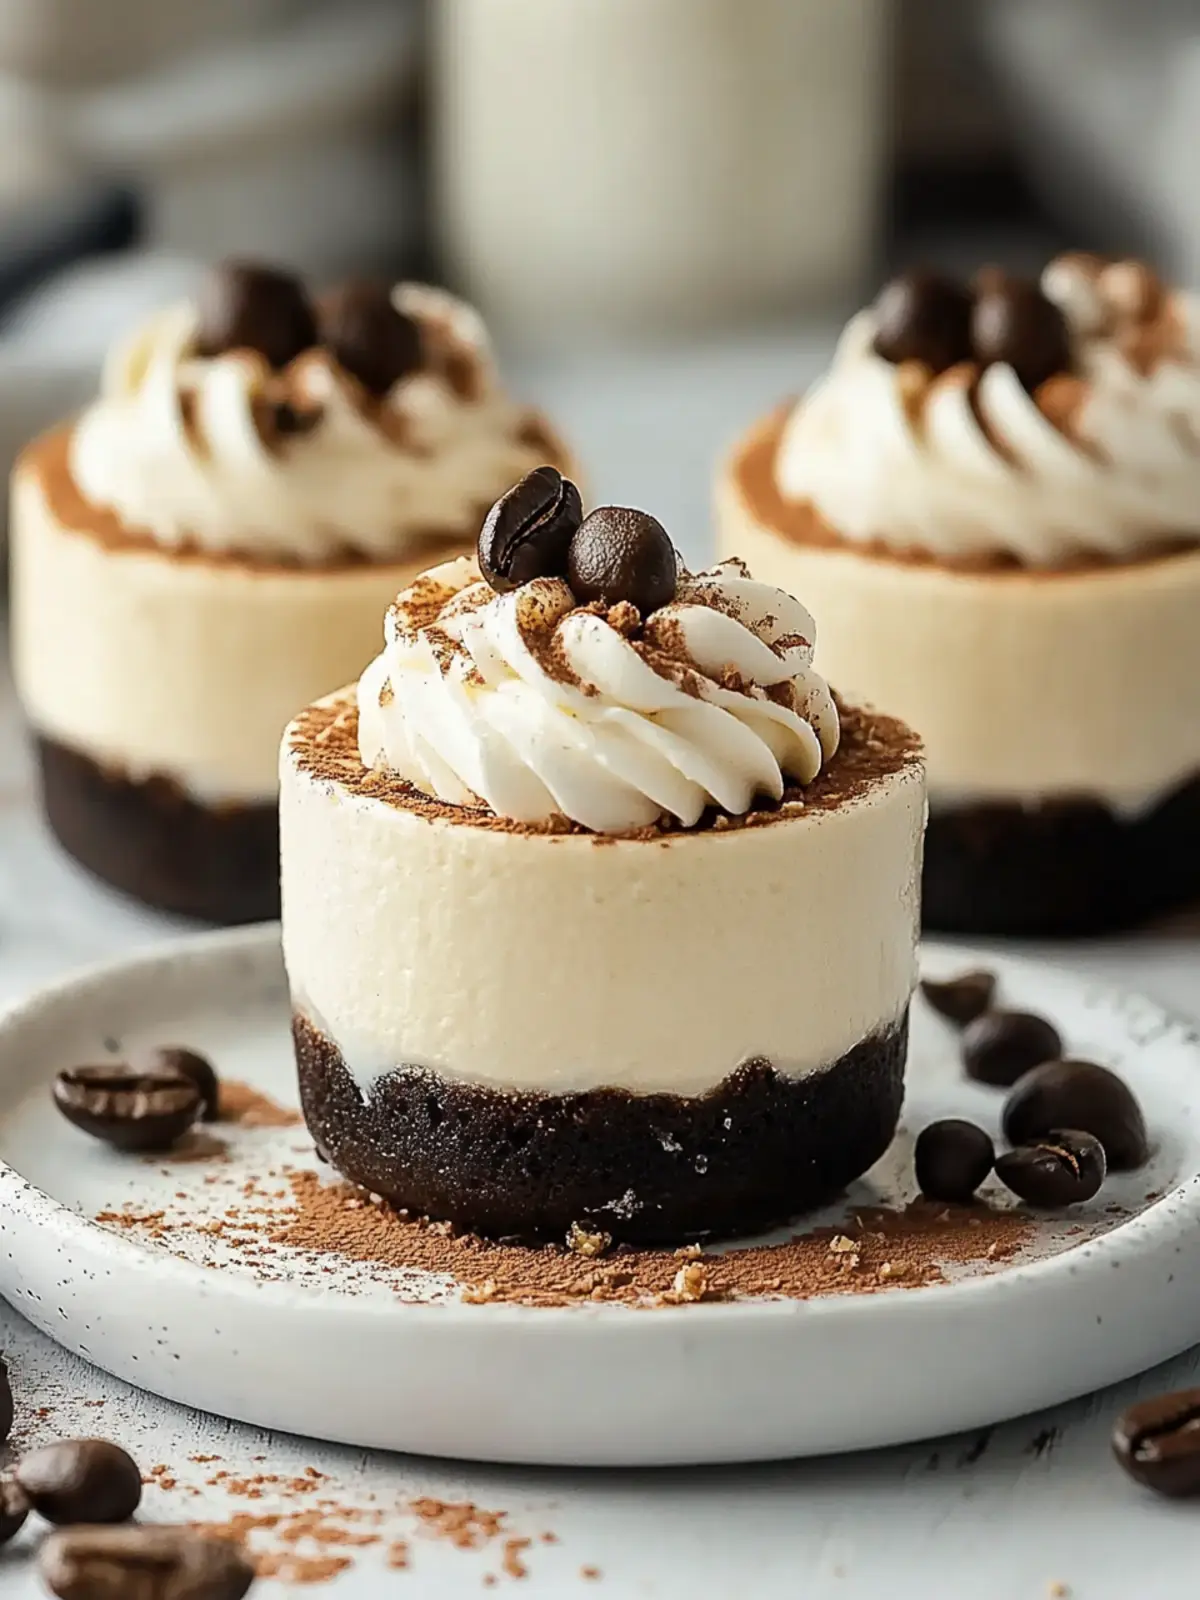
- Serve: Remove liners and place on a pretty plate. Optionally, dust with cocoa powder or garnish with chocolate-covered espresso beans for that extra coffee vibe.
Pro tip: If your espresso powder isn’t dissolving well, stir it into the heavy cream first before adding to the batter. It helps distribute the coffee flavor evenly without gritty bits. Also, gently tapping the muffin tin on the counter before baking releases trapped air bubbles, keeping your cheesecakes smooth.
Cooking Tips & Techniques
Cheesecake can be a bit finicky, but these mini versions are surprisingly forgiving if you keep a few things in mind. I learned the hard way that room temperature ingredients make all the difference — softened cream cheese and eggs blend together with zero lumps, giving you that signature creamy texture.
Another trick: don’t overbake. It’s tempting to leave them in until fully firm, but remember, cheesecakes continue to cook as they cool. Slight jiggle in the middle means perfect creaminess after chilling. I’ve burned a batch trying to be “safe” before, and trust me, it’s just sad drying instead of dreamy creamy.
Multitasking tip: While the cheesecakes bake, clean your workspace and prepare your coffee or tea. The aroma will set the mood, making the whole experience even cozier.
Common mistake? Skipping the crust press step. If you don’t compact it firmly, you’ll end up with crumbly bottoms that fall apart on the first bite — which is a bummer when you have guests.
Finally, mixing espresso powder into the wet ingredients rather than dry helps it dissolve better and prevents bitter pockets. Learned that from my first batch that was a little too “espresso bomb.”
Variations & Adaptations
- Mocha Mini Cheesecakes: Add 2 tablespoons of melted dark chocolate to the filling for a chocolate-coffee combo that’s always a hit. Swirl in some chocolate ganache on top before baking for a fancy touch.
- Vanilla Bean Coffee Cheesecakes: Scrape in the seeds from 1 vanilla bean pod along with the espresso powder for an aromatic twist. It mellows the coffee and adds a rich vanilla depth.
- Dairy-Free Version: Substitute cream cheese with cashew cream and use coconut cream instead of heavy cream. Use gluten-free graham crackers or almond flour for the crust. The texture shifts slightly but the coffee flavor shines through.
- Seasonal Spice: Add a pinch of nutmeg and cardamom to the crust and a dash of cinnamon to the filling. This turns it into a cozy fall-inspired treat.
- Alcohol-Infused: Stir in 1 tablespoon of coffee liqueur or Irish cream for an adult-only dessert with a boozy kick.
One of my favorite tweaks was using a cookie crumb base from a recent recipe I tried, which added a crunchy texture that contrasted nicely with the creamy filling.
Serving & Storage Suggestions
These mini cheesecakes are best served chilled, straight from the fridge. The cool texture complements the coffee flavor beautifully. You can garnish with a dusting of cocoa powder, a light drizzle of caramel sauce, or some chocolate-covered espresso beans to impress guests visually and taste-wise.
Pair them with a fresh cup of espresso or a creamy latte to keep the coffee theme going. For brunches, they go nicely alongside light fruit salads or buttery croissants — a balance of fresh and rich flavors.
Store leftover mini cheesecakes in an airtight container in the fridge for up to 4 days. They hold their texture well, though the coffee aroma intensifies slightly over time. For longer storage, wrap each cheesecake tightly and freeze for up to 2 months. Thaw overnight in the fridge before serving.
Reheating isn’t really recommended as the texture suffers, but a few minutes at room temperature before eating brings out the flavors nicely if chilled too cold.
Nutritional Information & Benefits
Each mini coffee cheesecake roughly contains 220 calories, with about 15g fat, 18g carbohydrates, and 4g protein. The cream cheese provides a good dose of calcium and vitamin A, while the espresso powder adds antioxidants without caffeine overload in these small portions.
This treat fits pretty well into a balanced diet when enjoyed in moderation. For those watching carbs, swapping the crust for almond flour reduces the carb count significantly. The coffee flavor means you often need less sugar, which is a small win for sweetness control.
As a coffee lover, I appreciate how this dessert lets me enjoy the beloved coffee taste in a new way without turning to sugary drinks or heavy pastries. It feels indulgent but still thoughtful.
Conclusion
So why try this creamy mini coffee cheesecake recipe? Because it’s a charming little dessert that brings together two of the best flavors — rich coffee and silky cheesecake — in a way that’s surprisingly simple and satisfying. I love how it feels like a tiny celebration, whether for yourself or friends, without the stress of complicated baking.
Feel free to tweak the coffee strength or crust to your liking — the recipe is forgiving enough for you to make it your own. Personally, these mini cheesecakes have become my quiet go-to for when I want a sweet treat that feels a bit grown-up yet totally comforting.
Give it a try and let me know how you make them yours! And if you’re curious about other desserts with that homemade charm, my Rainbow Pride Cake or Strawberry Fruit Roll-Ups might catch your eye next.
FAQs
Can I use instant coffee instead of espresso powder?
Instant coffee isn’t ideal because it can be bitter and grainy. Espresso powder is finely ground and dissolves better, giving a smoother, richer coffee flavor. If all you have is instant, try dissolving it in a little hot water before mixing.
How long do these mini cheesecakes keep?
Store them in the fridge for up to 4 days in an airtight container. They can be frozen for up to 2 months if wrapped tightly.
Can I make these cheesecakes ahead of time?
Absolutely! They actually taste better after chilling overnight, giving the flavors time to meld and the texture to set perfectly.
What can I substitute for graham cracker crumbs?
You can use crushed digestive biscuits, vanilla wafers, or even finely ground nuts like almonds for a gluten-free option.
Is it possible to make these sugar-free?
Yes, swap granulated sugar for a natural sweetener like erythritol or monk fruit sweetener, but keep in mind it might slightly affect texture and sweetness balance.
Pin This Recipe!
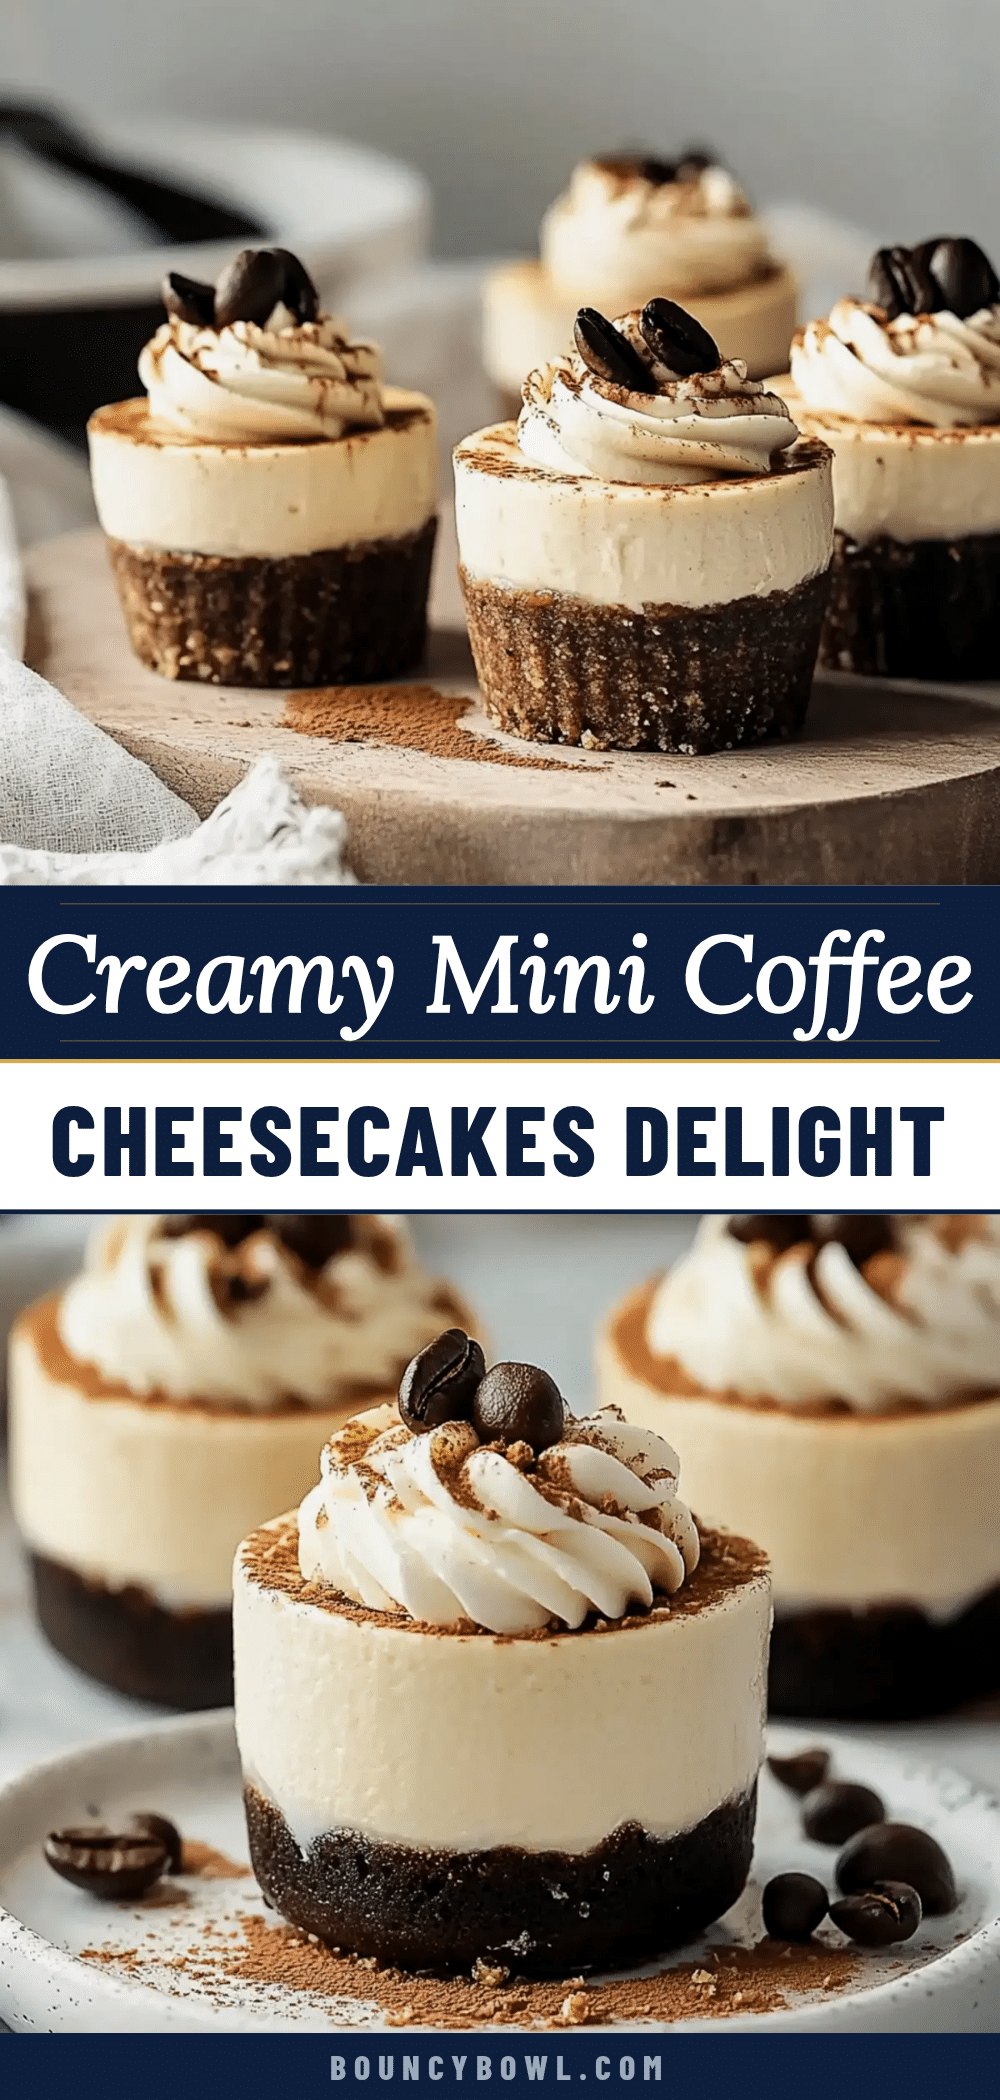
Creamy Mini Coffee Cheesecakes
These creamy mini coffee cheesecakes combine rich coffee flavor with a silky smooth cream cheese base, perfect for coffee lovers seeking a quick and easy dessert.
- Prep Time: 15 minutes
- Cook Time: 25 minutes
- Total Time: 4 hours 40 minutes
- Yield: 12 mini cheesecakes 1x
- Category: Dessert
- Cuisine: American
Ingredients
- 1 cup graham cracker crumbs (about 100g)
- 4 tablespoons unsalted butter, melted (60g)
- 2 tablespoons granulated sugar
- 1/4 teaspoon ground cinnamon (optional)
- 16 ounces cream cheese, softened (450g)
- 2/3 cup granulated sugar (135g)
- 2 large eggs, room temperature
- 1/2 cup sour cream (120ml)
- 1 teaspoon vanilla extract
- 2 teaspoons espresso powder
- 1/3 cup heavy cream (80ml)
Instructions
- Preheat the oven to 325°F (160°C). Line a 12-cup muffin tin with paper liners and set aside.
- In a medium bowl, combine graham cracker crumbs, melted butter, sugar, and cinnamon. Stir until mixture resembles wet sand.
- Divide crust mixture evenly among muffin liners (about 1 tablespoon each). Press firmly to create a solid base.
- In a large bowl, beat softened cream cheese with sugar until smooth and creamy (2-3 minutes). Add eggs one at a time, mixing just until combined.
- Blend in sour cream, vanilla extract, espresso powder, and heavy cream until silky and well combined. Avoid overmixing.
- Spoon filling evenly over crusts, filling about 3/4 full. Bake for 22-25 minutes until edges are set but centers jiggle slightly.
- Cool cheesecakes in pan for 30 minutes, then chill in fridge for at least 4 hours or overnight.
- Remove liners and serve chilled. Optionally dust with cocoa powder or garnish with chocolate-covered espresso beans.
Notes
Use finely brewed espresso powder for best flavor; dissolve espresso powder in heavy cream first to avoid grit. Press crust firmly to avoid crumbly bottoms. Do not overbake; slight jiggle in center is ideal. Room temperature ingredients ensure smooth texture. Variations include mocha, vanilla bean, dairy-free, and alcohol-infused versions.
Nutrition
- Serving Size: 1 mini cheesecake
- Calories: 220
- Fat: 15
- Carbohydrates: 18
- Protein: 4
Keywords: coffee cheesecake, mini cheesecakes, espresso dessert, creamy cheesecake, easy dessert, coffee lovers dessert


