Love this? Save it for later!
Share the inspiration with your friends
“Wait, you don’t bake it?” my sister-in-law asked, peering over my shoulder as I crushed chocolate wafer cookies into a fine crumb. I just shrugged and kept pressing the mixture into the pie dish. She looked skeptical—the same look she gave me when I told her I was swapping ricotta for half the cream cheese. But I had a feeling about this one.
It started on a Tuesday afternoon that was just… ordinary. You know those days where you need something sweet but the oven feels like too much of a commitment? I had a tub of ricotta in the fridge, a bag of chocolate chips staring at me from the pantry, and a serious craving for something that tasted like it came from a little Italian bakery. So I did what any reasonable person would do—I started mixing things together in a bowl, hoping for the best.
The first bite stopped me mid-step. It was creamy without being heavy, sweet but not cloying, and that crust—honestly, it might be my new favorite thing. I made another one that same week (for “research purposes,” obviously) and brought it to a family dinner. It disappeared before the coffee finished brewing. Now it’s the dessert I default to when I need something that feels fancy but takes almost no real effort. This Creamy No-Bake Chocolate Chip Cannoli Pie has become my secret weapon, and I think you’re going to love having it in your back pocket too.
Why You’ll Love This Recipe
Look, I’ve tested a lot of no-bake desserts over the years. Some are good, some are fine, and some just don’t hold up after a day in the fridge. This one? It gets better. Here’s why it works:
- No Oven Required: Summer heat waves, broken ovens, or just lazy Sundays—this pie doesn’t care. It comes together in about 20 minutes of hands-on time, then chills out in the fridge while you do literally anything else.
- Simple Ingredients: You probably have most of this stuff already. Ricotta, cream cheese, powdered sugar, vanilla, chocolate chips, and some cookies for the crust. No weird specialty items that you’ll use once and forget about.
- Crowd-Pleaser: I’ve served this at birthday parties, potlucks, and casual weeknight dinners. Kids love it, adults love it, and someone always asks for the recipe before they leave.
- Make-Ahead Friendly: This pie actually needs at least 4 hours to set, which means you can make it the night before and forget about it until dessert time. Stress-free hosting at its finest.
- That Cannoli Flavor Without the Frying: All the creamy, chocolate-studded goodness of a traditional cannoli, but in pie form. No hot oil, no pastry bags, no stress.
What really sets this apart from other no-bake pies I’ve tried is the texture. The ricotta adds a lightness that cream cheese alone can’t achieve, and the chocolate wafer crust gives you that satisfying crunch. It’s not just another creamy pie—it’s the one that makes people close their eyes after the first bite. I’ve made plenty of desserts that sit half-eaten on the counter, but this one never does.
What Ingredients You Will Need
This recipe uses simple, everyday ingredients to create something that tastes surprisingly complex. The magic is in how they work together—creamy, crunchy, sweet, and just a little bit tangy.
For the Crust
- 1 ½ cups chocolate wafer cookie crumbs (about 24 cookies, crushed finely—I use Nabisco Famous Chocolate Wafers, but any crisp chocolate cookie works)
- 5 tablespoons unsalted butter, melted (salted butter works too, just skip the pinch of salt below)
- 1 tablespoon granulated sugar (optional, but helps the crust hold together better)
- Pinch of salt (balances the sweetness)
For the Filling
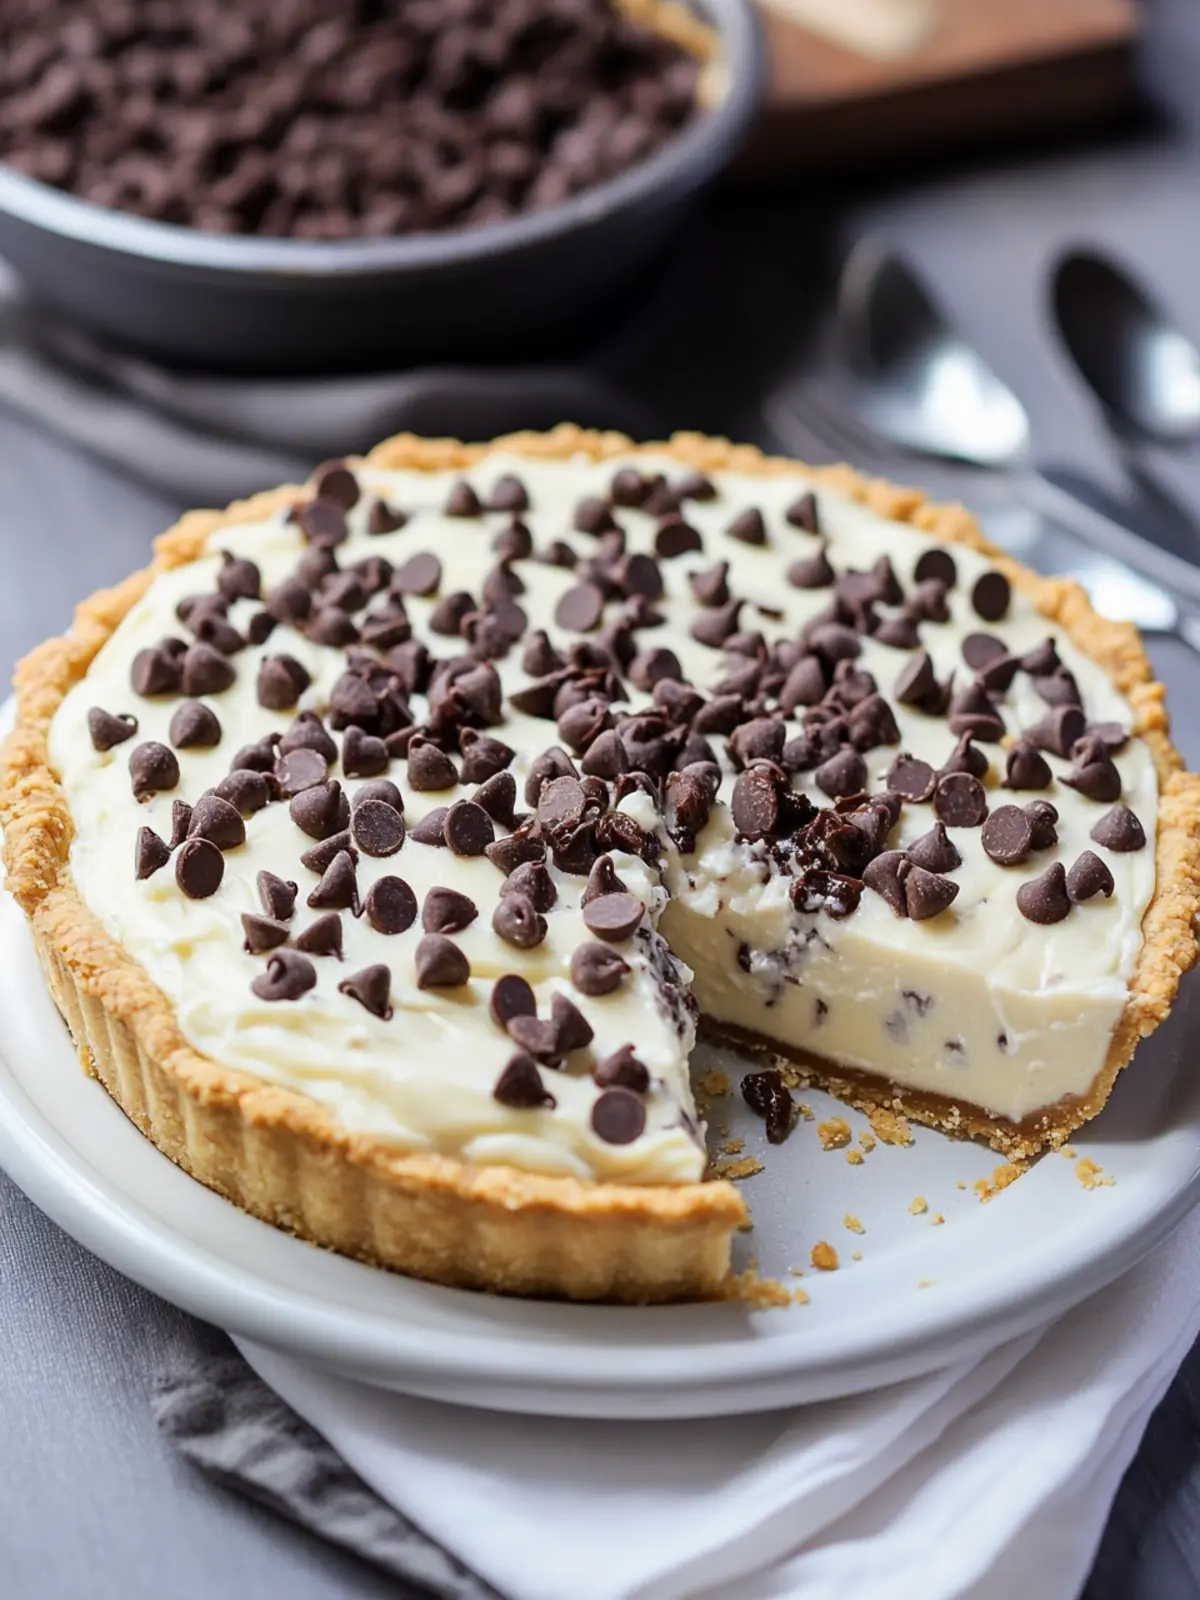
- 1 cup (8 oz) whole milk ricotta cheese (full-fat is key here—low-fat ricotta gets watery and won’t give you that silky texture)
- 8 oz cream cheese, softened to room temperature (let it sit out for at least 30 minutes, otherwise you’ll get lumps)
- ¾ cup powdered sugar (sifted if it’s clumpy, but I’m usually too lazy and it works fine)
- 1 teaspoon vanilla extract (pure vanilla, not imitation—trust me on this one)
- ½ teaspoon almond extract (this is the secret ingredient that gives it that authentic cannoli vibe)
- ¾ cup mini chocolate chips (plus extra for topping—I like Ghirardelli mini chips because they distribute evenly without sinking)
- ½ cup heavy cream (for whipping—this lightens up the filling so it’s not too dense)
For Topping (Optional but Recommended)
- ¼ cup mini chocolate chips
- 2 tablespoons powdered sugar (for dusting right before serving)
- Whipped cream (homemade or store-bought, no judgment here)
If you don’t have almond extract, you can skip it, but honestly, it makes the filling taste like it came from a real Italian bakery. I’ve also made this with orange zest instead of almond extract, and that’s a lovely variation too.
Equipment Needed
- 9-inch pie dish (glass or ceramic works best—metal can sometimes affect the crust texture)
- Food processor or rolling pin (for crushing the cookies—I use my food processor because it’s faster, but a ziplock bag and a rolling pin works just fine)
- Medium mixing bowl (for the crust)
- Large mixing bowl (for the filling)
- Hand mixer or stand mixer (you can do this by hand with a whisk, but your arm will get tired—I speak from experience)
- Rubber spatula (for folding in the chocolate chips and scraping the bowl)
- Plastic wrap (for covering the pie while it chills)
If you don’t have a pie dish, you can use a 9-inch springform pan—just note that the slices might look a little taller. I’ve also made mini versions in ramekins for individual servings, which is adorable for parties. My food processor was a thrift store find that’s been going strong for years, so don’t feel like you need fancy equipment for this.
Preparation Method
This comes together faster than you’d expect. Here’s how I do it:
- Make the crust. Crush your chocolate wafer cookies into fine crumbs. If using a food processor, pulse until they look like sand. If using a bag and rolling pin, go ahead and channel some frustration—it’s therapeutic. Transfer the crumbs to a medium bowl, add the melted butter, sugar, and salt, and stir until everything looks like wet sand. Press this mixture firmly into the bottom and up the sides of your pie dish. I use the bottom of a measuring cup to really pack it down. Pop it in the fridge while you make the filling—at least 15 minutes.
- Drain the ricotta. This step matters more than you think. Place your ricotta in a fine-mesh strainer set over a bowl and let it sit for about 10 minutes. Excess water will drain out, and your filling will be creamier and less likely to get runny. I learned this the hard way after making a soupy pie that never set properly.
- Whip the cream. In a medium bowl, pour in your heavy cream and beat with a hand mixer on medium-high speed until stiff peaks form. This takes about 2-3 minutes. Set it aside in the fridge while you work on the rest.
- Beat the cream cheese and ricotta. In a large bowl, beat the softened cream cheese and drained ricotta together until smooth—about 2 minutes on medium speed. Scrape down the sides of the bowl halfway through. You want this completely lump-free, so don’t rush it.
- Add the sweeteners and extracts. Add the powdered sugar, vanilla extract, and almond extract to the bowl. Beat on low speed at first (otherwise powdered sugar goes everywhere—I learned this the messy way), then increase to medium and beat until everything is well combined and fluffy, about 1-2 minutes.
- Fold in the chocolate chips. Use a rubber spatula to gently fold in ¾ cup of mini chocolate chips. Don’t overmix—you want them evenly distributed but not broken up.
- Fold in the whipped cream. This is the step that makes the filling light and airy instead of dense and heavy. Add the whipped cream to the bowl and gently fold it in using a figure-eight motion. Keep going until you don’t see any white streaks, but stop as soon as it’s combined.
- Assemble the pie. Spoon the filling into your chilled crust and spread it evenly. Use an offset spatula or the back of a spoon to smooth the top. Sprinkle the remaining ¼ cup of mini chocolate chips over the top.
- Chill. Cover the pie loosely with plastic wrap and refrigerate for at least 4 hours, but overnight is better. The filling needs time to set up properly—if you cut into it too early, it’ll be more like a pudding than a pie. Patience, my friend.
- Serve. Right before serving, dust the top with powdered sugar. Slice with a sharp knife, wiping it clean between cuts for neat pieces. Add a dollop of whipped cream if you’re feeling fancy.
Cooking Tips & Techniques
After making this pie about a dozen times (not an exaggeration), here’s what I’ve learned:
Room temperature ingredients are non-negotiable. I once tried to rush this and used cold cream cheese straight from the fridge. The filling was lumpy no matter how long I beat it. Set your cream cheese and ricotta out at least 30 minutes before you start. Your future self will thank you.
Don’t skip draining the ricotta. I know it seems like an extra step, and I’ve definitely been tempted to skip it when I’m in a hurry. Every time I’ve skipped it, the pie has been slightly runny. The 10-minute drain makes a real difference in texture.
Press that crust firmly. A loose crust will crumble when you try to serve the pie. Use the bottom of a measuring cup or a flat glass to really pack those crumbs down. I press the bottom first, then work my way up the sides. Take your time here—it’s worth it.
Let it chill overnight if you can. Four hours is the minimum, but overnight gives the flavors time to meld together. The filling firms up beautifully, and the crust softens just enough to cut through easily without falling apart. I’ve made this the morning of a dinner party and it was fine, but the overnight version is noticeably better.
Use mini chocolate chips. Regular-sized chips work in a pinch, but mini chips distribute more evenly throughout the filling. You get chocolate in every bite without giant chunks that make slicing difficult.
Variations & Adaptations
This recipe is surprisingly flexible. Here are some ways I’ve changed it up:
Gluten-Free Version: Use gluten-free chocolate wafer cookies or gluten-free graham crackers for the crust. Everything else in the filling is naturally gluten-free. I’ve tested this with Schar’s chocolate cookies and it works beautifully.
Citrus Cannoli Pie: Swap the almond extract for 1 tablespoon of orange zest and 1 teaspoon of orange extract. The bright citrus flavor pairs amazingly with the chocolate chips. This version reminds me of those chocolate-orange candies that show up around the holidays.
Pistachio and Chocolate: Fold in ⅓ cup of chopped pistachios along with the chocolate chips. Sprinkle more pistachios on top for crunch. This is my go-to when I want to feel a little fancy—it looks gorgeous and tastes even better.
Lighter Version: Use Neufchâtel cream cheese (⅓ less fat) and part-skim ricotta. The texture won’t be quite as luxurious, but it’s still really good. I’ve also used low-fat cream cheese in a pinch and it worked fine—just make sure everything is well-drained and softened.
Individual Mini Pies: Press the crust into 4-6 small ramekins or mason jars instead of one big pie dish. Layer the filling on top and chill. These are perfect for parties or portion control (or both). I made these for a friend’s bridal shower and they were a hit.
Serving & Storage Suggestions
This pie is best served cold, straight from the fridge. I like to let it sit at room temperature for about 5 minutes before slicing—just enough to take the chill off without losing the structure. Dust with powdered sugar right before serving, because it tends to dissolve into the filling if you do it too early.
For presentation, I top each slice with a generous dollop of whipped cream and a sprinkle of extra mini chocolate chips. It looks like something from a bakery window, I swear. If you’re serving this at a gathering, a few fresh mint leaves on top add a nice pop of color.
Storage: Cover the pie tightly with plastic wrap or aluminum foil and keep it in the refrigerator. It will stay fresh for up to 5 days, though honestly, it rarely lasts that long in my house. The crust will soften slightly over time, but the flavor actually improves after a day or two.
Freezing: You can freeze this pie for up to 2 months. Wrap it well in plastic wrap, then a layer of foil. Thaw overnight in the fridge before serving. Don’t dust with powdered sugar until after it’s thawed. I’ve frozen individual slices for quick desserts, and they thaw beautifully.
Reheating: Don’t. This is a cold dessert—no reheating needed. If you want a warm pie, this isn’t the recipe for you (but I have a great moist banana nut bread that might fit the bill).
Nutritional Information & Benefits
Let’s be real—this is a dessert, not a health food. But here’s the breakdown if you’re curious. Per slice (based on 8 servings): approximately 380 calories, 22g fat, 42g carbohydrates, 7g protein, and 28g sugar. These are estimates and will vary based on your specific ingredients.
On the plus side, ricotta cheese is actually a good source of calcium and protein compared to many dessert ingredients. It also has a lower fat content than heavy cream, which is why I love using it as a base for creamy fillings. The cream cheese adds some vitamin A and calcium as well.
If you’re watching your sugar intake, you can reduce the powdered sugar to ½ cup and use sugar-free chocolate chips. The filling will be slightly less sweet, but still delicious. I’ve also made this with a monk fruit powdered sweetener substitute, and while the texture was slightly different, it was still a hit at a gathering where several guests were watching their carbs.
This recipe contains dairy, gluten (from the cookies), and is not suitable for vegans. For a dairy-free version, you’d need to swap both the ricotta and cream cheese for plant-based alternatives, which I haven’t fully tested yet—so proceed with caution there.
Conclusion
This Creamy No-Bake Chocolate Chip Cannoli Pie is the kind of dessert that makes you look like you spent hours in the kitchen when you really just stirred some things together and let the fridge do the work. It’s rich without being heavy, sweet without being cloying, and that chocolate wafer crust is honestly worth making the pie for alone.
I love that I can make this for a last-minute gathering, a holiday dinner, or just because it’s Tuesday and I want something good. It’s become my go-to for potlucks and family events because it travels well, slices cleanly, and always gets those little “mmm” sounds from people taking their first bite.
If you try this recipe, I’d love to hear how it turns out. Did you add pistachios? Swap in orange zest? Make mini versions in mason jars? Drop a comment below and let me know—your variations might inspire someone else’s next dessert adventure. And if you’re looking for another easy no-bake treat, you might enjoy this easy no-bake summer berry icebox cake for those warm months when turning on the oven feels like a crime.
Happy no-baking, friends. Your oven gets a night off, and your taste buds get a vacation to Italy. Not a bad deal, if you ask me.
Frequently Asked Questions
Can I use cottage cheese instead of ricotta?
You can, but the texture will be different. Cottage cheese has a higher moisture content and a lumpier texture. If you try this, blend the cottage cheese in a food processor until completely smooth before using. I’ve done this in a pinch and it worked, but ricotta gives a creamier, more authentic result.
How long does this pie need to set?
At least 4 hours in the refrigerator, but overnight is ideal. The filling needs time to firm up so you can slice clean slices. If you cut into it too early, it’ll be more like a mousse—still delicious, but messy.
Can I use a graham cracker crust instead?
Absolutely. Use 1 ½ cups of graham cracker crumbs, 5 tablespoons of melted butter, and 2 tablespoons of sugar. The flavor will be less chocolatey, but it’s still really good. I’ve also used shortbread cookie crumbs and Oreo crumbs (filling removed) with great results.
How do I get clean slices?
Use a sharp knife and wipe it clean between each cut. Run the knife under hot water, dry it off, then slice. Repeat for each cut. This gives you those beautiful, bakery-style slices that don’t have filling smeared all over them.
Can I make this dairy-free?
I haven’t fully tested a dairy-free version, but you could try using dairy-free cream cheese (like Kite Hill or Violife) and a plant-based ricotta alternative. The texture will likely be different, and you’ll need to make sure everything is well-drained. If you try it, let me know how it goes in the comments!
Pin This Recipe!
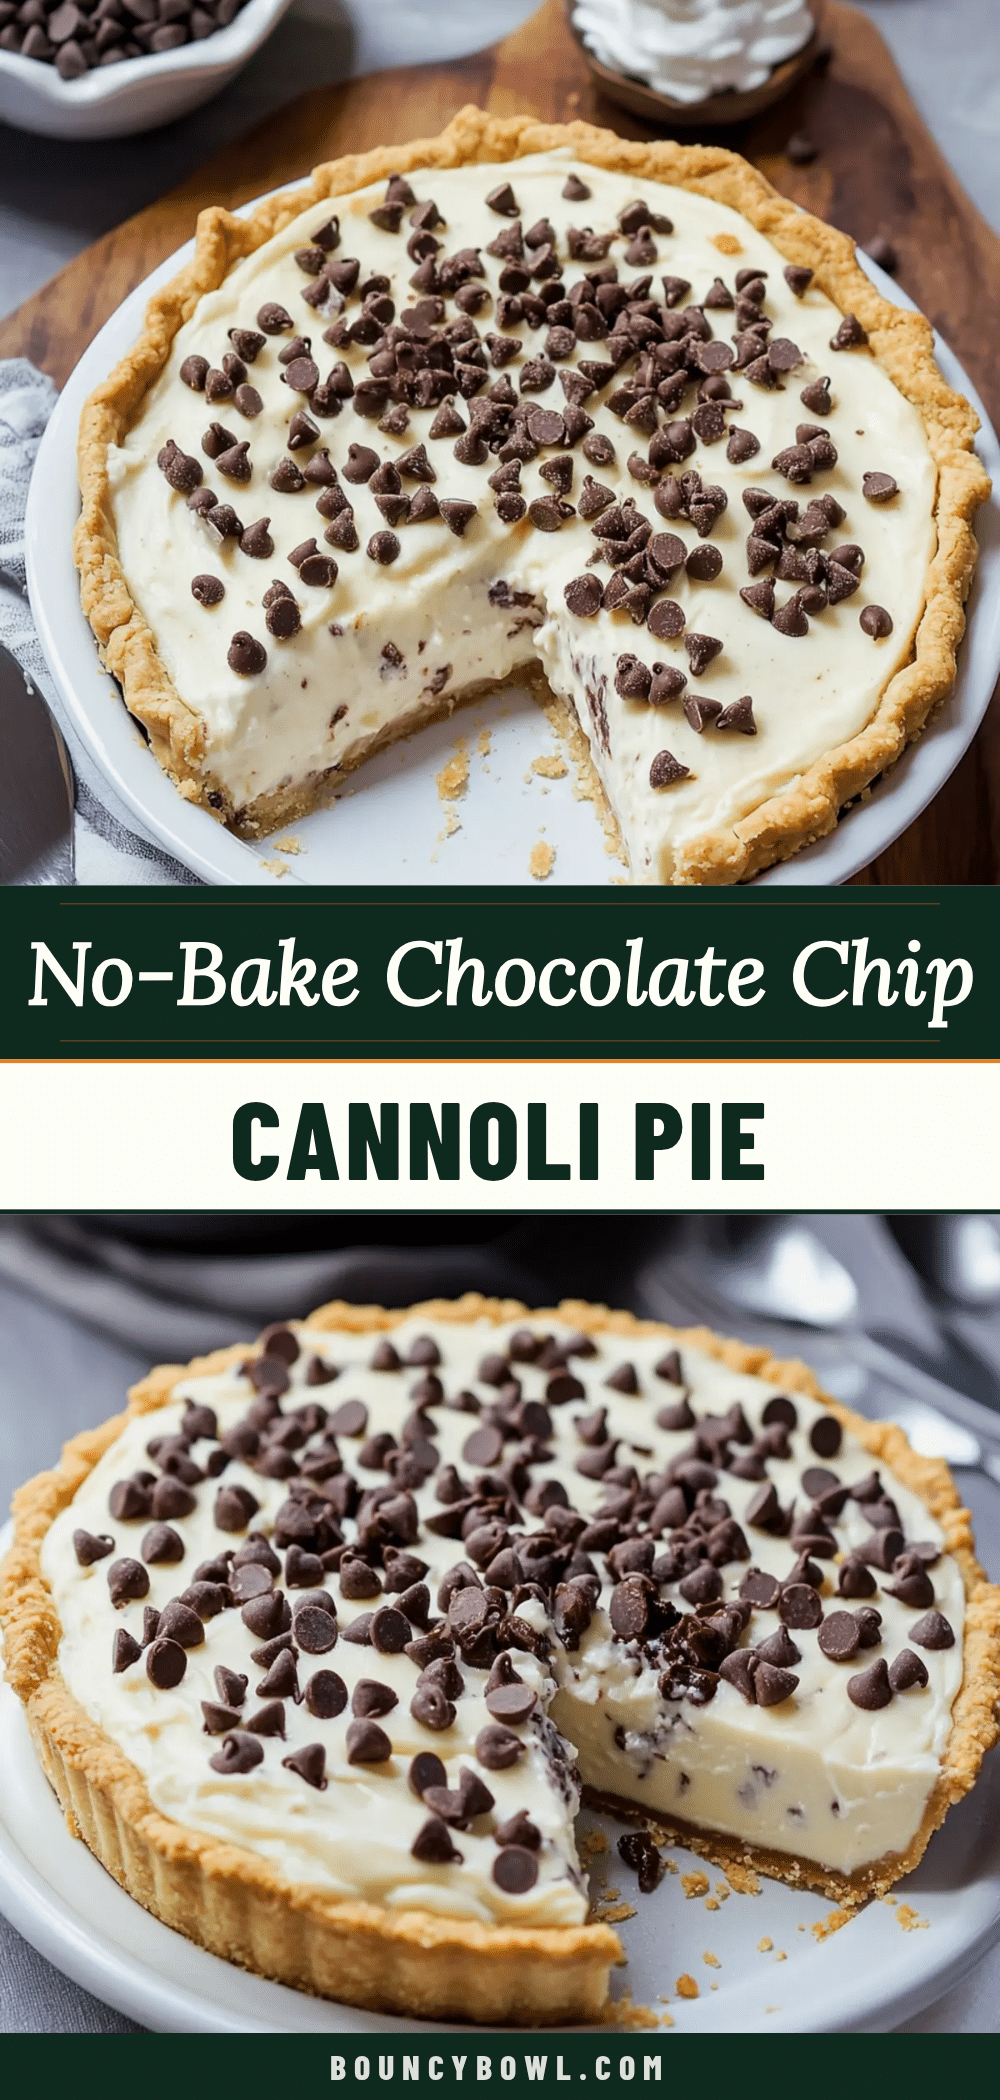
Creamy No-Bake Chocolate Chip Cannoli Pie (Easy Dessert)

A creamy, no-bake pie with a chocolate wafer crust and a light ricotta-cream cheese filling studded with mini chocolate chips. Perfect for summer or any time you want a fancy dessert without turning on the oven.
- Prep Time: 20 minutes
- Cook Time: 0 minutes
- Total Time: 4 hours 20 minutes (includes chilling)
- Yield: 8 servings 1x
- Category: Dessert
- Cuisine: Italian-American
Ingredients
- 1 ½ cups chocolate wafer cookie crumbs (about 24 cookies, crushed finely)
- 5 tablespoons unsalted butter, melted
- 1 tablespoon granulated sugar
- Pinch of salt
- 1 cup (8 oz) whole milk ricotta cheese
- 8 oz cream cheese, softened to room temperature
- ¾ cup powdered sugar
- 1 teaspoon vanilla extract
- ½ teaspoon almond extract
- ¾ cup mini chocolate chips
- ½ cup heavy cream
- ¼ cup mini chocolate chips (for topping)
- 2 tablespoons powdered sugar (for dusting)
- Whipped cream (optional, for serving)
Instructions
- Make the crust: Crush chocolate wafer cookies into fine crumbs. Transfer to a medium bowl, add melted butter, sugar, and salt, and stir until mixture resembles wet sand. Press firmly into the bottom and up the sides of a 9-inch pie dish. Refrigerate for at least 15 minutes.
- Drain the ricotta: Place ricotta in a fine-mesh strainer set over a bowl and let sit for about 10 minutes to remove excess water.
- Whip the cream: In a medium bowl, beat heavy cream with a hand mixer on medium-high speed until stiff peaks form, about 2-3 minutes. Set aside in the fridge.
- Beat the cream cheese and ricotta: In a large bowl, beat softened cream cheese and drained ricotta together until smooth, about 2 minutes on medium speed. Scrape down sides as needed.
- Add sweeteners and extracts: Add powdered sugar, vanilla extract, and almond extract. Beat on low speed first, then increase to medium and beat until well combined and fluffy, about 1-2 minutes.
- Fold in chocolate chips: Gently fold in ¾ cup mini chocolate chips with a rubber spatula until evenly distributed.
- Fold in whipped cream: Add whipped cream to the bowl and gently fold in using a figure-eight motion until no white streaks remain.
- Assemble the pie: Spoon filling into the chilled crust and spread evenly. Sprinkle remaining ¼ cup mini chocolate chips over the top.
- Chill: Cover loosely with plastic wrap and refrigerate for at least 4 hours, preferably overnight.
- Serve: Dust with powdered sugar right before serving. Slice with a sharp knife, wiping clean between cuts. Add whipped cream if desired.
Notes
Room temperature ingredients are key for a smooth filling. Don’t skip draining the ricotta to avoid a runny pie. For best results, chill overnight. Use mini chocolate chips for even distribution. Can be frozen for up to 2 months.
Nutrition
- Serving Size: 1 slice
- Calories: 380
- Sugar: 28
- Sodium: 220
- Fat: 22
- Saturated Fat: 12
- Carbohydrates: 42
- Fiber: 2
- Protein: 7
Keywords: no-bake pie, cannoli pie, chocolate chip, easy dessert, ricotta pie, cream cheese pie, no-bake dessert


