Love this? Save it for later!
Share the inspiration with your friends
The first time I made these crispy loaded bulgogi fries, it was a total accident. I had a pound of ground beef thawed and no plan for dinner—classic Tuesday night chaos. My fridge was a sad landscape of leftover takeout containers and wilting scallions. I was this close to ordering pizza again when I spotted a bag of frozen fries in the freezer. Honestly, I started layering things without thinking. A little soy sauce here, a sprinkle of brown sugar there. By the time the fries came out of the oven, I had a skillet of sweet, savory, garlicky beef ready to go.
I piled it all on a sheet pan, drizzled it with sriracha mayo (because why not), and called it dinner. My husband took one bite and just stared at me. That’s the kind of silence that says more than words ever could. We ate the whole thing on the couch, straight off the pan, no plates. It was messy and ridiculous and absolutely perfect. I’ve made it three times since that week—twice for myself and once for a friend who showed up hungry and unannounced. It’s become my go-to for those nights when I want something that feels indulgent but doesn’t require a trip to the grocery store. You know, the kind of meal that feels like a cheat code for dinner.
Why You’ll Love This Recipe
This isn’t just another fry recipe. It’s the kind of dish that makes you close your eyes after the first bite—and I’m not being dramatic. Here’s why this one stands out from the crowd:
- Quick & Easy : Comes together in under 30 minutes, making it perfect for busy weeknights or last-minute cravings when you want something that feels special without the stress.
- Simple Ingredients : No fancy grocery trips needed. You likely already have soy sauce, brown sugar, garlic, and frozen fries in your kitchen. The bulgogi marinade uses pantry staples you probably forgot you had.
- Perfect for Game Day or Dinner : Whether you’re hosting friends for the big game or just want a fun twist on taco night, this dish delivers. It’s equally at home on a coffee table or a dinner plate.
- Crowd-Pleaser : Every single person I’ve served this to has asked for the recipe. Kids love the fries, adults love the bulgogi flavors, and everyone loves the toppings.
- Unbelievably Delicious : The contrast between crispy fries, savory beef, creamy sauce, and fresh crunch is next-level comfort food. It’s the kind of meal that makes you forget you’re eating frozen fries.
What makes this recipe different from the rest? It’s all about the balance. The bulgogi beef is sweet, savory, and garlicky—not just salty. The sriracha mayo adds a kick without overwhelming the dish. And the toppings? Fresh scallions, sesame seeds, and a squeeze of lime brighten everything up. This isn’t just another loaded fry recipe; it’s your new favorite way to eat fries.
What Ingredients You Will Need
This recipe uses simple, wholesome ingredients to deliver bold flavor and satisfying texture without the fuss. Most of these are pantry staples, so you can whip this up anytime the craving hits.
For the Bulgogi Beef
- 1 pound ground beef (80/20 works best for flavor; drain excess fat if needed)
- ¼ cup soy sauce (low-sodium recommended, or use tamari for gluten-free)
- 2 tablespoons brown sugar (packed; adds that signature sweetness)
- 3 cloves garlic, minced (fresh is best, but jarred works in a pinch)
- 1 tablespoon sesame oil (toasted sesame oil adds depth)
- 1 tablespoon rice vinegar (or apple cider vinegar in a pinch)
- 1 teaspoon grated ginger (fresh or paste; adds warmth without overpowering)
- ¼ teaspoon black pepper
- 2 green onions, thinly sliced (for garnish)
For the Fries & Toppings
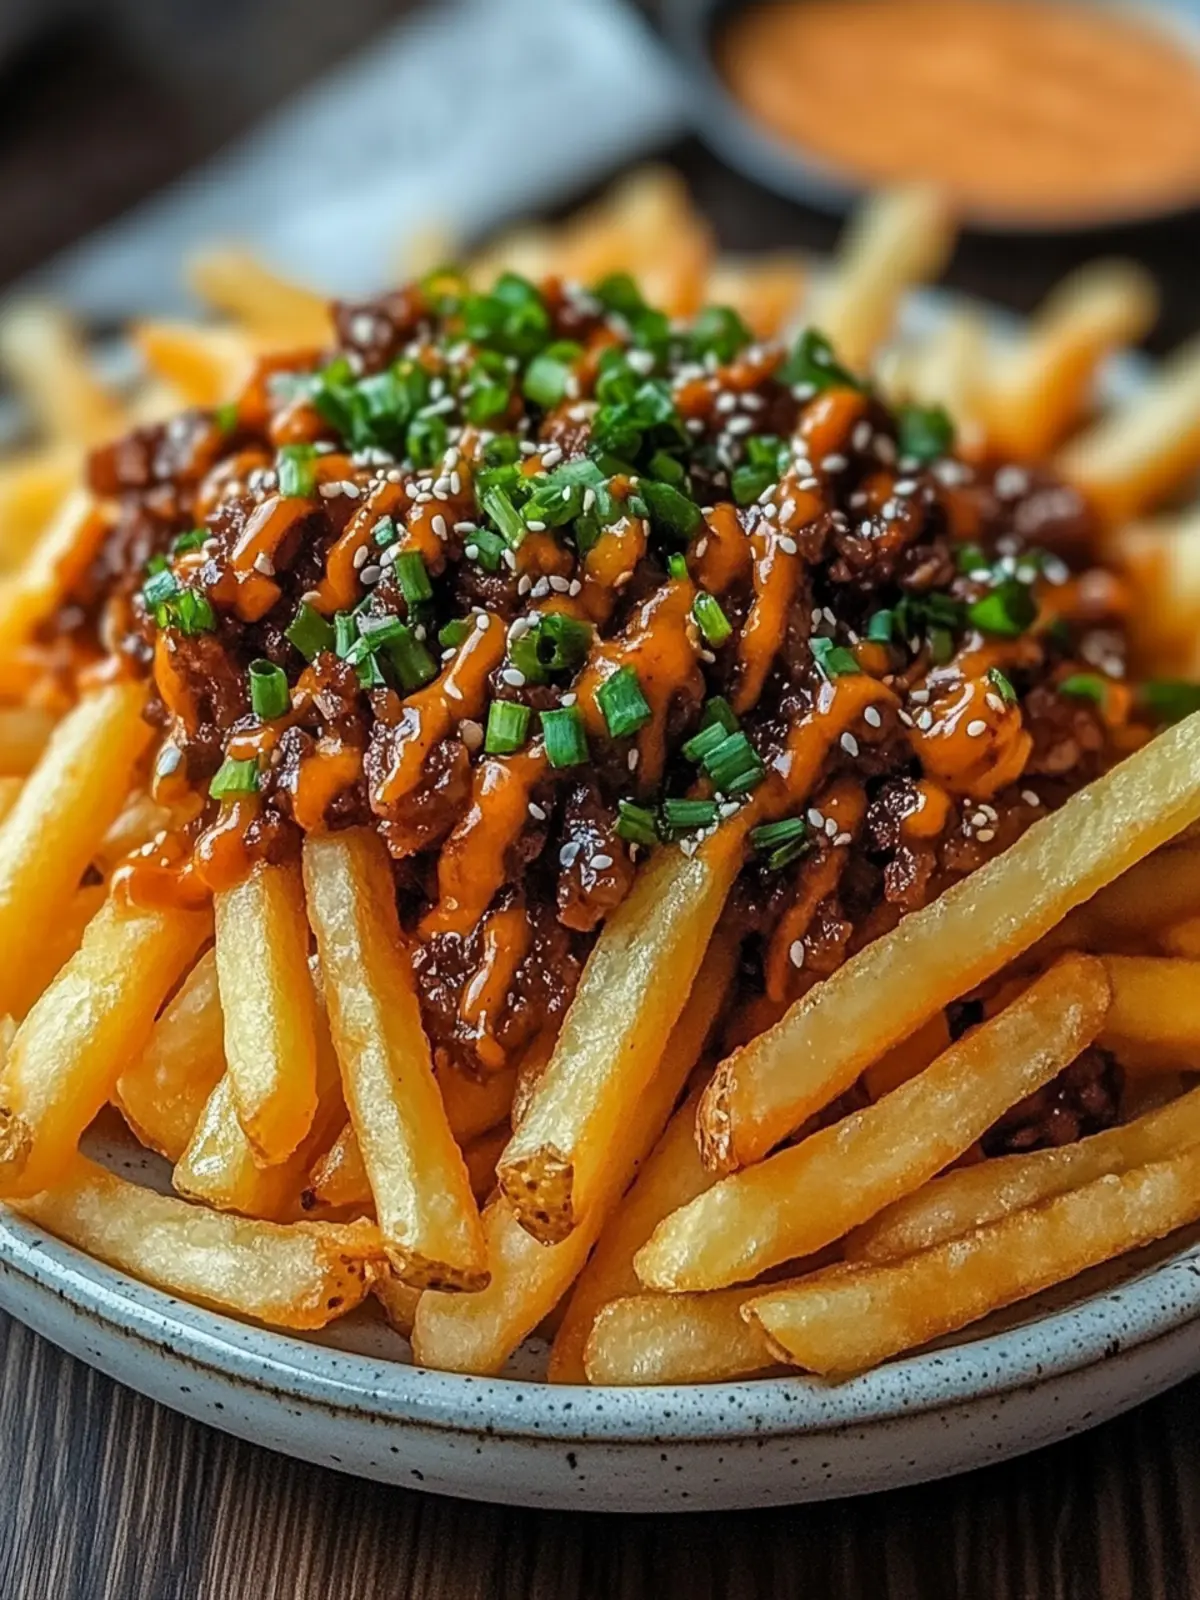
- 1 (22-ounce) bag frozen shoestring or crinkle-cut fries (I prefer Ore-Ida for consistent crispiness)
- 1 cup shredded mozzarella or Monterey Jack cheese (or a blend; use dairy-free if needed)
- ¼ cup sour cream (or Greek yogurt for a lighter option)
- 2 tablespoons mayonnaise
- 1 tablespoon sriracha (adjust to taste)
- 1 tablespoon sesame seeds (toasted, for garnish)
- Fresh cilantro or parsley (optional, for color)
- Lime wedges (for serving; trust me on this)
Ingredient Selection Tips : I recommend using a good-quality soy sauce like Kikkoman for the best flavor. If you can find it, go for dark soy sauce—it adds a richer color and deeper taste. For the fries, frozen shoestring or crinkle-cut work best because they get extra crispy in the oven. Avoid thick-cut steak fries here; they don’t hold up as well under the toppings.
Substitution Guidance : For a gluten-free version, swap soy sauce with tamari or coconut aminos. Use dairy-free cheese and vegan sour cream to make it completely plant-based. If you don’t have sriracha, mix hot sauce with a little ketchup for a similar kick. The beauty of this recipe is how flexible it is—don’t stress if you’re missing one ingredient.
Equipment Needed
- Large baking sheet (rimmed, to catch any drips)
- Parchment paper or aluminum foil (for easy cleanup)
- Large skillet or wok (for cooking the beef)
- Mixing bowl (for the bulgogi sauce)
- Small bowl (for the sriracha mayo)
- Spatula or wooden spoon
- Chef’s knife and cutting board
- Measuring spoons and cups
If you don’t have a rimmed baking sheet, use a large cast-iron skillet instead—it works great and gives you a nice sizzle. For the beef, a non-stick skillet makes cleanup easier, but stainless steel works fine. I’ve made this with a cheap baking sheet and it still turned out amazing. No need for fancy equipment here.
Preparation Method
- Preheat your oven to 425°F (220°C). Line a large baking sheet with parchment paper or foil for easy cleanup. Spread the frozen fries in a single layer—don’t overcrowd, or they’ll steam instead of crisp. Bake according to package directions, usually 20-25 minutes, flipping halfway through. You want them golden and extra crispy.
- While the fries bake, make the bulgogi sauce. In a small bowl, whisk together the soy sauce, brown sugar, minced garlic, sesame oil, rice vinegar, grated ginger, and black pepper. Set aside. The smell alone will make you hungry—it’s that good.
- Cook the beef. Heat a large skillet over medium-high heat. Add the ground beef and cook, breaking it apart with a spatula, until browned and cooked through—about 5-7 minutes. Drain any excess fat if needed (I usually leave a little for flavor). Reduce heat to medium-low and pour the bulgogi sauce over the beef. Stir and let it simmer for 2-3 minutes, until the sauce thickens and coats the meat. The beef should look glossy and smell like your favorite Korean BBQ joint.
- Make the sriracha mayo. In a small bowl, mix the mayonnaise, sriracha, and a squeeze of lime juice. Adjust the spice level to your liking. Set aside.
- Assemble the loaded fries. Once the fries are crispy, remove the baking sheet from the oven. Sprinkle the shredded cheese evenly over the hot fries. Spoon the bulgogi beef over the cheese. Return the sheet to the oven for 2-3 minutes, just until the cheese melts and gets bubbly.
- Add the toppings. Remove from the oven. Drizzle the sriracha mayo over the top, followed by dollops of sour cream. Sprinkle with sliced green onions, sesame seeds, and fresh cilantro if using. Serve immediately with lime wedges on the side.
- Pro tip: Don’t skip the lime. A squeeze of fresh lime juice right before eating cuts through the richness and brightens everything up. It’s a small step that makes a huge difference.
Cooking Tips & Techniques
I’ve made this recipe enough times to learn a few things the hard way. Here’s what I wish I knew from the start:
Don’t overcrowd the fries. This is the number one mistake people make. If your fries are piled on top of each other, they’ll steam instead of crisp up. Use two baking sheets if you need to—it’s worth the extra minute of cleanup.
Let the beef sauce simmer. Don’t rush this step. Letting the sauce bubble and reduce for a few minutes concentrates the flavor and gives the beef that sticky, caramelized coating. If you skip it, the beef will taste watery and bland.
Toast your sesame seeds. I know it’s an extra step, but it takes 30 seconds in a dry pan and makes a world of difference. Toasted sesame seeds have a nutty, almost buttery flavor that raw seeds just can’t match.
Timing is everything. Start your fries first, then cook the beef while they bake. By the time the fries are done, your beef is ready to go. This recipe comes together in under 30 minutes if you multitask—no stress, no waiting around.
One mistake I made : The first time I made this, I added the sriracha mayo before the cheese melted. Don’t do that. The mayo will burn in the oven and turn into a weird, greasy mess. Always add cold toppings after the cheese is melted and bubbly.
For a fun twist, you can also try making these loaded fries in an air fryer. Cook the fries at 400°F for 12-15 minutes, then top with cheese and beef and cook for another 2 minutes. It’s even crispier!
Variations & Adaptations
This recipe is endlessly customizable. Here are a few ways I’ve tweaked it depending on my mood or what’s in the fridge:
- Spicy Kimchi Version : Add a handful of chopped kimchi on top before the cheese melts. The tangy, spicy crunch pairs beautifully with the sweet bulgogi beef. I tried this on a whim and now I crave it regularly.
- Vegetarian Option : Swap the ground beef for crumbled firm tofu or plant-based ground meat. Cook it the same way with the bulgogi sauce—it works surprisingly well. I’ve made it with Beyond Meat and my meat-eating friends didn’t even notice the difference.
- Korean BBQ Twist : Instead of ground beef, use thinly sliced ribeye or sirloin. Marinate the slices for 30 minutes, then sear them quickly in a hot skillet. It’s a bit more work but feels extra special for date night or entertaining.
- Cheese Swap : Try using pepper jack for a spicy kick, or go with a blend of cheddar and mozzarella. For a dairy-free version, use vegan shredded cheese—it melts surprisingly well.
- Sweet Potato Fries : Swap regular frozen fries for sweet potato fries. The sweetness pairs beautifully with the savory bulgogi beef. Just note that sweet potato fries cook faster, so keep an eye on them.
If you love this fusion style of cooking, you’ll also enjoy these quick Chinese-style sautéed shrimp—they come together in 30 minutes and have that same bold, savory punch that makes weeknight dinners feel exciting.
Serving & Storage Suggestions
These loaded bulgogi fries are best served immediately, straight from the oven. The contrast between hot, crispy fries, melty cheese, and cool, creamy toppings is pure magic. I like to set the baking sheet right on the table with a pile of napkins and let everyone dig in family-style. No plates needed—just forks (or chopsticks, if you’re feeling fancy).
For a complete meal, serve with a simple side salad dressed with rice vinegar and sesame oil. The freshness balances the richness of the fries. You could also pair it with a bowl of sushi cucumber salad for a light, crunchy contrast that cuts through all that savory goodness.
Storage : If you have leftovers (unlikely, but possible), store the components separately. Keep the fries and beef in an airtight container in the fridge for up to 2 days. Store the sriracha mayo and sour cream separately. Reheat the fries and beef in the oven at 375°F for 5-7 minutes, or in an air fryer for 3-4 minutes. Avoid the microwave—it turns the fries into sad, soggy mush.
Flavor Development : The bulgogi beef actually tastes even better the next day as the flavors meld together. I’ve been known to make extra beef on purpose just to have leftovers for rice bowls or lettuce wraps later in the week.
Nutritional Information & Benefits
Here’s an approximate breakdown per serving (based on 4 servings):
- Calories : 580
- Protein : 28g
- Fat : 34g
- Carbohydrates : 42g
- Fiber : 3g
- Sugar : 10g
- Sodium : 1200mg
Health Benefits : The beef provides a solid dose of protein and iron, while the sesame seeds add healthy fats and calcium. The garlic and ginger in the bulgogi sauce are known for their anti-inflammatory properties. If you’re watching your sodium, use low-sodium soy sauce and go easy on the added salt.
Dietary Considerations : This recipe can be made gluten-free (use tamari), dairy-free (use vegan cheese and sour cream), or lower-carb (swap fries for roasted zucchini or cauliflower). It’s not low-fat by any stretch, but honestly—sometimes you just need a meal that feels like a hug.
Conclusion
This crispy loaded bulgogi fries recipe is the kind of dish that makes you wonder why you ever ordered takeout. It’s fast, flexible, and ridiculously satisfying. The sweet-savory beef, the crispy fries, the cool sriracha mayo—every bite hits different. Whether you’re feeding a crowd or just treating yourself on a Tuesday night, this recipe delivers.
I love that I can make it with stuff I already have in my pantry. No special trips, no fancy ingredients. Just good food that makes me happy. And honestly? That’s the kind of recipe I keep coming back to.
I’d love to hear how yours turns out! Leave a comment below with your favorite toppings or any tweaks you made. Share this recipe with a friend who needs a new weeknight hero. And if you’re feeling adventurous, try swapping the fries for roasted sweet potatoes or even crispy wonton wrappers—the possibilities are endless. Happy cooking!
Frequently Asked Questions
Can I use frozen fries that aren’t shoestring?
Absolutely! Crinkle-cut, curly, or even waffle fries work great. Just adjust the baking time according to the package directions. Thicker fries may need a few extra minutes to get crispy.
How do I make this less spicy?
Simply reduce or omit the sriracha in the mayo. You can also skip the sriracha entirely and use regular mayo mixed with a little lime juice. The bulgogi beef itself isn’t spicy, so it’s easy to tone down the heat.
Can I make this ahead of time for a party?
You can prep the bulgogi beef and sriracha mayo up to 2 days in advance. When you’re ready to serve, bake the fries fresh, then assemble everything just before serving. The fries won’t stay crispy if they sit too long.
What can I use instead of ground beef?
Ground pork, chicken, or turkey all work well. For a vegetarian option, try crumbled tofu, tempeh, or plant-based ground meat. Cook them the same way with the bulgogi sauce—it’s very forgiving.
How do I reheat leftovers without ruining the fries?
The best way is to reheat the fries and beef in the oven at 375°F for 5-7 minutes, or in an air fryer at 350°F for 3-4 minutes. Add fresh toppings after reheating. The microwave will make the fries soggy, so avoid it if you can.
Pin This Recipe!
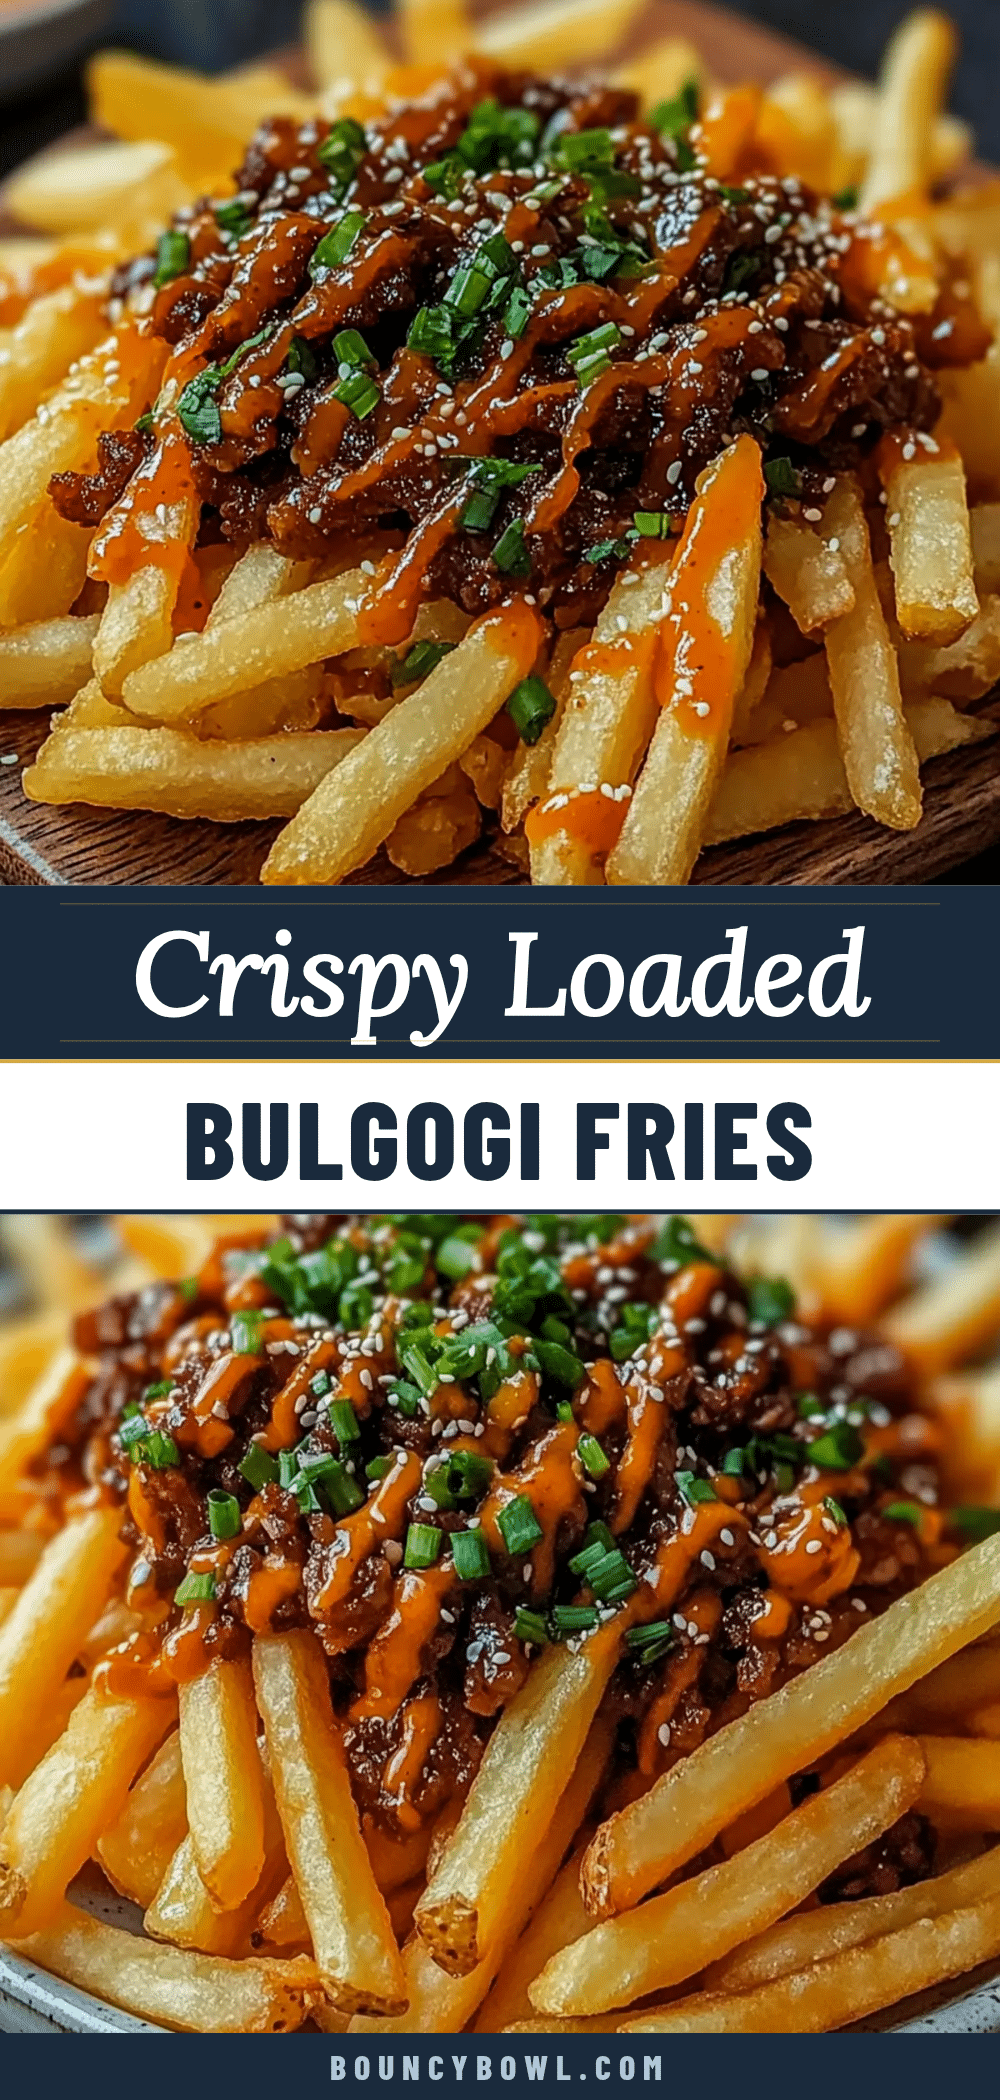
Easy Crispy Loaded Bulgogi Fries Recipe
Crispy loaded fries topped with sweet, savory bulgogi beef, melted cheese, and a spicy sriracha mayo. This quick and easy recipe comes together in under 30 minutes and is perfect for game day or a fun weeknight dinner.
- Prep Time: 10 minutes
- Cook Time: 20 minutes
- Total Time: 30 minutes
- Yield: 4 servings 1x
- Category: Main Course
- Cuisine: Korean
Ingredients
- 1 pound ground beef (80/20 works best)
- 1/4 cup soy sauce (low-sodium recommended)
- 2 tablespoons brown sugar (packed)
- 3 cloves garlic, minced
- 1 tablespoon sesame oil (toasted)
- 1 tablespoon rice vinegar
- 1 teaspoon grated ginger
- 1/4 teaspoon black pepper
- 2 green onions, thinly sliced (for garnish)
- 1 (22-ounce) bag frozen shoestring or crinkle-cut fries
- 1 cup shredded mozzarella or Monterey Jack cheese
- 1/4 cup sour cream
- 2 tablespoons mayonnaise
- 1 tablespoon sriracha
- 1 tablespoon sesame seeds (toasted, for garnish)
- Fresh cilantro or parsley (optional)
- Lime wedges (for serving)
Instructions
- Preheat your oven to 425°F (220°C). Line a large baking sheet with parchment paper or foil. Spread the frozen fries in a single layer and bake according to package directions, usually 20-25 minutes, flipping halfway through, until golden and crispy.
- While the fries bake, make the bulgogi sauce. In a small bowl, whisk together the soy sauce, brown sugar, minced garlic, sesame oil, rice vinegar, grated ginger, and black pepper. Set aside.
- Cook the beef. Heat a large skillet over medium-high heat. Add the ground beef and cook, breaking it apart, until browned and cooked through, about 5-7 minutes. Drain excess fat if needed. Reduce heat to medium-low and pour the bulgogi sauce over the beef. Stir and let simmer for 2-3 minutes until the sauce thickens and coats the meat.
- Make the sriracha mayo. In a small bowl, mix the mayonnaise, sriracha, and a squeeze of lime juice. Adjust spice to taste. Set aside.
- Assemble the loaded fries. Once the fries are crispy, remove the baking sheet from the oven. Sprinkle the shredded cheese evenly over the hot fries. Spoon the bulgogi beef over the cheese. Return the sheet to the oven for 2-3 minutes, just until the cheese melts and gets bubbly.
- Remove from the oven. Drizzle the sriracha mayo over the top, followed by dollops of sour cream. Sprinkle with sliced green onions, sesame seeds, and fresh cilantro if using. Serve immediately with lime wedges on the side.
- Pro tip: Don’t skip the lime. A squeeze of fresh lime juice right before eating cuts through the richness and brightens everything up.
Notes
For gluten-free, use tamari instead of soy sauce. For dairy-free, use vegan cheese and sour cream. To make it vegetarian, swap ground beef for crumbled tofu or plant-based meat. The bulgogi beef tastes even better the next day. Store leftovers separately and reheat in the oven or air fryer to maintain crispiness.
Nutrition
- Serving Size: 1 serving (about 1/4
- Calories: 580
- Sugar: 10
- Sodium: 1200
- Fat: 34
- Saturated Fat: 12
- Carbohydrates: 42
- Fiber: 3
- Protein: 28
Keywords: bulgogi fries, loaded fries, Korean beef fries, easy weeknight dinner, game day food, crispy fries, sriracha mayo


