Love this? Save it for later!
Share the inspiration with your friends
The raspberries were about to turn. You know that moment—when you open the fridge and see that carton of berries starting to soften, and you realize you either use them now or toss them tomorrow. It was a Tuesday afternoon, and I had already started preheating the oven before I even knew what I was making. That’s just how summer baking goes around here.
I pulled out a stick of butter, let it soften while I stared at the fruit, and remembered a bar cookie my aunt used to bring to picnics. She never used a recipe—just threw things together until it felt right. So I did the same. Flour, sugar, a little salt, butter, and those raspberries. Simple stuff, honestly. The kind of baking that doesn’t require a trip to the store or a lot of thinking.
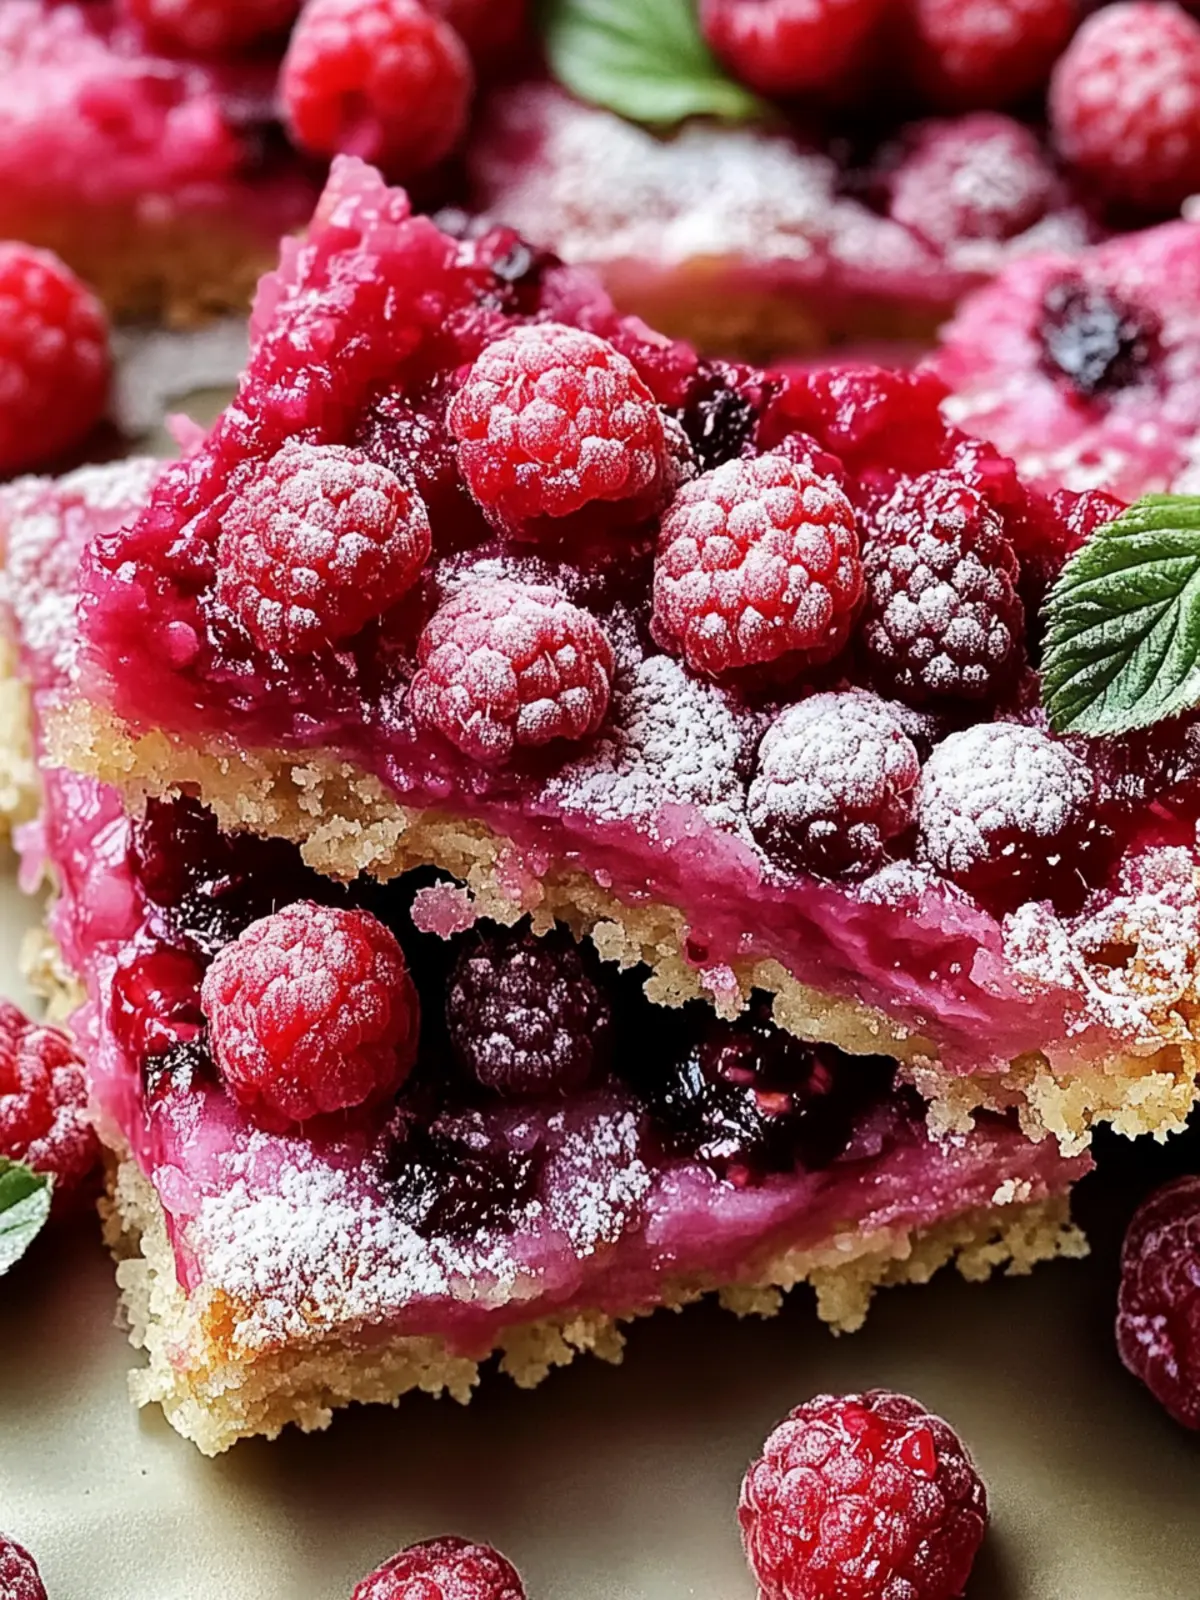
Twenty minutes later, the kitchen smelled like summer in a way that air conditioning just can’t replicate. The bars came out golden on the edges, soft in the middle, with pockets of jammy raspberry hiding throughout. I cut one while it was still warm—mistake or genius move, depending on who you ask—and the butter and fruit just melted together. My husband walked in, grabbed a piece without saying anything, and went back to the living room. That’s how I knew.
These quick raspberry bars are the kind of dessert you don’t plan for but end up making all summer long. They’re not fussy, they don’t need a mixer, and they come together in about 30 minutes from start to finish. If you’ve got a carton of berries sitting on your counter right now, this is exactly what you should do with them.
Why You’ll Love This Recipe
Let me tell you why these bars keep showing up at my house every few weeks during berry season. First off, they’re genuinely easy. No creaming butter and sugar together for ten minutes. No chilling the dough. No rolling or cutting or fussing. You mix the crust, press it in, add the berries, and bake. That’s it.
- Quick & Easy : These come together in under 30 minutes. Seriously. From start to warm bar in your hand, you’re looking at about 25 minutes of total time. Perfect for those afternoons when you want something sweet but don’t want to spend an hour in the kitchen.
- Simple Ingredients : Butter, flour, sugar, salt, and raspberries. That’s the whole list. No weird extracts, no specialty flours, nothing you have to hunt down at a specialty store. You probably have everything right now.
- Perfect for Summer : These bars are great for picnics, potlucks, or just a quiet evening on the porch. They travel well, don’t need refrigeration (though they’re good cold too), and taste like sunshine. I’ve brought them to more than one backyard barbecue this summer, and they never last long.
- Crowd-Pleaser : Kids love the sweet-tart raspberry filling. Adults love the buttery, almost shortbread-like crust. Even people who say they’re “not dessert people” end up going back for seconds. I’ve watched it happen.
- Unbelievably Delicious : The texture is what gets me every time. The crust stays tender but holds together, the raspberries burst into jammy pockets, and the whole thing has this rustic, homemade feel that store-bought desserts just can’t match. It’s comfort food at its simplest.
What makes this version different from other raspberry bar recipes? It’s the ratio. I’ve tested this more times than I’ll admit, and the balance of buttery crust to fruit filling is exactly right. Not too sweet, not too tart, not so much crust that you feel like you’re eating flour. It’s the kind of dessert that makes you close your eyes after the first bite—not because it’s fancy, but because it’s just that good.
What Ingredients You Will Need
This recipe uses simple, everyday ingredients to create something that tastes way more special than it should. No fancy techniques, no hard-to-find items. Just good basic baking ingredients that work together perfectly.
- Unsalted butter, cold and cubed – ½ cup (1 stick / 113g). Cold butter is key here. It creates a flakier, more tender crust. If you only have salted butter, just reduce the added salt by a pinch.
- All-purpose flour – 1 cup (120g). Standard all-purpose flour works great. I’ve tested this with a gluten-free 1-to-1 blend, and it works fine too—just make sure it contains xanthan gum for structure.
- Granulated sugar – ¼ cup (50g) for the crust, plus 1 tablespoon for sprinkling. The sugar in the crust adds just enough sweetness without overpowering the fruit. The sprinkle on top gives a nice crunchy finish.
- Salt – ¼ teaspoon. A little salt balances the sweetness and brings out the raspberry flavor. Don’t skip it—it makes a difference.
- Fresh raspberries – 1½ cups (about 6 ounces / 170g). Fresh is best here, but frozen works too if that’s what you have. If using frozen, don’t thaw them first—just add them frozen and increase the bake time by 2-3 minutes.
- Lemon juice – 1 teaspoon (optional but recommended). A tiny splash brightens up the raspberries and cuts through the butteriness of the crust. You won’t taste lemon specifically, but you’ll notice the difference.
- Cornstarch – 1 tablespoon. This helps thicken the berry juices so your bars don’t turn into a soggy mess. If you don’t have cornstarch, arrowroot powder works the same way.
That’s genuinely it. Seven ingredients, most of which are probably in your kitchen right now. I use Land O’Lakes butter most of the time, but any unsalted butter works. For the raspberries, I grab whatever looks good at the store—sometimes they’re from a local farm stand, sometimes they’re just the regular grocery store berries. They all work.
One thing I’ve learned: don’t wash the raspberries until right before you use them. Wet berries can make the bars too watery. Give them a quick rinse, pat them dry gently with a paper towel, and you’re good to go.
Equipment Needed
You don’t need much for this recipe, which is part of the appeal. Here’s what you’ll want to have on hand:
- 8×8-inch baking pan – This is the perfect size for these bars. A 9×9 will also work, but the bars will be slightly thinner and may need a minute or two less in the oven.
- Parchment paper – Not strictly necessary, but it makes lifting the bars out of the pan so much easier. I cut two strips that cross each other, leaving overhang on all sides.
- Mixing bowl – Any medium bowl will do. I use a glass one because I can see when the butter is evenly distributed.
- Pastry cutter or fork – You need something to cut the butter into the flour. A pastry cutter is ideal, but two forks work in a pinch. Your hands work too—just work quickly so the butter doesn’t warm up too much.
- Measuring cups and spoons – Standard set. Nothing fancy.
- Spatula or wooden spoon – For mixing and pressing the crust.
If you don’t have an 8×8 pan, you can use a small cast iron skillet or even a pie plate. The bake time might shift a little, so just keep an eye on it. I’ve made these in a disposable foil pan before when I was bringing them to a picnic, and they turned out just fine.
Preparation Method
Alright, let’s get to it. This is one of those recipes where the instructions are almost insultingly simple, but trust me—the results are anything but.
- Preheat your oven to 375°F (190°C). While it’s heating, line your 8×8 pan with parchment paper. I like to leave about an inch of overhang on two opposite sides—makes it super easy to lift the whole thing out later.
- Make the crust. In a medium mixing bowl, combine 1 cup flour, ¼ cup sugar, and ¼ teaspoon salt. Whisk them together briefly. Add the cold, cubed butter. Using a pastry cutter or your fingertips, work the butter into the flour mixture until it looks like coarse meal with some pea-sized butter pieces still visible. Don’t overdo it—those little butter chunks create flaky pockets in the crust.
- Press the crust. Dump about two-thirds of the flour-butter mixture into your prepared pan. Press it down firmly and evenly. I use the bottom of a measuring cup to get it nice and flat. The remaining third will go on top later.
- Pre-bake the crust. Pop the pan in the oven for 10 minutes. You want it just barely golden around the edges—not fully baked, but starting to set. This step keeps the bottom from getting soggy when you add the berries.
- Prepare the raspberries. While the crust bakes, gently toss the raspberries with 1 tablespoon cornstarch and 1 teaspoon lemon juice (if using). Be gentle—raspberries are fragile and you want them mostly whole. The cornstarch will soak up the juices as they bake, giving you that perfect jammy texture instead of a runny mess.
- Assemble the bars. When the crust comes out of the oven, spread the raspberries evenly over the surface. Sprinkle the remaining crust mixture over the top. It won’t cover everything completely—that’s fine. Some berries will peek through, which looks rustic and pretty.
- Sprinkle with sugar. Scatter that extra tablespoon of granulated sugar over the top. This gives the bars a lovely crunchy, sparkly finish.
- Bake. Return the pan to the oven and bake for 15-18 minutes, until the top is golden and the raspberries are bubbling around the edges. You’ll see little pockets of jammy berry juice—that’s how you know it’s ready.
- Cool. Let the bars cool in the pan for at least 15 minutes. If you can wait longer, even better. They’re amazing warm, but they set up better as they cool. Use the parchment overhang to lift them out, then cut into squares.
A few things I’ve learned the hard way: don’t press the topping into the berries. Just sprinkle it on loosely. And if you’re using frozen raspberries, don’t thaw them first—they’ll turn into mush. Frozen berries may need an extra 2-3 minutes in the oven, so keep an eye on them.
Cooking Tips & Techniques
After making these bars probably a dozen times this summer alone, I’ve picked up a few tricks that make a real difference.
Keep the butter cold. This is the number one tip for a tender, flaky crust. If your butter warms up while you’re cutting it in, pop the bowl in the fridge for five minutes before pressing the crust into the pan. I’ve forgotten this step before, and the crust came out dense and greasy instead of light and buttery.
Don’t overwork the dough. When you’re pressing the crust into the pan, use gentle, even pressure. If you pack it down too hard, it’ll be tough. Just firm enough that it holds together—that’s the sweet spot.
Watch the edges. The crust can go from golden to burnt pretty quickly, especially around the edges where it’s thinner. If you notice the edges browning faster than the center, tent the pan loosely with foil for the last few minutes of baking.
Let them cool. I know it’s hard to wait. The smell alone is torture. But if you cut into these bars while they’re still hot, the filling will run everywhere and the crust might crumble. Fifteen minutes of patience saves you from a messy plate. I speak from experience—I’ve definitely eaten more than one warm, crumbly bar over the sink.
Use the right pan. A metal pan gives you a crisper crust. Glass or ceramic works, but the crust won’t get as brown on the bottom. If you’re using glass, reduce the oven temperature by 25°F to prevent over-browning on the edges.
One more thing: if your raspberries are especially tart, you can add an extra tablespoon of sugar to the berry mixture. Taste one first—if they make you pucker, add a little sweetness.
Variations & Adaptations
This recipe is a great starting point, and I’ve played around with it quite a bit. Here are some variations that have worked well:
- Mixed berry bars. Replace half the raspberries with blueberries or chopped strawberries. The combination is gorgeous and tastes like summer in a pan. Just keep the total berry amount the same.
- Gluten-free version. Swap the all-purpose flour for a 1-to-1 gluten-free baking flour. I’ve used Bob’s Red Mill with good results. The texture is slightly more tender, but still holds together beautifully.
- Lemon raspberry bars. Add a teaspoon of lemon zest to the crust mixture and an extra squeeze of lemon juice to the berries. The citrus brightens everything up and pairs perfectly with the raspberries.
- Almond raspberry bars. Replace 2 tablespoons of the flour with almond flour and add ¼ teaspoon almond extract to the berry mixture. The almond flavor is subtle but adds a lovely nuttiness.
- Vegan option. Use cold coconut oil or vegan butter in place of regular butter. The crust will be a little more crumbly but still delicious. Make sure your sugar is vegan-friendly (most granulated sugar is).
My personal favorite variation? The lemon one. I made it on a whim when I had extra lemons lying around, and now it’s my go-to. Something about that bright citrus note with the sweet-tart raspberries just works.
Serving & Storage Suggestions
These bars are versatile when it comes to serving. Here’s what I’ve found works best:
Serving temperature: They’re great at room temperature, slightly warm, or even cold from the fridge. Warm is my favorite—the berries are still a little jammy and the crust is tender. Cold, they firm up nicely and almost have a shortbread-like texture.
Presentation: Dust with powdered sugar right before serving for a pretty finish. A scoop of vanilla ice cream or a dollop of whipped cream takes these from simple snack to full-on dessert. Fresh mint leaves add a nice pop of color if you’re feeling fancy.
Storage: Keep leftovers in an airtight container at room temperature for up to 2 days. After that, move them to the fridge—they’ll last another 2-3 days. I’ve never had them last longer than that because they get eaten too fast.
Freezing: These freeze beautifully. Let the bars cool completely, then wrap them tightly in plastic wrap and foil. Freeze for up to 3 months. Thaw at room temperature for about an hour before serving. You can also freeze the unbaked assembled bars—just add 5-7 minutes to the bake time.
Reheating: Pop individual bars in a 300°F oven for 5 minutes to warm them up. The microwave works too, but the crust won’t be as crisp. Honestly, I usually just eat them cold straight from the fridge—they’re that good.
One thing I’ve noticed: the flavors actually get better after a day. The raspberry juices soak into the crust a little more, and everything melds together. So if you can make these a day ahead, do it.
Nutritional Information & Benefits
These bars are a treat, no question, but they’re made with real ingredients and no weird additives. Here’s a rough nutritional breakdown per bar (assuming 9 bars per batch):
- Calories: Approximately 180
- Fat: 10g
- Carbohydrates: 22g
- Fiber: 2g
- Sugar: 12g
- Protein: 2g
Raspberries are a solid source of vitamin C and fiber—they’re one of the higher-fiber fruits out there. The butter provides some vitamin A, and the whole thing is free of artificial colors, preservatives, and high-fructose corn syrup. Not bad for a dessert that tastes this indulgent.
If you’re watching your sugar intake, you can reduce the sugar in the crust to 3 tablespoons and skip the sprinkle on top. The bars will be less sweet but still delicious, especially if your raspberries are on the ripe side.
These bars are vegetarian and can easily be made gluten-free or vegan with the substitutions mentioned above. They contain dairy and gluten in their standard form, so keep that in mind if you’re serving someone with allergies.
Conclusion
These quick raspberry bars have become my go-to summer dessert for a reason. They’re simple enough to throw together on a Tuesday afternoon but special enough to bring to a party. The buttery crust, the jammy raspberries, the crunchy sugar top—it all comes together in less than 30 minutes with ingredients you probably already have.
What I love most about this recipe is how forgiving it is. You can swap the fruit, adjust the sweetness, make it gluten-free or vegan, and it still works. It’s the kind of recipe that builds confidence in the kitchen because it’s so hard to mess up. And honestly? That’s exactly what summer baking should be—easy, joyful, and delicious.
I’d love to hear how these turn out for you. Did you try a variation? Use frozen berries? Add lemon? Drop a comment below and let me know. And if you’re looking for another easy summer treat, you might enjoy these no-bake summer berry icebox cake or this fresh cowboy caviar pasta salad for a savory option. Happy baking!
Frequently Asked Questions
Can I use frozen raspberries instead of fresh?
Yes, absolutely. Add them frozen—don’t thaw first—and increase the bake time by 2-3 minutes. You might get a little more juice, so the bars will be slightly softer, but they’ll still be delicious.
Why did my bars turn out soggy?
This usually happens if the raspberries were too wet or the crust wasn’t pre-baked long enough. Make sure to pat your berries dry after rinsing, and don’t skip the 10-minute pre-bake for the crust. The cornstarch also helps—don’t leave it out.
Can I make these bars ahead of time?
Yes, and they actually taste better the next day. Bake them, let them cool completely, and store them in an airtight container at room temperature. They’ll keep for 2 days, or you can refrigerate them for up to 5 days.
Can I use other fruits besides raspberries?
Definitely. Blueberries, chopped strawberries, blackberries, or a mix all work great. Just keep the total fruit amount the same—about 1½ cups. If using larger fruit like strawberries, chop them into bite-sized pieces.
How do I get clean, neat cuts?
Let the bars cool completely before cutting. Use a sharp knife and wipe it clean between cuts. For the cleanest edges, chill the bars in the fridge for 30 minutes before slicing. It makes a big difference.
Pin This Recipe!
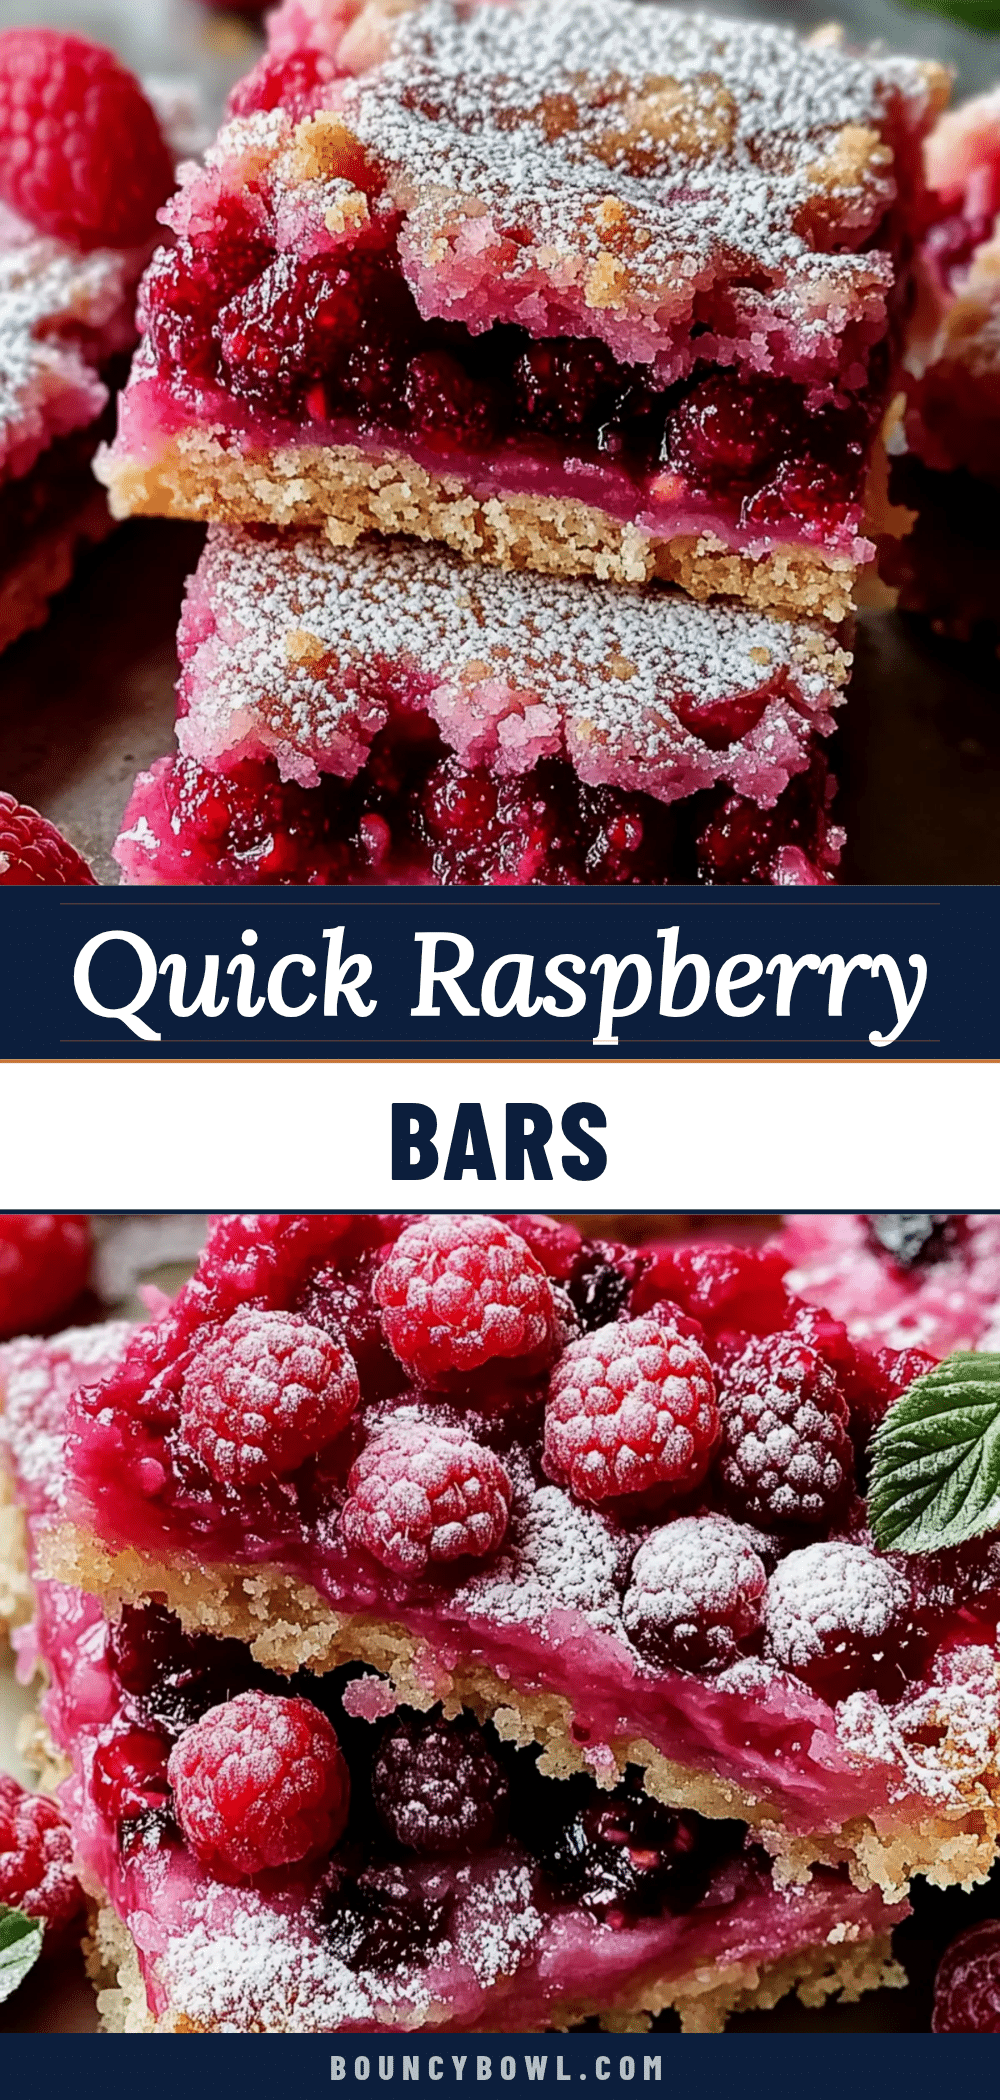
Easy Quick Raspberry Bars: Best Summer Dessert Recipe
These quick raspberry bars are the kind of dessert you don’t plan for but end up making all summer long. They’re not fussy, they don’t need a mixer, and they come together in about 30 minutes from start to finish.
- Prep Time: 10 minutes
- Cook Time: 25-28 minutes
- Total Time: 35-38 minutes
- Yield: 9 bars 1x
- Category: Dessert
- Cuisine: American
Ingredients
- ½ cup (1 stick / 113g) unsalted butter, cold and cubed
- 1 cup (120g) all-purpose flour
- ¼ cup (50g) granulated sugar for the crust, plus 1 tablespoon for sprinkling
- ¼ teaspoon salt
- 1½ cups (about 6 ounces / 170g) fresh raspberries
- 1 teaspoon lemon juice (optional but recommended)
- 1 tablespoon cornstarch
Instructions
- Preheat your oven to 375°F (190°C). Line an 8×8-inch baking pan with parchment paper, leaving about an inch of overhang on two opposite sides.
- In a medium mixing bowl, combine 1 cup flour, ¼ cup sugar, and ¼ teaspoon salt. Whisk together briefly.
- Add the cold, cubed butter. Using a pastry cutter or your fingertips, work the butter into the flour mixture until it looks like coarse meal with some pea-sized butter pieces still visible.
- Dump about two-thirds of the flour-butter mixture into the prepared pan. Press it down firmly and evenly using the bottom of a measuring cup.
- Pre-bake the crust for 10 minutes, until just barely golden around the edges.
- While the crust bakes, gently toss the raspberries with 1 tablespoon cornstarch and 1 teaspoon lemon juice (if using). Be gentle to keep berries mostly whole.
- When the crust comes out of the oven, spread the raspberries evenly over the surface. Sprinkle the remaining crust mixture over the top.
- Scatter the extra tablespoon of granulated sugar over the top.
- Return the pan to the oven and bake for 15-18 minutes, until the top is golden and the raspberries are bubbling around the edges.
- Let the bars cool in the pan for at least 15 minutes. Use the parchment overhang to lift them out, then cut into squares.
Notes
Keep the butter cold for a flaky crust. Don’t overwork the dough. Let bars cool before cutting to prevent filling from running. If using frozen raspberries, add them frozen and increase bake time by 2-3 minutes. For a crisper crust, use a metal pan. If using glass, reduce oven temperature by 25°F.
Nutrition
- Serving Size: 1 bar
- Calories: 180
- Sugar: 12
- Sodium: 75
- Fat: 10
- Saturated Fat: 6
- Carbohydrates: 22
- Fiber: 2
- Protein: 2
Keywords: raspberry bars, summer dessert, easy dessert, quick dessert, berry bars, raspberry recipe


