Love this? Save it for later!
Share the inspiration with your friends
I was elbow-deep in candy wrappers, trying to untangle a string of fake spiderwebs from the chandelier, when my phone buzzed. My sister, the one who always hosts the Halloween block party, had sent a text: “Need something spooky but not scary for the dessert table. Kids AND adults. Help.” I stared at the pile of melting white chocolate chips I’d bought for a completely different project and just… started pouring. Honestly, that chaotic moment is exactly how this Spooky White Chocolate Boo Bark was born. It wasn’t planned. It wasn’t Pinterest-perfect. It was just me, a bag of candy eyes, and a desperate need to make something that looked like a haunted house threw up on it—in the best way possible.
The first batch came out looking like a glittery, ghostly graveyard, and I knew I had stumbled onto something. It’s ridiculously easy, which is the whole point—you don’t need a pastry degree to pull this off. You just need a little patience and a lot of spooky sprinkles. This bark is the kind of treat that disappears before the first movie even starts, and it’s become my go-to for every fall gathering. It’s not just a dessert; it’s a conversation starter, a craft project, and a sugar rush all rolled into one. And honestly, isn’t that what Halloween is all about?
So, if you’re looking for a no-fuss, high-impact treat that looks like you spent hours on it (but really took you about 10 minutes of active work), you’ve found it. This Spooky White Chocolate Boo Bark is the answer to your spooky snack prayers. Let’s make some magic happen.
Why You’ll Love This Recipe
You know those recipes that look complicated but are secretly the easiest thing in the world? This is that recipe. I’ve tested this bark at least five times (my neighbors are very happy), and I’ve nailed down the perfect technique to avoid that dreaded chocolate seize. Here’s why this one is a keeper:
- Quick & Easy: From start to finish, you’re looking at about 15 minutes of active prep. The hardest part is waiting for it to set in the fridge!
- Simple Ingredients: You probably have most of this stuff in your pantry already. No weird, hard-to-find ingredients here—just good old white chocolate and fun toppings.
- Perfect for Halloween Parties: Whether it’s a school party, a work potluck, or just a spooky movie night at home, this bark fits right in. It’s also a fantastic activity to do with kids.
- Crowd-Pleaser: I’ve seen grown adults argue over the last piece covered in candy corn. It’s a universal hit.
- Unbelievably Customizable: The base is a blank canvas. You can go full spooky with black and orange, or keep it cute with pastel ghosts. The choice is yours!
What makes this recipe different from the rest is the secret to getting that perfect, snappy bark texture without it being greasy. I’m talking about the tempering trick that ensures your bark is shiny and crisp, not dull and crumbly. Plus, I’m sharing my favorite way to layer the toppings so they actually stick and don’t just fall off into a sad pile. This isn’t just another bark—it’s the best version of a spooky treat. It’s the kind of dessert that makes you close your eyes after the first bite, even if you’re wearing a witch hat.
What Ingredients You Will Need
This recipe is built on a foundation of simple, pantry-friendly ingredients that come together to create something truly magical. The key is using good-quality white chocolate, as it makes all the difference in texture and flavor. Here’s your shopping list:
- White Chocolate Melting Wafers or Chopped White Chocolate (24 oz / 680g): I personally prefer Ghirardelli or Guittard melting wafers for their smooth melt and creamy flavor. If you’re using a bar, make sure you chop it finely so it melts evenly. (Do not use white chocolate chips—they contain stabilizers that prevent them from melting smoothly.)
- Coconut Oil or Vegetable Shortening (1 teaspoon): This is my little trick. A tiny bit of fat helps the chocolate flow more smoothly and gives the bark that beautiful, glossy shine. It also makes it easier to cut cleanly.
- Candy Eyes (1/2 cup / about 60 pieces): The star of the show! You can find these at any craft store or online. They come in different sizes, so mix and match for a truly spooky look.
- Sprinkles (1/2 cup total): Use a mix of Halloween-themed sprinkles. I love using orange jimmies, black nonpareils, and little pumpkin-shaped sprinkles. Get creative!
- Pretzel Sticks or Broken Pretzels (1/2 cup / 60g): These add a fantastic salty crunch that perfectly balances the sweet white chocolate. They also look like little bones or witch fingers when broken up.
- Freeze-Dried Raspberries or Strawberries (1/4 cup / 15g): Optional, but highly recommended. They look like little blood splatters and add a tart, fruity pop that cuts through the sweetness.
- Black Sanding Sugar (2 tablespoons): For that final, eerie sparkle. It gives the bark a graveyard-dust look that’s just perfect.
Ingredient Substitutions: If you need a dairy-free option, use a high-quality dairy-free white chocolate (like Enjoy Life brand) and a little coconut oil. For a nut-free version, skip the pretzels and use crushed-up Oreos or graham crackers instead. You can also swap the freeze-dried fruit for dried cranberries or chopped dried apricots for a different flavor profile.
Equipment Needed
You don’t need a fancy kitchen to make this. Here’s what you’ll need:
- Baking Sheet (13×9 inch / 33×23 cm): A standard half-sheet pan works perfectly. You’ll line this with parchment paper.
- Parchment Paper: Absolutely essential for easy removal. Don’t substitute wax paper—it will melt.
- Double Boiler or Microwave-Safe Bowl: I prefer the microwave method for speed, but a double boiler gives you more control. If using a microwave, use a glass bowl.
- Rubber Spatula: For stirring and spreading the chocolate. A heat-resistant one is best.
- Offset Spatula (Optional but Helpful): Makes spreading the chocolate into an even layer a breeze.
- Chef’s Knife or Pizza Cutter: For cutting the bark into pieces once it’s set. A pizza cutter gives you cleaner edges.
- Piping Bag or Small Ziploc Bag: For drizzling any extra melted chocolate on top (if you want to get fancy).
Budget-Friendly Tip: Don’t have a double boiler? No problem! Just place a heatproof bowl over a small saucepan with an inch of simmering water. Make sure the bottom of the bowl doesn’t touch the water. That’s your DIY double boiler. I’ve done it a hundred times when I’m too lazy to dig out the real one.
Preparation Method
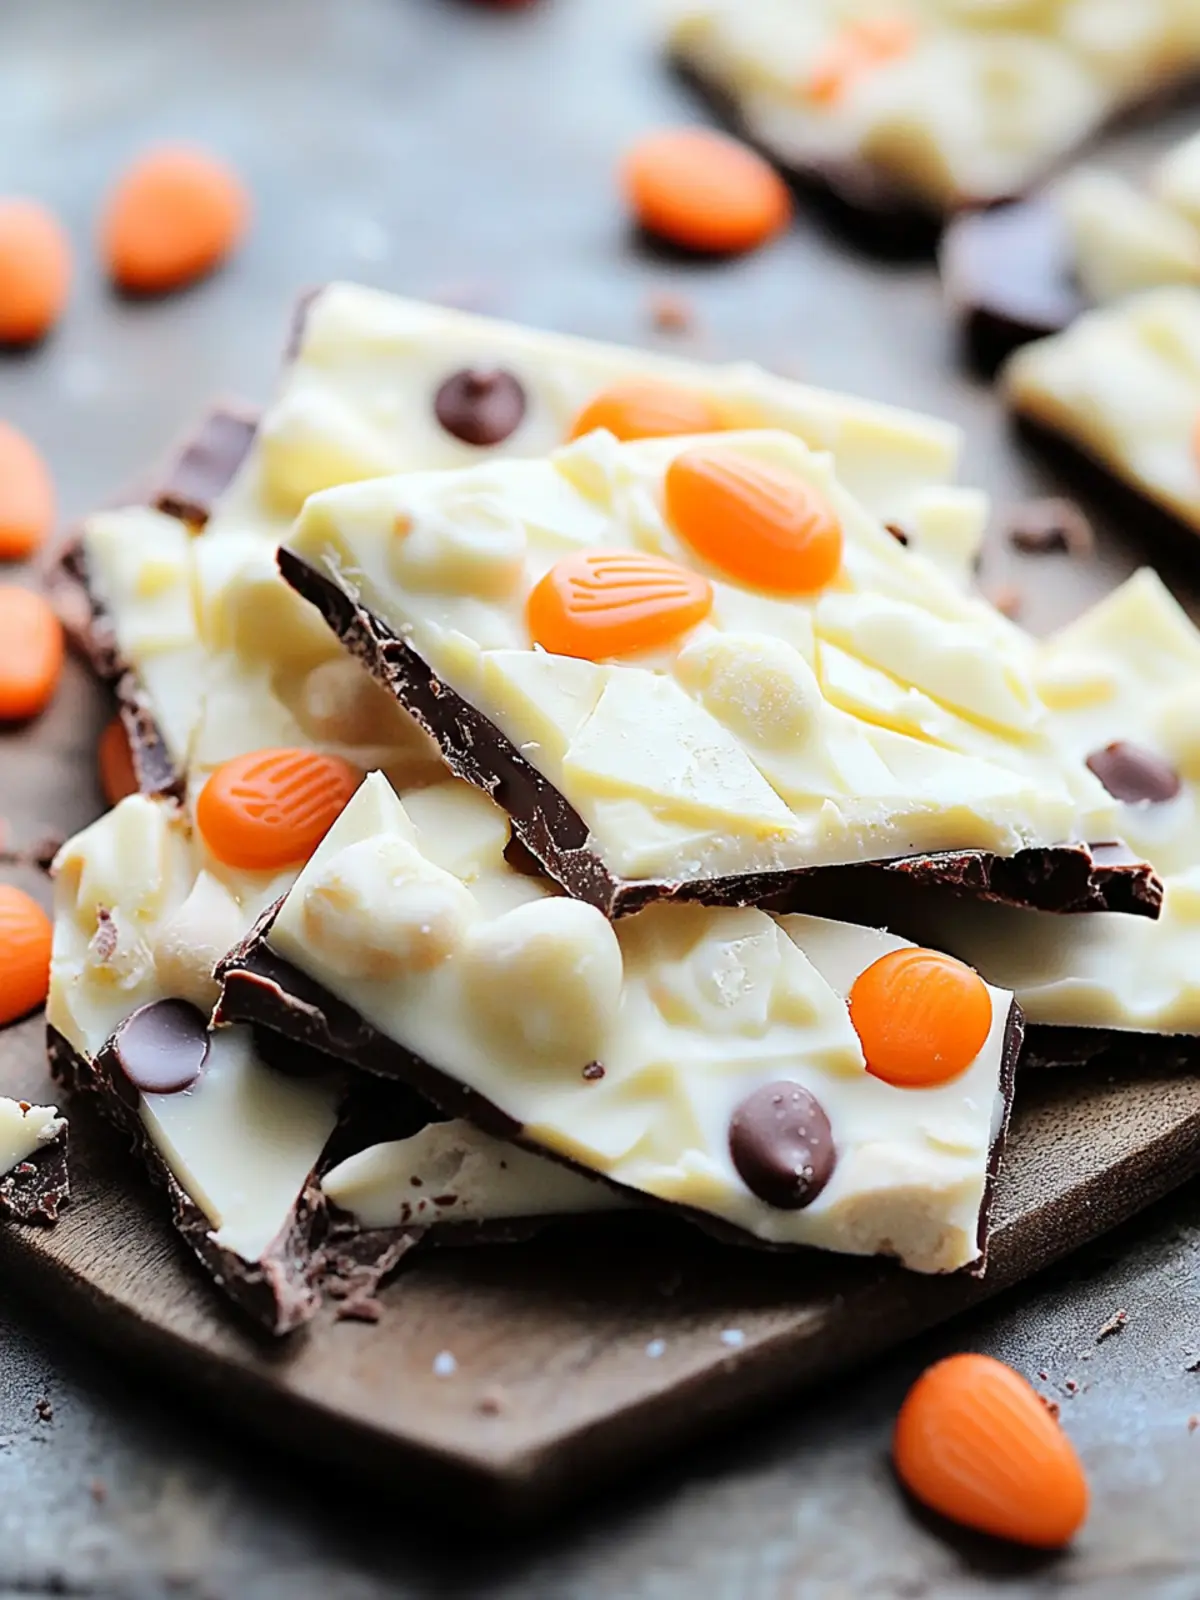
Alright, let’s get spooky! Follow these steps carefully, and you’ll have a masterpiece in no time.
- Prep Your Pan (5 minutes): Line your baking sheet with a large piece of parchment paper, leaving some overhang on the sides. This will act as handles to lift the bark out later. Set the pan aside.
- Melt the White Chocolate (5 minutes): Place your white chocolate wafers or chopped chocolate in a microwave-safe bowl. Add the 1 teaspoon of coconut oil. Microwave in 30-second intervals on 50% power, stirring vigorously with a rubber spatula after each interval. It’s crucial not to overheat it—white chocolate burns easily! Stop when about 75% of the chocolate is melted, then stir continuously until the residual heat melts the rest. The mixture should be smooth, glossy, and completely lump-free.
- Spread the Base (2 minutes): Pour the melted white chocolate onto the center of your prepared baking sheet. Using an offset spatula or the back of a spoon, spread it into an even rectangle, about 1/4-inch (6mm) thick. Don’t worry about making it perfect—a rustic, organic edge is part of the charm. You want it to be thick enough to hold the toppings but not so thick that it’s a chore to bite into.
- Add the Toppings (5 minutes): This is the fun part. While the chocolate is still wet and warm, quickly add your toppings. Start by pressing in the candy eyes, spacing them out randomly. You want some to be clustered together for that “swarm” effect. Next, scatter the Halloween sprinkles, broken pretzels, and freeze-dried raspberries. Finish with a generous dusting of black sanding sugar. Pro tip: Gently press the heavier toppings (like pretzels) into the chocolate so they don’t fall off once it’s set.
- Chill to Set (30-45 minutes): Carefully transfer the baking sheet to the refrigerator. Let it chill, uncovered, for at least 30 minutes, or until the bark is completely firm and snaps when you lift a corner. If you’re in a hurry, the freezer works too—just check it after 15 minutes. Warning: Don’t leave it in the fridge for too long (over 2 hours) or condensation can form and make the bark sticky.
- Break or Cut into Pieces (5 minutes): Once set, use the parchment paper overhang to lift the entire bark out onto a cutting board. You can break it into rustic shards with your hands (my preferred method for that homemade look) or use a sharp chef’s knife to cut it into neat squares and triangles. A pizza cutter works surprisingly well for this, giving you clean, straight lines.
Cooking Tips & Techniques
I’ve made this bark at least a dozen times, and I’ve learned a few things the hard way. Let me save you the trouble.
The #1 Mistake: Overheating the white chocolate. I once got distracted by a phone call and nuked my chocolate for a full minute. It turned into a grainy, clumpy mess that I had to throw away. Always use 50% power and stir frequently. If your chocolate starts to seize (gets thick and lumpy), you can sometimes rescue it by adding a teaspoon of warm coconut oil and stirring vigorously, but it’s better to just start over.
Timing is Everything: Have all your toppings measured and ready to go before you start melting the chocolate. You have a very small window (about 2-3 minutes) to arrange everything while the chocolate is still wet. If you’re slow, the chocolate will start to set, and your toppings won’t stick. I like to set up a little assembly line on the counter—toppings in little bowls, ready to sprinkle.
The Perfect Snap: For that satisfying, clean snap when you break the bark, you need to make sure the chocolate is fully tempered. The easiest way to do this at home is to use the “seeding” method: reserve about 1/4 cup of unmelted chocolate wafers and stir them into the melted chocolate after it’s fully melted. The cool wafers will bring the temperature down and encourage the right crystal formation, giving you that gorgeous shine and crisp texture.
Multitasking Strategy: While the bark is chilling in the fridge, this is the perfect time to clean up your kitchen. The chocolate bowl? Just wipe it out with a paper towel while it’s still warm—don’t wash it with water or you’ll have a starchy mess. Trust me on this one.
Variations & Adaptations
This recipe is endlessly flexible. Here are a few ways to switch it up:
- Dark Chocolate Boo Bark: Swap the white chocolate for semi-sweet or dark chocolate (60-70% cacao). The bitterness of the dark chocolate is a fantastic contrast to the sweet candy eyes. Use orange and black sprinkles for a classic Halloween vibe.
- Peppermint Boo Bark: Add 1/2 teaspoon of peppermint extract to the melted white chocolate. Top with crushed candy canes or peppermint candies instead of pretzels. This is a great option for a winter or Christmas-themed version.
- Monster Mash Bark: Instead of candy eyes, use gummy worms and candy corn. Break the gummy worms in half and press them into the chocolate so they look like they’re crawling out. Add a drizzle of melted dark chocolate on top for a muddy, swampy effect.
- Vegan & Gluten-Free Version: Use a dairy-free white chocolate (like Enjoy Life) and skip the pretzels. Use crushed gluten-free cookies or crispy rice cereal for crunch. This version is just as delicious and totally inclusive.
- Spicy Boo Bark: For the adventurous, add a pinch of cayenne pepper or a sprinkle of chili powder to the melted white chocolate. The heat will sneak up on you and perfectly complement the sweetness. Top with toasted pumpkin seeds for an extra fall touch.
I once made a “Zombie Brain” version for a friend’s birthday party. I used pink and red sprinkles, added some chopped maraschino cherries, and arranged the candy eyes to look like they were all looking in different directions. It was gloriously gross and everyone loved it.
Serving & Storage Suggestions
This bark is best served cold or at room temperature, but I prefer it straight from the fridge for that extra crisp snap.
Presentation Ideas: Arrange the shards on a platter lined with black or orange tissue paper. You can also pile them in a glass jar or a cauldron for a truly spooky centerpiece. For a party, I like to serve them alongside a bowl of popcorn and some creamy cold buffalo chicken dip for a sweet-and-savory spread that everyone will love.
Storage: Store your Spooky White Chocolate Boo Bark in an airtight container in the refrigerator for up to 2 weeks. Layer the pieces between sheets of parchment paper to prevent them from sticking together. Do not store it at room temperature if it’s warm or humid, as the chocolate can bloom (develop white streaks) or become sticky.
Freezing: This bark freezes beautifully! Place the pieces in a single layer in a freezer-safe bag or container, separating layers with parchment paper. Freeze for up to 3 months. To serve, just let it thaw in the refrigerator for about 30 minutes. The texture will be just as perfect as the day you made it.
Flavor Development: Honestly, the flavors actually meld together and get even better after a day or two in the fridge. The candy eyes soften just slightly, and the pretzels stay perfectly crunchy. It’s a treat that improves with a little patience.
Nutritional Information & Benefits
Let’s be real—this is a treat, not a health food. But that doesn’t mean it’s devoid of any redeeming qualities! Here’s a rough estimate per serving (about 1/12th of the recipe):
- Calories: 280
- Fat: 16g
- Carbohydrates: 32g
- Sugar: 28g
- Protein: 3g
Health Highlights: White chocolate contains a small amount of calcium and magnesium from the cocoa butter. The freeze-dried raspberries add a tiny dose of Vitamin C and fiber. And let’s be honest—sometimes you just need a little joy, and this bark delivers that in spades.
Dietary Considerations: This recipe is naturally vegetarian. For a gluten-free version, just use gluten-free pretzels or skip them. For a vegan version, use dairy-free white chocolate. It is not low-carb or keto-friendly due to the high sugar content.
Allergen Warning: Contains dairy (white chocolate) and gluten (pretzels). May contain traces of nuts depending on the brand of chocolate and sprinkles you use. Always check labels if you’re serving someone with allergies.
My personal philosophy? Life is short. Eat the bark. Balance it out with a healthy dinner like easy baked pineapple salmon and you’re golden.
Conclusion
So there you have it—my go-to Spooky White Chocolate Boo Bark that has saved me from party-planning panic more times than I can count. It’s the perfect blend of sweet, salty, crunchy, and creepy, and it’s so ridiculously easy that you’ll wonder why you ever bought those overpriced Halloween candies at the store. This isn’t just a recipe; it’s a little piece of Halloween magic that you can create in your own kitchen.
I want to hear about your creations! Did you go full monster mash with gummy worms, or did you keep it classic with candy eyes and sprinkles? Drop a comment below and tell me all about it. Don’t forget to share a photo on social media and tag me—I love seeing your spooky masterpieces. And if you’re looking for another fun, no-bake treat to round out your Halloween menu, you’ve got to try this easy no-bake summer berry icebox cake for a completely different vibe. Happy haunting, and happy snacking!
Frequently Asked Questions
Can I use white chocolate chips instead of melting wafers?
You can, but I wouldn’t recommend it. White chocolate chips are designed to hold their shape when baked, so they contain stabilizers that make them difficult to melt smoothly. They often seize or become grainy. Melting wafers or a high-quality white chocolate bar will give you a much better result.
How do I prevent the chocolate from seizing?
The key is low and slow heat. Always use 50% power in the microwave and stir every 30 seconds. Never add any water to the chocolate—even a single drop can cause it to seize. If you’re using a double boiler, make sure the bottom of the bowl doesn’t touch the water, and keep the water at a gentle simmer, not a rolling boil.
Can I make this bark ahead of time?
Absolutely! In fact, it’s better if you do. This bark can be made up to 2 weeks in advance and stored in an airtight container in the refrigerator. It’s the perfect make-ahead treat for a Halloween party. Just make sure it’s fully set before you stack the pieces.
My bark turned out sticky. What went wrong?
Sticky bark is usually a sign of humidity or condensation. If you left the bark in the fridge for too long (more than 2 hours), moisture can form on the surface. Also, if your kitchen is very humid, the chocolate can absorb moisture from the air. To avoid this, let the bark come to room temperature in a dry environment before storing it.
Can I add other flavors to the white chocolate?
Yes! White chocolate is a fantastic canvas for other flavors. You can add 1/2 teaspoon of peppermint, orange, or vanilla extract to the melted chocolate. For a more sophisticated flavor, try adding a pinch of sea salt or a dash of cinnamon. Just be careful not to add too much liquid, or the chocolate will seize.
Pin This Recipe!
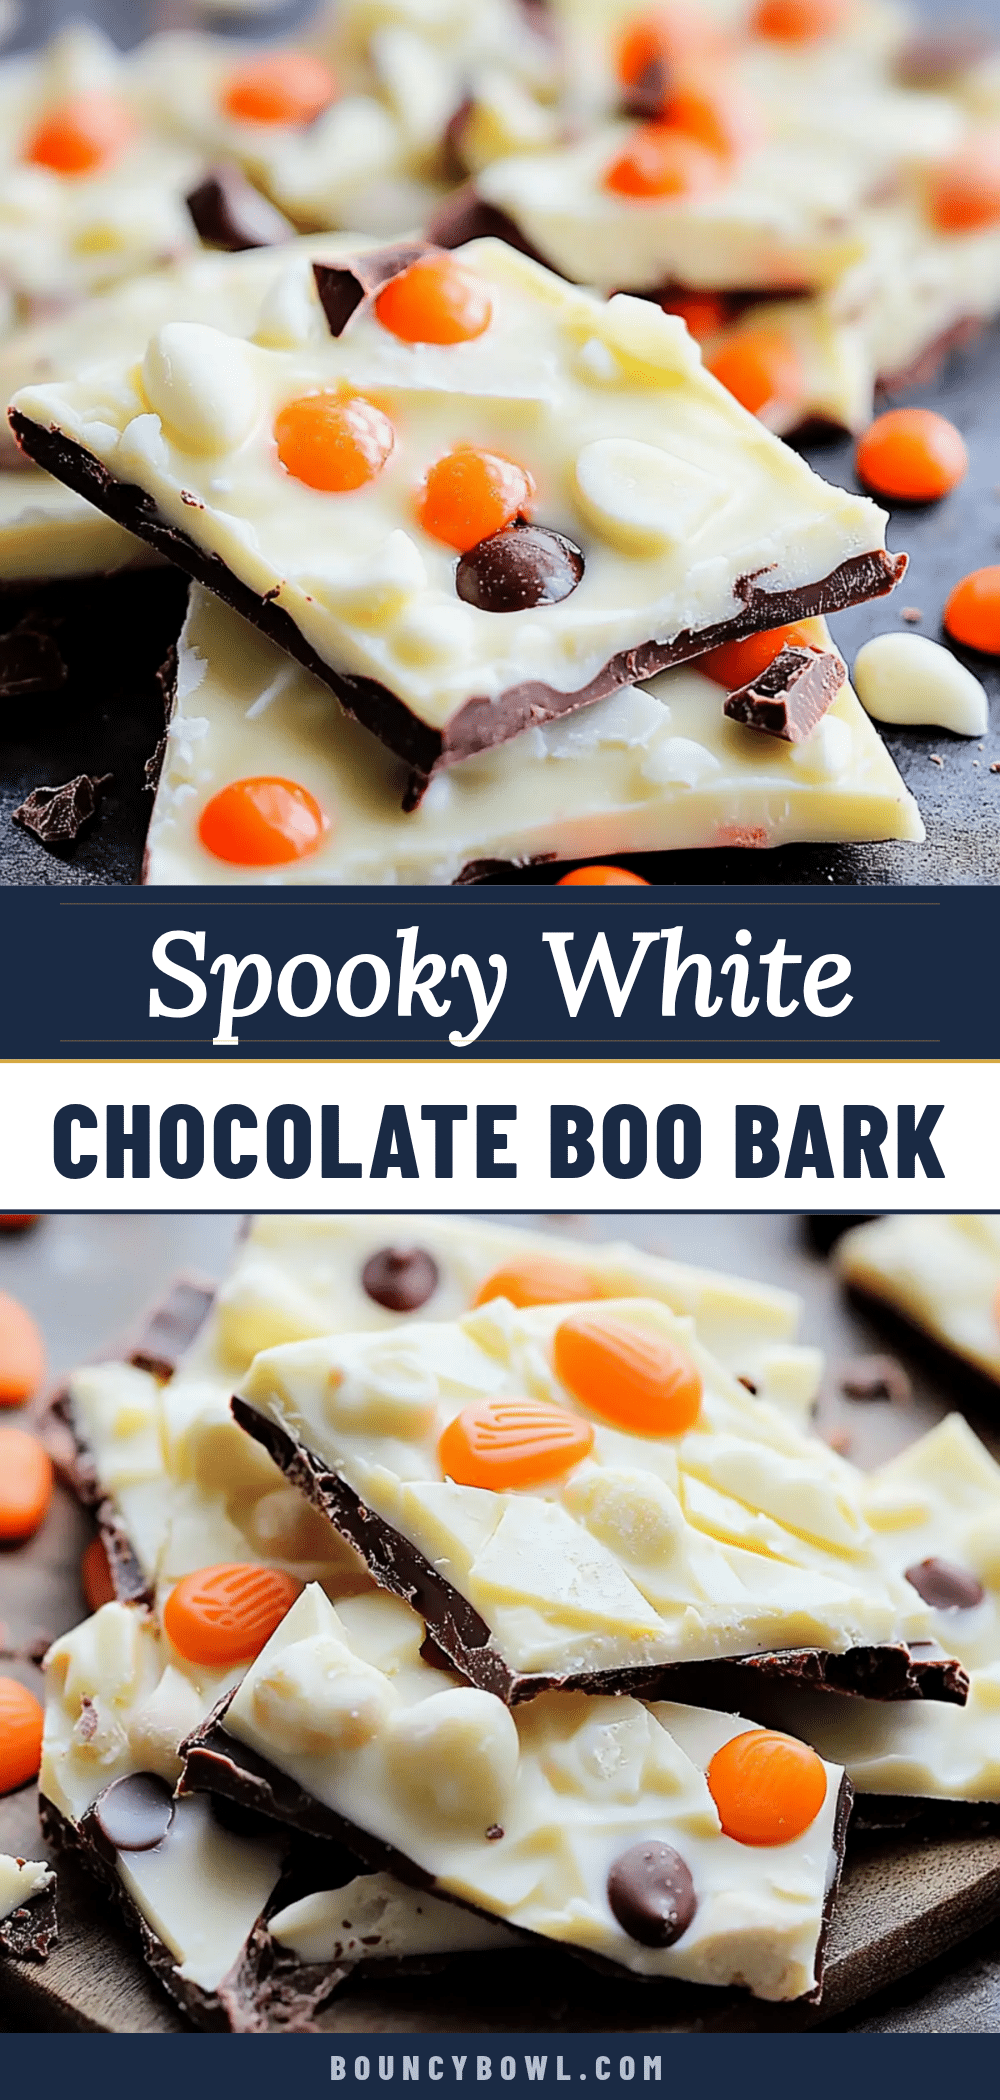
Easy Spooky White Chocolate Boo Bark Recipe
This no-fuss, high-impact treat looks like you spent hours on it but takes only about 10 minutes of active work. It’s the perfect blend of sweet, salty, crunchy, and creepy for any Halloween gathering.
- Prep Time: 15 minutes
- Cook Time: 0 minutes
- Total Time: 45 minutes
- Yield: 12 servings
- Category: Dessert
- Cuisine: American
Ingredients
- White chocolate melting wafers or chopped white chocolate (24 oz / 680g)
- Coconut oil or vegetable shortening (1 teaspoon)
- Candy eyes (1/2 cup / about 60 pieces)
- Halloween-themed sprinkles (1/2 cup total)
- Pretzel sticks or broken pretzels (1/2 cup / 60g)
- Freeze-dried raspberries or strawberries (1/4 cup / 15g)
- Black sanding sugar (2 tablespoons)
Instructions
- Prep Your Pan: Line a 13×9 inch baking sheet with parchment paper, leaving overhang on the sides.
- Melt the White Chocolate: Place white chocolate wafers and 1 teaspoon coconut oil in a microwave-safe bowl. Microwave in 30-second intervals on 50% power, stirring after each, until about 75% melted. Stir until smooth and glossy.
- Spread the Base: Pour melted chocolate onto the prepared pan and spread into an even rectangle about 1/4-inch thick.
- Add the Toppings: While chocolate is still wet, press in candy eyes, then scatter sprinkles, broken pretzels, and freeze-dried raspberries. Finish with black sanding sugar. Gently press heavier toppings into the chocolate.
- Chill to Set: Refrigerate uncovered for 30-45 minutes until completely firm.
- Break or Cut into Pieces: Lift bark out using parchment overhang. Break into rustic shards or cut into squares with a knife or pizza cutter.
Notes
Use good-quality white chocolate melting wafers for best results. Avoid white chocolate chips as they contain stabilizers. Have all toppings ready before melting chocolate. For a perfect snap, use the seeding method: stir in 1/4 cup unmelted wafers after melting. Store in an airtight container in the refrigerator for up to 2 weeks. Freezes well for up to 3 months.
Nutrition
- Serving Size: 1/12 of recipe
- Calories: 280
- Sugar: 28
- Sodium: 80
- Fat: 16
- Saturated Fat: 10
- Carbohydrates: 32
- Fiber: 1
- Protein: 3
Keywords: Halloween bark, white chocolate bark, spooky treat, no-bake dessert, easy Halloween recipe


