Love this? Save it for later!
Share the inspiration with your friends
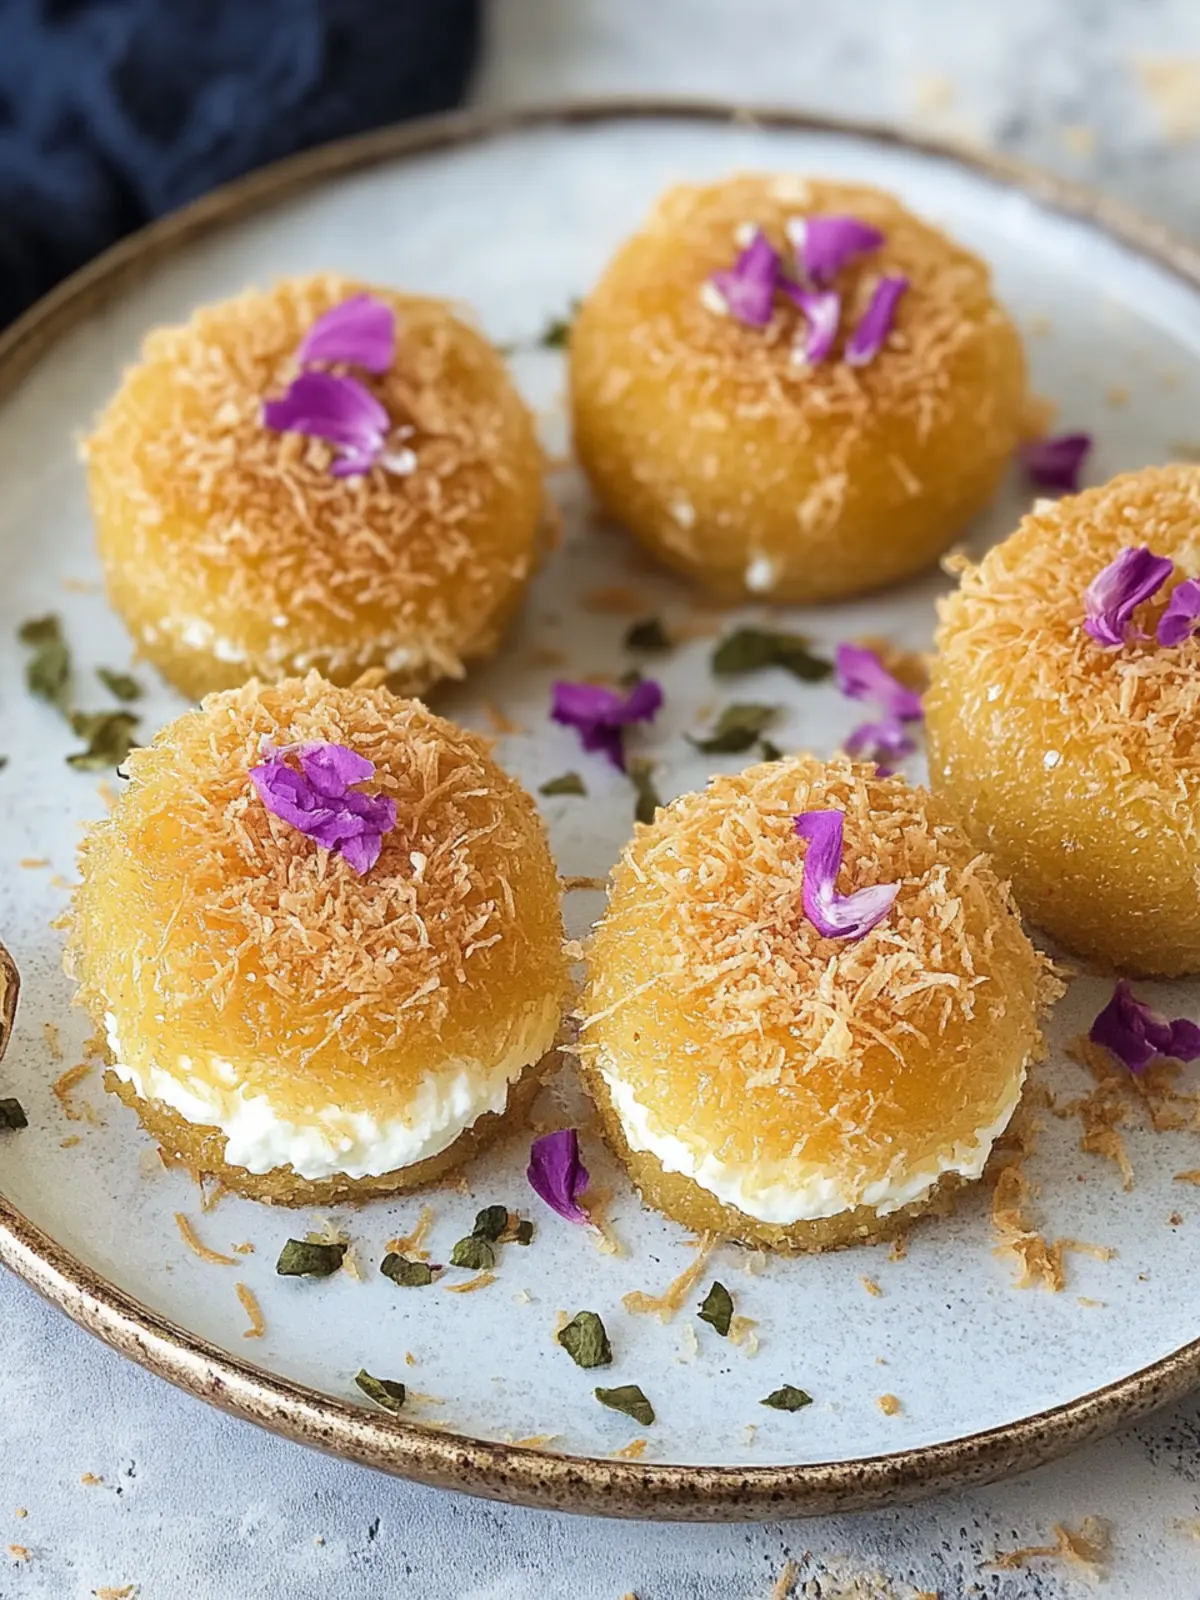
“Wait, you made kunafa in muffin tins? That sounds wild,” my friend texted me just minutes after I dropped off a batch of these mini kunafas at her doorstep. Honestly, I wasn’t sure how it would turn out myself. Kunafa is one of those desserts that demands attention, patience, and a bit of finesse—usually big, syrupy, and shared family-style. But on a hectic evening when I wanted a quick sweet fix without the usual mess, I tried this shortcut using creamy ricotta cheese and mini molds. The texture? Absolutely dreamy. The crisp edges? Perfectly golden. And the flavor? Let’s just say, the skeptical me turned into a believer after the first bite.
There’s something quietly satisfying about those tiny kunafa nests—each one a delicate balance of crunchy, sweet, and creamy that somehow feels both indulgent and manageable. Plus, using ricotta cheese instead of the traditional akkawi or mozzarella gave them a luscious creaminess that felt just right without overpowering the classic kunafa vibe. I haven’t stopped making them since that night, which says a lot coming from someone who usually shies away from fiddly desserts. And the best part? They’re just the right size to enjoy without feeling guilty, perfect for those little moments when you crave something special but don’t want to commit to a giant dessert.
Honestly, these mini kunafas with creamy ricotta cheese have quietly stolen a spot in my dessert rotation, and I have a feeling they might do the same for you. They’re simple, surprisingly quick, and carry that comforting sweetness that just hits the spot. Plus, the recipe is flexible enough to play with, so you can make it your own little sweet secret. So, no fancy equipment or complicated ingredients—just a handful of kitchen basics and a little time. It’s the kind of recipe that makes you pause and smile quietly to yourself, knowing you’ve nailed something truly delicious without breaking a sweat.
Why You’ll Love This Mini Kunafa Recipe
From my many trials in the kitchen (sometimes with unexpected results), this mini kunafa recipe with creamy ricotta cheese stands out for a few reasons that I think you’ll appreciate:
- Quick & Easy: Ready in about 35 minutes total, these mini kunafas come together faster than traditional versions, which usually require more prep and baking time.
- Simple Ingredients: No hunting for exotic cheeses or hard-to-find syrups. The ricotta cheese adds creamy richness with ease, and the rest are pantry staples like shredded phyllo dough and sugar.
- Perfect for Entertaining: These bite-sized treats are ideal for parties, potlucks, or even casual afternoon tea. They’re neat, shareable, and impressive without fuss.
- Crowd-Pleaser: Kids and grown-ups alike have given this recipe two thumbs up. The balance of crunchy, sweet, and creamy hits all the right notes.
- Unique Texture: The ricotta cheese lends a smooth creaminess that’s different from the traditional stretchy cheese, giving a luscious mouthfeel that pairs perfectly with the crispy kunafa strands.
What sets this recipe apart isn’t just the size or ease—it’s the subtle twist of ricotta that turns a classic into something unexpectedly delightful. I’ve tried other versions where the cheese was a little too salty or rubbery, but this creamy ricotta version feels fresh and balanced every time. If you want a sweet that’s a little different from your usual fare, but still packed with satisfying flavor, this mini kunafa recipe is exactly that.
Whether you’re looking to impress without stress or just want a small sweet treat that’s a little fancy, these mini kunafas deliver every time. And if you love easy homemade sweets, you might also enjoy the creamy no-bake mini cheesecake cups that are a breeze to make and just as indulgent.
What Ingredients You Will Need
This mini kunafa recipe keeps things straightforward, relying on a handful of quality ingredients that come together to create bold flavor and delightful texture without fuss. Most are pantry staples, so no special grocery runs needed.
- Shredded Kunafa/Kataifi dough – about 300g (use fresh if possible; frozen works too but thaw completely)
- Unsalted butter – 100g, melted (for that golden, crispy crust)
- Ricotta cheese – 250g, creamy and smooth (look for fresh, whole milk ricotta for best texture)
- Powdered sugar – 2 tablespoons (for a touch of sweetness in the cheese filling)
- Vanilla extract – 1 teaspoon (adds a lovely aromatic note)
- Rose water or orange blossom water – 1 tablespoon (optional, but highly recommended for authentic flavor)
- Granulated sugar – 1 cup (for simple syrup)
- Water – 1 cup (for simple syrup)
- Fresh lemon juice – 1 teaspoon (balances syrup sweetness)
- Chopped pistachios – 2 tablespoons, for garnish (adds color and crunch)
For a gluten-free version, you can experiment with gluten-free shredded pastry alternatives or a crispy nut topping. If you want to swap ricotta for a dairy-free option, coconut cream mixed with a bit of thickener can work, but it changes the flavor profile a bit.
If you’re curious about other easy crowd-pleasing comfort foods, the cozy cheesy veggie quinoa casserole is a savory dish I often pair with sweet desserts like this for balanced meals.
Equipment Needed
Getting these mini kunafas just right requires surprisingly little specialized equipment:
- Muffin tin or mini tart pans: Standard 12-cup muffin tins work perfectly. Mini tart pans with removable bottoms are a nice upgrade if you want perfect edges.
- Mixing bowls: For combining cheese and buttered kunafa strands.
- Saucepan: To prepare the simple syrup.
- Pastry brush: Handy for brushing melted butter evenly onto the shredded dough.
- Measuring cups and spoons: Accuracy matters with sugar and liquids.
If you don’t have a pastry brush, a small spoon can carefully drizzle melted butter, though the brush gives better coverage. I recommend investing in a silicone brush—it’s easy to clean and lasts forever.
For cleanup, lining your muffin tin with parchment rounds can help, but I usually skip that step because the butter crisps up nicely and releases easily.
Preparation Method
- Preheat your oven to 350°F (175°C). Lightly grease your muffin tin with butter or non-stick spray.
- Prepare the kunafa dough: Using your fingers or two forks, gently shred and loosen the kunafa strands to separate clumps. This helps achieve that crisp texture.
- Brush the kunafa with melted butter: Place the shredded kunafa in a large bowl and pour the melted butter over it. Use a fork or your hands to mix thoroughly, coating every strand. This step is key for golden crispiness.
- Make the ricotta filling: In a separate bowl, combine the ricotta cheese, powdered sugar, and vanilla extract. Mix until smooth and creamy. If using rose or orange blossom water, stir it in now for that fragrant lift.
- Assemble the mini kunafas: Take a tablespoon or so of the buttered kunafa and press it firmly into the bottom and slightly up the sides of each muffin cup to form a nest.
- Add cheese filling: Spoon about 1 to 1.5 tablespoons of the ricotta mixture into the center of each nest.
- Top with more kunafa strands: Cover the filling with another tablespoon of buttered kunafa, pressing gently to seal.
- Bake: Place the muffin tin in the oven and bake for 25-30 minutes, until the kunafa is deeply golden and crispy on top.
- Prepare the syrup: While baking, combine granulated sugar, water, and lemon juice in a small saucepan. Bring to a boil, then simmer gently for 8-10 minutes until slightly thickened. Remove from heat and stir in rose or orange blossom water if desired.
- Remove from oven and drizzle syrup: As soon as you take the kunafas out, generously pour the warm syrup over each one. The syrup should soak in but not make the kunafa soggy.
- Cool and garnish: Let the mini kunafas cool for 5-10 minutes, then sprinkle with chopped pistachios for a pop of color and crunch.
- Serve warm: These are best enjoyed warm or at room temperature, when the cheese is soft and the kunafa is crisp.
Quick tip: If the kunafa looks pale after baking, you can pop it under the broiler for 1-2 minutes, but watch carefully to avoid burning. And if your syrup cools before you’re ready, gently rewarm it—it should be warm when poured.
Cooking Tips & Techniques
Getting mini kunafa just right can be a bit fiddly, but a few tricks make all the difference:
- Butter coverage: Don’t skimp on the butter for the kunafa strands. It’s what creates that irresistible crispness and golden color. Toss the strands well so every piece is coated.
- Cheese consistency: Make sure your ricotta is smooth and not too watery. If it’s too loose, drain it in cheesecloth for 10-15 minutes beforehand to avoid soggy filling.
- Syrup temperature matters: Pour warm syrup over hot kunafa. This contrast helps the syrup soak in without softening the crispy top too much.
- Don’t overcrowd the muffin cups: Press the kunafa strands gently but firmly to form nests without compacting too tightly. This keeps texture light and crunchy.
- Watch baking times: Ovens vary, so start checking at 25 minutes. The kunafa should be deeply golden but not burnt.
- Multitasking tip: While the kunafa bakes, whisk together syrup and prep pistachios. That way, you’re ready to drizzle syrup immediately for best results.
- Handling kunafa strands: They can be sticky or clump easily. Use your fingers for best control, but wear gloves if you want to avoid greasy hands!
From experience, rushing the syrup step or using cold syrup can lead to soggy kunafa. Also, once cooled completely, the crispy texture fades, so I recommend serving these within a few hours. If you want to try a different cheese texture, check out the perfect mini blackberry lavender cheesecakes for another creamy dessert that’s elegant and easy.
Variations & Adaptations
This mini kunafa recipe is wonderfully adaptable, depending on your taste or dietary needs:
- Cheese variations: Substitute ricotta with mascarpone for a richer, silkier filling. For a traditional twist, try fresh mozzarella or akkawi cheese if you can find it.
- Nut toppings: Swap pistachios for toasted almonds or walnuts for different crunch and flavor.
- Flavored syrups: Experiment with adding a splash of cinnamon or cardamom to the syrup for warmth and depth.
- Vegan adaptation: Use coconut cream mixed with a little cornstarch as the filling and vegan butter for coating the kunafa. The flavor will shift but still be delicious.
- Mini tart version: Instead of muffin tins, use mini tart pans which give a beautiful presentation and crisper edges.
Personally, I once swapped in a lemon zest-infused syrup, which gave a bright freshness that paired beautifully with the creamy filling. If you’re interested in other unique sweet treats, the soft decadent avocado bread is a surprising twist on sweet baking that you might find inspiring.
Serving & Storage Suggestions
Mini kunafas are best enjoyed warm or at room temperature. I like to serve them on a pretty platter sprinkled with crushed pistachios and a light dusting of powdered sugar for extra charm.
Pair with a strong black coffee or a fragrant mint tea to balance the sweetness. They also make an elegant finish to any meal without feeling too heavy.
If you have leftovers, store them covered in the refrigerator for up to 2 days. The texture softens but the flavor remains lovely. Reheat gently in a low oven or toaster oven for 5-7 minutes to revive some crispness—microwaving tends to make them soggy.
Flavors actually develop nicely overnight as the syrup melds in, so if you can resist, letting them rest wrapped in foil can deepen the taste.
Nutritional Information & Benefits
Each mini kunafa offers a moderate portion of energy, with roughly 180-220 calories depending on size and ingredients. The ricotta cheese provides a good source of protein and calcium, while the butter and sugar contribute richness and sweetness.
This dessert is gluten-containing due to the kunafa dough but can be modified with gluten-free alternatives. It’s naturally vegetarian and can be adapted for vegan diets as mentioned.
While it’s definitely a treat rather than an everyday snack, the use of real cheese and a homemade syrup without preservatives makes it a nicer option compared to processed sweets. For those mindful of sugar, try reducing syrup quantity or serving smaller portions.
Conclusion
Mini kunafa with creamy ricotta cheese is a little treasure that brings together crunchy, sweet, and creamy in a way that feels both special and approachable. It’s a recipe that grew out of a need for quick comfort and turned into a favorite that I keep coming back to, whether for casual treat times or small gatherings.
Feel free to tweak the flavors or presentation to suit your style—this recipe welcomes customization. I love how it manages to be both indulgent and light enough to enjoy without guilt.
If you give it a try, I’d love to hear how you made it your own. Sharing your experience is the best part of cooking, after all. Wishing you many sweet moments with these little golden bites!
Frequently Asked Questions
What kind of cheese is best for making kunafa?
Traditionally, akkawi or mozzarella cheeses are used, but for this mini kunafa recipe, creamy ricotta cheese works beautifully because of its smooth texture and subtle flavor.
Can I prepare the syrup ahead of time?
Yes, you can make the syrup a day ahead and store it in the fridge. Warm it slightly before pouring over the warm kunafa for best absorption.
How do I keep the kunafa crispy after baking?
Serve soon after baking and syrup pouring. Store leftovers in the fridge and reheat in the oven rather than the microwave to revive crispness.
Is it possible to freeze mini kunafa?
Freezing is not recommended as it can affect the texture of both the kunafa strands and the cheese filling.
Can I make this dessert gluten-free?
You can experiment with gluten-free shredded pastry or nut-based crusts, but the traditional kunafa dough contains gluten. Adjustments will change the texture but can still be tasty.
Pin This Recipe!
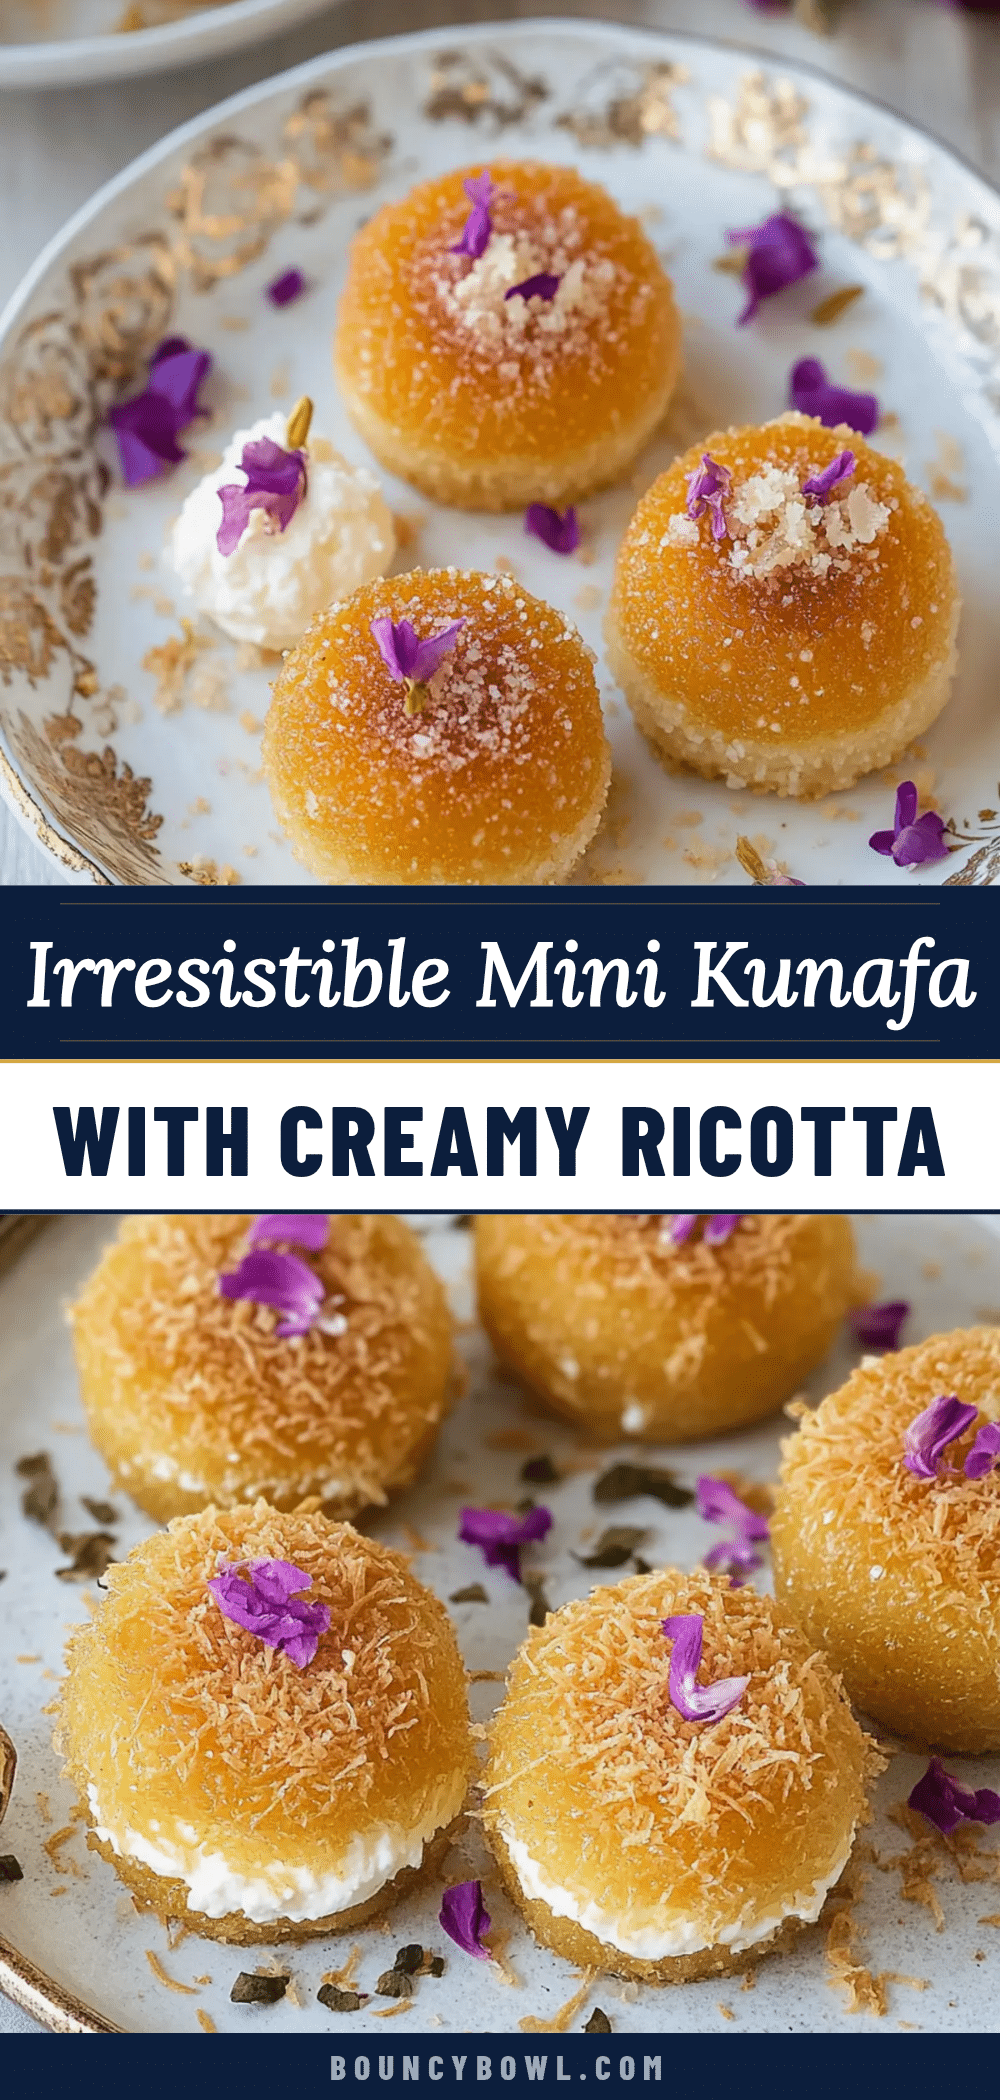
Mini Kunafa Recipe Easy Homemade Irresistible Creamy Ricotta Dessert

This mini kunafa recipe uses creamy ricotta cheese and shredded kunafa dough baked in muffin tins for a quick, easy, and deliciously creamy dessert with crispy golden edges.
- Prep Time: 10 minutes
- Cook Time: 25-30 minutes
- Total Time: 35-40 minutes
- Yield: 12 mini kunafas 1x
- Category: Dessert
- Cuisine: Middle Eastern
Ingredients
- 300g shredded Kunafa/Kataifi dough (about 10.5 oz)
- 100g unsalted butter, melted (about 7 tablespoons)
- 250g ricotta cheese, creamy and smooth (about 1 cup)
- 2 tablespoons powdered sugar
- 1 teaspoon vanilla extract
- 1 tablespoon rose water or orange blossom water (optional)
- 1 cup granulated sugar
- 1 cup water
- 1 teaspoon fresh lemon juice
- 2 tablespoons chopped pistachios, for garnish
Instructions
- Preheat your oven to 350°F (175°C). Lightly grease your muffin tin with butter or non-stick spray.
- Prepare the kunafa dough by gently shredding and loosening the strands to separate clumps.
- Place the shredded kunafa in a large bowl and pour the melted butter over it. Mix thoroughly to coat every strand.
- In a separate bowl, combine ricotta cheese, powdered sugar, and vanilla extract. Mix until smooth and creamy. Stir in rose or orange blossom water if using.
- Take about 1 tablespoon of the buttered kunafa and press it firmly into the bottom and slightly up the sides of each muffin cup to form a nest.
- Spoon about 1 to 1.5 tablespoons of the ricotta mixture into the center of each nest.
- Cover the filling with another tablespoon of buttered kunafa, pressing gently to seal.
- Bake for 25-30 minutes until the kunafa is deeply golden and crispy on top.
- While baking, prepare the syrup by combining granulated sugar, water, and lemon juice in a saucepan. Bring to a boil, then simmer for 8-10 minutes until slightly thickened. Remove from heat and stir in rose or orange blossom water if desired.
- Remove the kunafas from the oven and immediately drizzle the warm syrup over each one.
- Let the mini kunafas cool for 5-10 minutes, then sprinkle with chopped pistachios.
- Serve warm or at room temperature.
Notes
Use fresh whole milk ricotta for best texture. Ensure kunafa strands are well coated with butter for crispiness. Pour warm syrup over hot kunafa to avoid sogginess. Serve soon after baking for best texture. Reheat leftovers gently in oven to revive crispness. For gluten-free, substitute kunafa dough with gluten-free shredded pastry or nut crusts. Vegan adaptations possible with coconut cream and vegan butter.
Nutrition
- Serving Size: 1 mini kunafa
- Calories: 200
- Sugar: 15
- Sodium: 80
- Fat: 12
- Saturated Fat: 7
- Carbohydrates: 20
- Fiber: 1
- Protein: 5
Keywords: mini kunafa, ricotta dessert, easy kunafa recipe, creamy kunafa, Middle Eastern dessert, kunafa muffin, quick dessert, phyllo dough dessert