Love this? Save it for later!
Share the inspiration with your friends
I was staring into the fridge at a container of Greek yogurt that was about to hit its sell-by date, feeling a little guilty. You know that feeling—when you buy something with the best intentions, promising yourself you’ll actually eat it this time, and then life gets in the way. I had bought a big tub planning to make smoothies all week, but somehow Tuesday turned into Friday and there it sat, unopened and judging me.
Honestly, I was tired of the same old breakfast rotation anyway. Scrambled eggs felt boring, oatmeal was fine but never kept me full past 10 AM, and cereal left me hungry before I even got to work. I needed something different. Something that actually tasted like a treat but didn’t wreck my protein goals for the day.
That’s when I remembered a random video I’d seen months ago—someone baking yogurt until it turned into this thick, creamy, almost cheesecake-like situation. I thought, “That can’t actually work, can it?” But with nothing to lose and a yogurt container to save, I gave it a shot. I mixed it with a few pantry staples, popped it in the oven, and waited.
Twenty-five minutes later, I pulled out what looked like a miniature cheesecake but smelled like a warm hug. The texture was incredible—silky on the inside, slightly golden on the edges. I topped it with some frozen berries I had lying around and took a bite. And honestly? I almost cried. Not because it was life-changing in some dramatic way, but because it was so simple and so satisfying all at once.
That accidental experiment turned into a full-blown obsession. I started making baked yogurt every single morning, tweaking flavors, testing add-ins, and figuring out what worked best. What I ended up with is this collection of five high-protein baked yogurt bliss recipes that have completely changed how I think about breakfast. No more mid-morning hunger crashes, no more boring bowls of yogurt. Just pure, creamy, protein-packed goodness that tastes like dessert but fuels your body like a champ.
Why You’ll Love These High-Protein Baked Yogurt Bliss Recipes
Let me tell you why these recipes have become my absolute go-to. I’ve tested them more times than I can count, shared them with friends, and even converted a few skeptical family members who thought baked yogurt sounded weird. Spoiler: they all came back for seconds.
- Packed with Protein: Each serving delivers 20-25 grams of protein using simple ingredients like Greek yogurt and eggs. No protein powders required unless you want them.
- Ready in Under 30 Minutes: From mixing bowl to oven to plate, you’re looking at about 25 minutes total. That’s faster than driving to a coffee shop.
- No Fancy Equipment: You don’t need a stand mixer, food processor, or any specialty gadgets. Just a bowl, a whisk, and an oven-safe dish.
- Perfect for Meal Prep: Make a batch on Sunday and grab one every morning. They keep beautifully in the fridge for up to five days.
- Naturally Gluten-Free: Since the base is just yogurt and eggs, there’s no flour involved. Perfect for anyone avoiding gluten.
- Endlessly Customizable: I’m giving you five flavor variations, but honestly, the possibilities are endless. Swap in whatever you have on hand.
What makes these different from other baked yogurt recipes you might have seen? It’s the texture. I spent weeks perfecting the ratio of yogurt to eggs to get that perfect custard-like consistency—not too dense, not too watery, with just the right amount of jiggle. Plus, I figured out a few tricks to prevent that weird rubbery texture that can happen when you over-bake egg-based dishes. Trust me, I’ve had plenty of rubbery failures so you don’t have to.
These little protein-packed beauties have honestly become my secret weapon for staying on track with my nutrition goals without feeling deprived. When I’m craving something sweet and creamy, this hits the spot in a way that a sad protein shake never could.
What Ingredients You Will Need
Before we get into the five flavor variations, let me walk you through the basic ingredients that form the foundation of every high-protein baked yogurt bliss recipe. These are pantry staples you probably already have, which is honestly the best part.
The Base Ingredients
- Plain Greek Yogurt (2 cups / 480g): This is the star of the show. I recommend using full-fat or 2% Greek yogurt for the creamiest texture. Nonfat works too, but the result will be slightly less rich. My personal favorite is Fage 2%—it has the perfect thickness without being too tangy. Make sure it’s plain, not flavored, so you can control the sweetness.
- Large Eggs (3): Eggs are what give this its structure and that custard-like texture. They also add a nice protein boost. Make sure they’re at room temperature for the smoothest mixing. If you forget to take them out of the fridge, just place them in a bowl of warm water for 5 minutes.
- Vanilla Extract (1 teaspoon): Adds warmth and depth to the flavor. Pure vanilla extract is worth the splurge here, but imitation works fine in a pinch.
- Sweetener of Choice (2-3 tablespoons): You can use honey, maple syrup, agave, or even a sugar-free option like monk fruit sweetener. I usually go with honey because it pairs beautifully with the tangy yogurt. Adjust the amount based on how sweet you like things.
- Cornstarch or Arrowroot Powder (1 tablespoon): This is my secret ingredient for the perfect texture. It helps stabilize the mixture and prevents that watery separation that can happen with baked yogurt. Don’t skip it!
- Pinch of Salt: Just a tiny pinch enhances all the flavors and balances the sweetness. You won’t taste it directly, but you’ll notice if it’s missing.
For the Five Flavor Variations
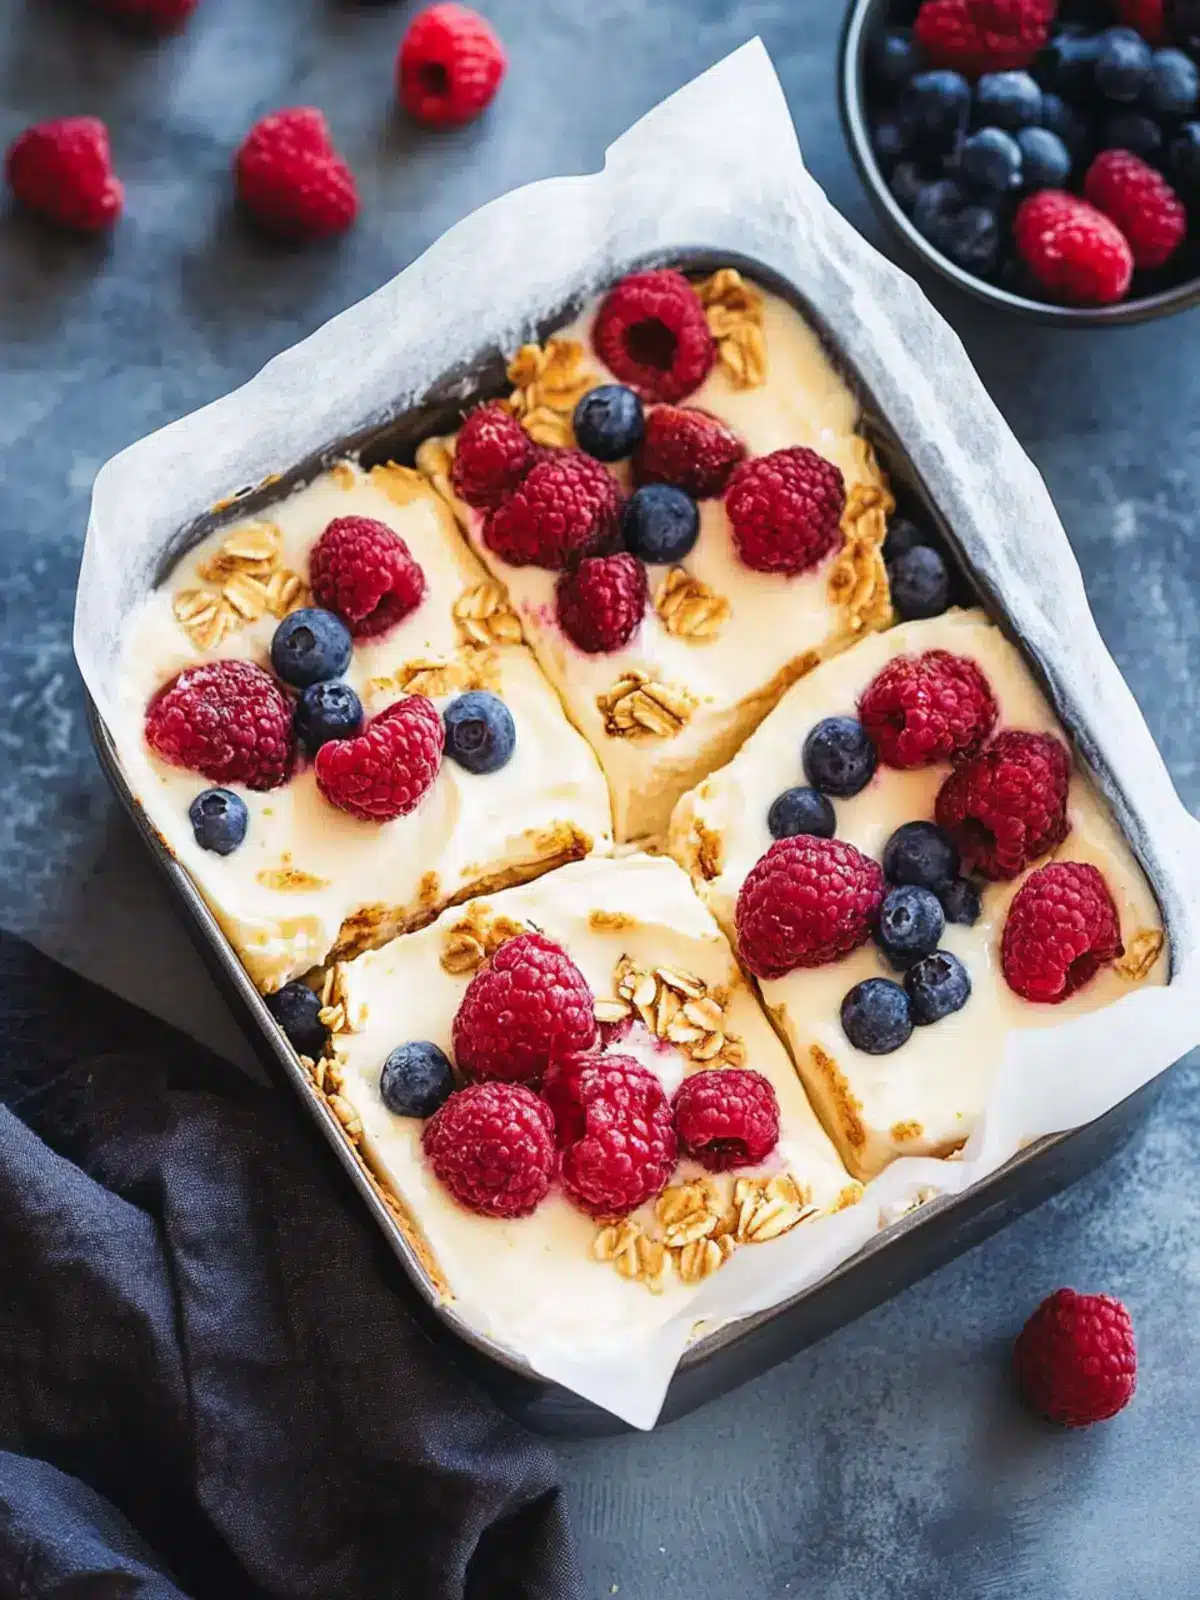
Classic Vanilla Berry Bliss
- 1 cup mixed berries (fresh or frozen) — I love using a mix of blueberries, raspberries, and sliced strawberries
- Optional: 1 tablespoon chia seeds for extra fiber and omega-3s
Chocolate Peanut Butter Dream
- 2 tablespoons unsweetened cocoa powder
- 2 tablespoons peanut butter (or any nut butter) — I recommend a natural peanut butter with no added sugar for best results
- 1 tablespoon chocolate chips for topping (optional but highly recommended)
Lemon Blueberry Sunshine
- Zest of 1 lemon
- 2 tablespoons fresh lemon juice
- 1/2 cup fresh or frozen blueberries
- 1 tablespoon poppy seeds (optional, but adds a lovely crunch)
Apple Cinnamon Comfort
- 1 small apple, finely diced (about 1/2 cup) — I prefer Honeycrisp or Granny Smith
- 1 teaspoon ground cinnamon
- 1/4 teaspoon ground nutmeg
- 2 tablespoons chopped walnuts or pecans for topping
Mango Coconut Tropical
- 1/2 cup diced mango (fresh or frozen, thawed)
- 2 tablespoons unsweetened shredded coconut
- 1 tablespoon coconut flakes for topping
- Optional: 1 teaspoon lime zest for brightness
One thing I’ve learned through all my testing is that ingredient quality really matters here. Since there are so few ingredients, each one pulls its weight. Using a good-quality Greek yogurt with live active cultures makes a noticeable difference in both texture and tanginess. And please, please use real vanilla extract if you can—the artificial stuff has a weird chemical aftertaste that really stands out in a simple recipe like this.
Equipment Needed
One of the things I love most about these high-protein baked yogurt bliss recipes is how little equipment they require. You don’t need to be a kitchen gadget hoarder to make these work.
- Mixing Bowl: Any medium-sized bowl will do. I use a glass one because it’s easy to see when everything is fully combined.
- Whisk: A good whisk is essential for getting that smooth, lump-free texture. A fork works in a pinch, but you’ll be whisking longer.
- Oven-Safe Ramekins or Small Baking Dish: I use four 6-ounce ramekins for individual servings, but you can also use one 8×8-inch baking dish if you prefer a single larger portion. Just adjust the baking time accordingly.
- Baking Sheet: Place your ramekins on a baking sheet before putting them in the oven. This makes them easier to handle and catches any potential overflow.
- Measuring Cups and Spoons: For accuracy, especially with the cornstarch and sweetener.
- Cooling Rack: Optional but helpful for letting the baked yogurt cool evenly without getting soggy on the bottom.
If you don’t have ramekins, don’t stress. I’ve made these in small oven-safe bowls, a muffin tin (adjusting the time to about 15 minutes), and even a cast iron skillet. The key is just making sure whatever you use is oven-safe up to 350°F. And if you’re using silicone muffin cups, place them on a baking sheet for stability.
Preparation Method
Now let’s get to the good part—actually making these high-protein baked yogurt bliss recipes. I’ll walk you through the basic method first, then give you the specific tweaks for each flavor variation.
The Basic Method (Works for All Variations)
- Preheat your oven to 350°F (175°C). While it’s heating up, lightly grease your ramekins or baking dish with a tiny bit of butter or cooking spray. This isn’t strictly necessary since the yogurt doesn’t stick much, but it makes cleanup easier.
- In your mixing bowl, combine the Greek yogurt, eggs, vanilla extract, sweetener, cornstarch, and salt. Whisk everything together until it’s completely smooth and uniform. This should take about 1-2 minutes of steady whisking. You’re looking for a consistency similar to pancake batter—smooth, slightly thick, and pourable.
- Now add your flavor-specific ingredients (see the variations below for exact amounts). Fold them in gently with a spatula or spoon. Be careful not to overmix at this point—you want the add-ins distributed evenly but not broken up too much.
- Divide the mixture evenly among your prepared ramekins, filling them about 3/4 full. They will puff up slightly as they bake, so leave some room at the top. If you’re using one large dish, pour it all in and spread it evenly.
- Place the ramekins on a baking sheet and transfer to the preheated oven. Bake for 22-25 minutes for individual ramekins, or 30-35 minutes for a single large dish. You’ll know they’re done when the edges are set and lightly golden, but the center still has a slight jiggle when you gently shake the ramekin. It will continue to set as it cools.
- Remove from the oven and let cool on a cooling rack for at least 10 minutes. This resting time is crucial—it allows the texture to firm up to that perfect custard-like consistency. If you dig in too early, it will be runny.
- Serve warm, at room temperature, or chilled. I personally love them warm with a drizzle of extra honey and some fresh fruit on top. But they’re equally delicious straight from the fridge the next day.
Specific Variations Instructions
Classic Vanilla Berry Bliss: After whisking the base, gently fold in the mixed berries and chia seeds if using. Pour into ramekins and bake as directed. The berries will burst slightly during baking, creating beautiful pockets of jammy fruit throughout. Top with extra fresh berries and a drizzle of honey before serving.
Chocolate Peanut Butter Dream: Whisk the cocoa powder into the base mixture along with the other dry ingredients. Make sure it’s fully incorporated so there are no white streaks of yogurt. Swirl in the peanut butter by dropping small spoonfuls on top and gently swirling with a knife. Sprinkle chocolate chips on top before baking. The peanut butter creates these gorgeous ribbons throughout the baked yogurt.
Lemon Blueberry Sunshine: Add the lemon zest and lemon juice to the base mixture and whisk well. Gently fold in the blueberries and poppy seeds if using. The lemon brightens everything up and cuts through the richness of the yogurt beautifully. Top with a tiny sprinkle of sugar before baking for a slightly crisp top.
Apple Cinnamon Comfort: In a small bowl, toss the diced apple with the cinnamon and nutmeg. Fold this mixture into the base. Pour into ramekins and top with chopped walnuts or pecans before baking. The apples soften and become almost compote-like during baking. This version honestly smells like fall in a bowl.
Mango Coconut Tropical: Fold the diced mango and shredded coconut into the base mixture. Pour into ramekins and top with additional coconut flakes before baking. The mango adds natural sweetness and a tropical vibe that’s perfect for summer mornings. A squeeze of lime over the top before serving takes it to another level.
Cooking Tips & Techniques
After making these high-protein baked yogurt bliss recipes more times than I can count (and yes, I’ve had my share of failures), I’ve gathered some tips that will help you get perfect results every single time.
Don’t overbake! This is the number one mistake I made in the beginning. Baked yogurt continues to set as it cools, so you want to pull it out when the center still has a gentle wobble. If you wait until the center is completely firm, you’ll end up with a rubbery, dry texture that’s nothing like the creamy dream you’re going for. Trust the jiggle!
Room temperature ingredients matter. I know, I know, nobody remembers to take eggs out of the fridge ahead of time. But cold eggs can cause the yogurt mixture to seize up and become lumpy. If you’re in a hurry, place the eggs in a bowl of warm water for 5 minutes before using. Same goes for the yogurt—let it sit on the counter for 10-15 minutes while you prep everything else.
Whisk thoroughly but not aggressively. You want the mixture to be completely smooth with no streaks of egg white or lumps of cornstarch. But once it’s smooth, stop whisking. Over-whisking can incorporate too much air, which can cause the baked yogurt to puff up too much and then collapse.
Use a water bath for extra creamy texture. If you want the absolute creamiest, most luxurious texture, place your ramekins in a larger baking dish and pour hot water halfway up the sides of the ramekins before baking. This gentle, even heat prevents the edges from setting too quickly while the center catches up. It’s an extra step, but the results are worth it for special occasions.
Let them cool completely before refrigerating. If you’re making these for meal prep, let them cool to room temperature first, then cover and refrigerate. Putting warm ramekins directly in the fridge creates condensation that can make the tops soggy.
One more thing—I’ve learned that banana nut bread lovers will absolutely adore the Apple Cinnamon Comfort variation. The same cozy, spiced vibe is there, but with way more protein and none of the baking fuss.
Variations & Adaptations
The beauty of these high-protein baked yogurt bliss recipes is how adaptable they are. Here are some of my favorite ways to switch things up.
Dairy-Free Version: Use a dairy-free Greek-style yogurt (coconut or almond-based work best) and increase the cornstarch to 1.5 tablespoons to help with structure. The texture will be slightly less creamy but still delicious. I’ve had good luck with the brand Cocojune for this.
Egg-Free Version: Replace each egg with 1/4 cup of silken tofu blended until smooth. The texture will be denser and more pudding-like, but it still works beautifully. Add an extra tablespoon of cornstarch for stability.
Lower Sugar Option: Use a sugar-free sweetener like monk fruit or stevia. Start with 1-2 tablespoons and adjust to taste. You can also skip the sweetener entirely and rely on the natural sweetness of your add-ins, like ripe mango or very ripe bananas.
Protein Powder Addition: If you want to boost the protein even further, add 1 scoop of your favorite vanilla or unflavored protein powder. Whisk it into the dry ingredients first to prevent clumps. You may need to add an extra tablespoon of milk or water to thin the mixture slightly.
Savory Version: Yes, you can make these savory! Omit the sweetener and vanilla, and add 1/2 teaspoon of garlic powder, 1/4 teaspoon of black pepper, and 1/4 cup of shredded cheese (parmesan or cheddar work great). Fold in some chopped spinach or sun-dried tomatoes. Bake as directed and serve alongside eggs or salad for a unique protein-packed side dish.
If you’re into quick, high-protein meals, you might also enjoy my creamy tzatziki chicken salad for another easy way to pack in protein without spending hours in the kitchen.
Serving & Storage Suggestions
These high-protein baked yogurt bliss recipes are incredibly versatile when it comes to serving and storing. Here’s everything you need to know.
Serving Temperature: I love these warm, straight from the oven, with a dollop of extra yogurt or a drizzle of honey. But they’re just as good at room temperature or cold from the fridge. The texture actually firms up beautifully when chilled, almost like a cheesecake. For a fancy presentation, invert the ramekin onto a plate and top with fresh fruit and a dusting of cinnamon or cocoa powder.
What to Serve With: These are filling enough to be a complete breakfast on their own, but they pair beautifully with a side of fresh fruit, a handful of nuts, or even a slice of moist banana nut bread for a truly indulgent weekend brunch. For a lighter option, serve with a simple green salad dressed with lemon vinaigrette.
Storage Instructions: Store any leftovers in an airtight container in the refrigerator for up to 5 days. I like to keep them in the ramekins with a piece of plastic wrap pressed directly onto the surface to prevent a skin from forming. They actually taste better on day two or three as the flavors meld together.
Freezing Instructions: These freeze surprisingly well! Let them cool completely, then wrap each ramekin tightly in plastic wrap and foil. Freeze for up to 3 months. To thaw, transfer to the refrigerator overnight or microwave on low power for 1-2 minutes. The texture might be slightly less creamy after freezing, but it’s still delicious.
Reheating Tips: To reheat, microwave on medium power for 30-60 seconds, or place in a 300°F oven for 10 minutes. If reheating from frozen, add a few extra minutes. I actually prefer eating them cold straight from the fridge—they have a denser, almost pudding-like texture that I find really satisfying.
Nutritional Information & Benefits
Let’s talk numbers, because I know that’s why you’re here. These high-protein baked yogurt bliss recipes are not just delicious—they’re genuinely good for you.
Per Serving (based on the Classic Vanilla Berry variation, without toppings):
- Calories: 220-250
- Protein: 22-25 grams
- Carbohydrates: 18-22 grams
- Fat: 8-10 grams
- Fiber: 2-3 grams
- Sugar: 12-15 grams (naturally occurring from yogurt and fruit)
Health Benefits:
- High Protein: Greek yogurt is packed with casein protein, which digests slowly and keeps you feeling full for hours. This makes these baked yogurts perfect for breakfast or a post-workout snack.
- Probiotics: Even after baking, some beneficial bacteria survive, supporting gut health. Look for yogurt with “live and active cultures” on the label.
- Calcium Rich: Each serving provides about 15-20% of your daily calcium needs, which is essential for bone health.
- Low Added Sugar: Unlike store-bought flavored yogurts that are loaded with sugar, you control exactly how much sweetener goes in.
- Versatile Nutrition: Depending on your add-ins, you can boost fiber (berries, chia seeds), healthy fats (nuts, seeds), or antioxidants (cocoa, berries).
Dietary Considerations: These recipes are naturally gluten-free and can easily be made dairy-free or egg-free with the substitutions mentioned above. They’re also suitable for vegetarian diets and can be adapted for low-carb or keto by using a sugar-free sweetener.
If you’re looking for another high-protein option that’s equally quick, check out my Chinese-style sautéed shrimp for a savory dinner that’s ready in under 30 minutes.
Conclusion
These high-protein baked yogurt bliss recipes have genuinely become a staple in my kitchen, and I have a feeling they’ll become one in yours too. They’re the kind of recipe that makes you feel like you’re getting away with something—because how can something that tastes this good actually be good for you?
What I love most is how forgiving they are. You can swap ingredients, adjust sweetness, throw in whatever fruit is about to go bad in your fridge, and they still turn out beautifully. They’ve saved me from countless boring breakfasts and mid-morning snack attacks, and they’ve made meal prep actually enjoyable instead of a chore.
I’d love to hear how these turn out for you! Did you try one of the five variations, or did you come up with your own? Drop a comment below and let me know what flavor combinations you discovered. And if you’re feeling generous, share this post with a friend who’s trying to eat more protein without sacrificing flavor. We could all use a little more bliss in our mornings, don’t you think?
Now go preheat that oven. Your future self—the one with a full belly and a smile on their face—will thank you.
Frequently Asked Questions
Can I use nonfat Greek yogurt for these recipes?
Yes, you absolutely can! Nonfat Greek yogurt works fine, but the texture will be slightly less creamy and rich. If using nonfat, I recommend adding an extra tablespoon of cornstarch to help with structure and creaminess. The protein content will be similar, but the fat content will be lower.
Why did my baked yogurt turn out watery?
This usually happens for one of two reasons: either you didn’t whisk the cornstarch in thoroughly enough, or you underbaked it. Make sure the cornstarch is fully dissolved into the mixture before baking. Also, remember that the center should still have a slight jiggle when you take it out—it will continue to set as it cools. If it’s still watery after cooling, it likely needed a few more minutes in the oven.
Can I make these in advance for meal prep?
Absolutely! These are perfect for meal prep. Make a batch on Sunday, let them cool completely, cover tightly, and refrigerate. They’ll keep for up to 5 days. I often make all five variations at once so I have variety throughout the week. They’re great grab-and-go breakfasts or afternoon snacks.
Can I use frozen fruit instead of fresh?
Yes, frozen fruit works perfectly! No need to thaw it first—just fold it into the mixture frozen. Keep in mind that frozen fruit will release a bit more liquid as it bakes, so the texture might be slightly softer. If you’re using frozen berries, you might want to add an extra half tablespoon of cornstarch to compensate.
How do I know when the baked yogurt is done?
The best way to tell is by gently shaking the ramekin. The edges should be set and lightly golden, while the center should have a gentle wobble—like a cheesecake or a custard. A toothpick inserted near the center should come out mostly clean with just a few moist crumbs. If the toothpick comes out wet with liquid batter, it needs more time. Remember, it will continue to set as it cools!
Pin This Recipe!
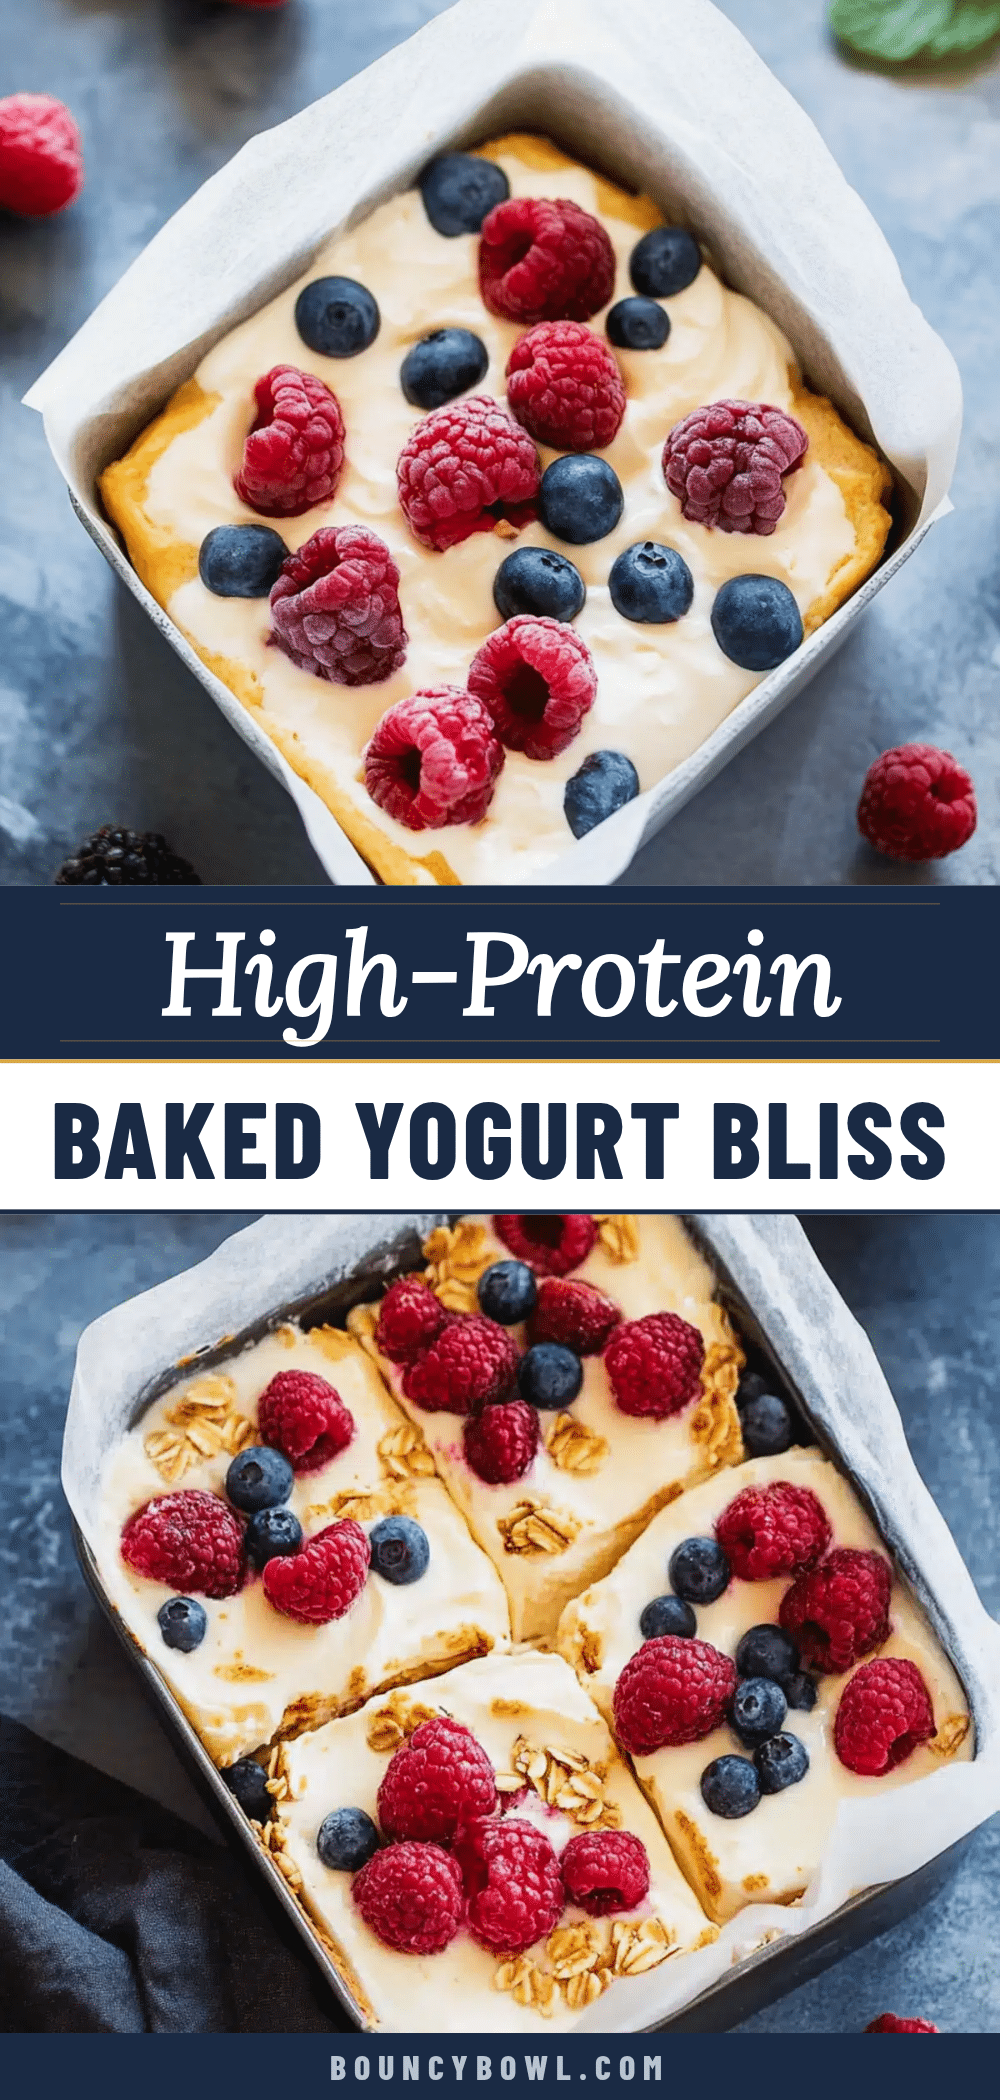
High-Protein Baked Yogurt Bliss: 5 Easy Recipes

A collection of five high-protein baked yogurt recipes that are creamy, custard-like, and packed with 20-25 grams of protein per serving. Perfect for breakfast or meal prep, these recipes are naturally gluten-free and ready in under 30 minutes.
- Prep Time: 10 minutes
- Cook Time: 25 minutes
- Total Time: 35 minutes
- Yield: 4 servings 1x
- Category: Breakfast
- Cuisine: American
Ingredients
- 2 cups (480g) plain Greek yogurt (full-fat or 2% recommended)
- 3 large eggs, at room temperature
- 1 teaspoon vanilla extract
- 2–3 tablespoons honey or sweetener of choice
- 1 tablespoon cornstarch or arrowroot powder
- Pinch of salt
- For Classic Vanilla Berry Bliss: 1 cup mixed berries (fresh or frozen), 1 tablespoon chia seeds (optional)
- For Chocolate Peanut Butter Dream: 2 tablespoons unsweetened cocoa powder, 2 tablespoons peanut butter, 1 tablespoon chocolate chips (optional)
- For Lemon Blueberry Sunshine: Zest of 1 lemon, 2 tablespoons fresh lemon juice, 1/2 cup blueberries (fresh or frozen), 1 tablespoon poppy seeds (optional)
- For Apple Cinnamon Comfort: 1 small apple (finely diced, about 1/2 cup), 1 teaspoon ground cinnamon, 1/4 teaspoon ground nutmeg, 2 tablespoons chopped walnuts or pecans
- For Mango Coconut Tropical: 1/2 cup diced mango (fresh or frozen, thawed), 2 tablespoons unsweetened shredded coconut, 1 tablespoon coconut flakes, 1 teaspoon lime zest (optional)
Instructions
- Preheat your oven to 350°F (175°C). Lightly grease 4 (6-ounce) ramekins or an 8×8-inch baking dish with butter or cooking spray.
- In a mixing bowl, combine the Greek yogurt, eggs, vanilla extract, sweetener, cornstarch, and salt. Whisk until completely smooth and uniform, about 1-2 minutes.
- Fold in your chosen flavor-specific ingredients gently with a spatula. Do not overmix.
- Divide the mixture evenly among the prepared ramekins, filling them about 3/4 full. Place ramekins on a baking sheet.
- Bake for 22-25 minutes for individual ramekins (or 30-35 minutes for a single large dish) until edges are set and lightly golden, but the center still has a slight jiggle when shaken.
- Remove from the oven and let cool on a cooling rack for at least 10 minutes. The texture will firm up as it cools.
- Serve warm, at room temperature, or chilled. Top with extra fruit, honey, or toppings as desired.
Notes
Don’t overbake! The center should still have a gentle wobble when removed; it will continue to set as it cools. Use room temperature ingredients for best texture. For extra creamy results, use a water bath by placing ramekins in a larger dish with hot water halfway up the sides. Let cool completely before refrigerating for meal prep.
Nutrition
- Serving Size: 1 ramekin (about 1/4
- Calories: 235
- Sugar: 13.5
- Sodium: 120
- Fat: 9
- Saturated Fat: 3
- Carbohydrates: 20
- Fiber: 2.5
- Protein: 23
Keywords: high-protein baked yogurt, Greek yogurt recipes, healthy breakfast, meal prep breakfast, gluten-free breakfast, custard-like yogurt, baked yogurt bliss


